Review: WOWCube Space Invaders Cubed edition

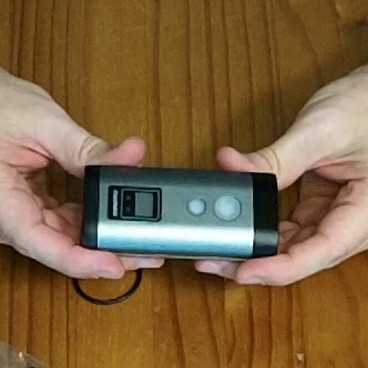
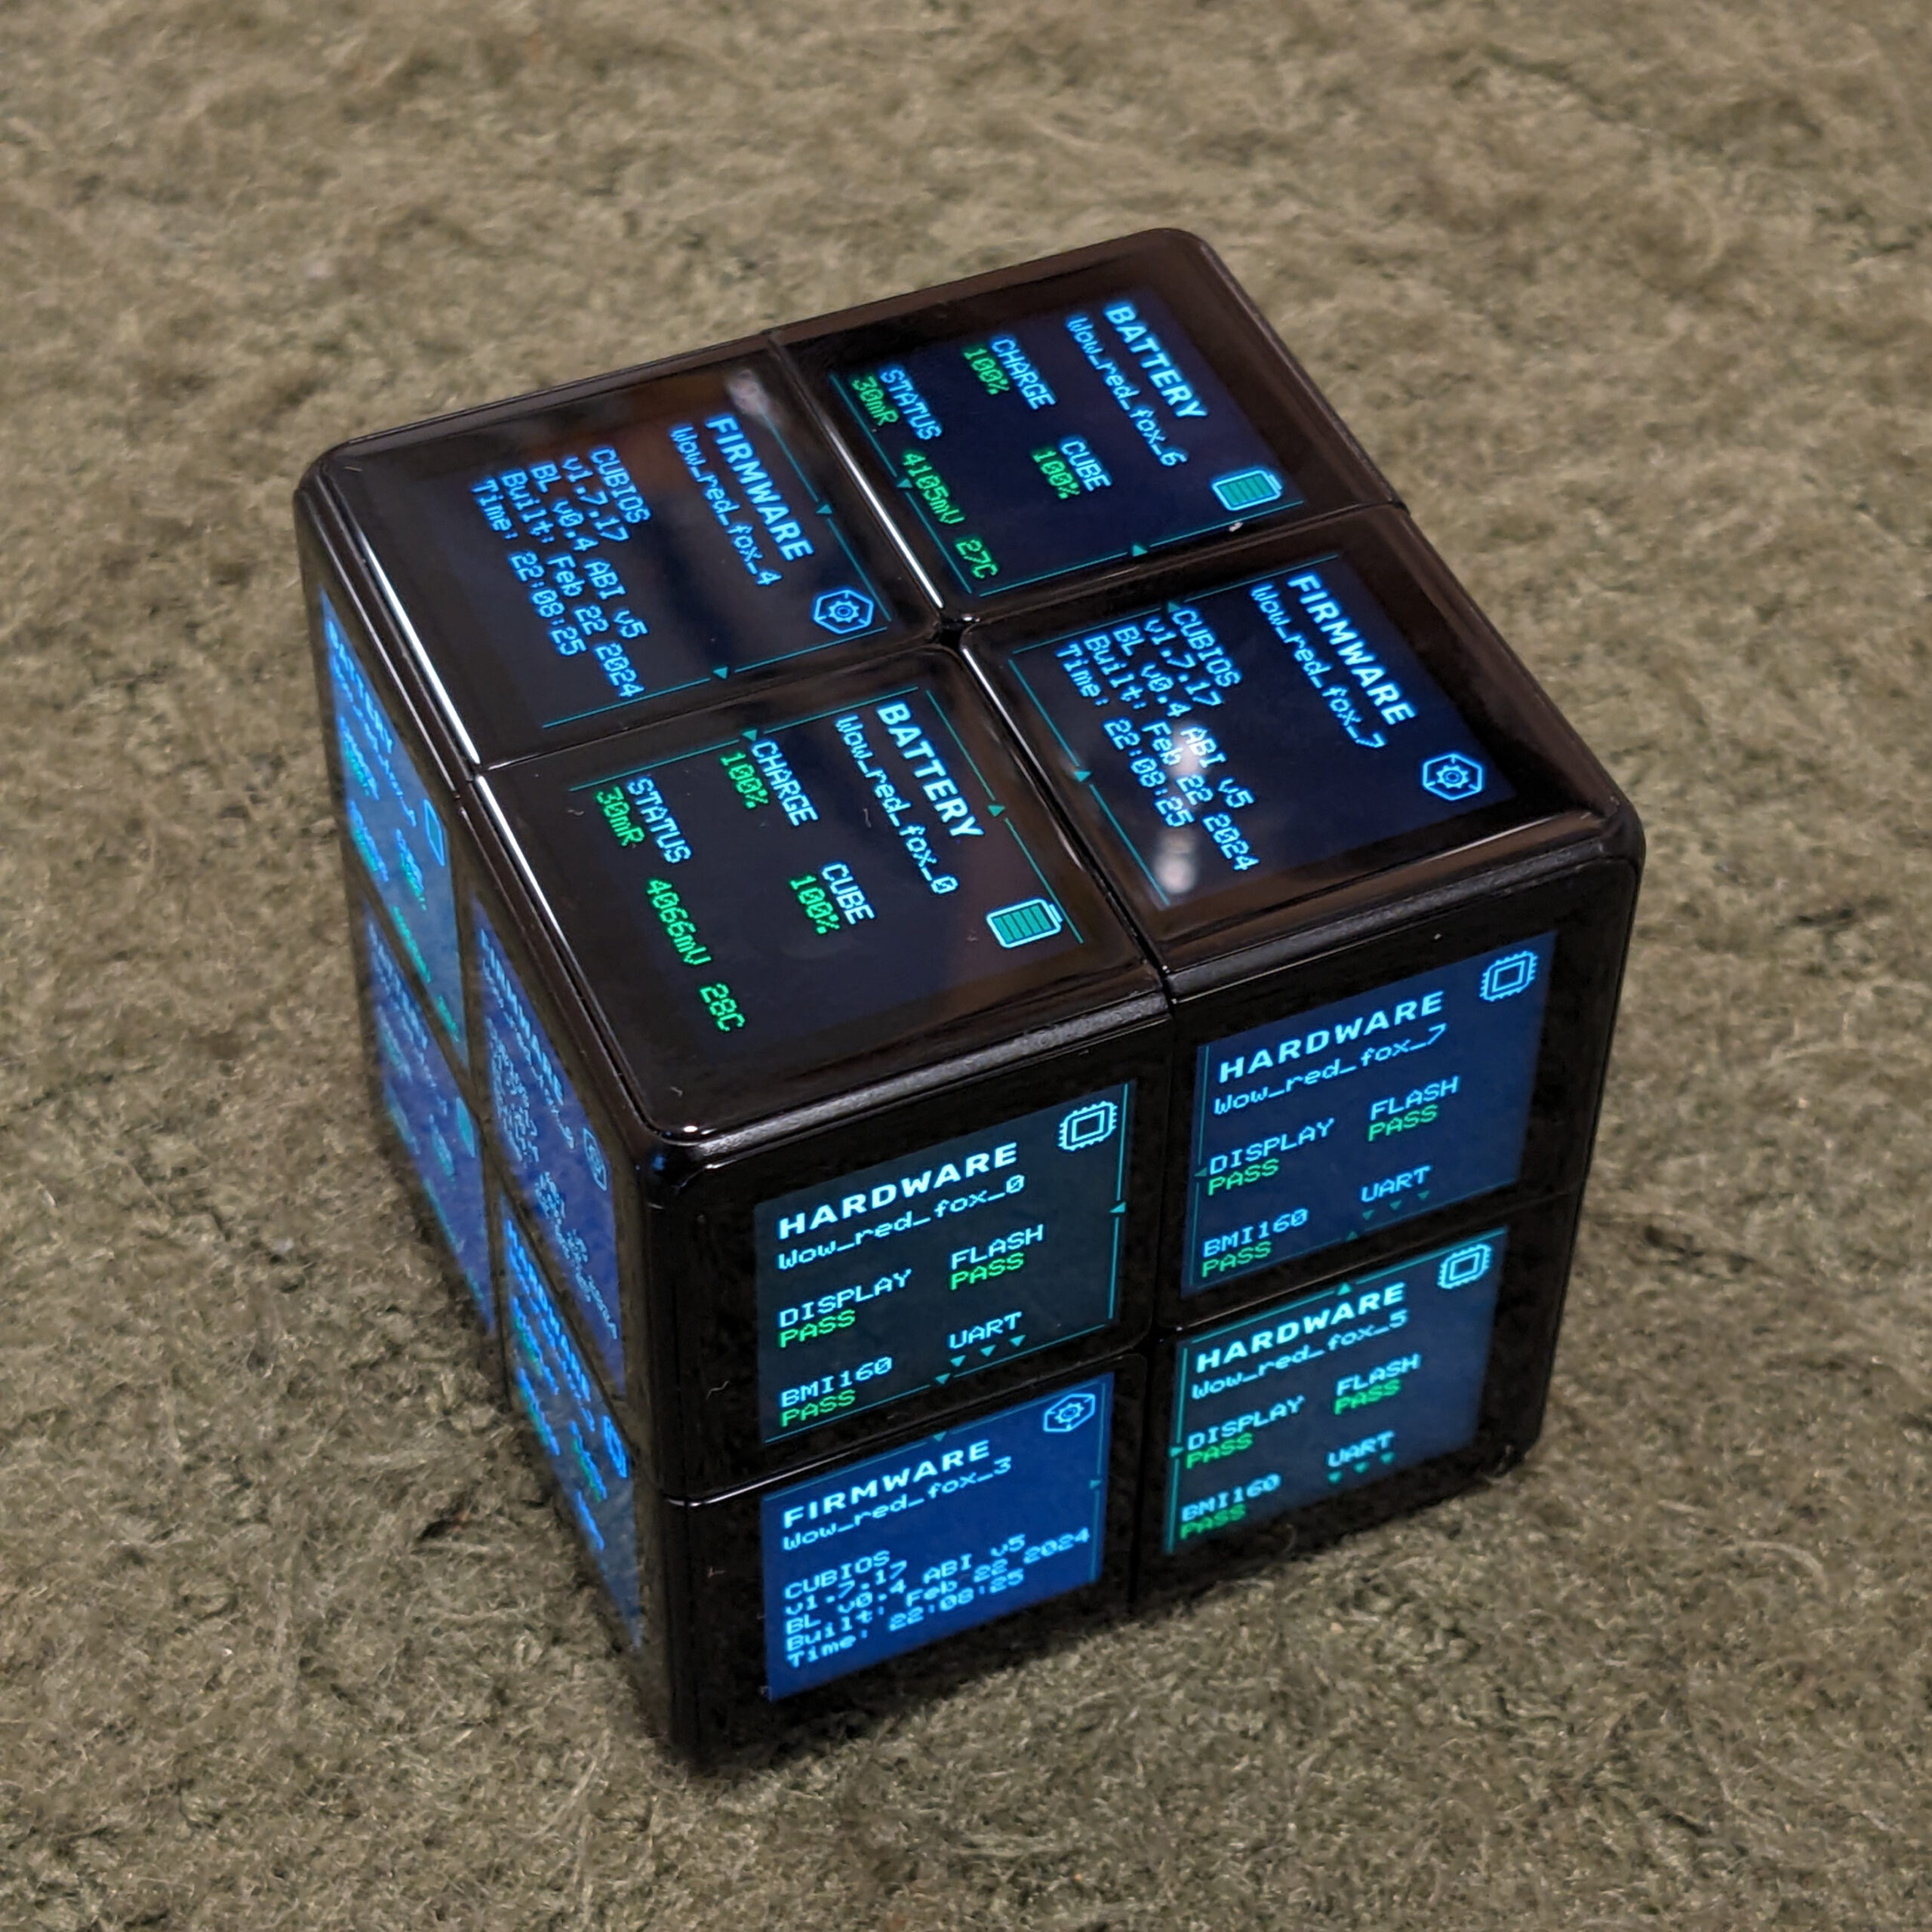
WOW Cube Diagnostic mode – possibly the coolest screensaver.

This was a pre-order that I paid $249 for on 6/6/2022 [For the WowCube System Starter Pack].

In the two years since, they had shipped some cubes, had some issues, got some feedback, and went to a lot of trade shows.

Now it looks like they have taken delivery of a big batch of cubes and are starting to deliver. They “upgraded” me to the Space Invaders Cubed edition (I suspect this is the only edition they are currently producing, or have stock in.) and I paid my $19.75 shipping fee on March 3rd 2024 and it was delivered on March 8th 2024. (Yep, 21 months later….hey, at least I got it…I’m looking at you Peachy Printer, CST, and Yomee yogurt Kickstarters….)

Continue reading

Teardown: KUSAYYLA 12v 7 5Ah LiFePO4 replacement battery (Possible fire hazard)

KUSAYYLA 12v 7 5Ah LiFePO4 replacement battery (Possible fire hazard)


underside of the lid showing the battery voltage display with 2x USB-A ports, charging barell connector, and switch to turn off power to terminals and USB module

This “drop in” replacement for a 12v AGM battery has 12x 18650 cells in a 3 series 4 parallel configuration. The cells only had a company logo on them, and no other markings, so they *could* be LiFePO4 chemistry, but I can’t verify that one way or the other.

Continue reading

Review: FunCreCol Standard White 101 photo-polymer resin for DLP/LCD 3D printing

The FunCreCol Standard white 101 ($25)  is a low viscosity white photopolymer 3D printing resin. I used it with my Phrozen Sonic Mini 3D printer and after I added one extra second to my layer exposure times it worked beautifully. The output quality and resolution was just as good as my printer achieves with the Phrozen branded aqua ivory resin.

Exposure test print showing good details

The resulting prints were much stronger than the Aqua Ivory resin, but slightly more brittle. I suggest using the “thin” supports setting on your sliding software, as the thin supports bend and do not shatter into shards as much when you are breaking them off.

Showing fine thread detail

A 50mm tabletop gaming base with fine details

Continue reading

Review: FunCreCol “Tough” 102 gray photo-polymer resin for DLP/LCD 3D printing

The FunCreCol 102 “tough” (gray) resin produces prints with good resolution that have a little flexibility. They are not “flexible” like TPU, but do have a little “flex” and will generally bend instead of breaking. It is MUCH less brittle than the FunCreCol standard (101 – white) resin (But also costs more, and takes a bit longer to print due to the longer exposure times required).

Edge of a print deformed due to the interaction of flexible resin and thin supports

The only issue posed by the flexibility is when using light/thin supports with certain geometries, it is possible for the support structure or small parts of the print to flex and not fully pull off of the film, which can sometimes lead to distortions or “bad spots” in the print, typically focused near the small islands or near the beginning of the print. You can resolve these issues by using larger (medium/thick) supports or carefully positioning your prints to avoid small areas that would be susceptible to flexing while being pulled off of the film.

Continue reading

Review: Anycubic ABS-Like Pro 2 UV cured 3D printing resin (in the Phrozen Sonic Mini)

I tried the Anycubic “ABS-Like” Pro2 UV cured 3D printing resin in my Phrozen Sonic Mini printer.  Because Anycubic doesn’t provide resin settings for other brands of printers, I had to dial in the settings myself, and it took me several tries to get it to stop sticking to my FEP film (I had to turn up the exposure time, and also replace my FEP film, as well as stop using “thin” supports).

3d prints stuck to the FEP film at the bottom of the resin vat

This resin wants to stick to the FEP film more than what I was using previously (The Phrozen Aqua Ivory 4K resin, which has settings specifically tuned by Phrozen for their line of printers), and appears to be a little more flexible when printing so that you need to use slightly larger supports to keep fine parts from starting to stick to the FEP film when the built plate lifts.

Large supports give perfect parts, small supports allowed the part to deform when they tried to stick to the FEP film

Continue reading

Review & Teardown: RAVEMEN PR1400 Rechargeable Bike Light with Dual Lens, LED Display, IPX8 Waterproof for Mountain Biking, Night Riding


The Ravemen PR1400 bike light ($70 as reviewed) is VERY bright in the HI / EMERGENCY mountain biking mode. Plenty of light. Blinding light. More than you should have on a road bike.

Bright light illuminating far down a dark road

HIGH / Mountain Biking / EMERGENCY full power mode with both “high” and “low” beams at full power


Although it claims a 1.5 hour runtime in the highest setting, it actually goes for 1 hour 45 minutes in my testing, because it was producing so much heat the light would thermally throttle the light output and occasionally drop down to the “medium” setting until the light cooled down. [I was testing statically on a garage floor, so it may get more cooling airflow if you are actually riding it on a bike…]

Dark road illuminated for quite a ways ahead of the light

High light setting in road biking (low beam) mode

The “road biking” modes deliver a more reasonable amount of light and it is aimed lower (think, low beam vs high beam). You get a High/Medium/Low/Eco mode in the road bike mode.

The eco mode claims to deliver 22 hours of battery life (I didn’t test this, but I believe it, as it is much dimmer than the high powered modes). I think this mode provides enough light to walk, or bike along at a walking pace, but I’d want to use the “low” mode at a minimum for most biking at night. There is also a “pulse” mode which appears to cycle between the medium and eco modes, and makes you more noticeable to drivers. Continue reading

Dwarf 2 BUG – Incorrectly supports bidirectional charging (In/Out ports suck power OUT of the Dwarf)

Update: Firmware 2.0.04 appears to fix this issue.
Last night I ran into an issue where my Dwarf 2 smart telescope was stacking images (running the beta software in 1×1 binning mode, so requiring a lot of CPU power) and as soon as I plugged in a USB powerbank, the Dwarf would freeze up and need to be rebooted.
I finally figured out that my powerbank was sucking power OUT of the dwarf, and combined with the load from the CPU doing stacking, this was causing a low voltage situation that caused the Dwarf to crash.

It appears that the USB-C PD chip in the Dwarf is incorrectly programmed to allow power to flow OUT of the dwarf via bi-directional charging. I confirmed this with a USB power meter. This only happens with USB-C PD powerbanks that have “in and out” ports, which can be used to either charge a device OR charge the powerbank, depending upon if the other end is a source or sync of power.

It appears that when turned on, the Dwarf2 advertises the ability to export power, and does so. Workaround: If you plug the powerbank into the Dwarf when it is turned off, the power flows in the correct direction (from the powerbank TO the Dwarf). Even after you turn the dwarf on, this direction remains correct, so it appears to be necessary to plug in the dwarf before you turn it on. I’ve seen this behavior before testing the Beta firmware and App, but I confirmed it most recently with firmware version 2.0.03 and App 2.0.0 B665.

Video demonstrating the problem:

DHT11 Temperature and Humidity (hydrometer) sensor – Example with source code for Arduino

DHT11 Temp/Humidity sensor attached to an Arduino Uno.
I recently tried out the DIYMalls DHT11 temperature and humidity (DHT11) sensors with an Arduino Uno. With simple 3 wire set up (+5 volts, ground, and data) and the Adafruit DHT library, it was super simple to get readings streaming over the serial monitor.

Example code is as follows:


// Must install Adafruit DHT library and unified sensor library.
// Code below borrows heavily from their example code, but distills it down to the bare minimum.
#include <DHT.h>

// Connect the yellow/Signal/data line to pin 4
// Connect the GND/black line to GND
// Connect the Red/VCC line to 5V

#define DHTPIN 4
#define DHTTYPE DHT11


DHT dht(DHTPIN, DHTTYPE);

void setup()
{
  Serial.begin(9600);
  Serial.println("DHT11 test!");
  dht.begin();
}

void loop()
{

// Reading temperature or humidity takes about 250 milliseconds!
// Sensor readings may also be up to 2 seconds 'old' (its a very slow sensor)
float h = dht.readHumidity();
// Read temperature as Fahrenheit (isFahrenheit = true)
float f = dht.readTemperature(true);

Serial.print(F("Humidity: "));
Serial.print(h);

Serial.print(F("% Temperature: "));
Serial.print(f);
Serial.println();

delay(2000);
}

ELP Synchronized Stereo Camera module (ELP-USB960P2CAM-V90)

ELP Bare circuit board camera module with dual cameras.

This is the ELP-USB960P2CAM-V90, a dual camera with synchronized shutters on a single board. It streams side-by-side stereo pair images at maximum resolution of 2560 x 960 pixels [1280×960 for each image].  It is amazing what you can get for $80 on Amazon.   This module and a few hours of calibration and programming with OpenCV will get you a reasonable depth math / 3D vision setup.

It enumerated on my Linux system as a UVC 1.0 camera as follows:

usb 1-2: New USB device found, idVendor=32e4, idProduct=9750, bcdDevice=21.03
usb 1-2: New USB device strings: Mfr=1, Product=2, SerialNumber=0
usb 1-2: Product: 3D USB Camera
usb 1-2: Manufacturer: 3D USB Camera
usb 1-2: Found UVC 1.00 device 3D USB Camera (32e4:9750)

Albert Armea walks you through the basics, including calibration using an older version of this module that was basically two different cameras on a USB hub (so they were not well synchronized and you had to open each camera independently) here:
https://albertarmea.com/post/opencv-stereo-camera/

For testing purposes, I didn’t even bother to calibrate the cameras, I just opened the stream, chopped it down the middle to get a left and right image, and passed that right into the SterioBM object.  sterio_camera_demo_code.zip

Dwarf Lab Dwarf 2 vs ZWO Seestar S50 Solar shootout

I took my Dwarf Lab Dwarf 2 and my ZWO Seestar S50 smart telescopes outside and imaged the sun.  Here is a 1:1 pixel side by side comparison of the results (click for full sized image):

Side by side shots of the sun by both the Seestar S50 and Dwarf 2 smart telescopes.

Unlike in the daytime lunar shootout, the Seestar automatically acquired the sun, giving it both the image quality and ease of use wins.    Here are the two videos showing my procedure and the GUI for each smart telescope’s phone app: