FUNCRECOL Light Curing Putty comes in a metal tin with a screw top that contains 50 grams (1.76oz) of UV reactive putty. The package also includes a “scraper” tool, useful to pull putty out of the can, or smear it onto objects or cracks.
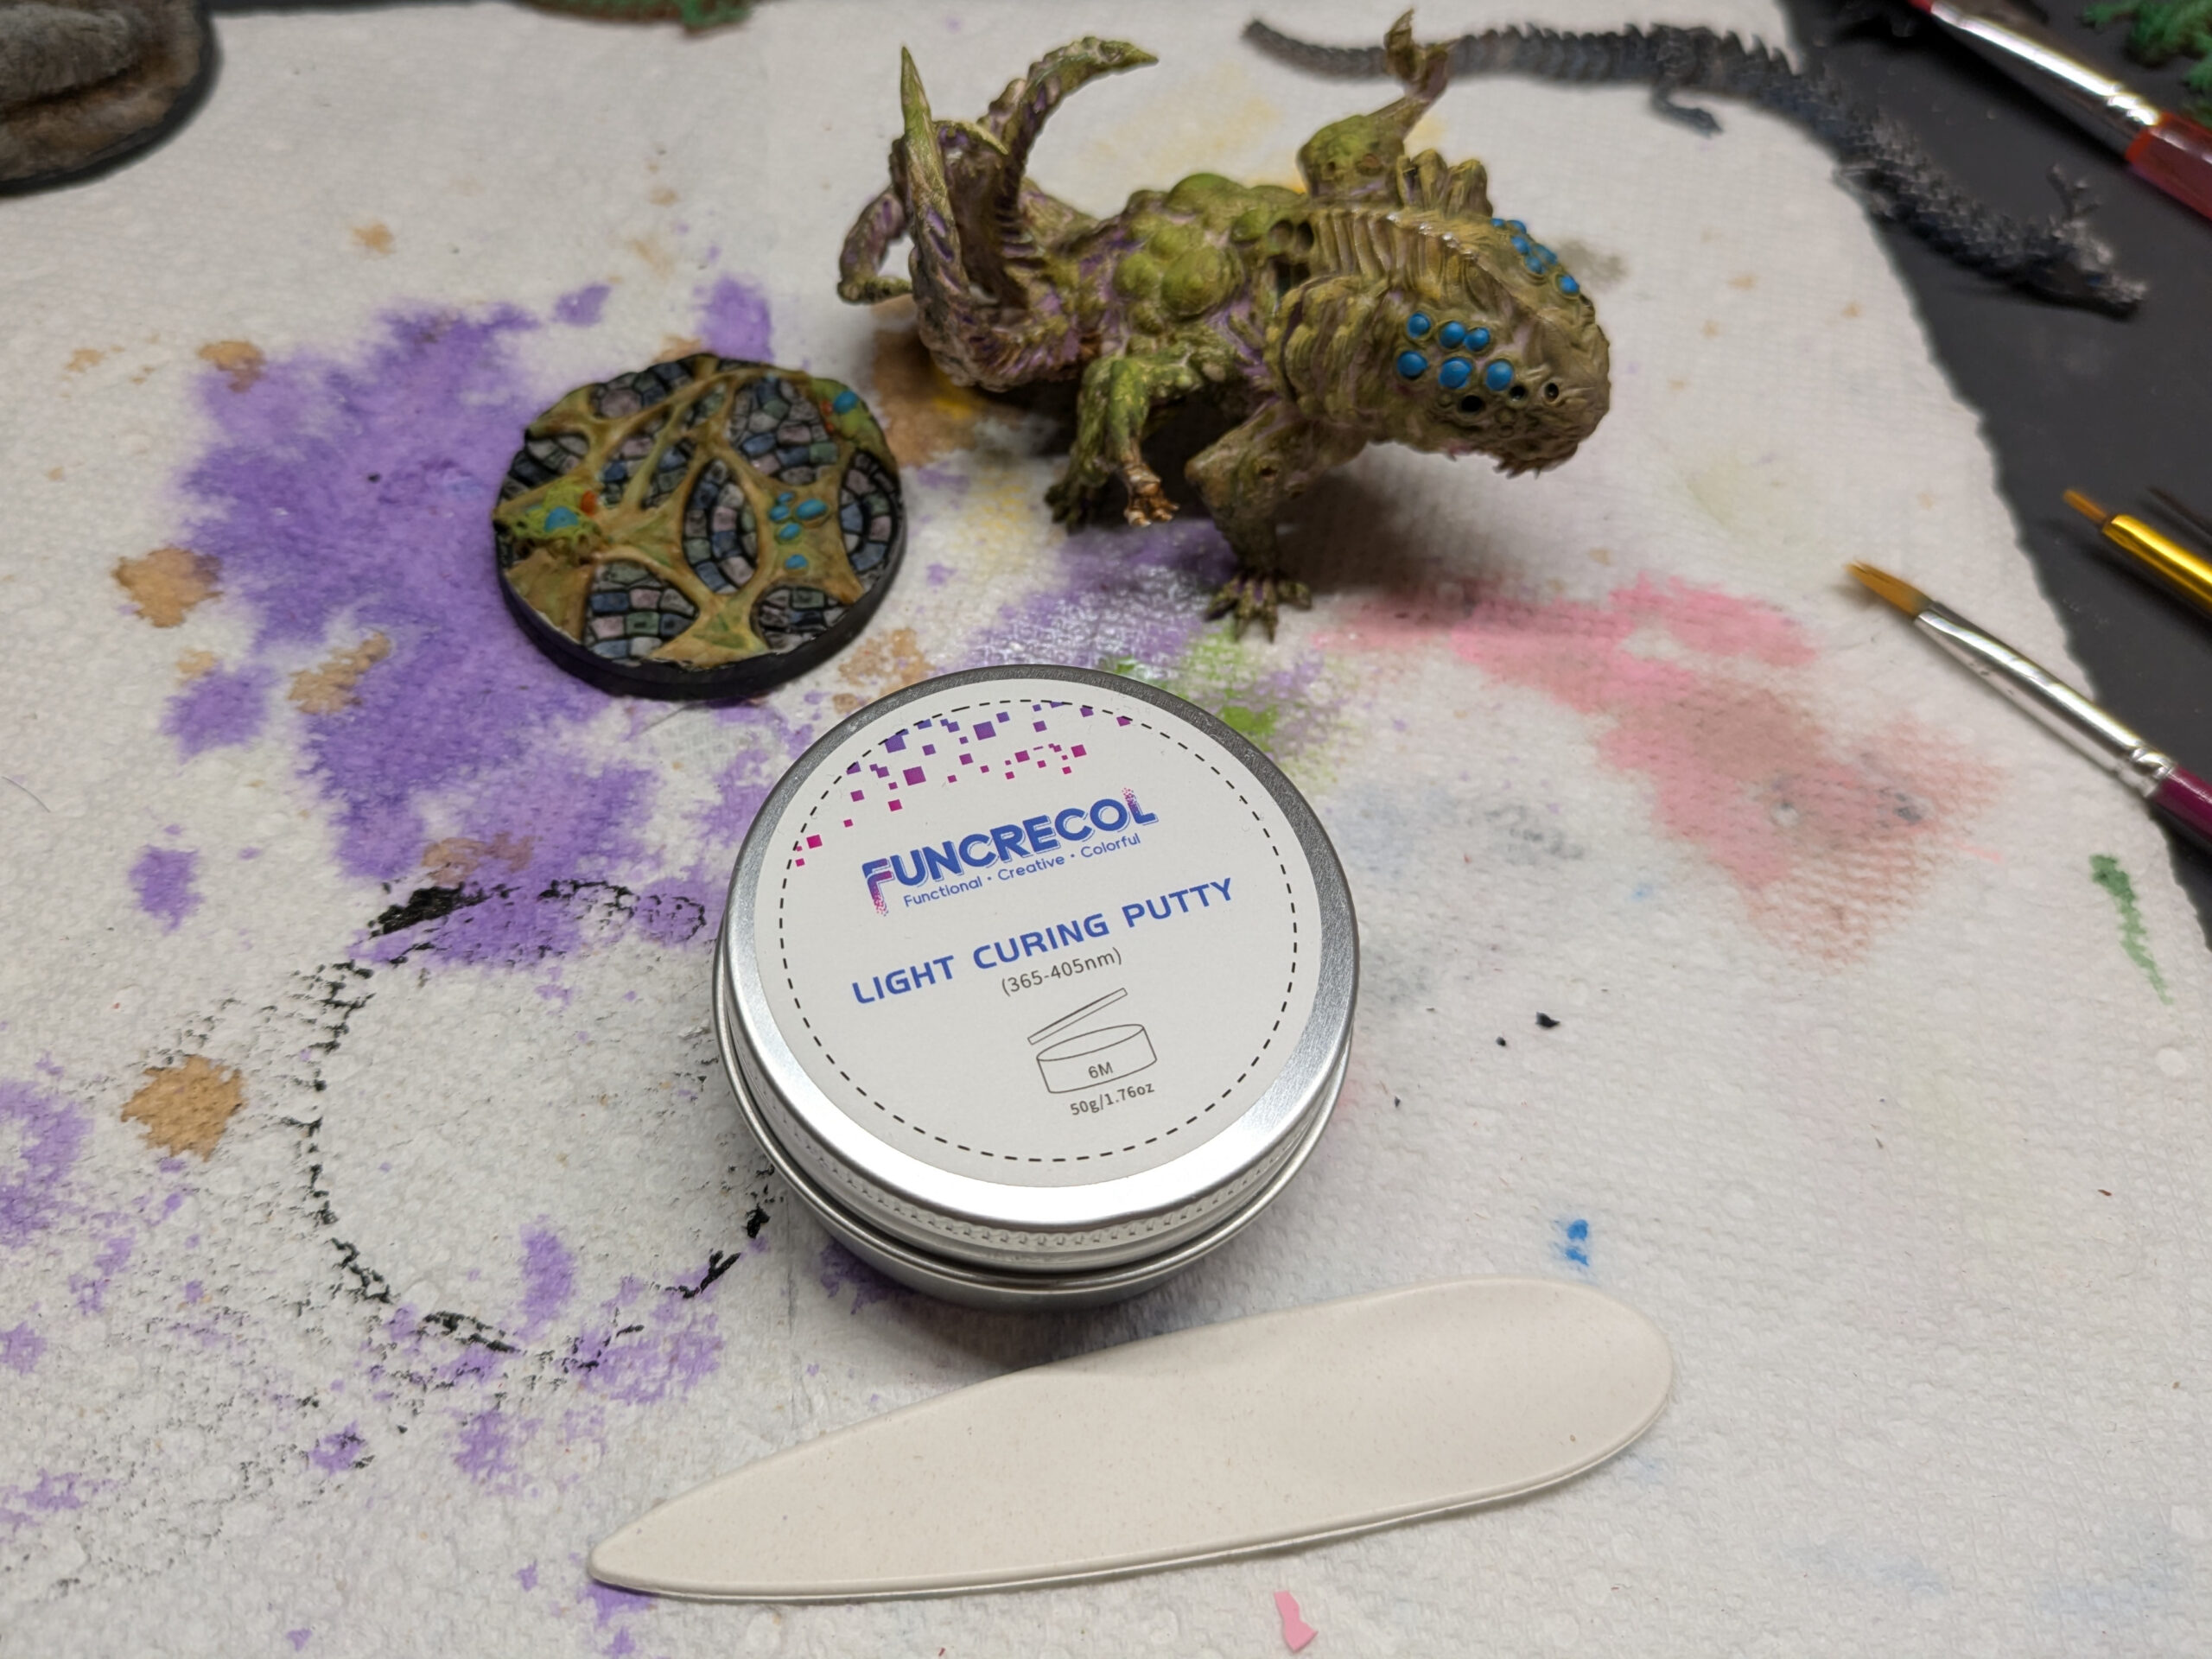
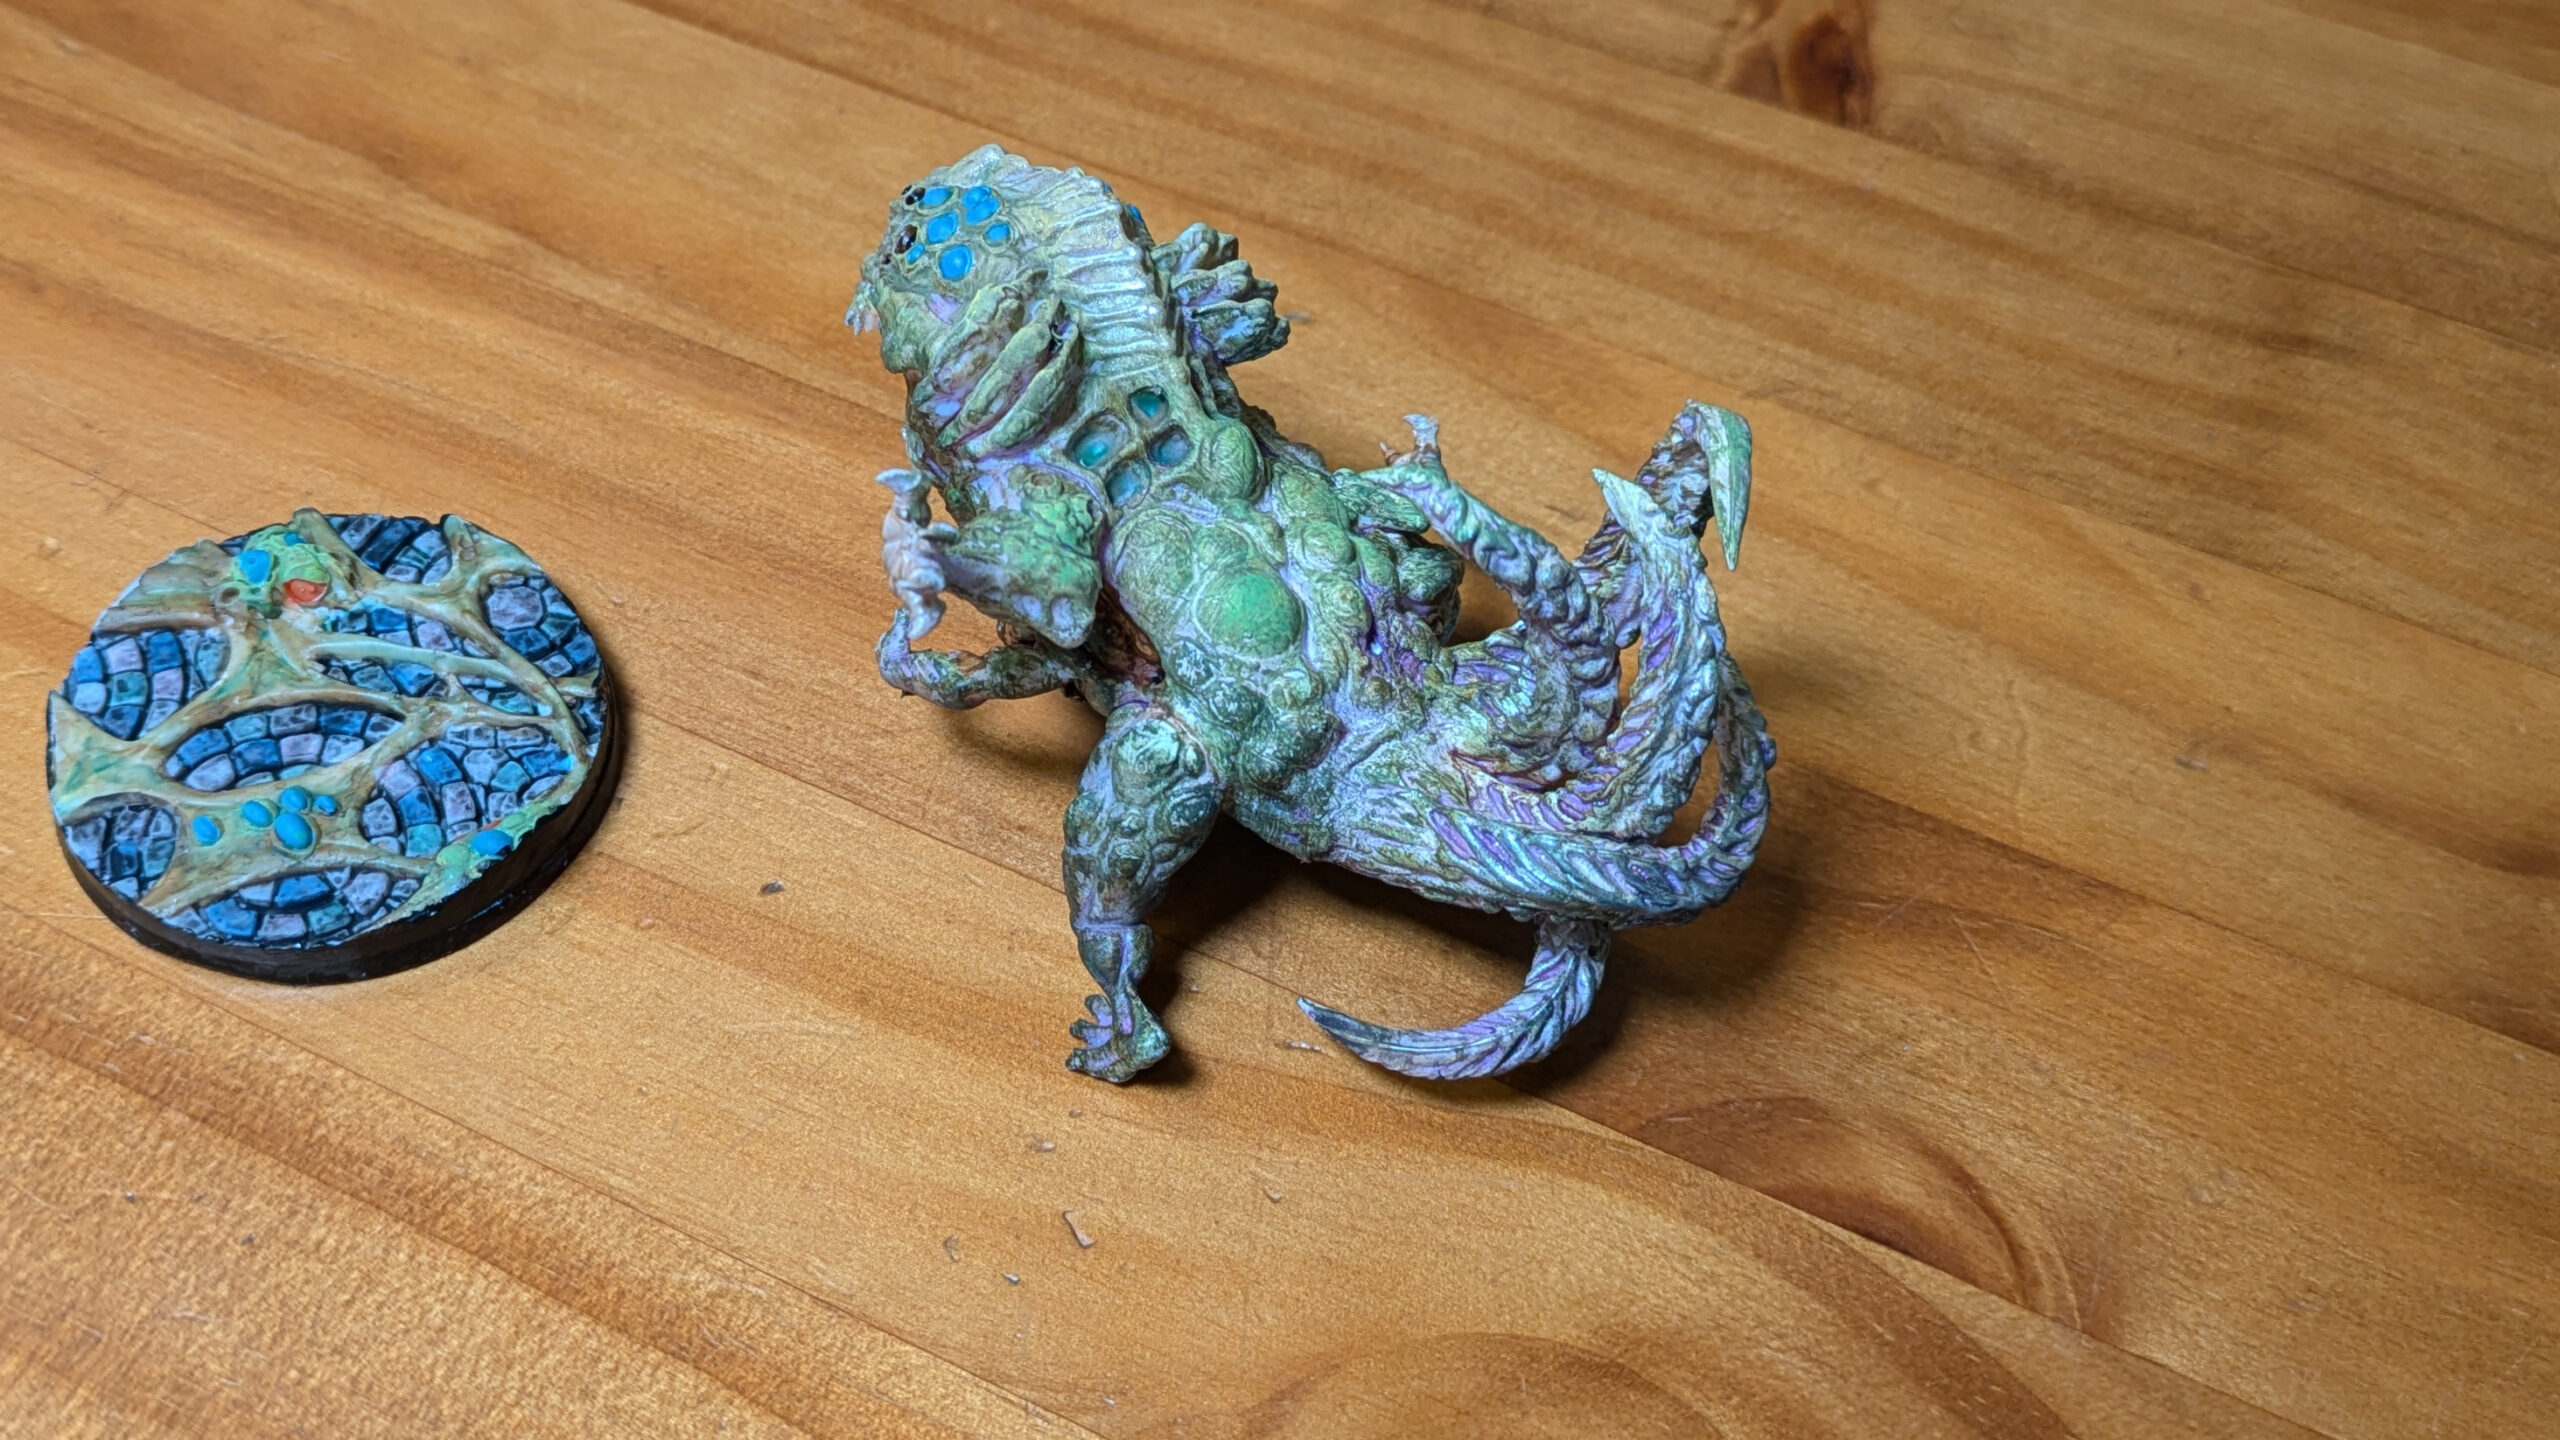
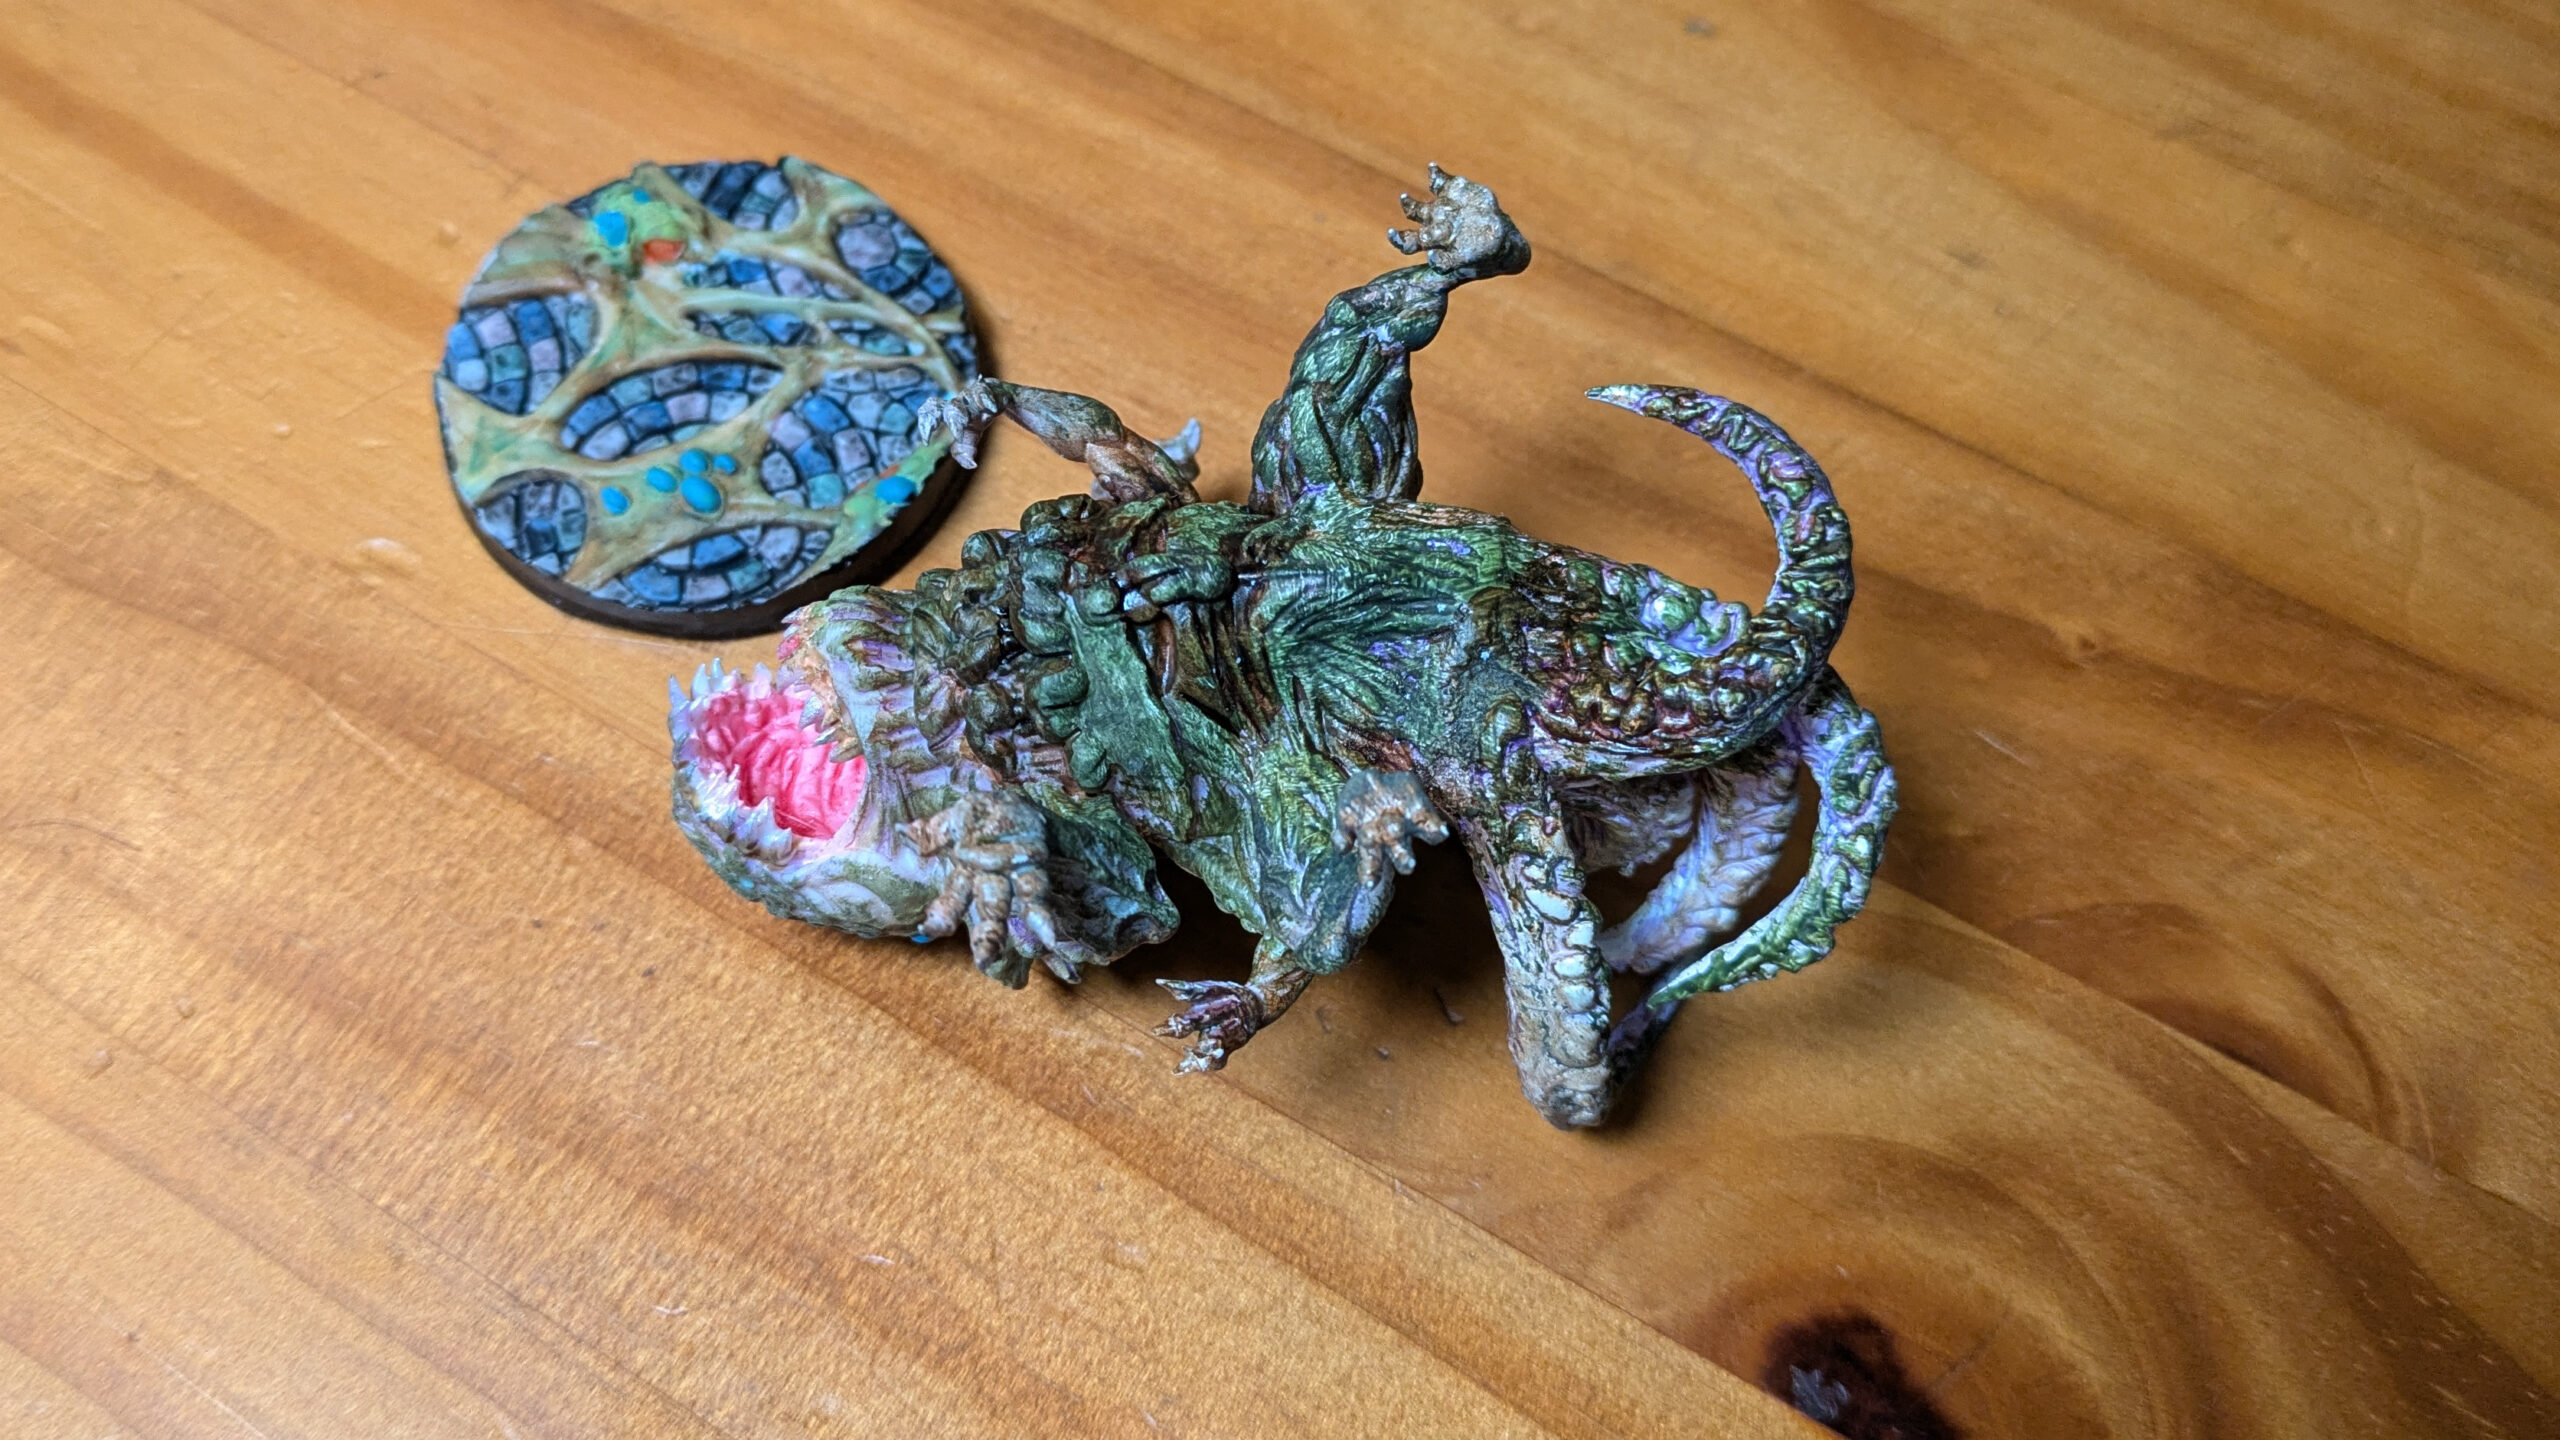
I used this putty to fill in a crack in a miniature figurine left behind when mating two parts together. The scraper tool was useful to push the putty into the crack, and I used a finger (protected by a vinyl glove) to smooth things out.
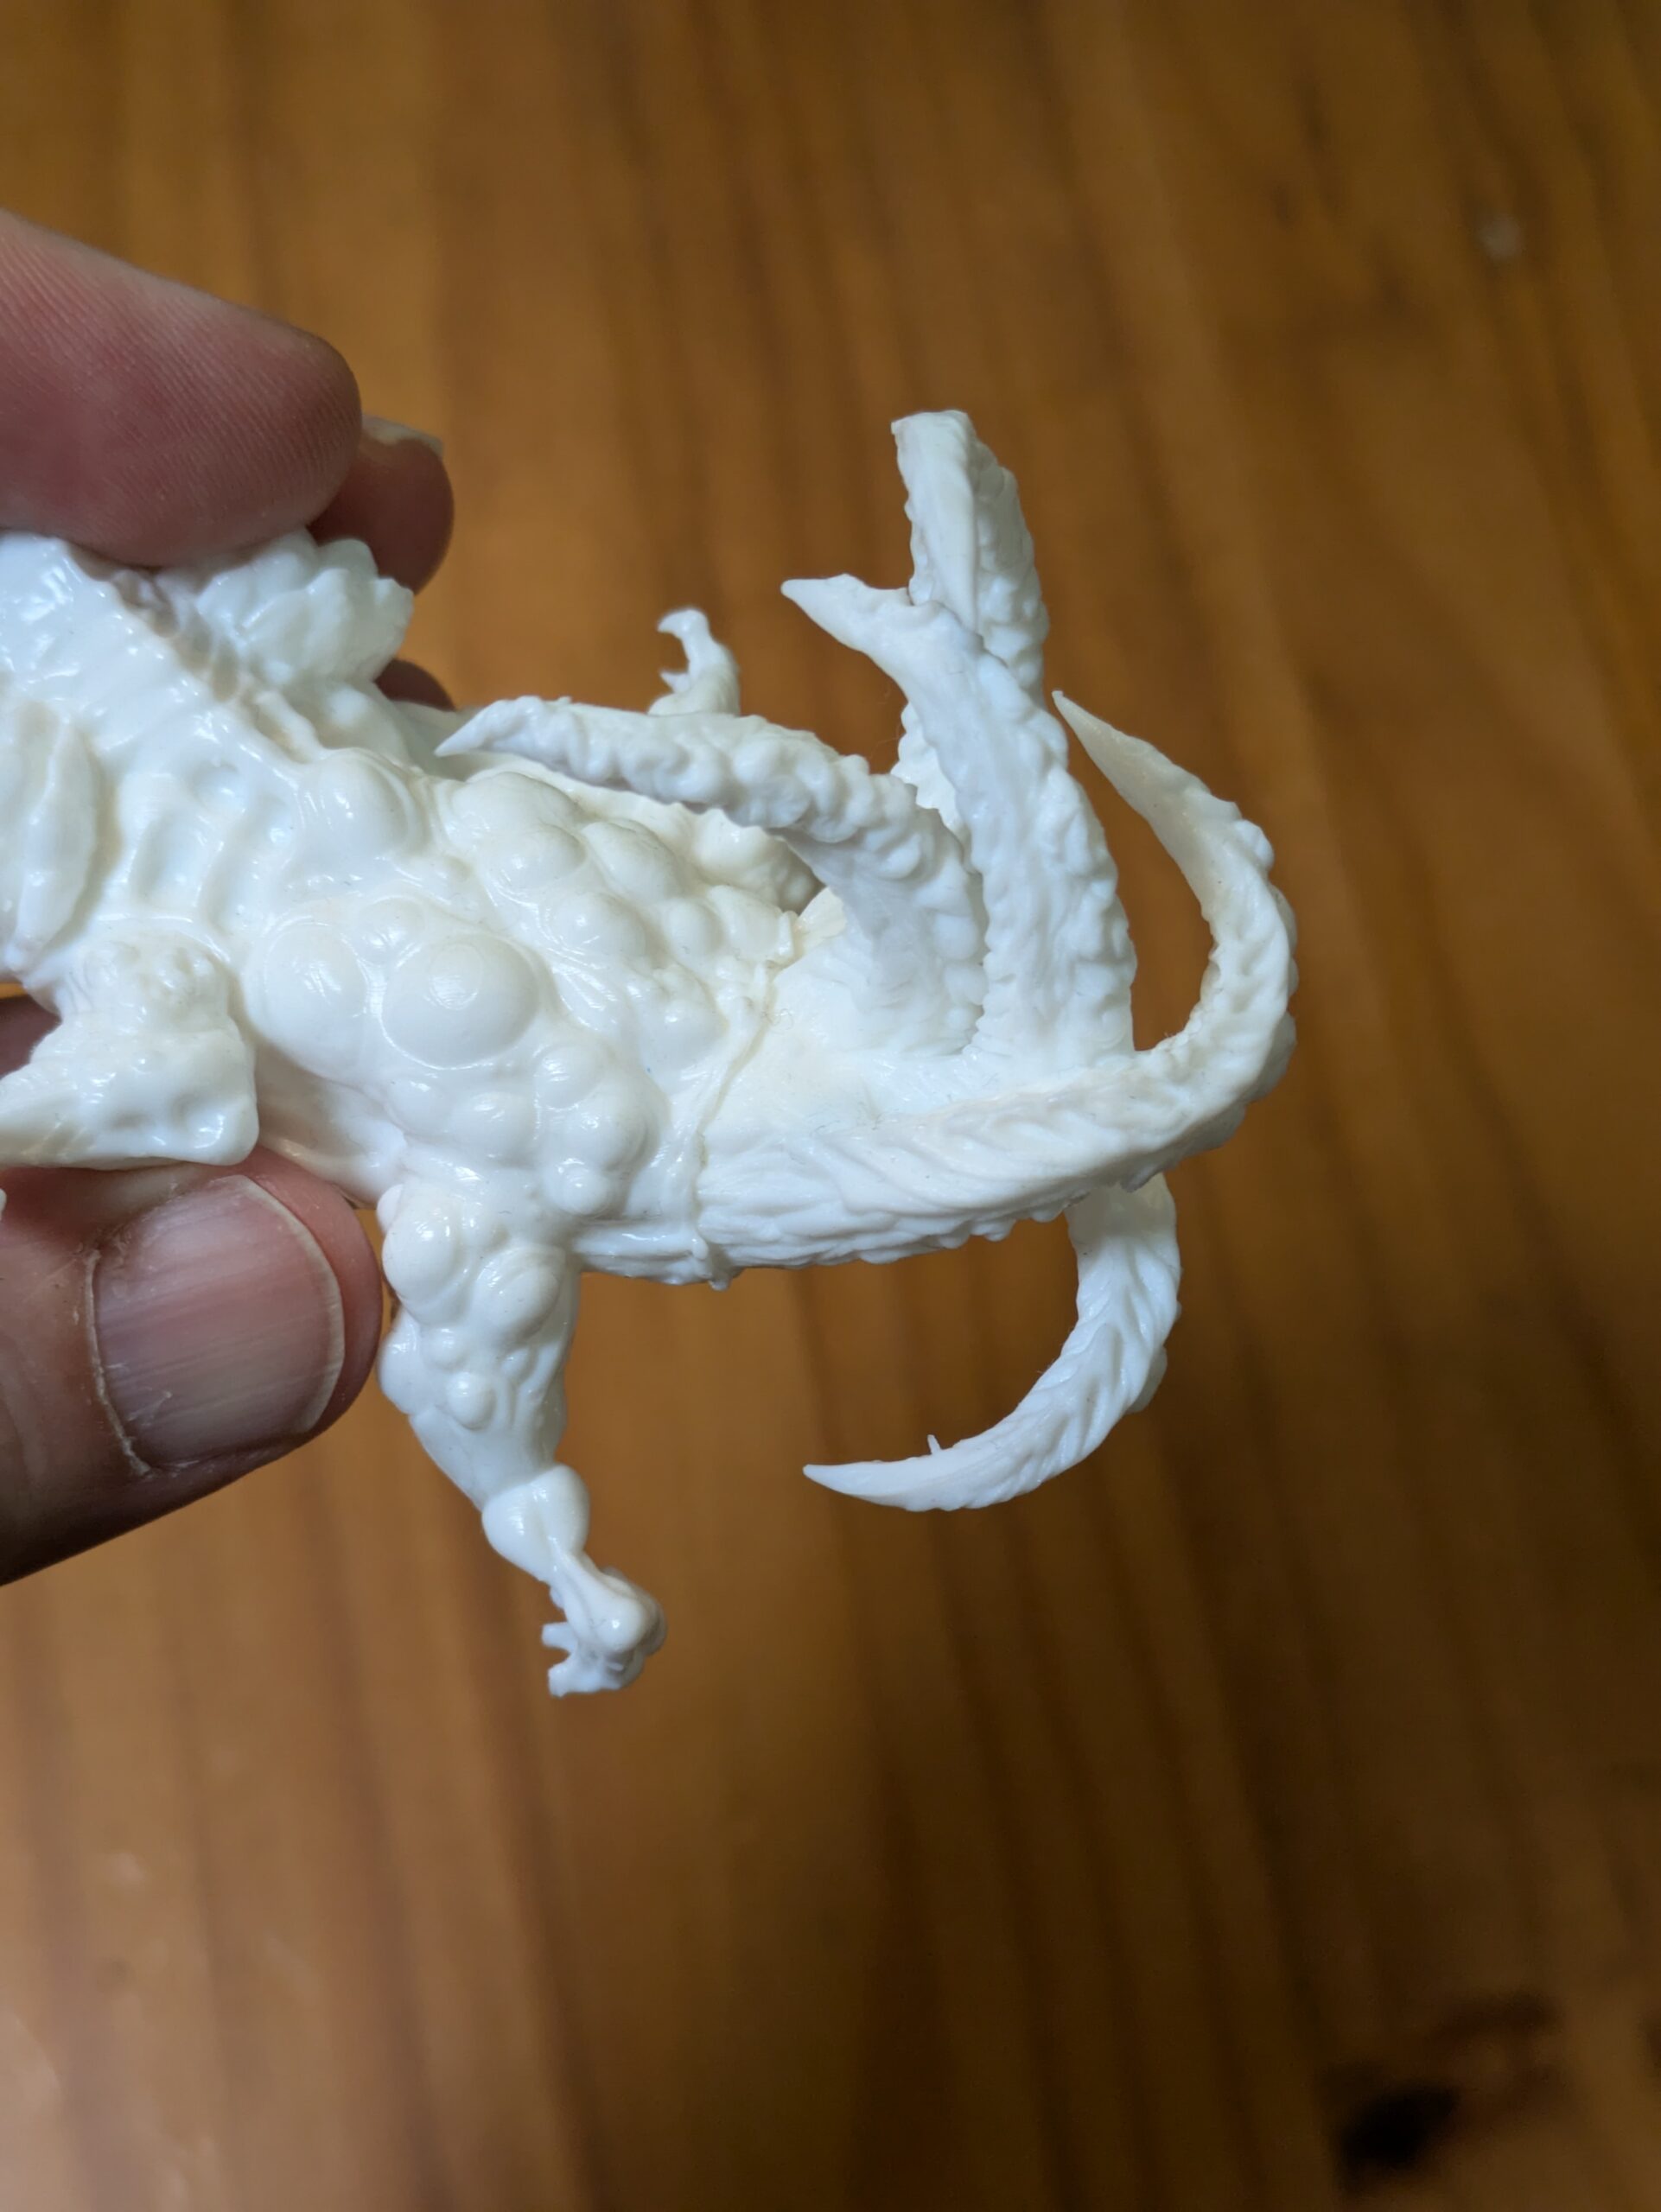
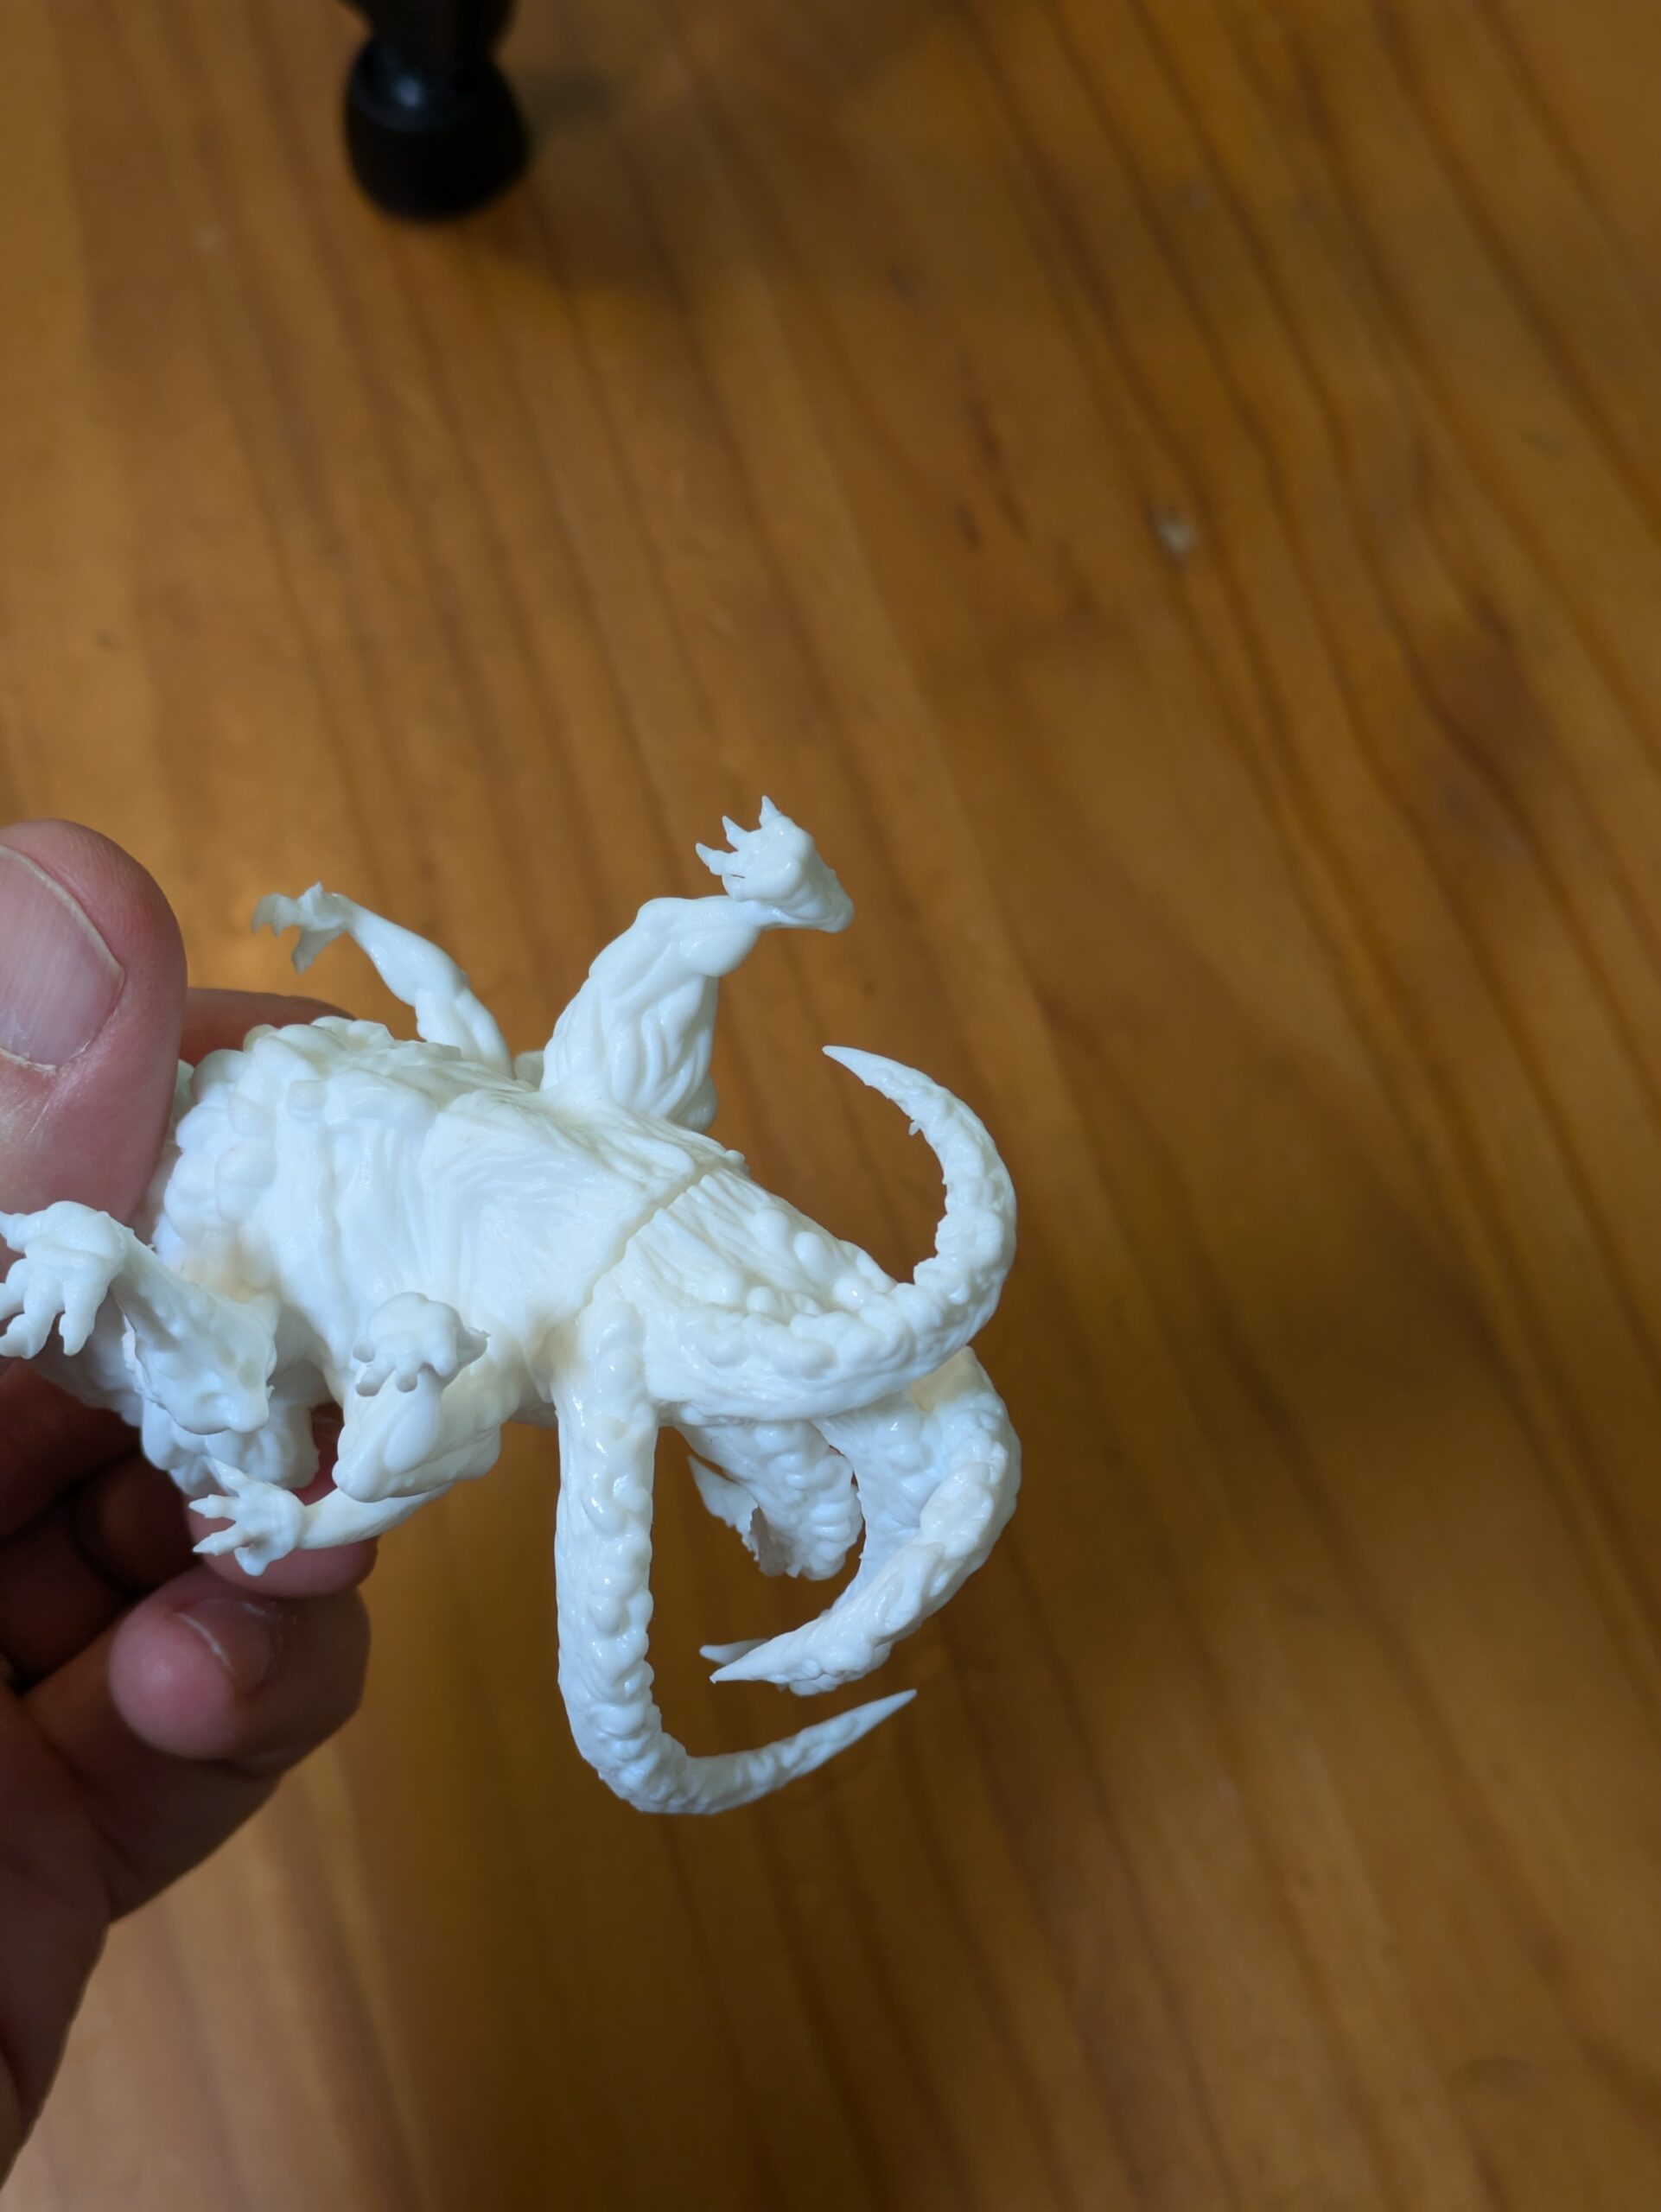
The putty is a bit “grainy”, not smooth like silicon, and holds its shape well so you don’t have to worry about it flowing away from where you put it. It is a translucent white color, both before and after curing.
Once you are happy with where the putty is placed, you light it up with a UV flashlight (or take it outside in the sun) and it will harden within a few seconds. he label states that it will react to UV light in the 365-405nm range. I was using a 365nm flashlight and it cured quickly.
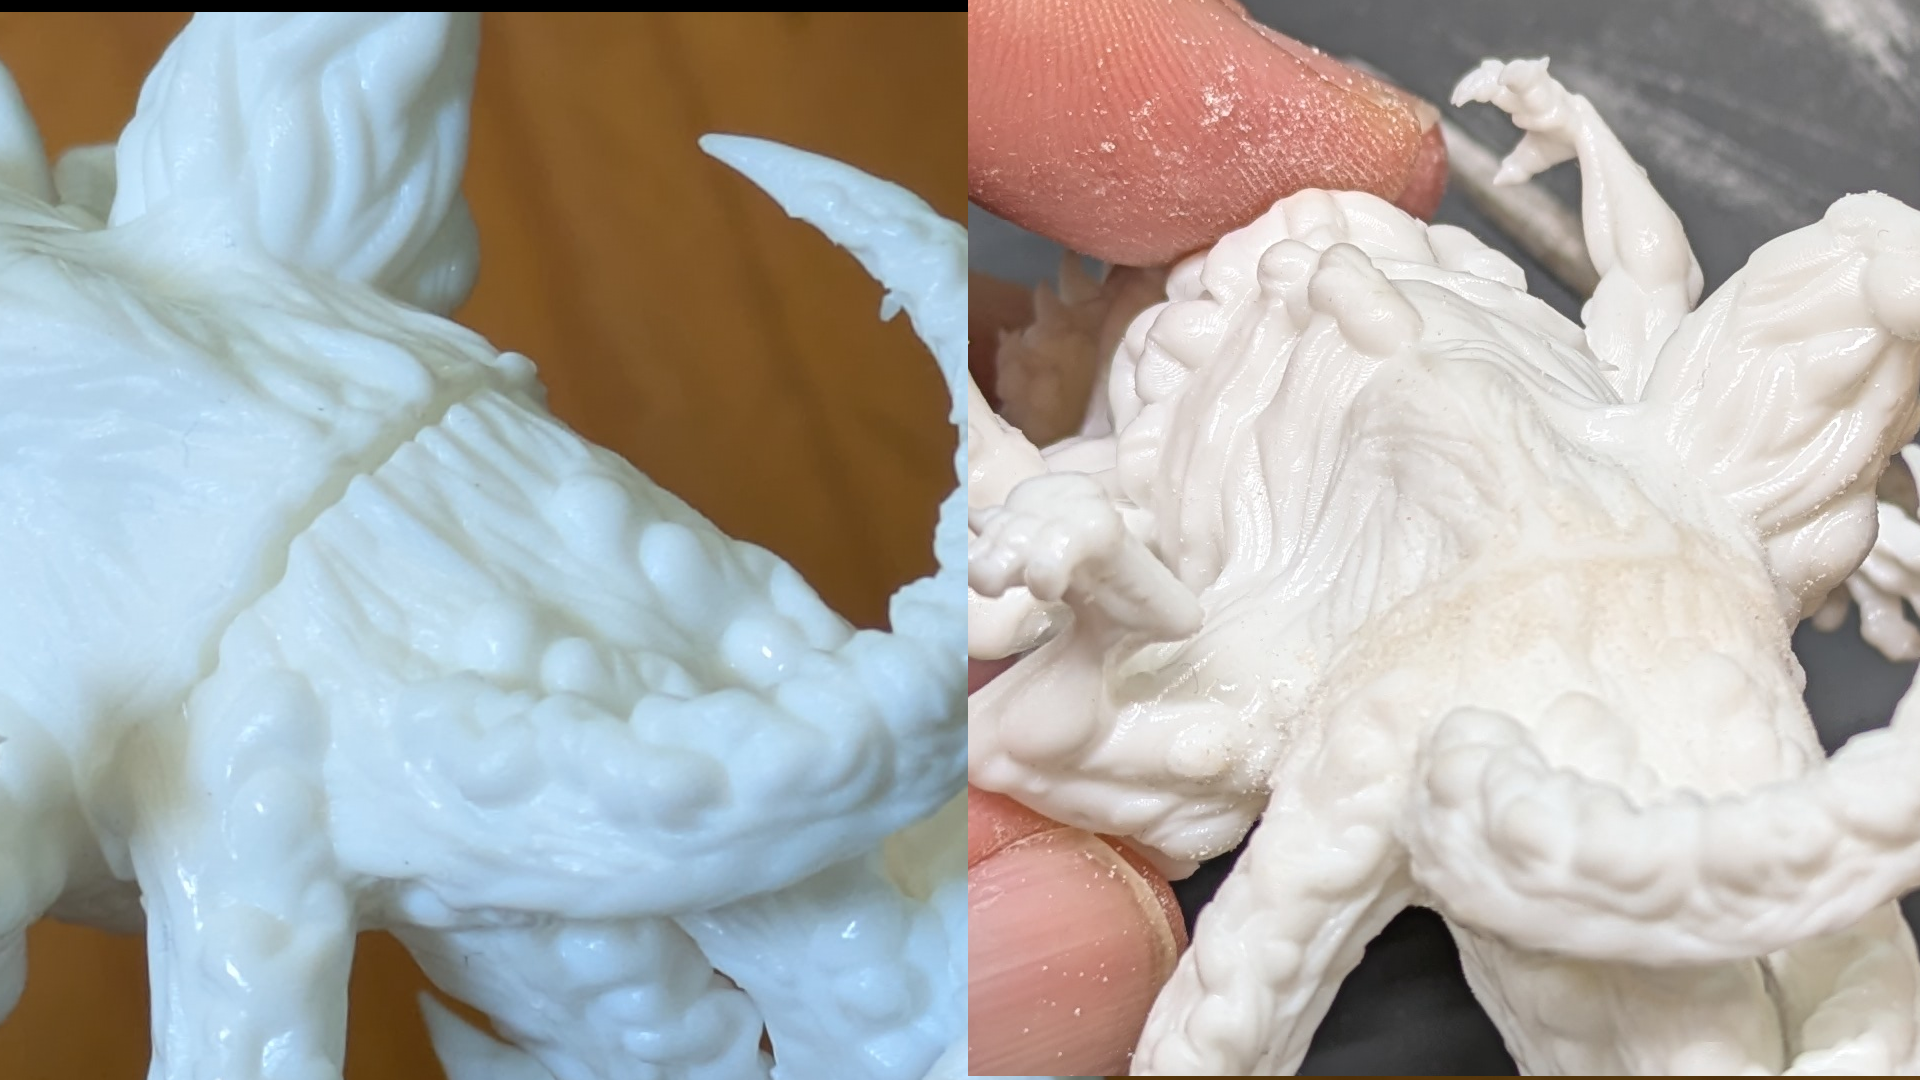
Once it is cured, you can sand/file it much like other UV cured 3D printer resin to get a smoother seam. It takes paint just like the rest of my 3D printed part.
On a cost per volume standpoint, UV cured putty is more expensive than 2 part mix-and-use Epoxy based putty, but has the advantage of essentially unlimited working time, and then immediate hardness after you cure it with UV light. So there is no racing the clock as your putty hardens on you, or waiting for it to cure after you are done applying it before you can sand/file/pant it.
If I was sculpting a mountain which needed a lot of material, I’d use 2 part epoxy putty as it costs a lot less. But for filling in small cracks and gaps, the UV curing putty is worth the extra cost.


