The main process of upgrading my S-10 Electric Conversion pickup truck to use the Salvage Nissan Leaf LiIon modules took me 3+ days, and I still have a few more days of small jobs to finish before I can call the job completely done.
Day 1:
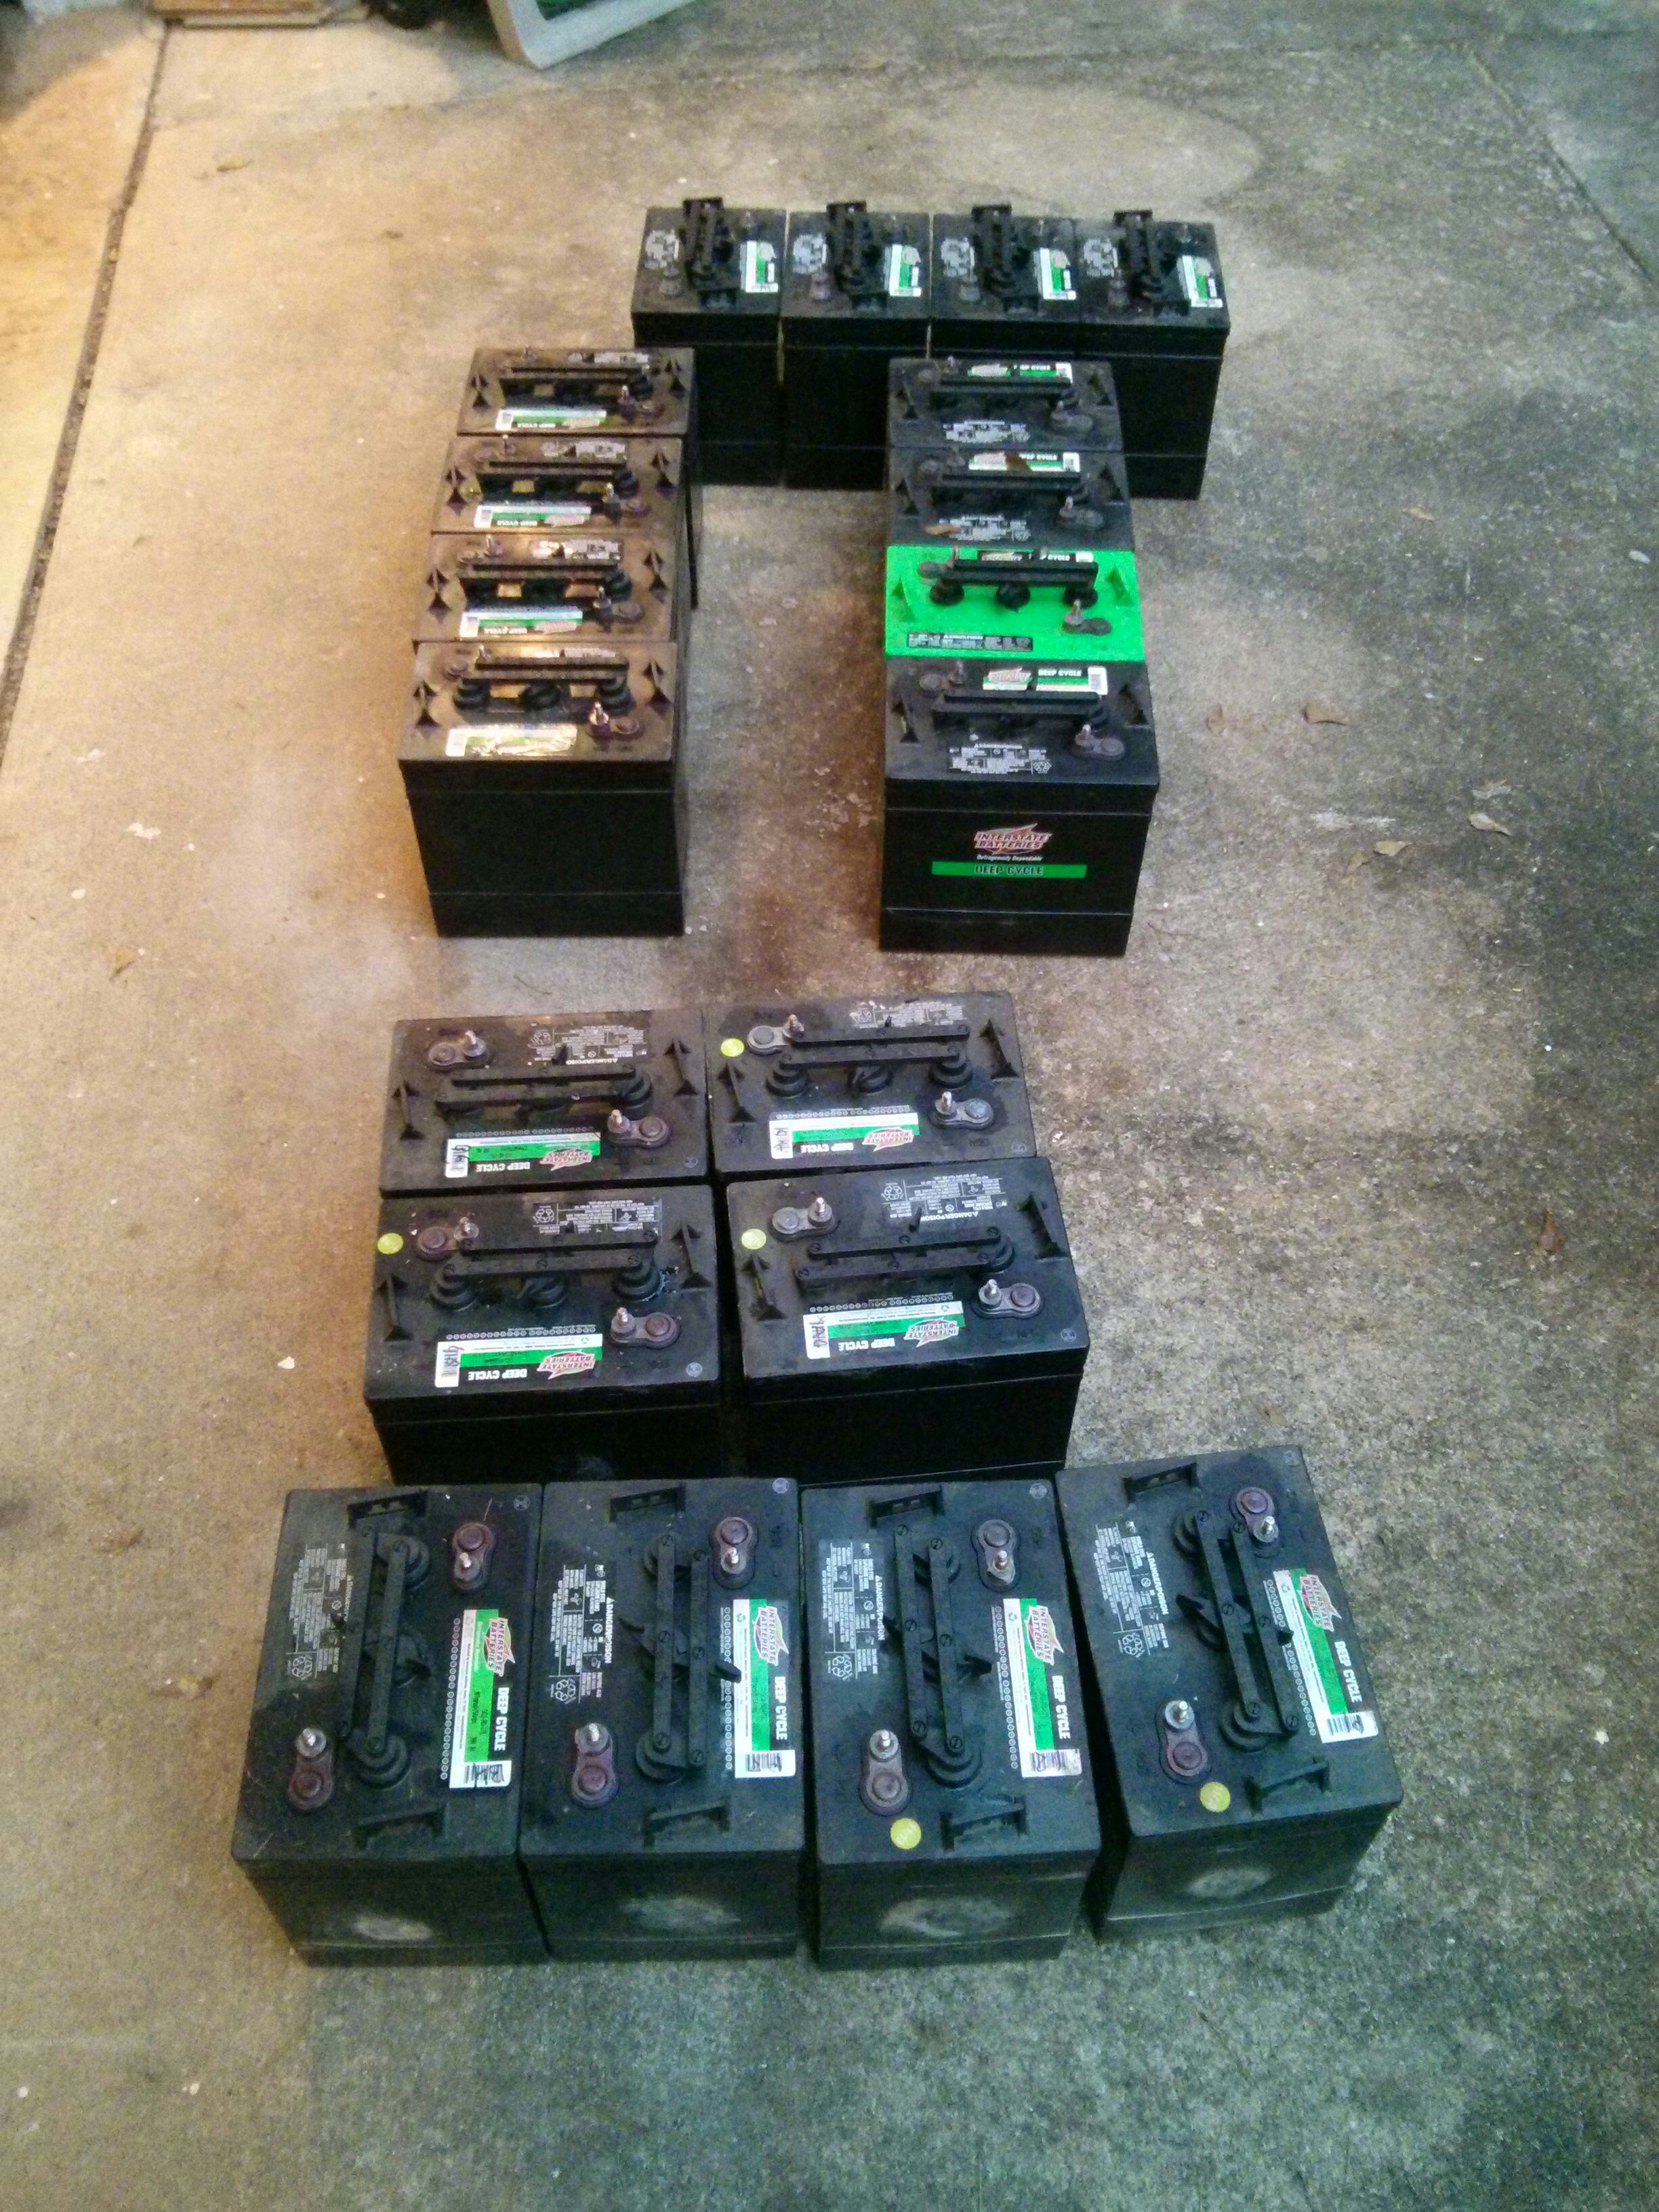
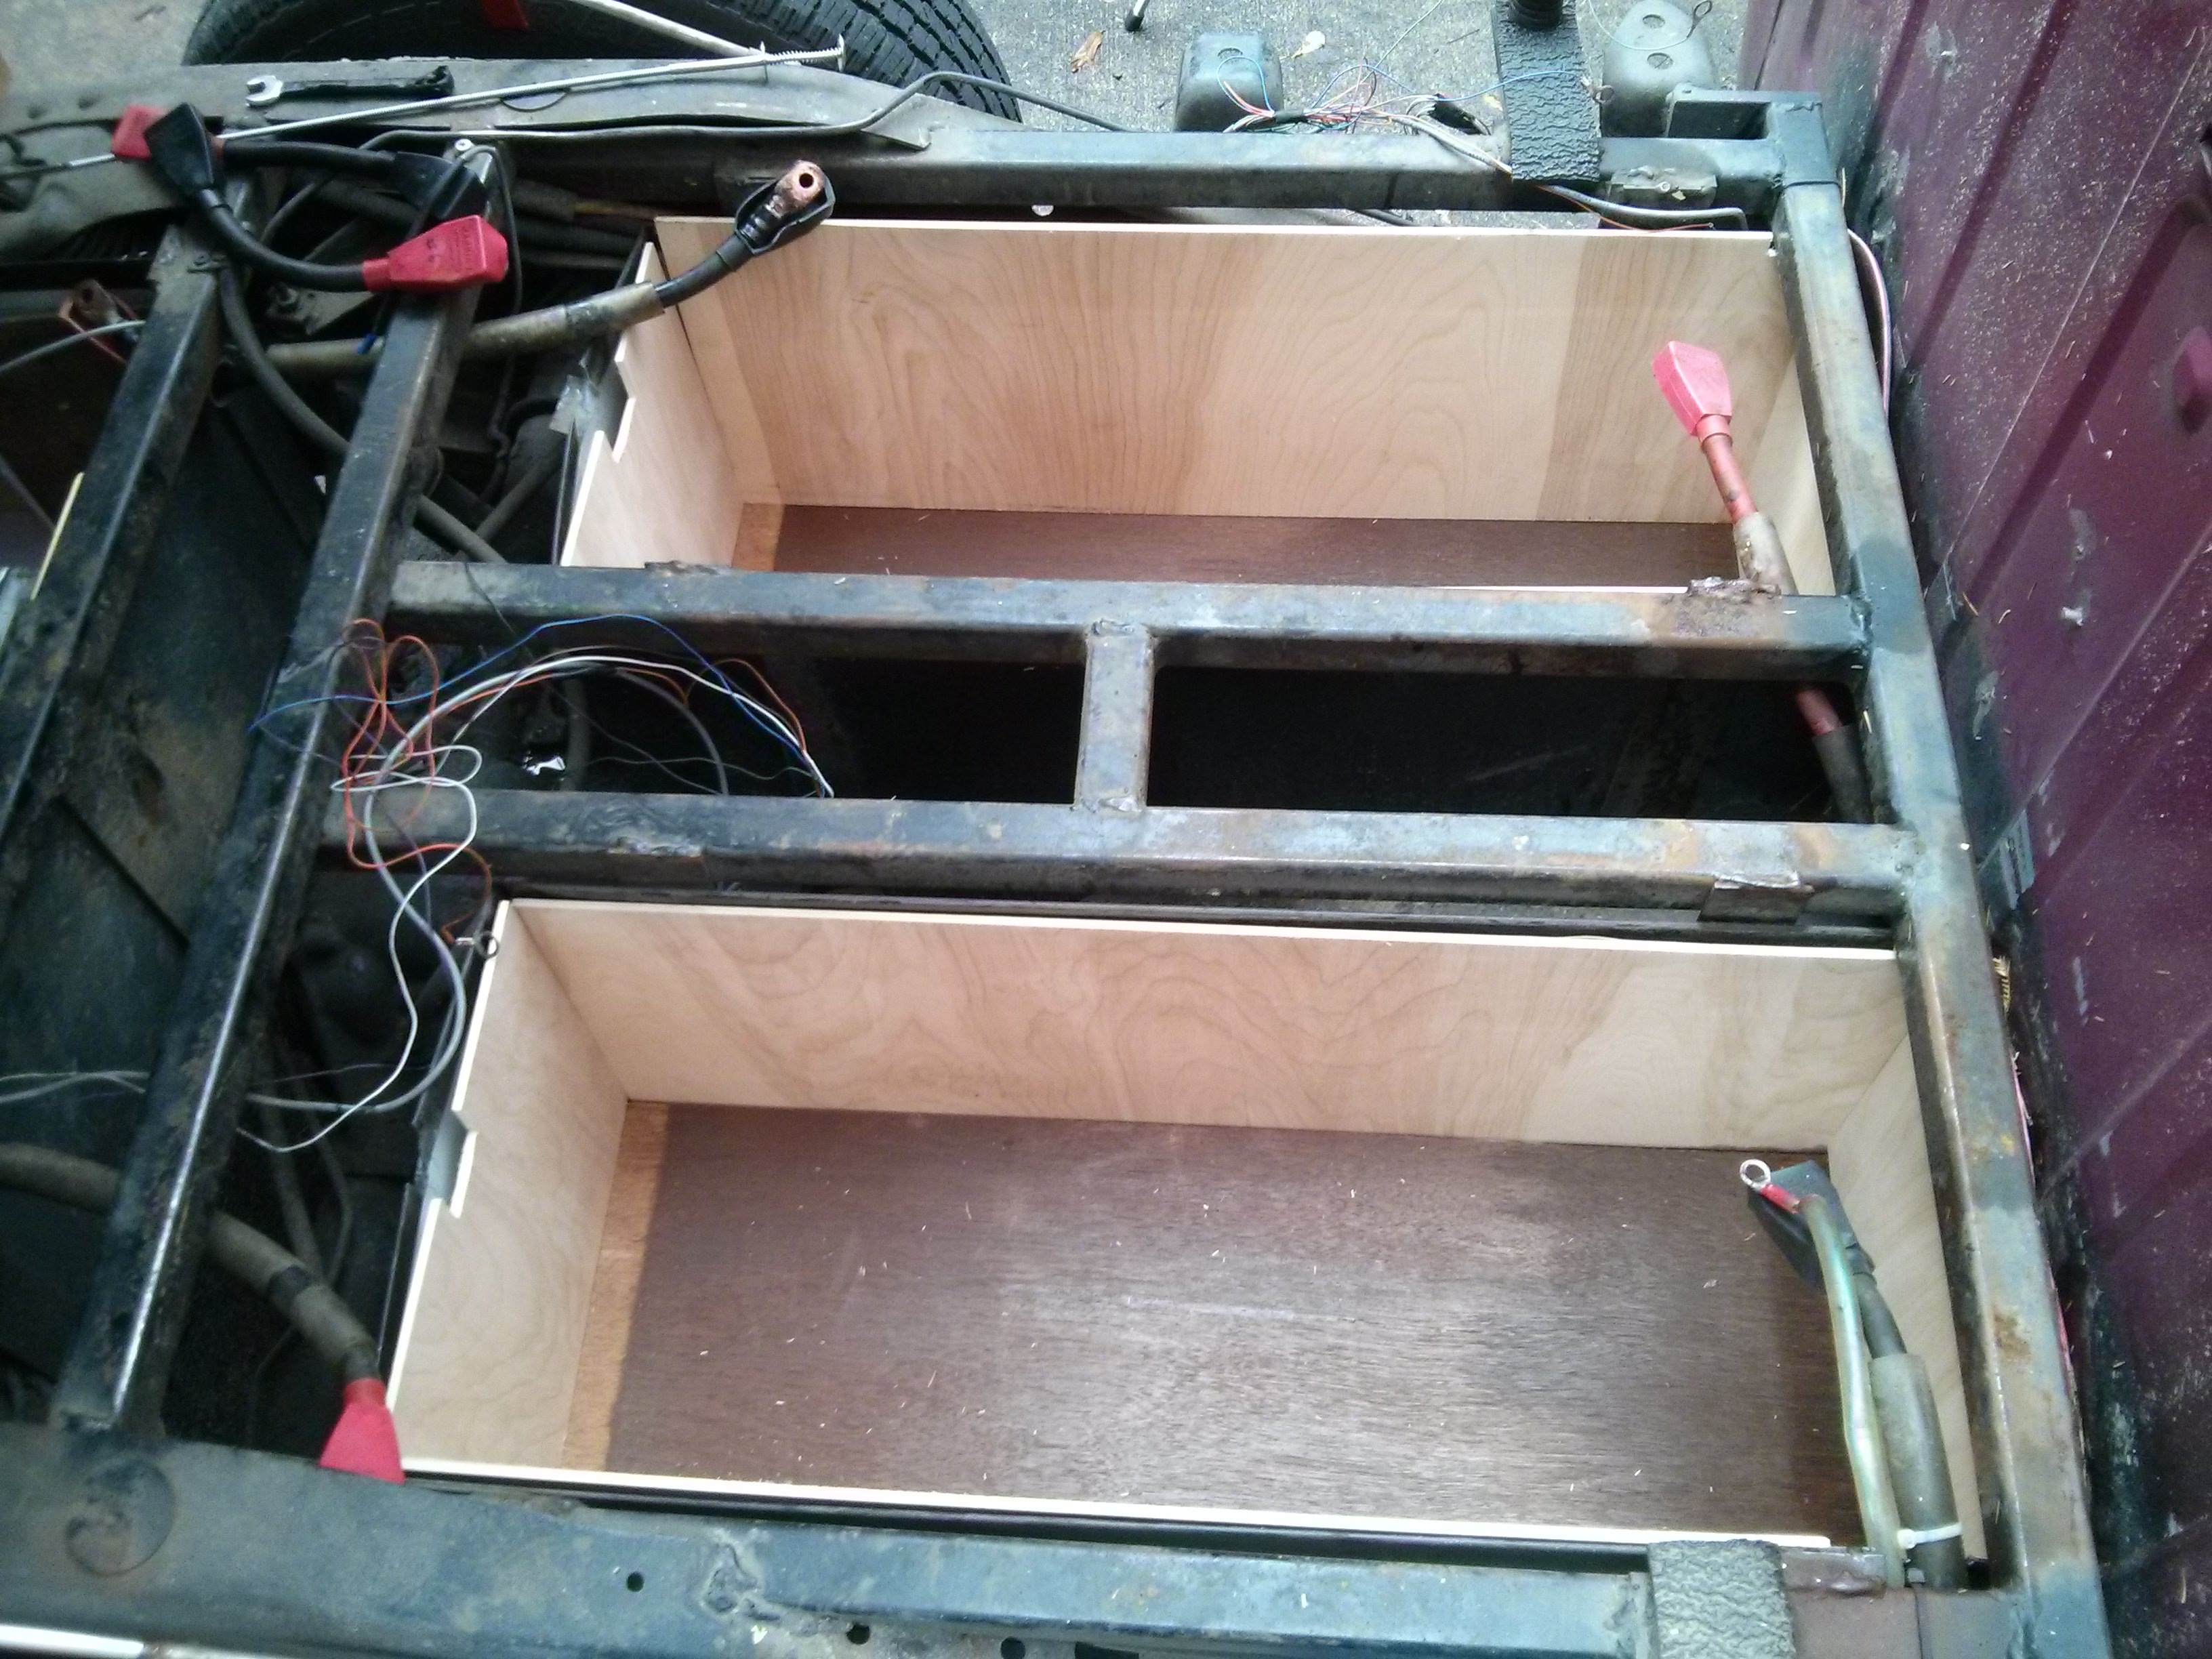
On the first day I removed all twenty of the existing lead acid golf cart batteries. This involved lifting the main piece of wood under the hood that holds the contractors, motor controller, and 12VDC voltage converter, as well as lifting the bed and removing all of my PakTrakr battery monitoring units. After manhandling 1200 lbs of lead out of the truck (only dropping one battery on its side…) I cleaned up the existing battery bays, replacing some rotted wood and dirty foam.


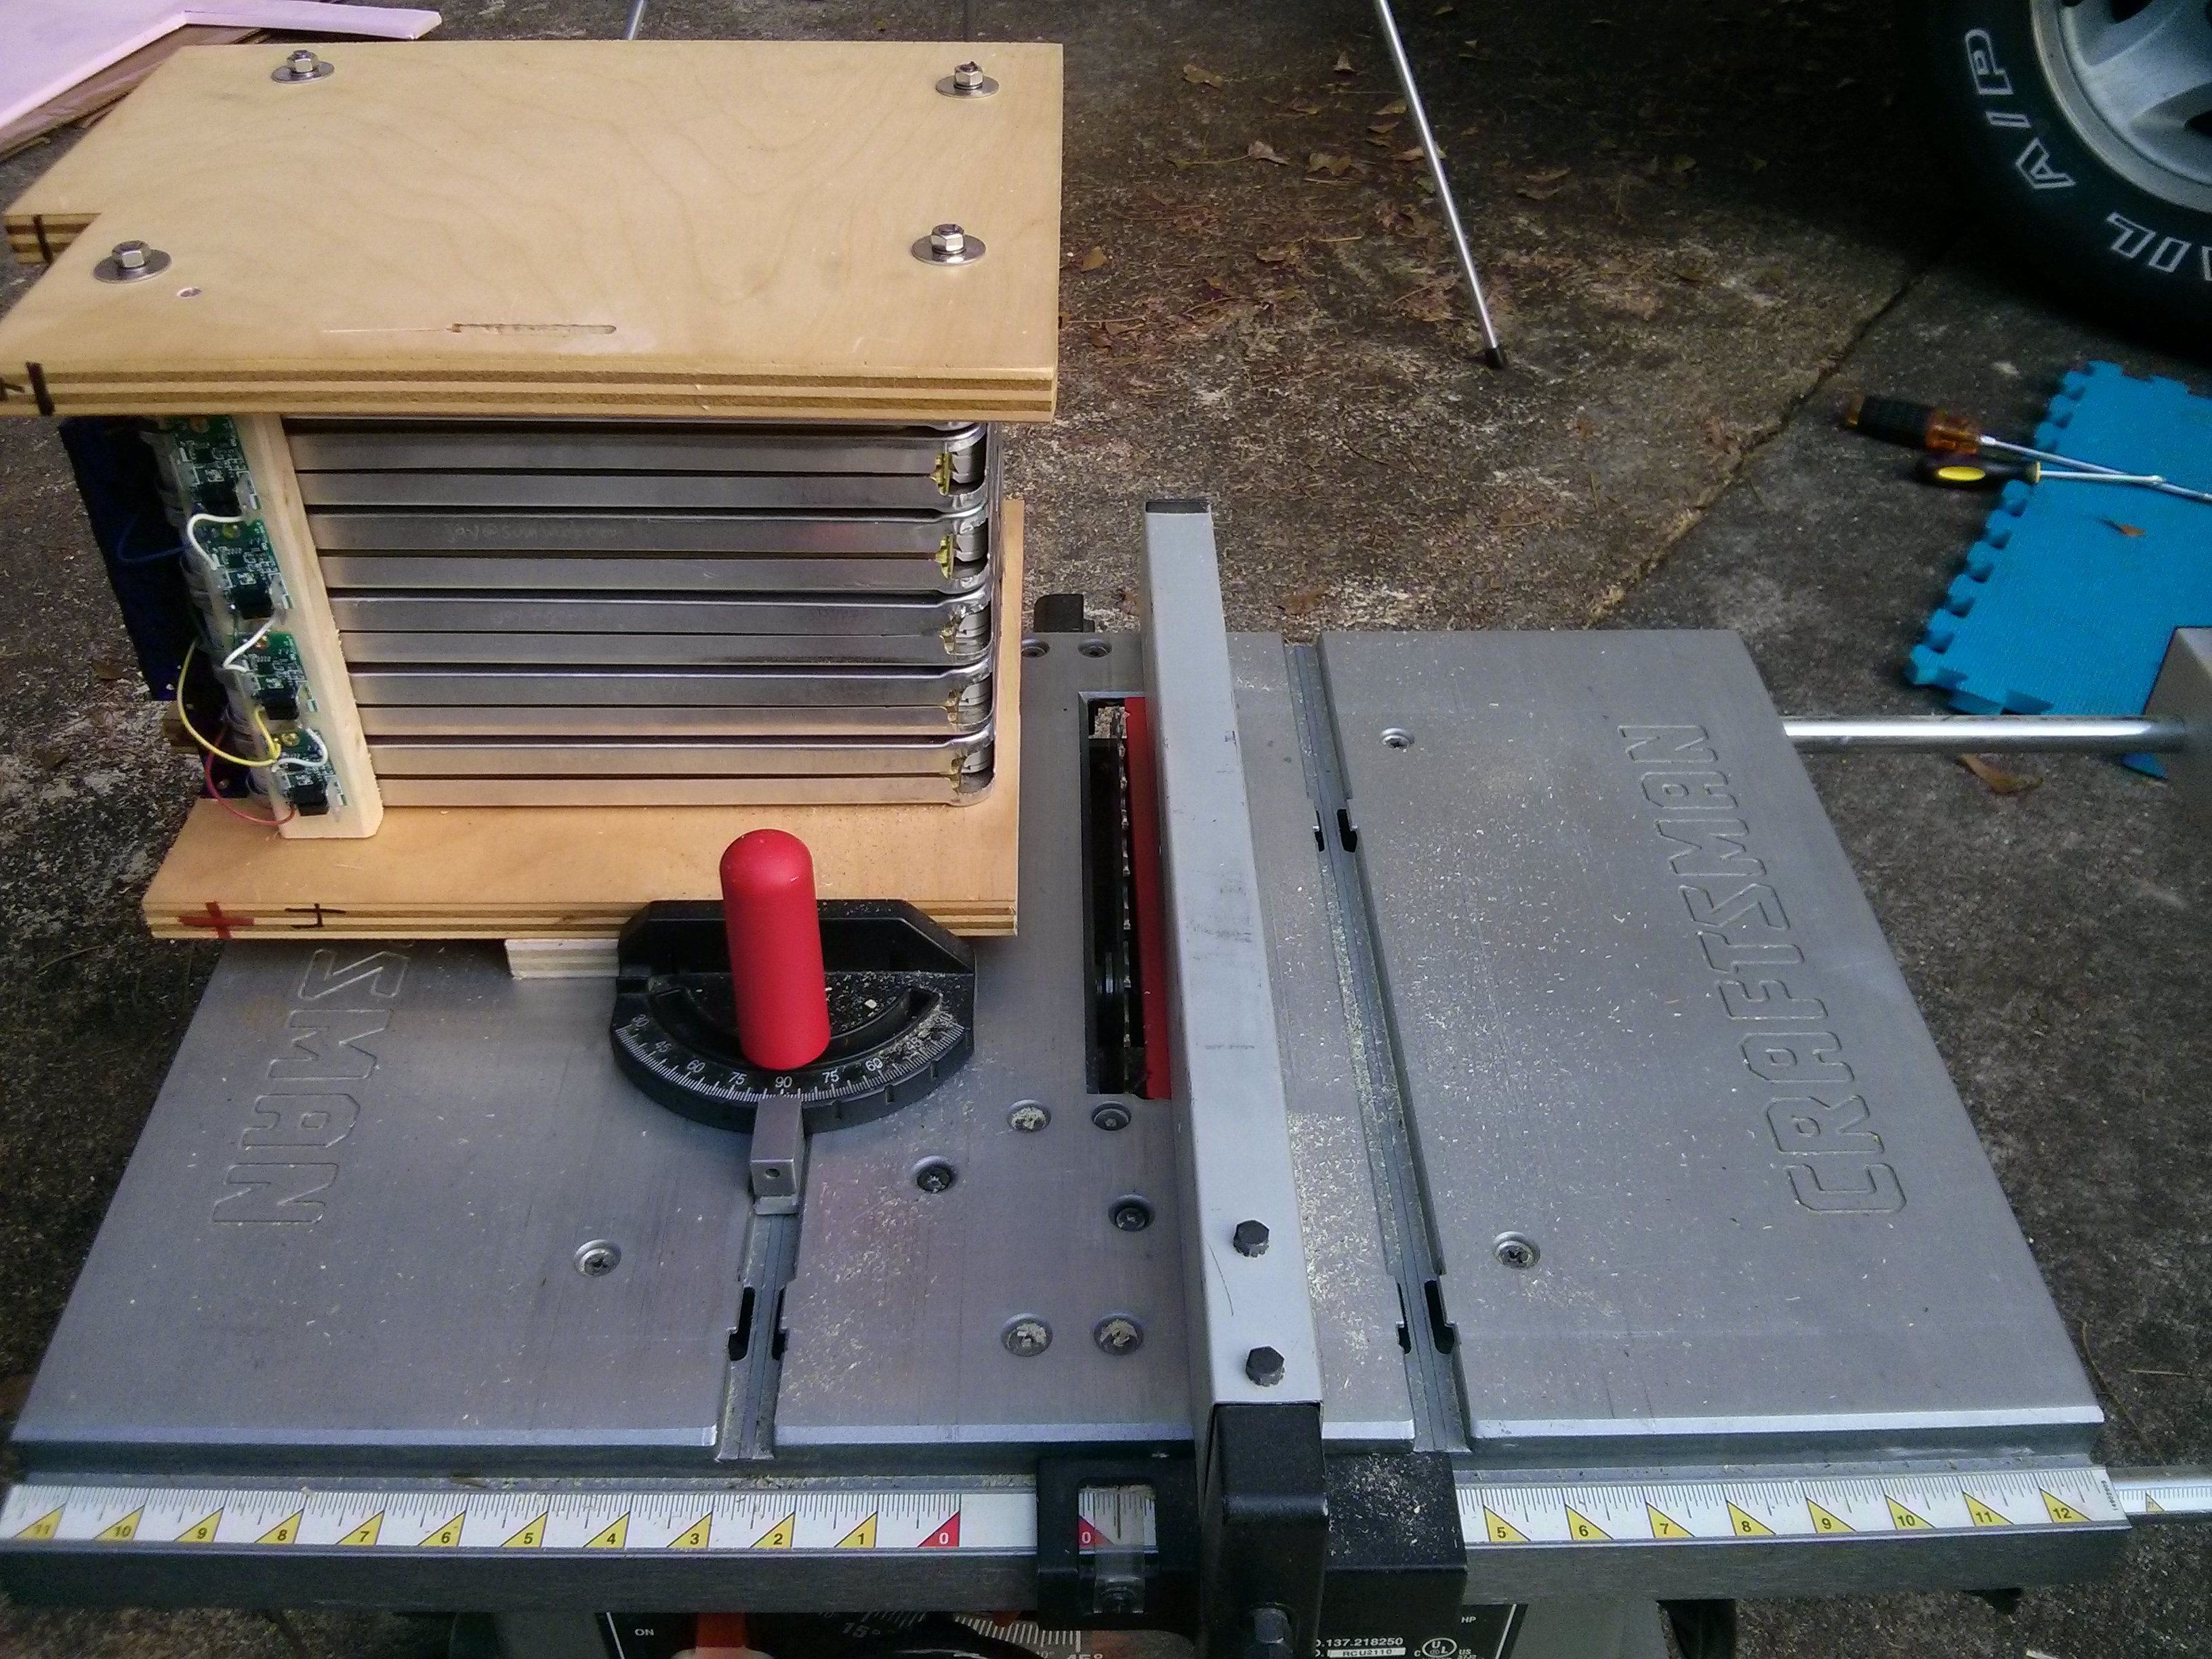
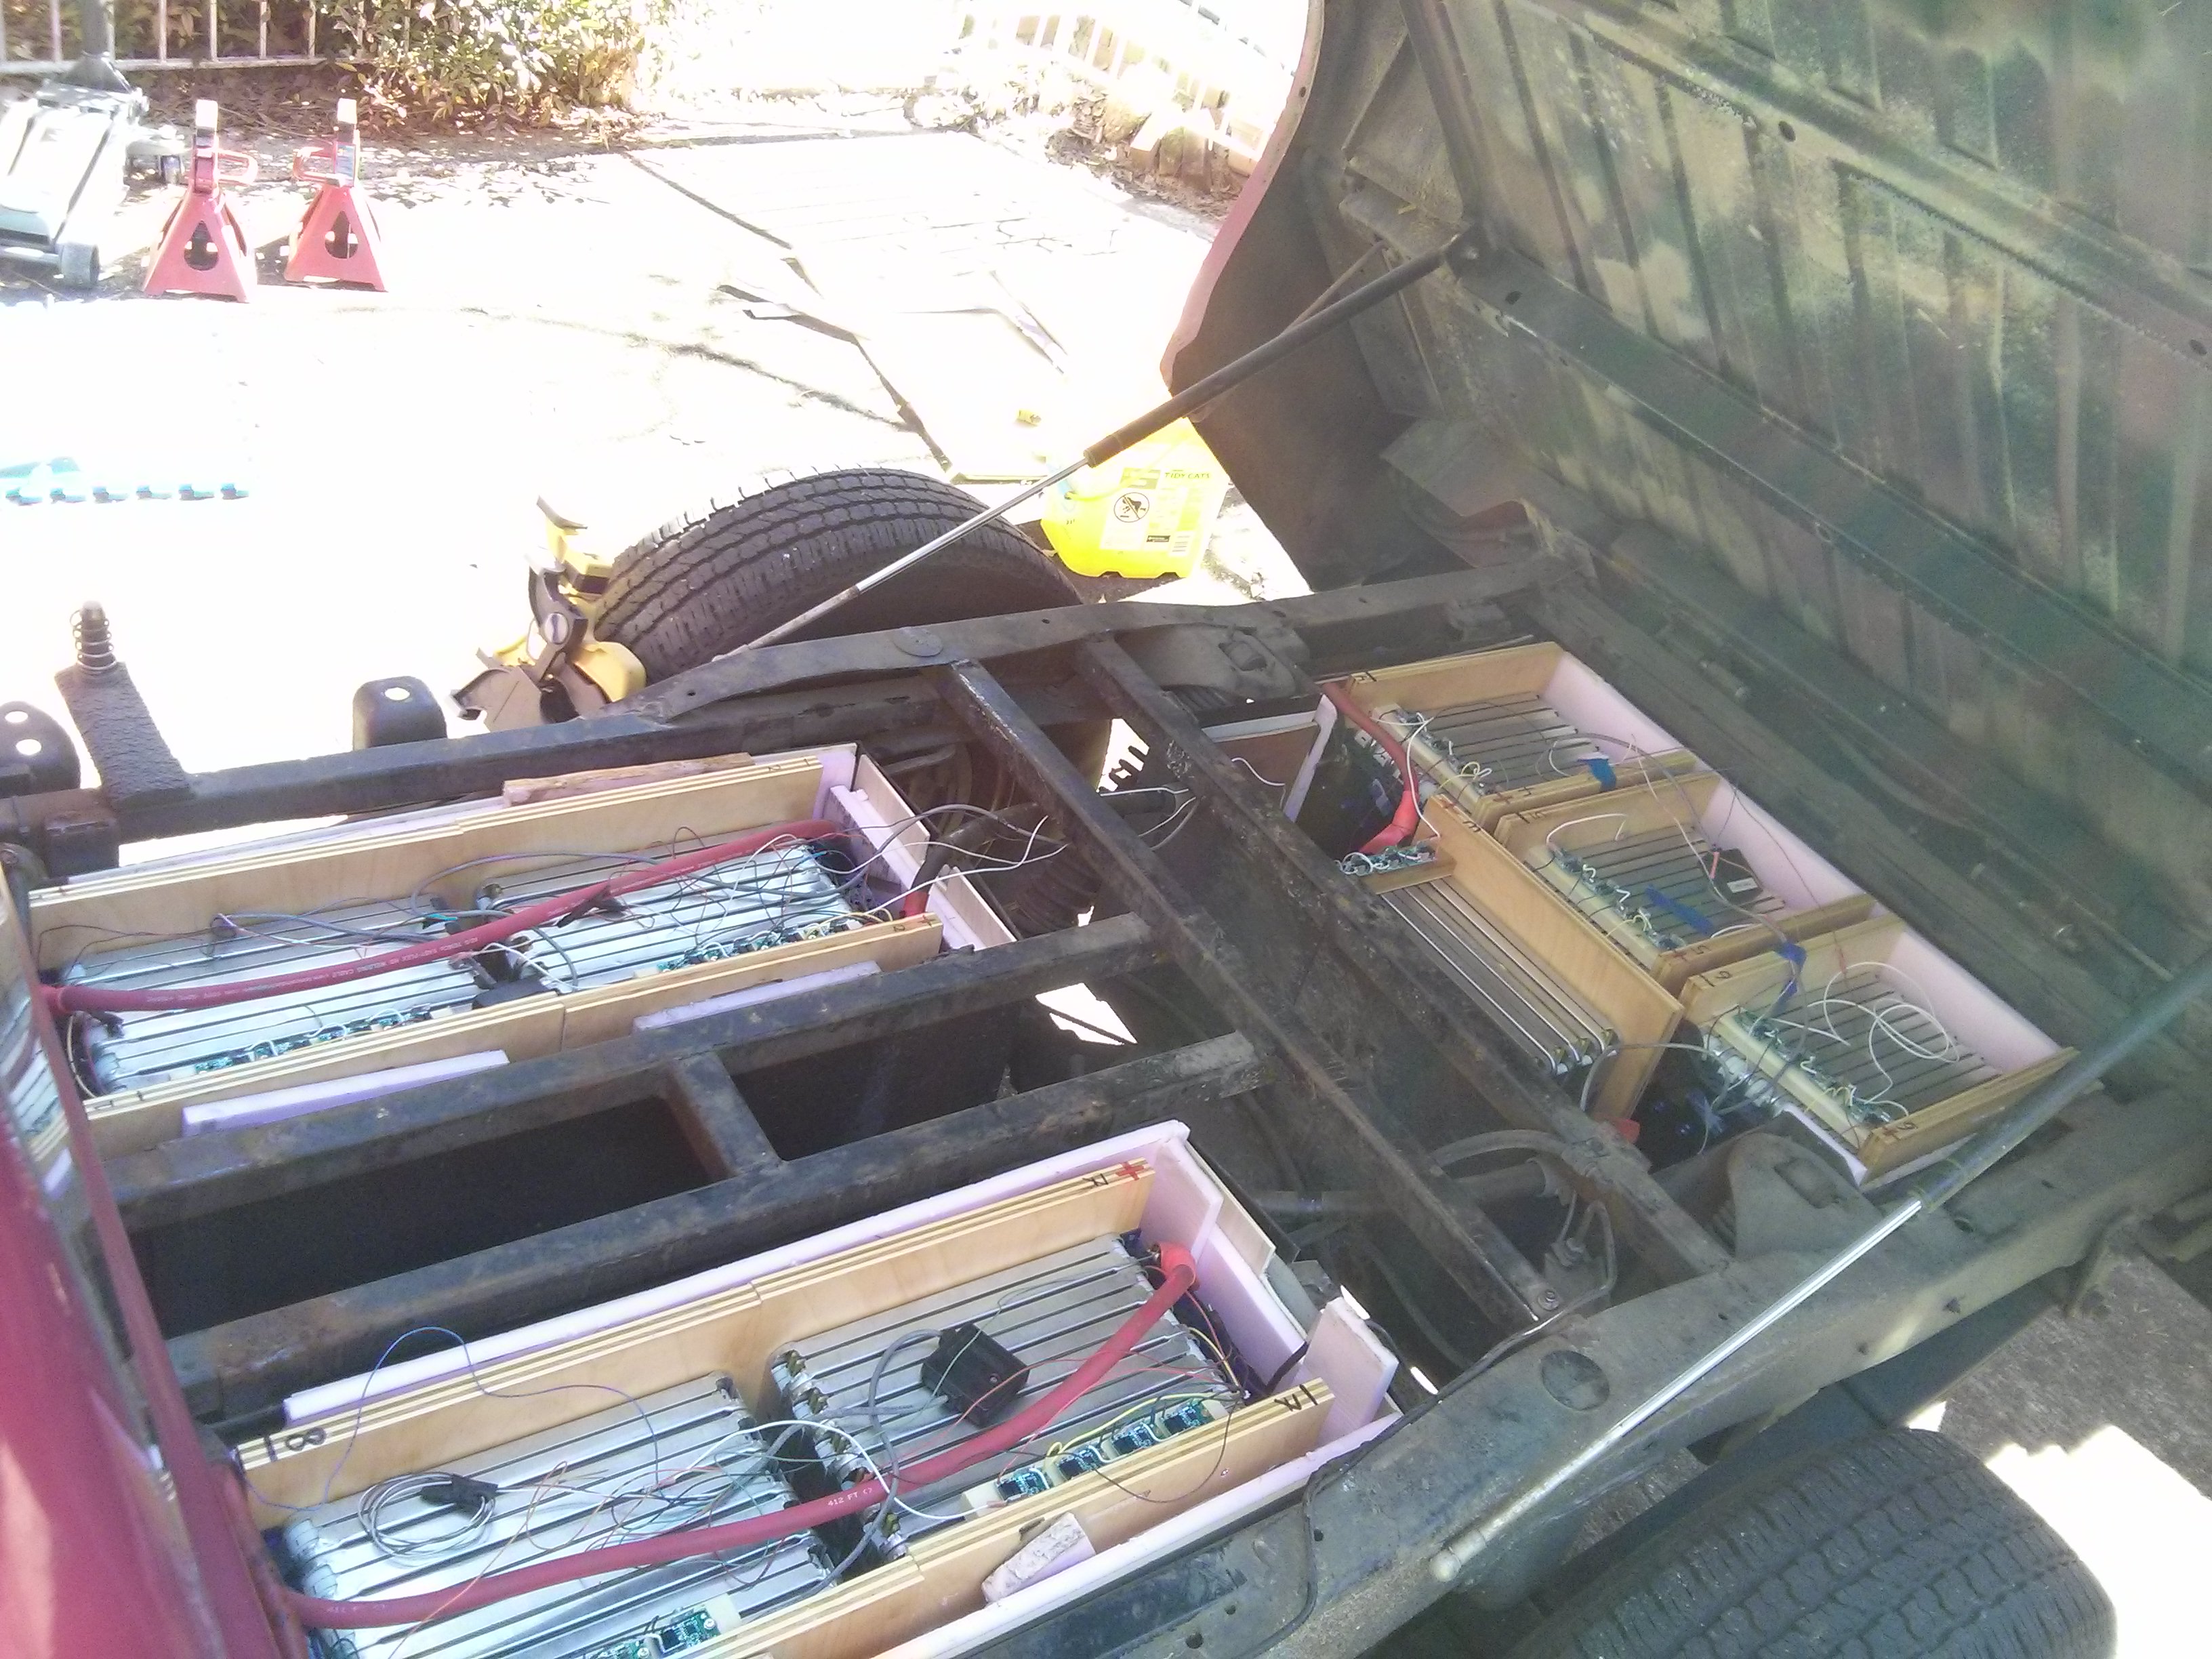
Finally, I placed 3 of the new “batteries” that I had built using Nissan Leaf modules in the rear battery bay. My CAD model was slightly optimistic, so I had to use a table saw to cut 1/2″ of wood off the end of each battery, and a cut off blade in an angle grinder to remove all of the excess threaded rod from the sides so that everything would fit.

I made a mistake here and used some cables that were long enough to bend easily, but the extra length made them stick up over the maximum height of the battery units, in a position that perfectly matched up with a steel beam from the bed of my truck.
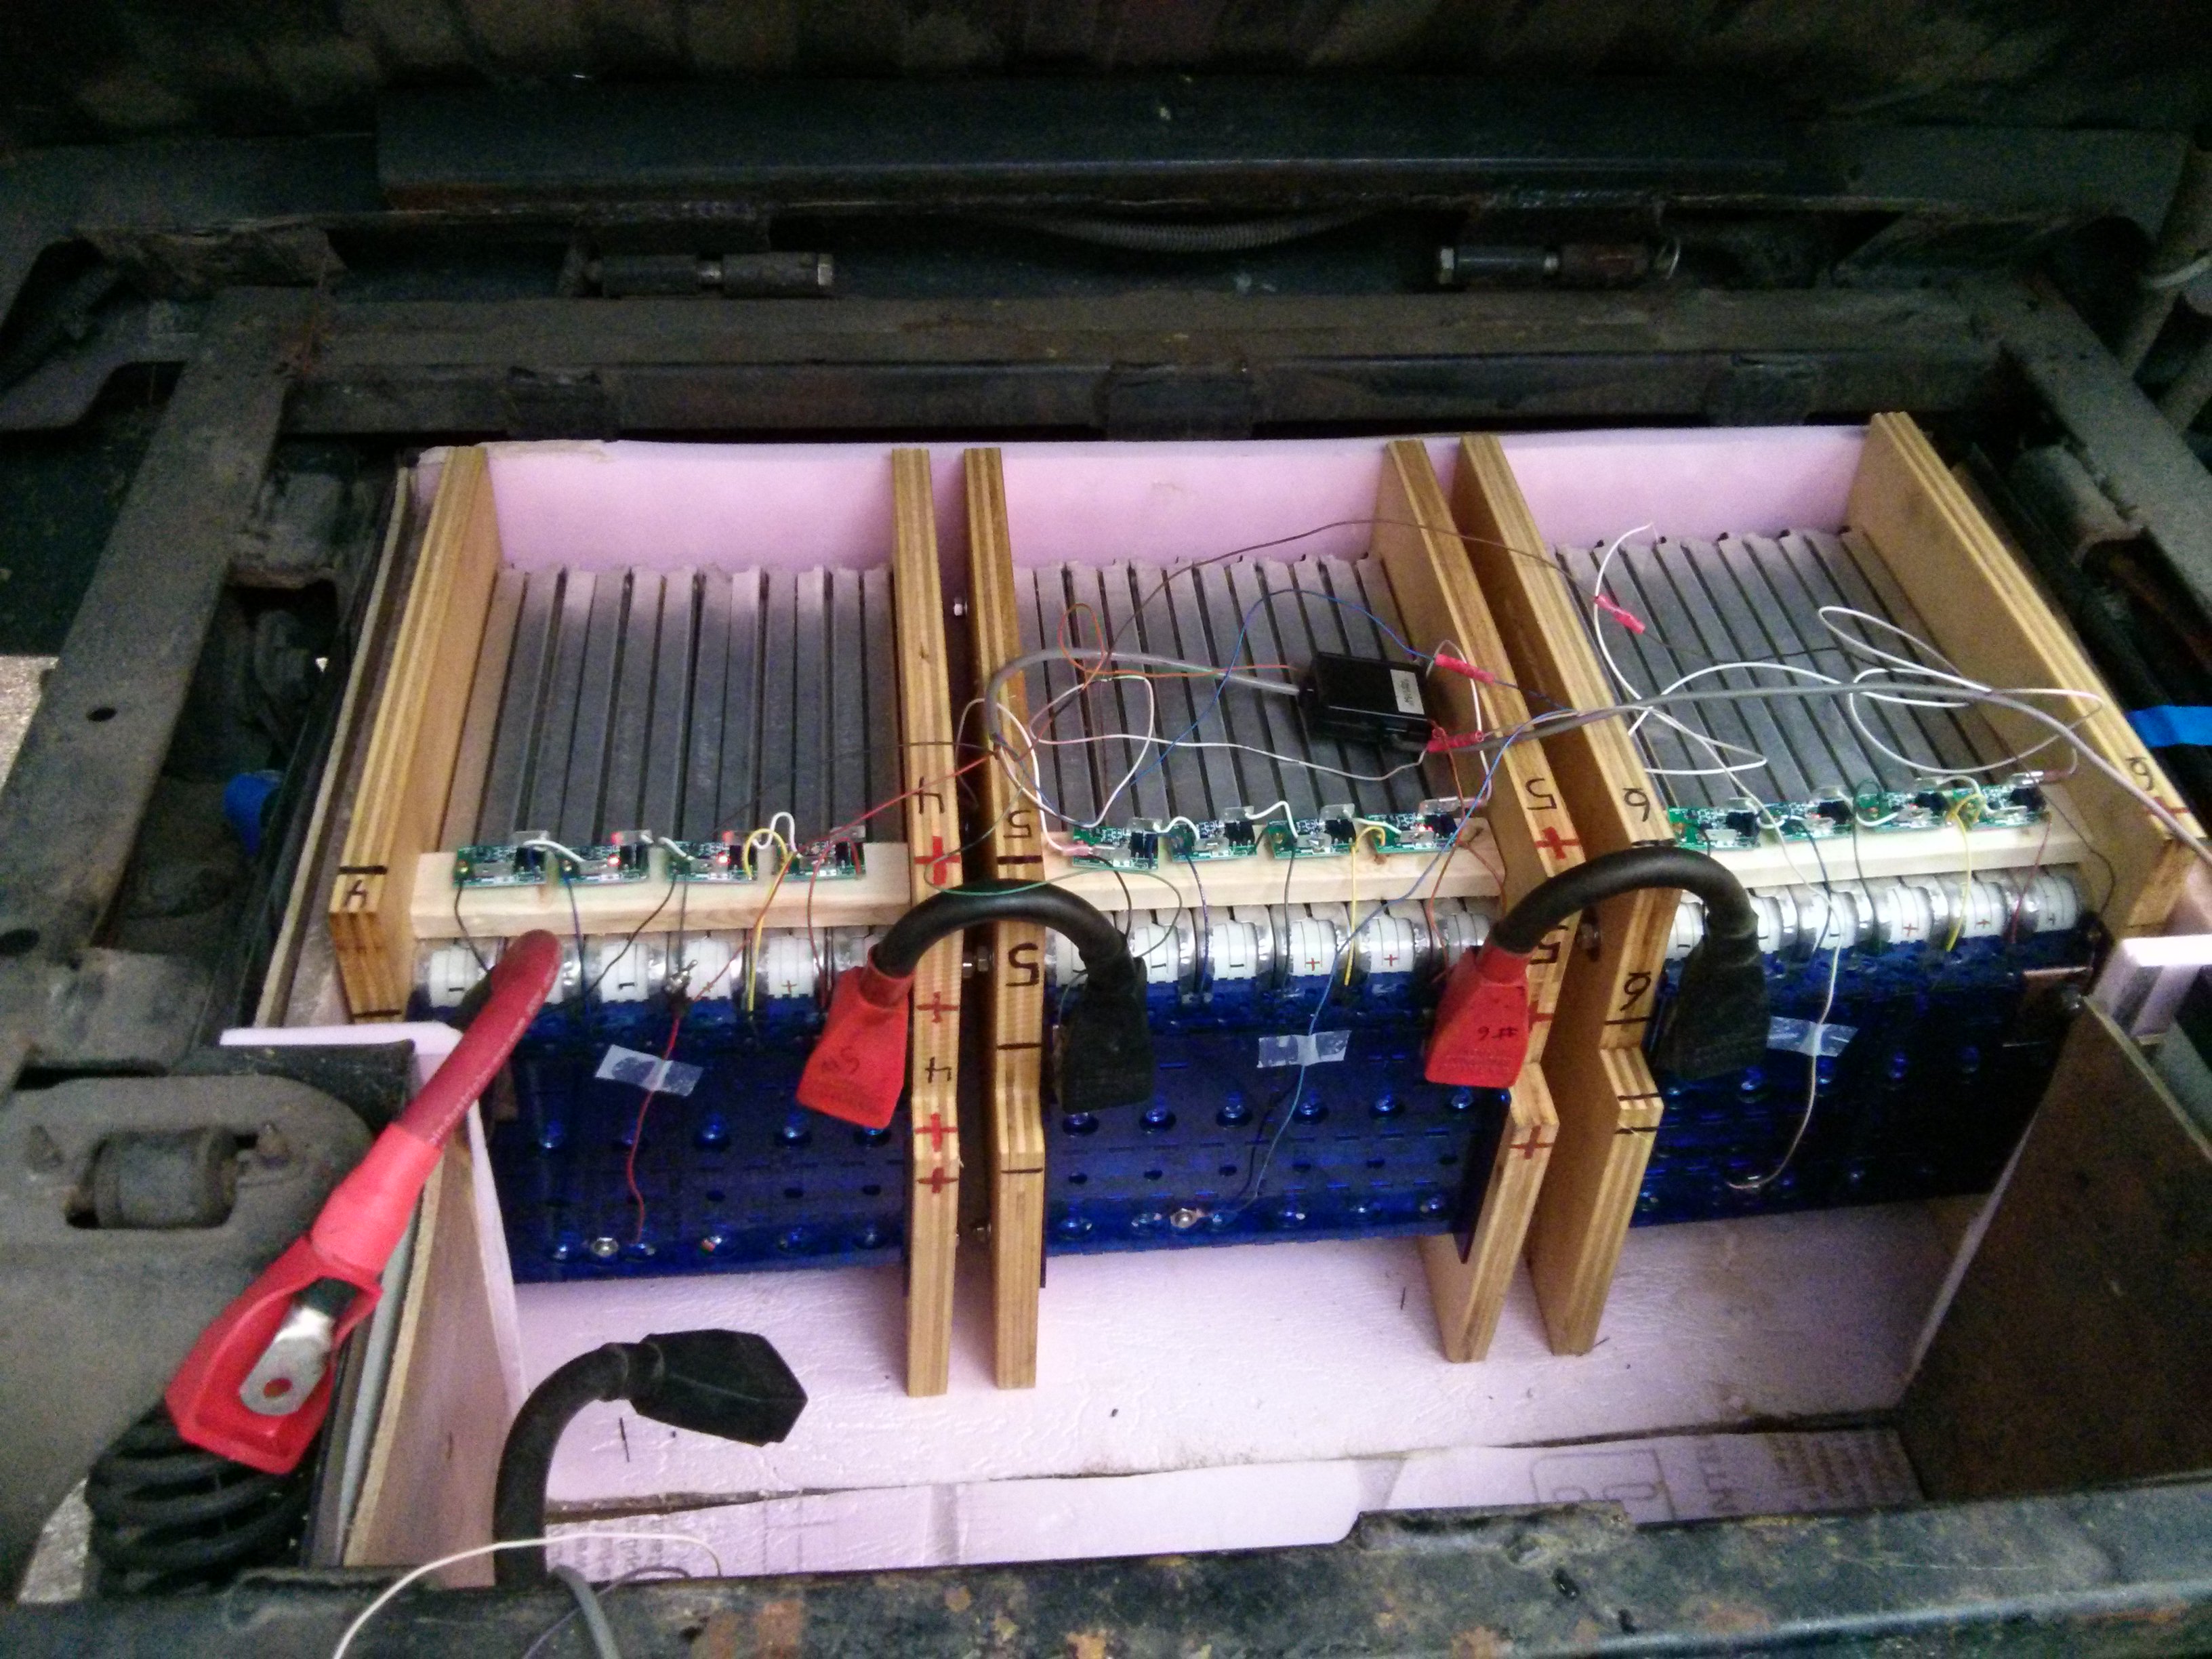
(I ended up swapping them out for shorter connections that fit below the battery units the next morning, but this also required that I remove a battery module I had put in place.)
Oh yes, I also caused a good set of sparks when a loose cable accidentally shorted to a wrench I was using to tighten up the terminal on the other side of the battery unit. 16.4 volts at hundreds of amps added excitement to the day.

Day 2:
It rained all morning. While waiting for the rain to stop, I selected some short 00 gauge cables to use to fix the mistake I made yesterday, and filed their terminal lugs nice and clean down to the copper. Rain, rain, rain. After it stopped raining, it took me about an hour to disconnect the too-long wires and replace them with the shorter ones. It wouldn’t have taken so long except that the 4th back bay battery was in the way, and I spent 30 minutes trying to work around it, before finally giving up and pulling it out of the battery bay, after which I could quickly finish the re-connection.

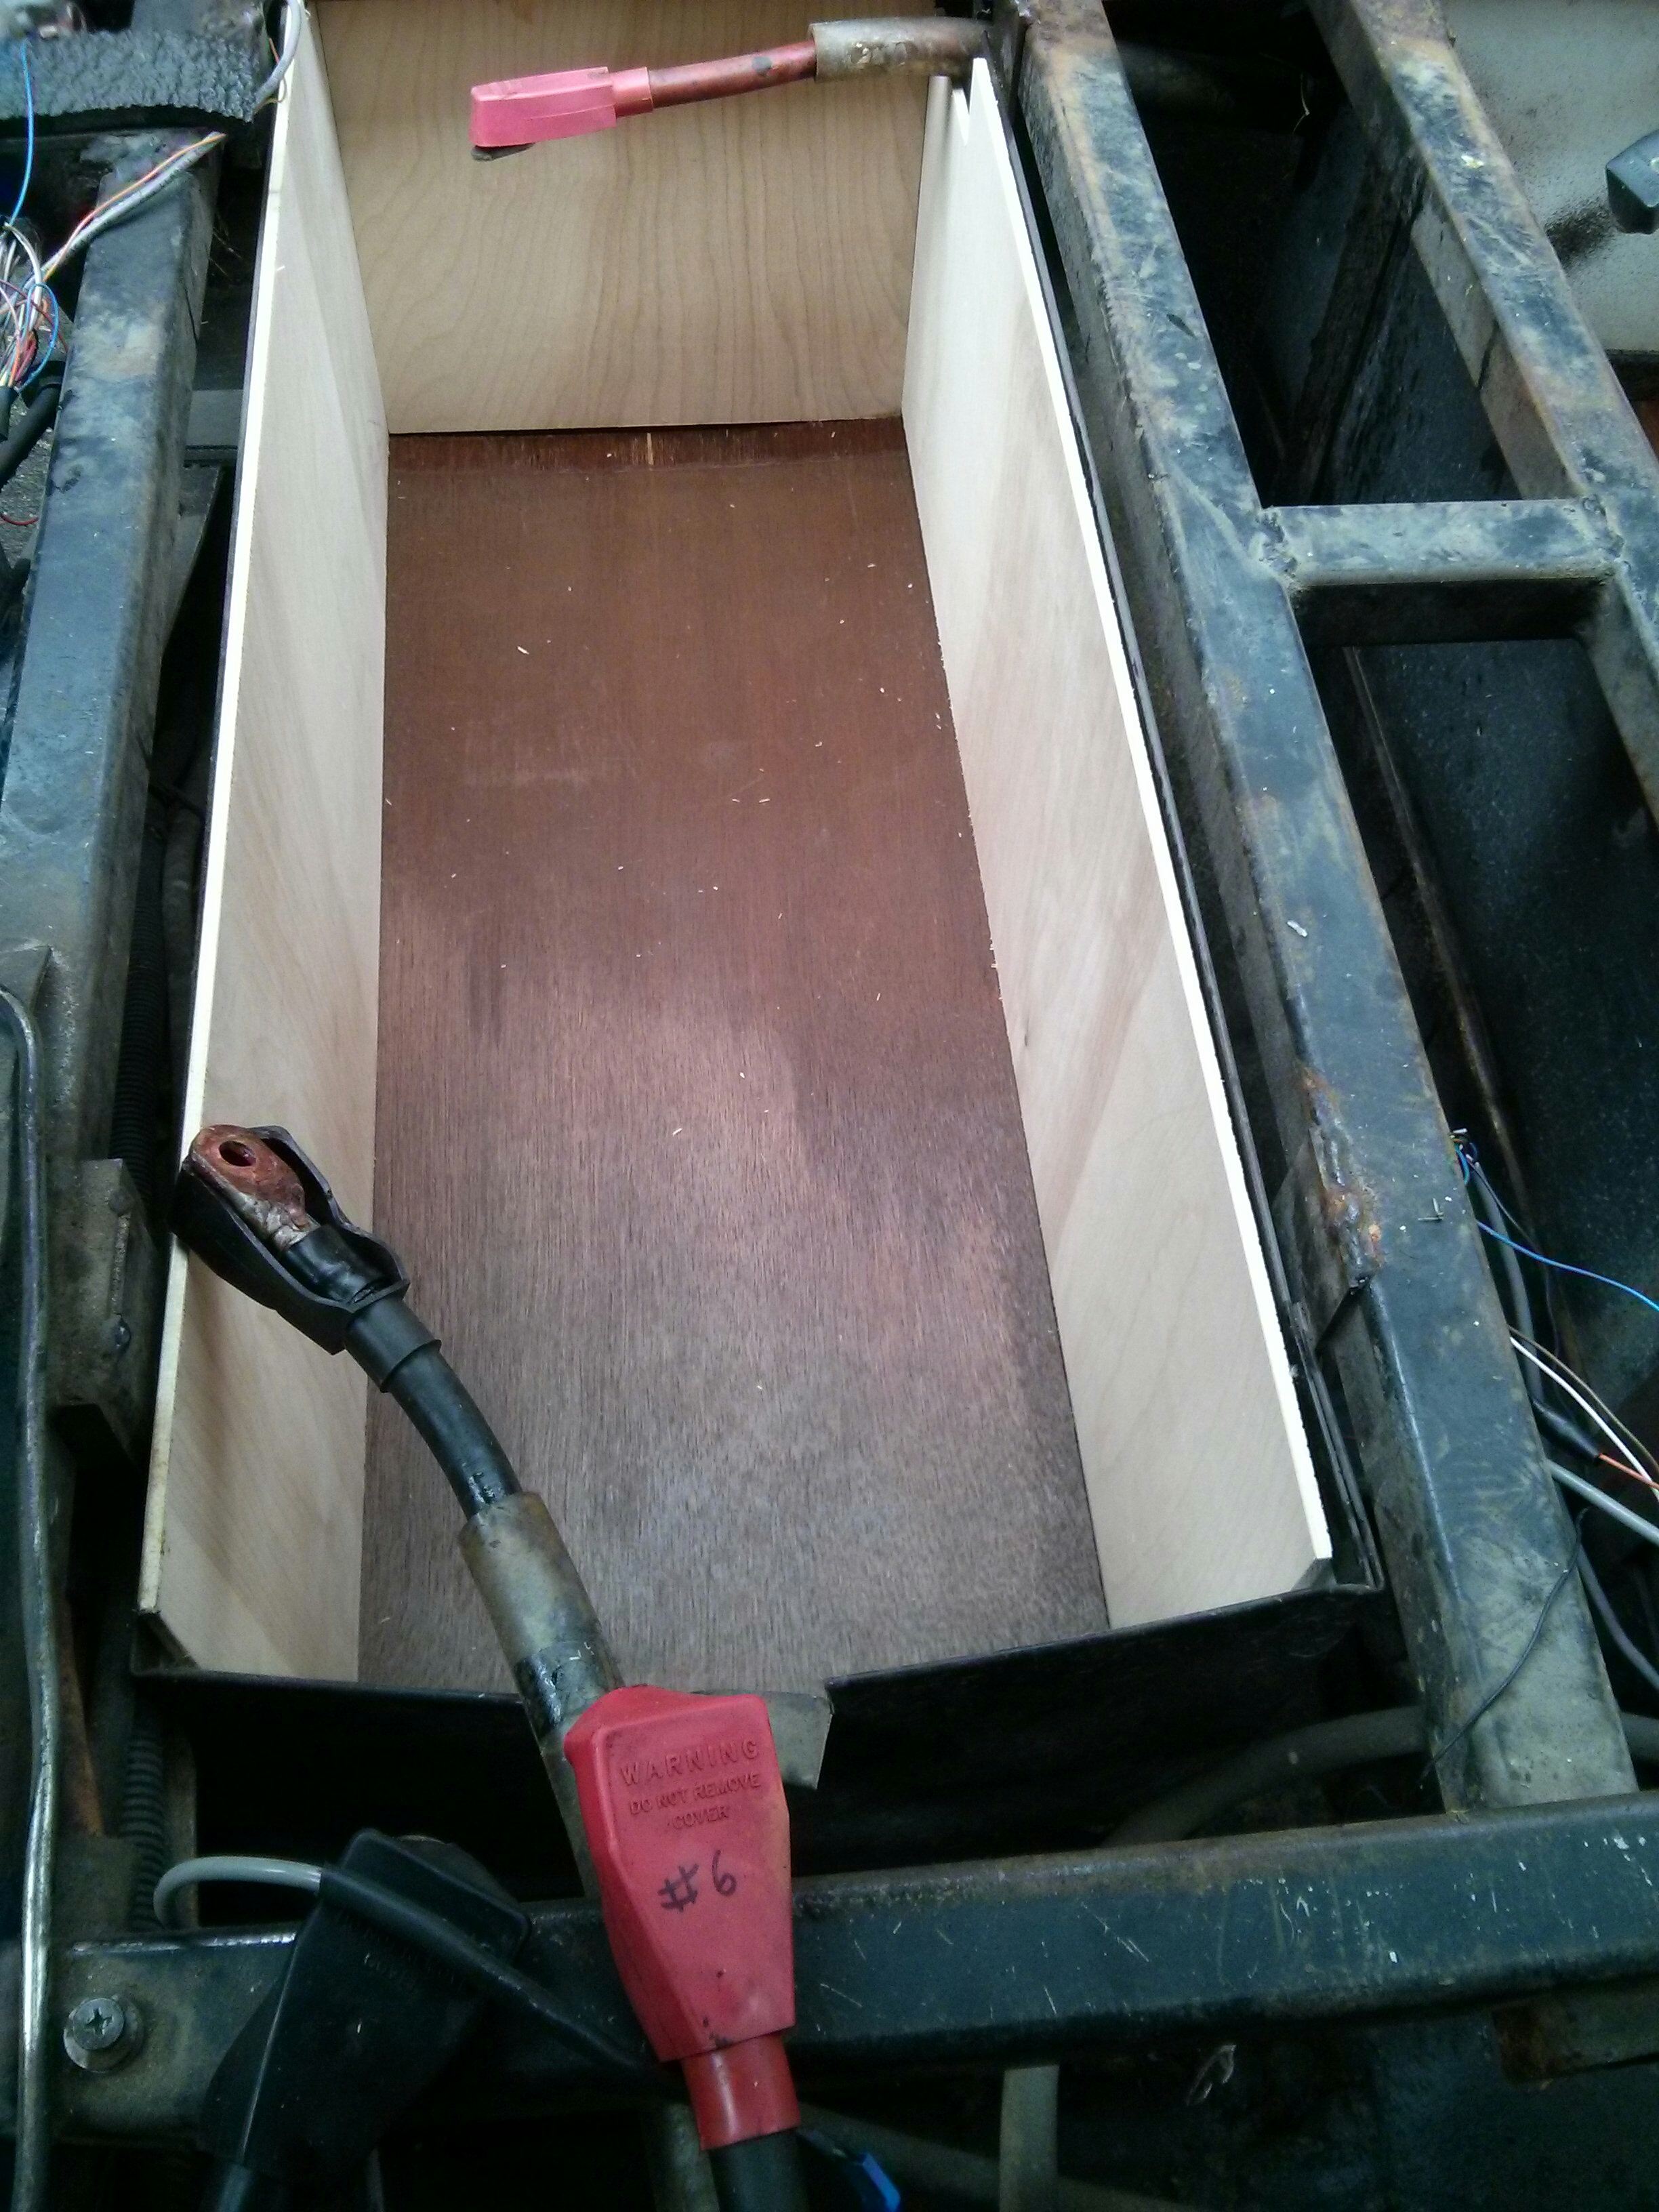
Then I spent a few hours cutting plywood and foam insulation to re-line the front battery bays. Shout out to the good people at the local art studio, who donated the wood & insulation foam (on the curb) that they were getting rid of before the studio show..

It turned out that I had to cut the excess threaded rod off of the other four batteries that would be mounted in front of the axle as well.
Day 3:
No rain, but the temperature was much colder, and windy. After installing battery 6 of 8, I found out that one of my PakTrackr sensing units was mostly working, but the voltage readings were off by at least a tenth of a volt. Of course, it was the one unit with the extra long wire leading up to the front of the truck. I have a few extra PakTrakr units that I have purchased as backups (the company has stopped manufacturing them) so I plan on replacing it later. Because it is in one of the side battery bays, it will only require that I remove two of the batteries and re-wire the cable up to the front of the truck.
I will have each PakTrakr watching two cells, or 8.4 volts, so they think they are monitoring 16 eight volt batteries. This won’t give me a per-cell level voltage reading, but it should give me an indication of problems and a good read on any set of two cells. I also have a mini-BMS system on each cell for balancing, but on the monitoring side of things that just gives me a “yes/no” signal for the whole pack to shut down the charger (over voltage) or stop driving (low voltage), and I have to lift the bed to examine them and find out which specific cell is having the issue.
On the other side of the truck the existing PakTrakr leads were just a bit too short to fit over both of my (back to back) batteries, so I had to solder in a jumper wire and heat shrink the connections.
Day 4:
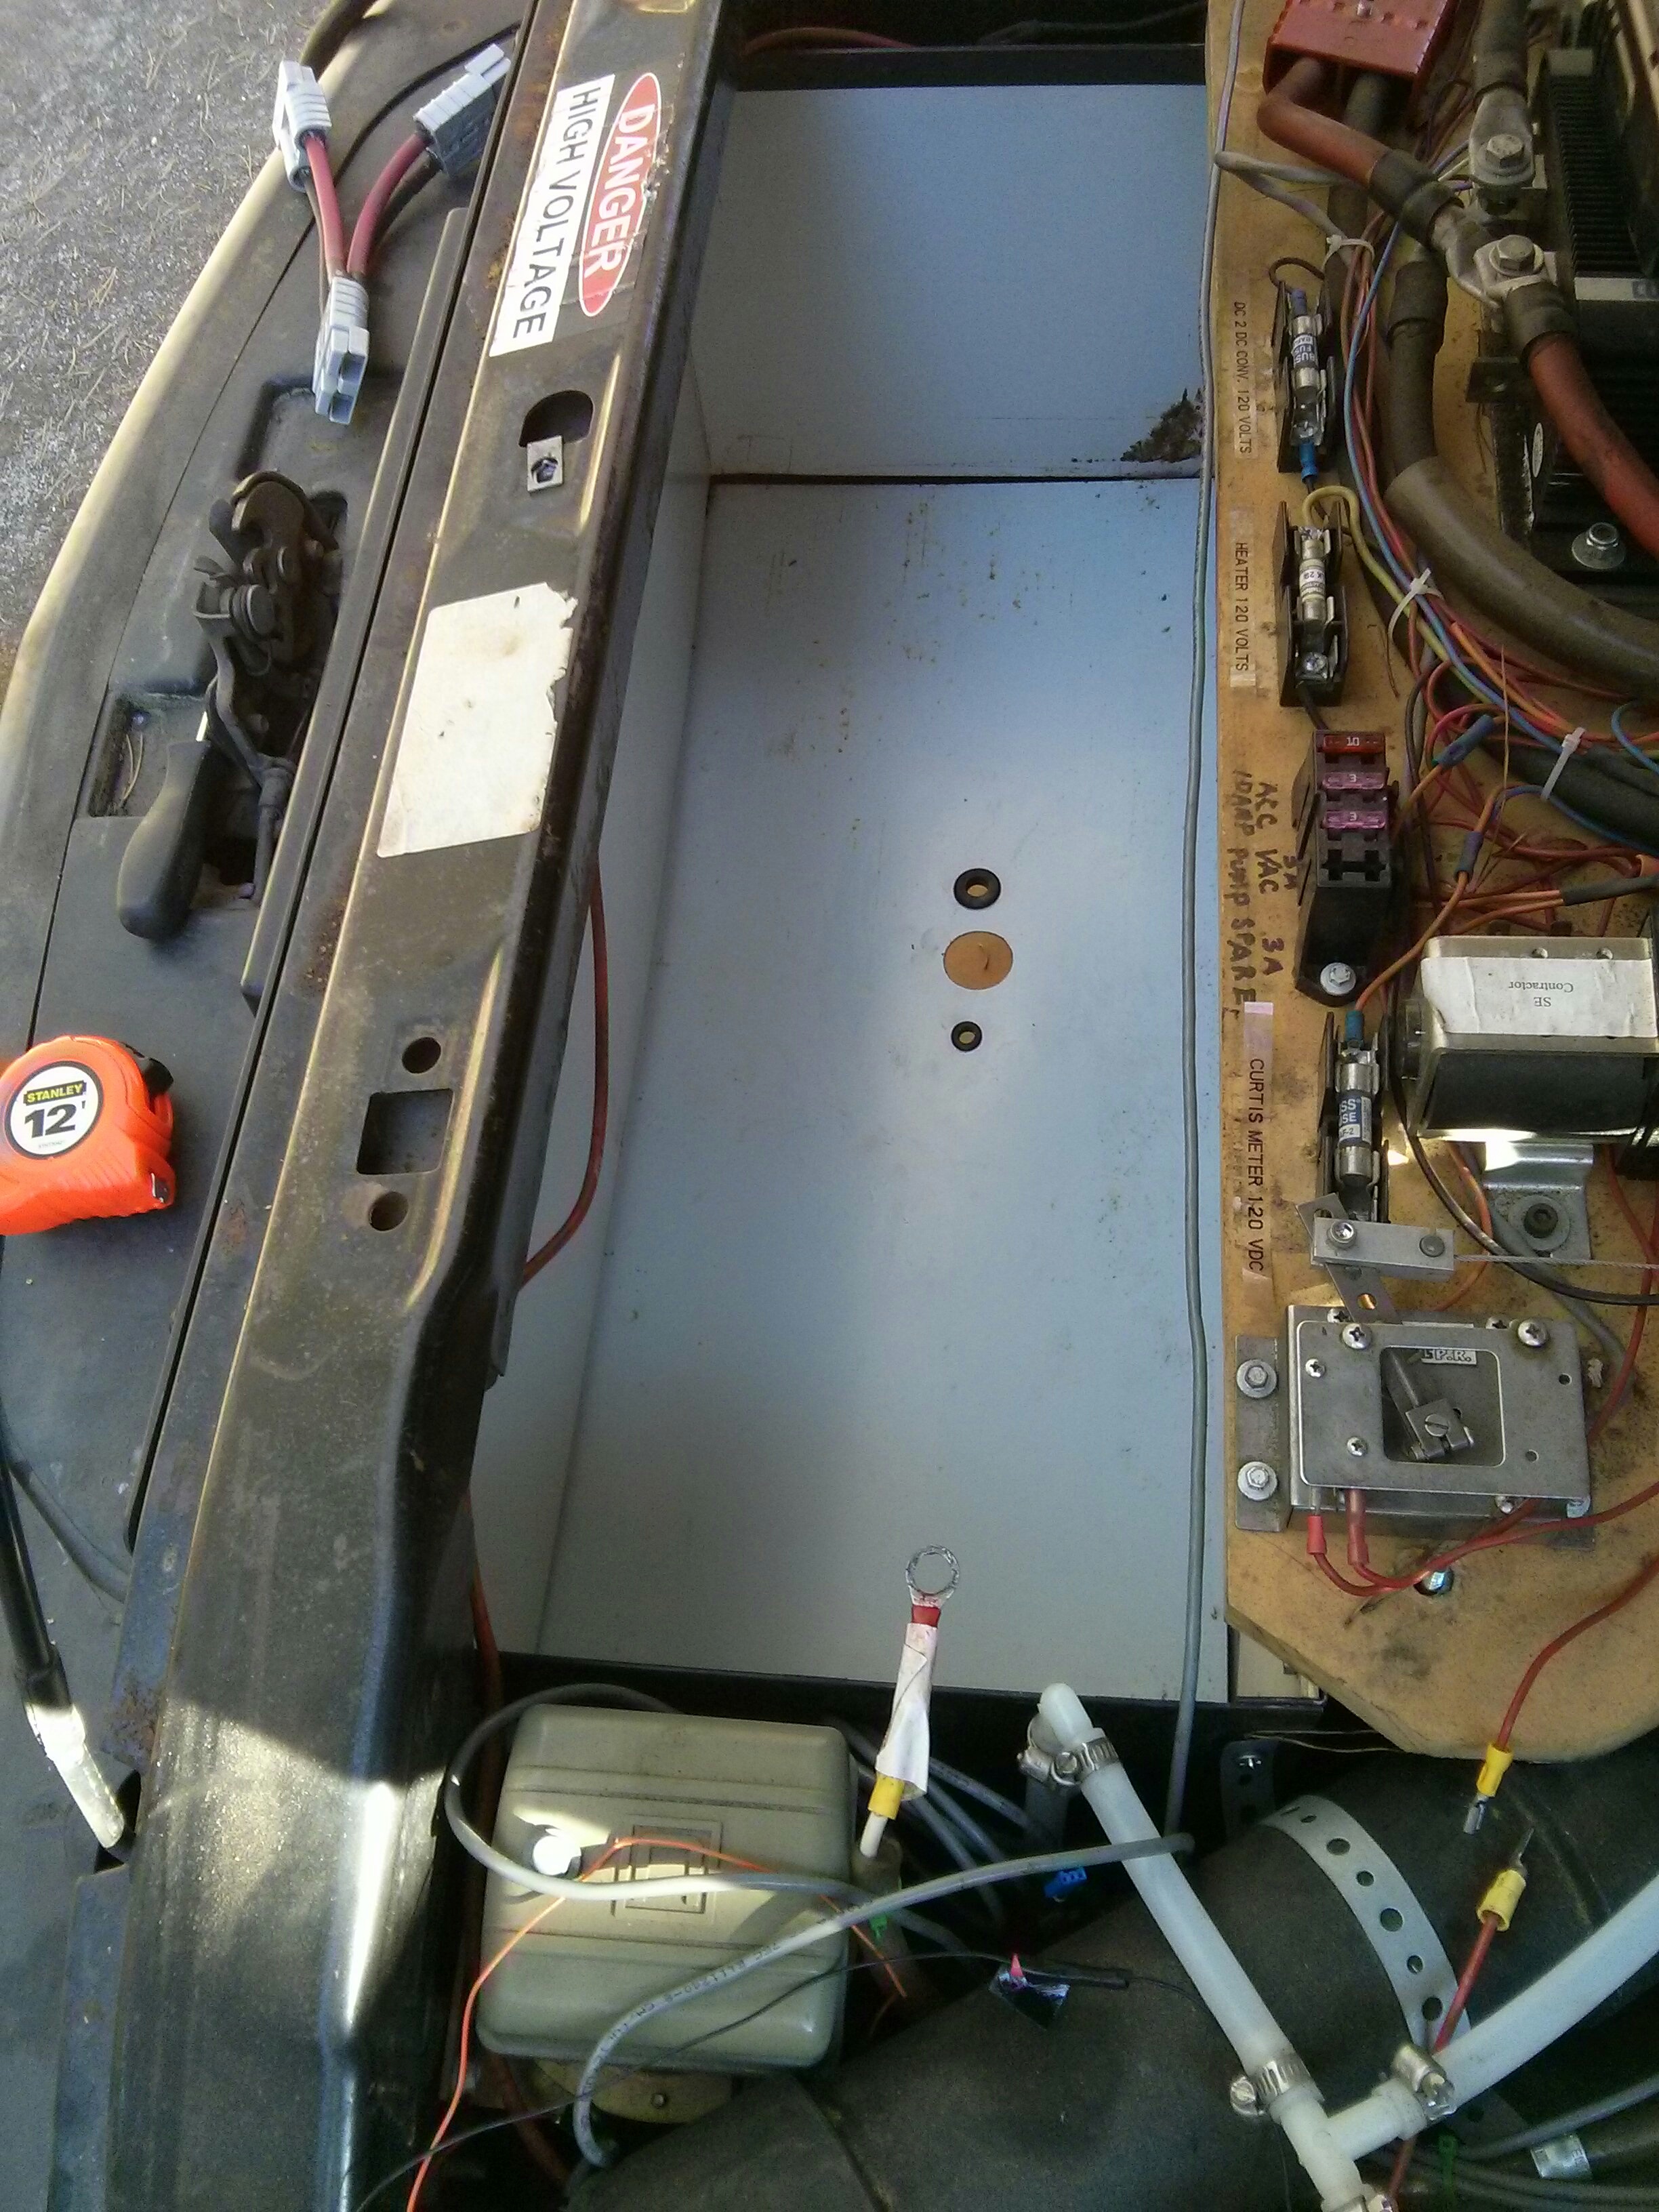
I placed the charger and EVCC in the front battery bay (drilling 3 holes to pass wires down to the front air dam….240 volt charging, 120 volt charging, and low voltage control wires. This allowed me to wire up the BMS loop to the low voltage alarm controlled by the EVCC, so that I could drive the truck around. (Actually wiring up the charger so that it can CHARGE the batteries will be my next priority….)


The balance of weight on the axles has shifted slightly towards the rear, as I removed 4 lead acid golf cart batteries from the very front of the truck (under the hood), and am only replacing them with about 25 lbs of charger. However, removing 240 lbs of weight behind the back axles should help things in the other direction. However, the headlights have not tilted up enough to need adjustment, so it appears that the overall stance of the truck has not changed much. (The stock headlights are not terribly blinding even if miss-adjusted, I’m considering swapping them out with an after-market HID kit.)
If you want to watch an hour long video of the process, check out the bottom of this other post….


Pingback: Nissan Leaf Modules powering my S-10 Pickup conversion | Jay's Technical Talk
Jay, nice improvement and nicely done job.
Thanks!
Pingback: Monster UPS just got bigger…. | Jay's Technical Talk