Do you have dust and foreign particles on your camera’s image sensor? If you have an interchangeable lens camera body, you probably do. But in many cases, a few random specks of dust won’t be detectable in normal photography.
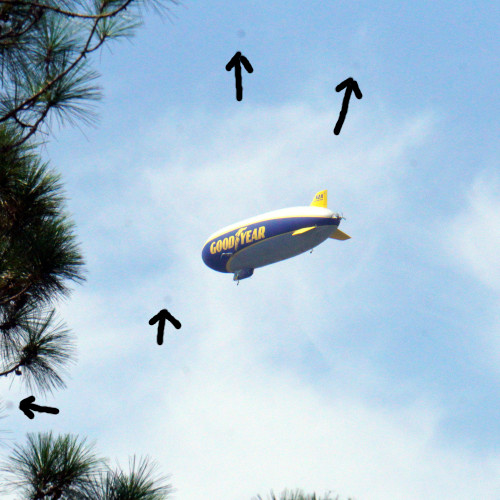
However, if you have visible spots showing up in your images, you know it’s time to clean your camera image sensor. For example, in this closeup of the N2A Goodyear Blimp, if you look closely at the end of the black hand drawn arrows, you can see the results of dust on the image sensor of my second-hand A6300 camera. [Obviously, all dust is the fault of the first owner, and I can keep claiming that until after I clean it.]
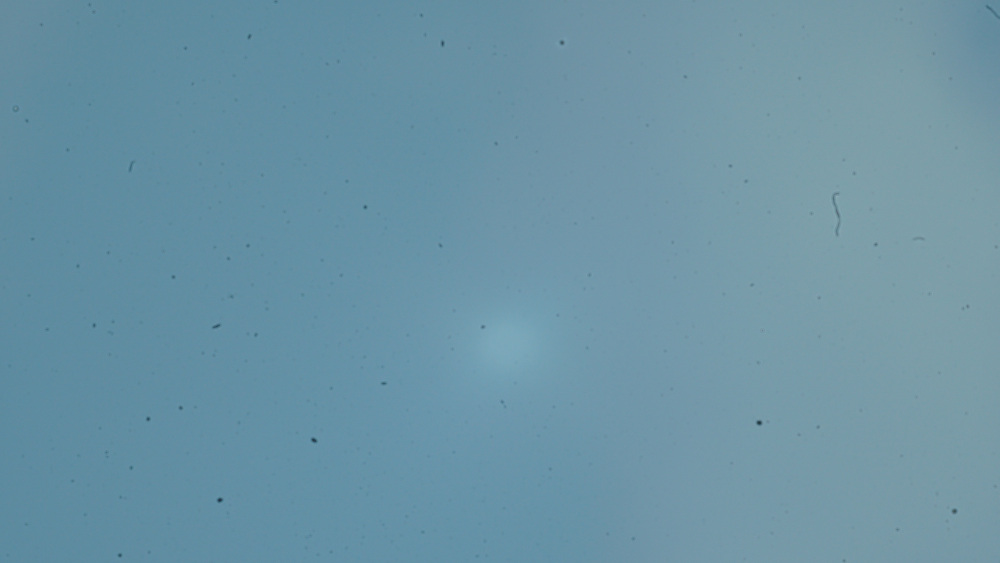
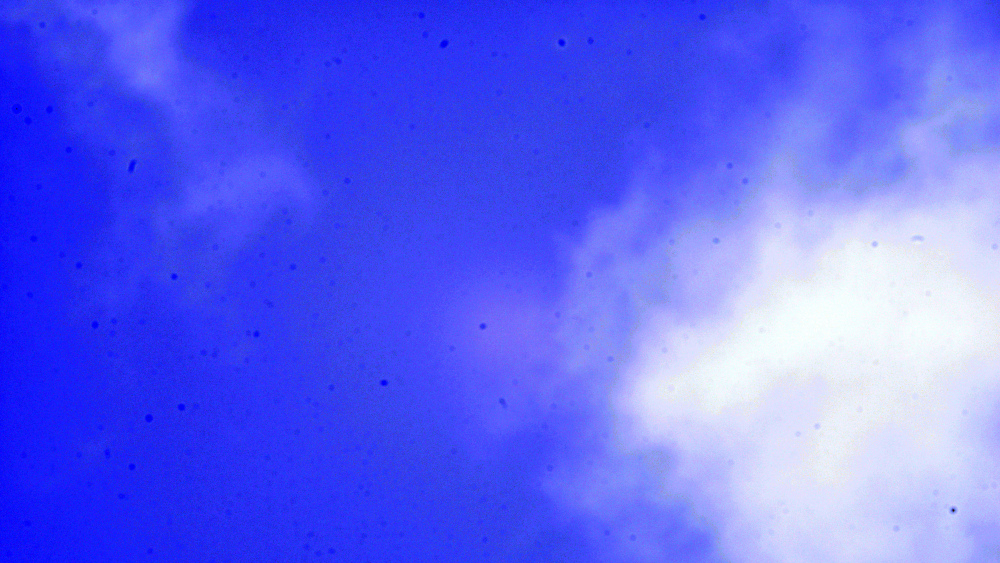
Now that you know there are at least a few pieces of dust/debris on your image sensor, you can characterize just how bad the problem is by shooting a “flat” image. Point your camera towards a clear patch of sky, put the lens in manual focus mode and defocus it, and take a photo that is just slightly over exposed. [Note that to take a true astrophotography flat you need to do more than this, but for the photos below I didn’t bother. You risk having cloud shapes show up in your flat image by not having a tight white cloth over the lens….but since we are just looking for dirt it’s not critical that your flat not have gradients in it.]
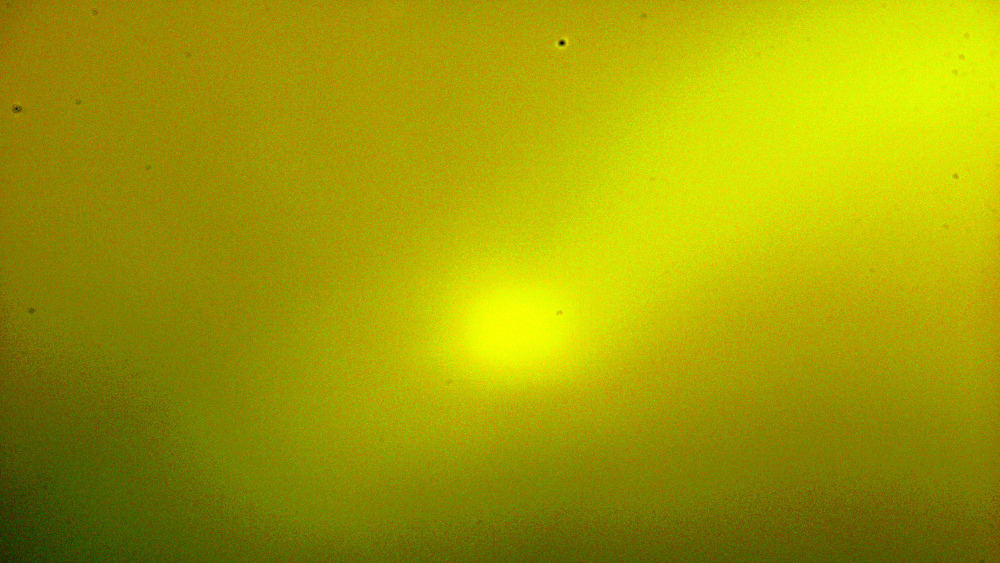
If you have a lot of debris on the sensor, it will be easily visible directly in the image. In the image above, you can see I even have some type of fiber or thread (middle right). This is an example of a sensor that definitely needs cleaning. But you can also digitally enhance these images to highlight the debris more, which is useful in cases where the amount isn’t as bad. Just import it into a photo editing tool, and use the “auto adjust input levels” feature to get something like this:
With digital enhancement this looks super bad, but as you can see from the image of the Goodyear Blimp above, even this level of dust and dirt doesn’t mean you can’t take a mostly usable photo with the camera.
How to clean your image sensor
Once you decide your sensor needs to be cleaned, you can try your camera’s built in cleaning routine (check your camera manual). In my case, as you can see from the above images, I was way past the point where the built in images sensor cleaning system would do any good.
The most “bang for your buck” is to blow off the sensor with a Lens Blower. (NEVER use your mouth, or a can of compressed air! Your mouth and lungs have lots of icky stuff you don’t want on the sensor, and you can’t trust the propellant in most canned air cans.) I got a lens blower as part of a kit which included many other things I found useful, but if I were to buy only a lens blower, I’d get this cute rocket ship shaped one for under $10.
[Note: My camera does not have a mirror, but if yours does, you will need to find the menu option for your camera to lock it out of the way for these procedures.]
Hold your camera body with the image sensor pointing down, and use the blower to blow sharp blasts of air at the sensor to try and dislodge debris and allow it to fall off the sensor. Be careful to say far enough away from the camera body that you don’t risk accidentally poking the sensor with the nozzle.
After I blew off my sensor, I took new flat images and got the following results, which was a large improvement.
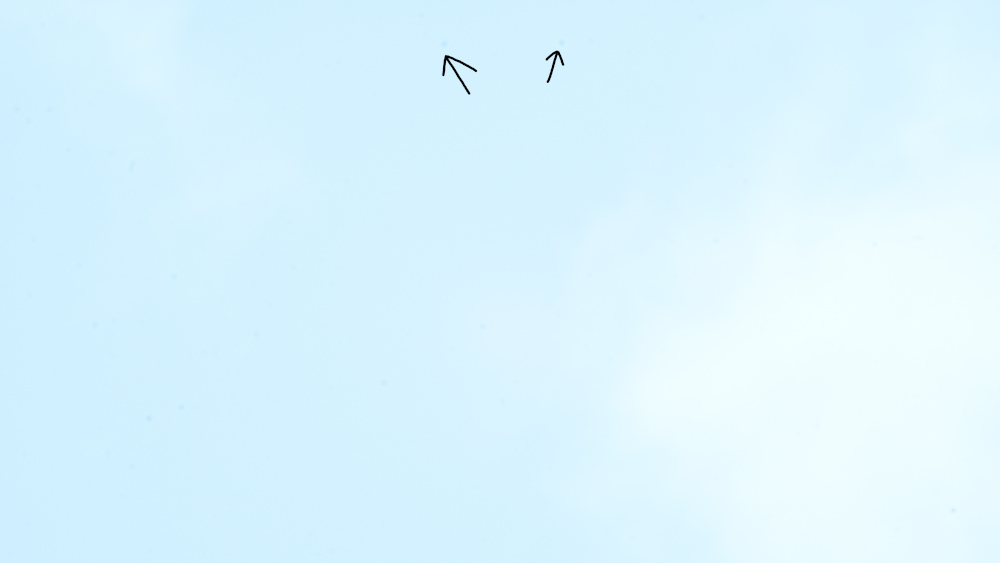
In the standard flat image it is very difficult to see any dust. (I’ve drawn arrows to two to make them more obvious).
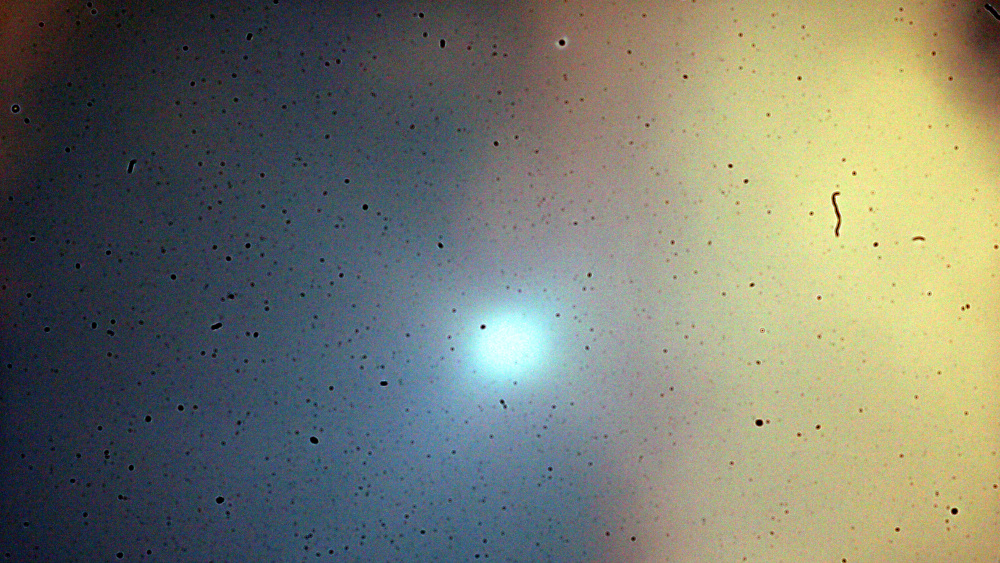
In this digitally enhanced image, you can see the dust (along with a cloud in the sky showing that I didn’t use a t-shirt to cover the end of my lens….). Comparing these images to the “before blowing” images, there is a very large improvement, and this camera would now probably be just fine for taking normal photographs.
Cleaning a little more
If you really want to get most of the dust off of your lens (and clean off some of the things stuck to it) you will actually have to physically touch the image sensor (which isn’t recommended if you can avoid it!). If I wasn’t doing astrophotography with my camera, I would have probably stopped cleaning after blowing the sensor off.
I purchased a camera cleaning kit that included individually vacuum packaged sterile wipes on a stick specifically sized for my Sony A6300 camera’s APS-C 16mm sensor. You wipe it across the sensor in one direction, then wipe the other way using the other side, and then that wipe is used up. You can wet it with the special cleaning spray if you are trying to get “stuck on” residue off the sensor. [Usually bits of dried spit from somebody blowing into the camera body.] You can watch my video below to see this in use.
[Note: My camera does not have a mirror, but if yours does, you will need to find the menu option for your camera to lock it out of the way for these procedures.]
And here are the final flat images shot after wiping the image sensor. They have reduced the dust/debris more than just blowing, but the magnitude of the change is much smaller.

You really can’t see any dust in the normal flat image until it is digitally enhanced to highlight the problem areas. The wiping action got rid of most of the dust (or moved it to the sides of the sensor where it won’t be an issue. There is one persistent spot of dust with a discoloration around it in the top center that I believe was some form of liquid that dried and stuck a piece of debris to the imaging sensor. As it is near the edge, I’m not going to risk damaging my sensor by “scrubbing” at it with a wipe.