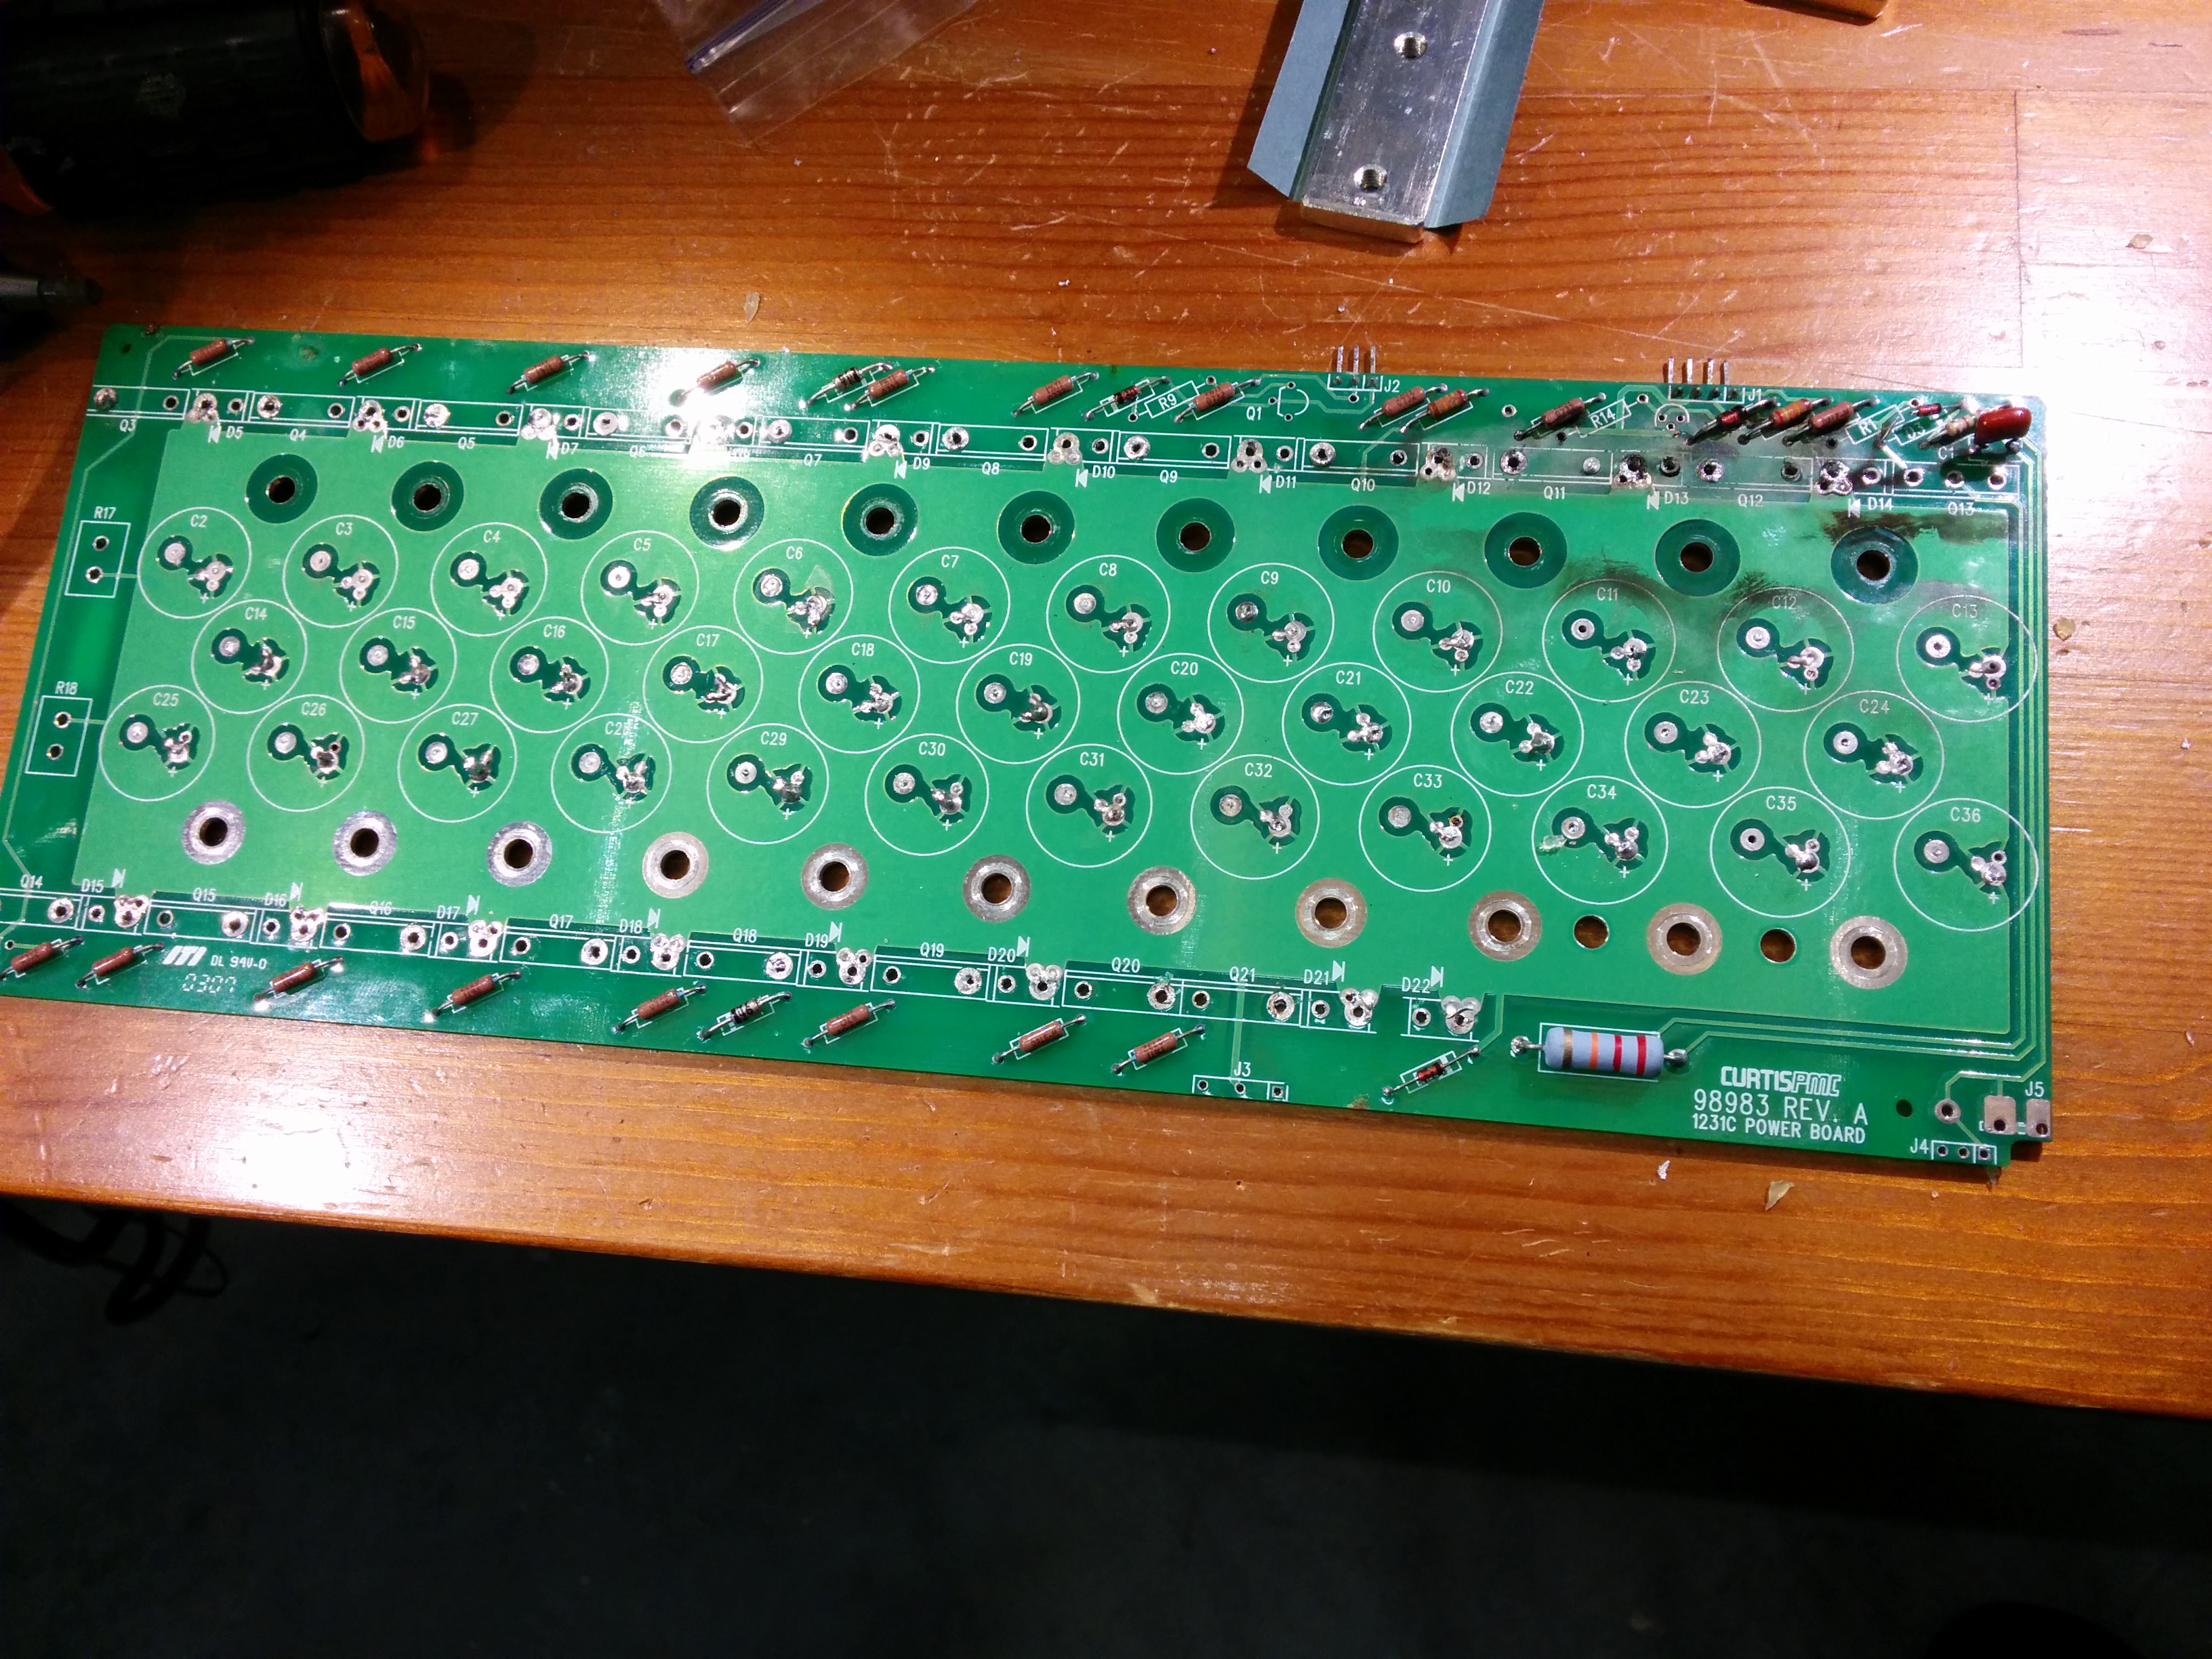
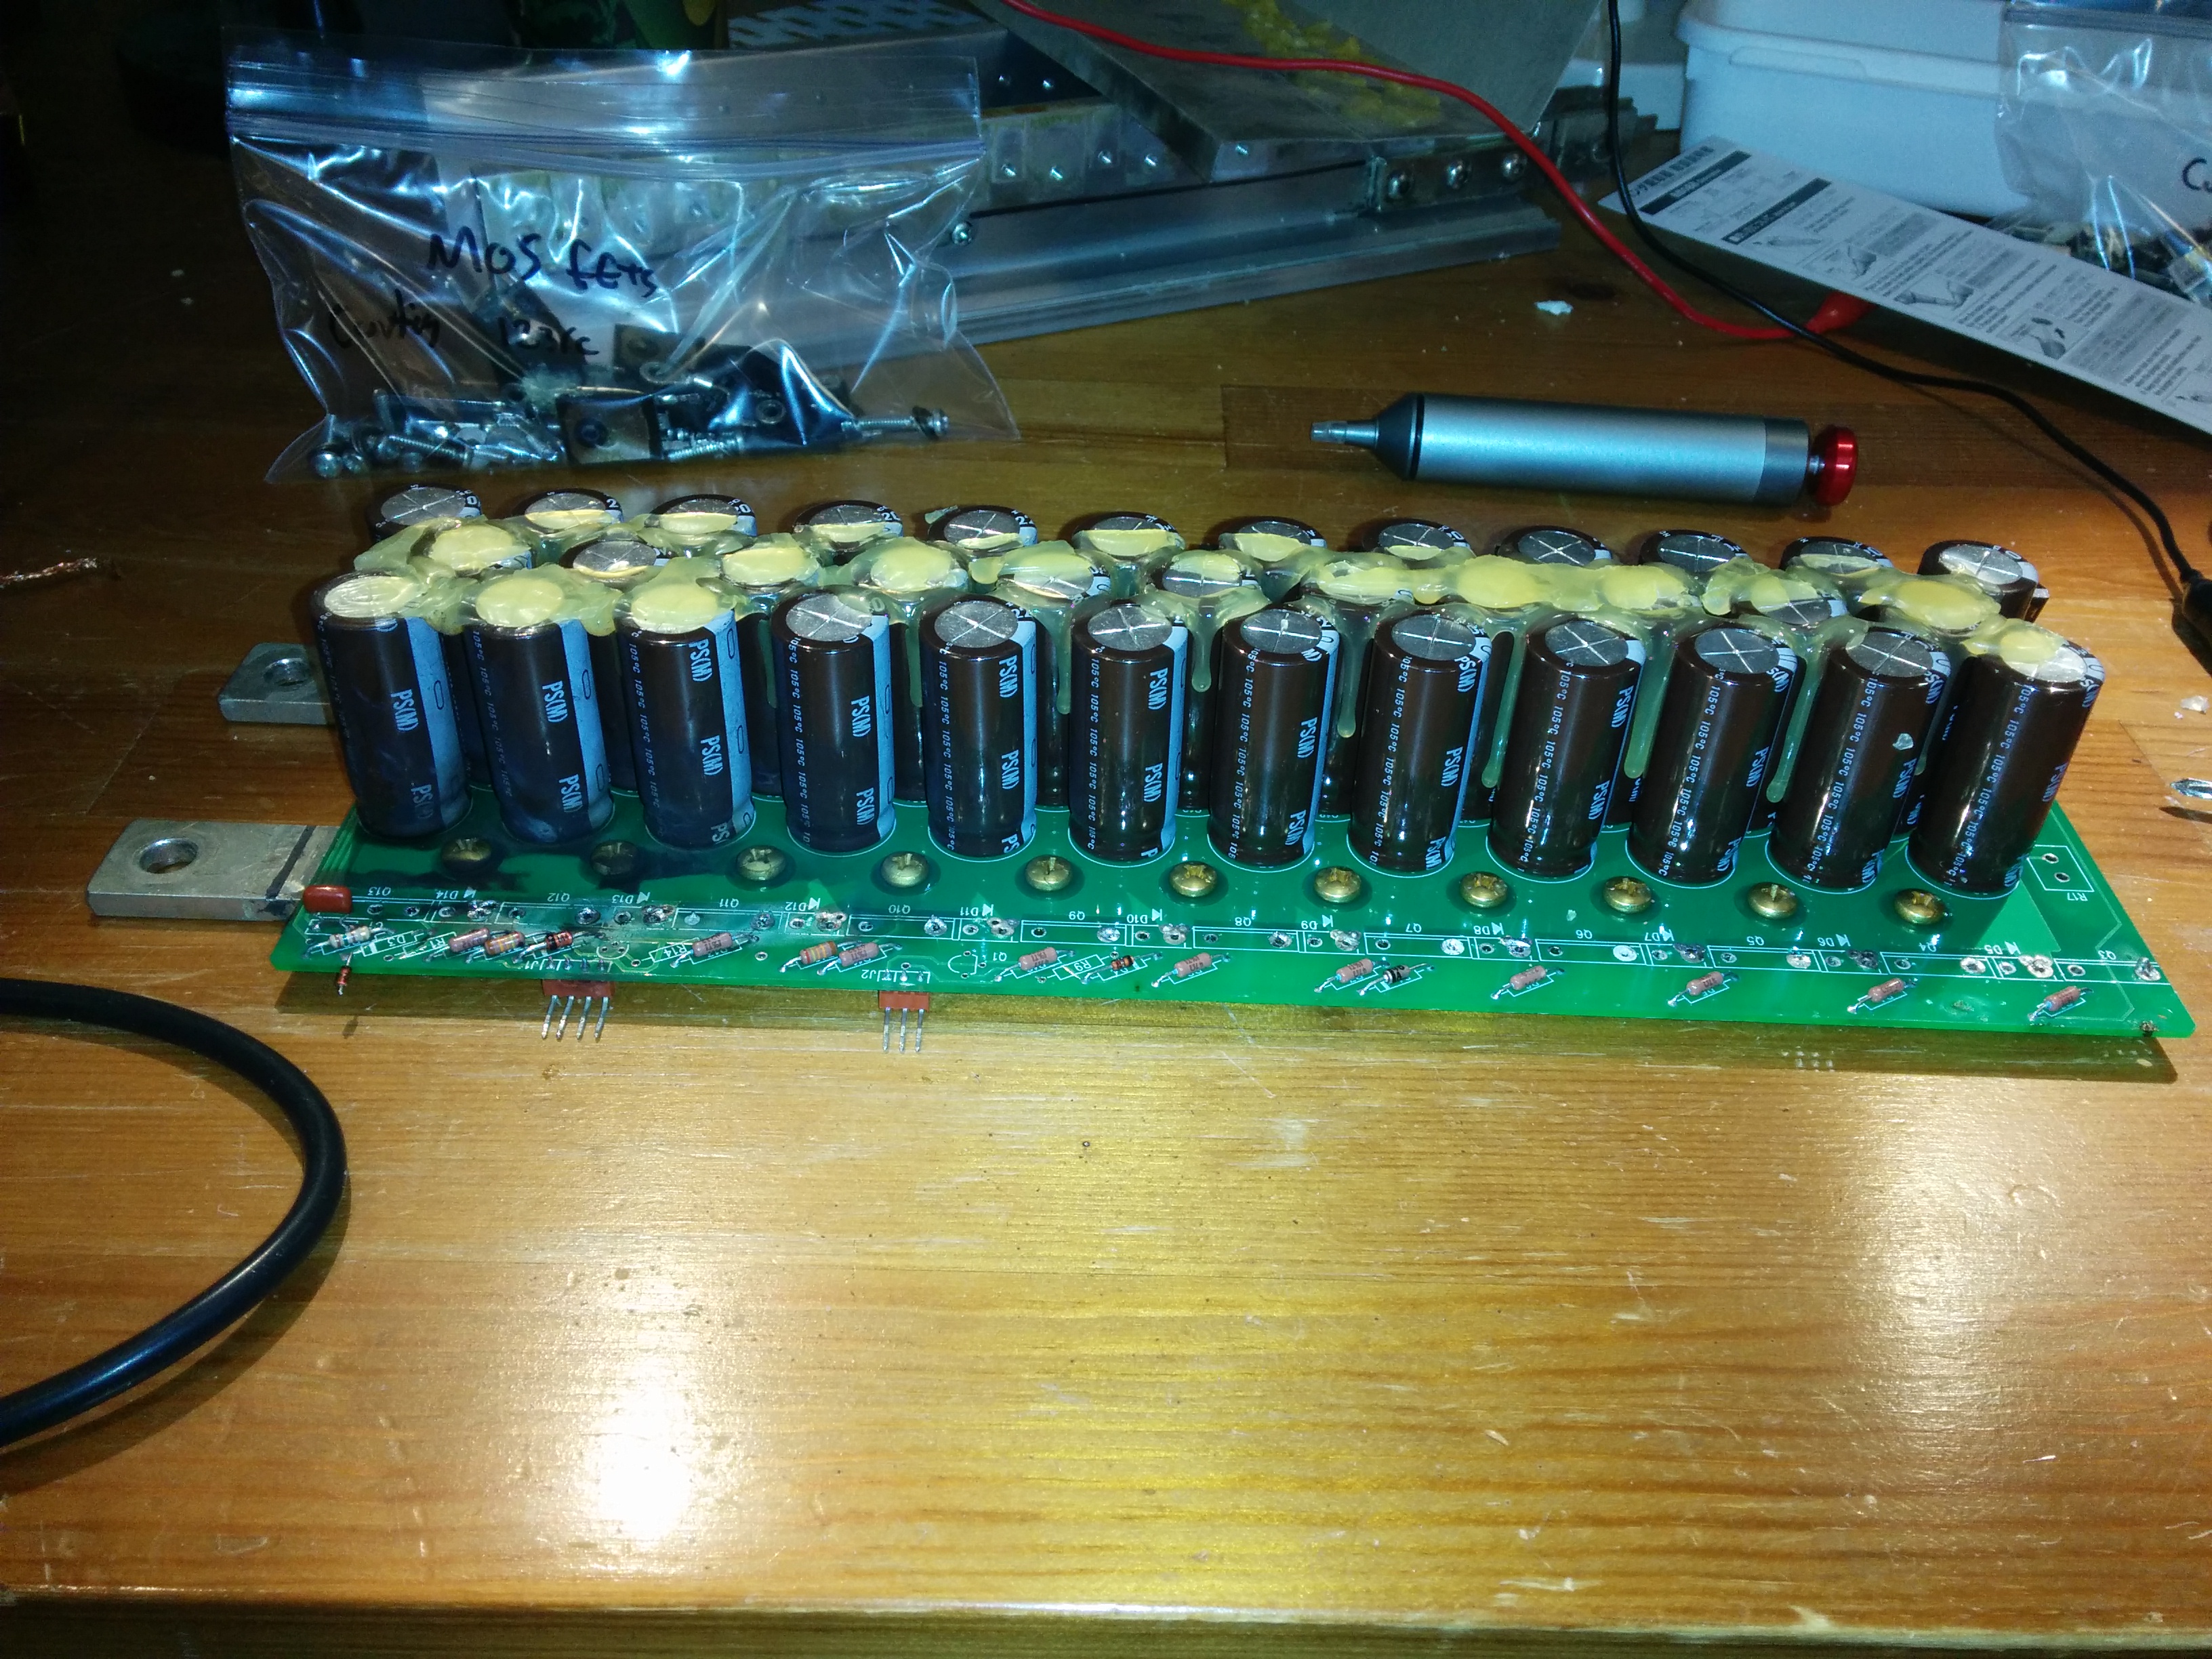
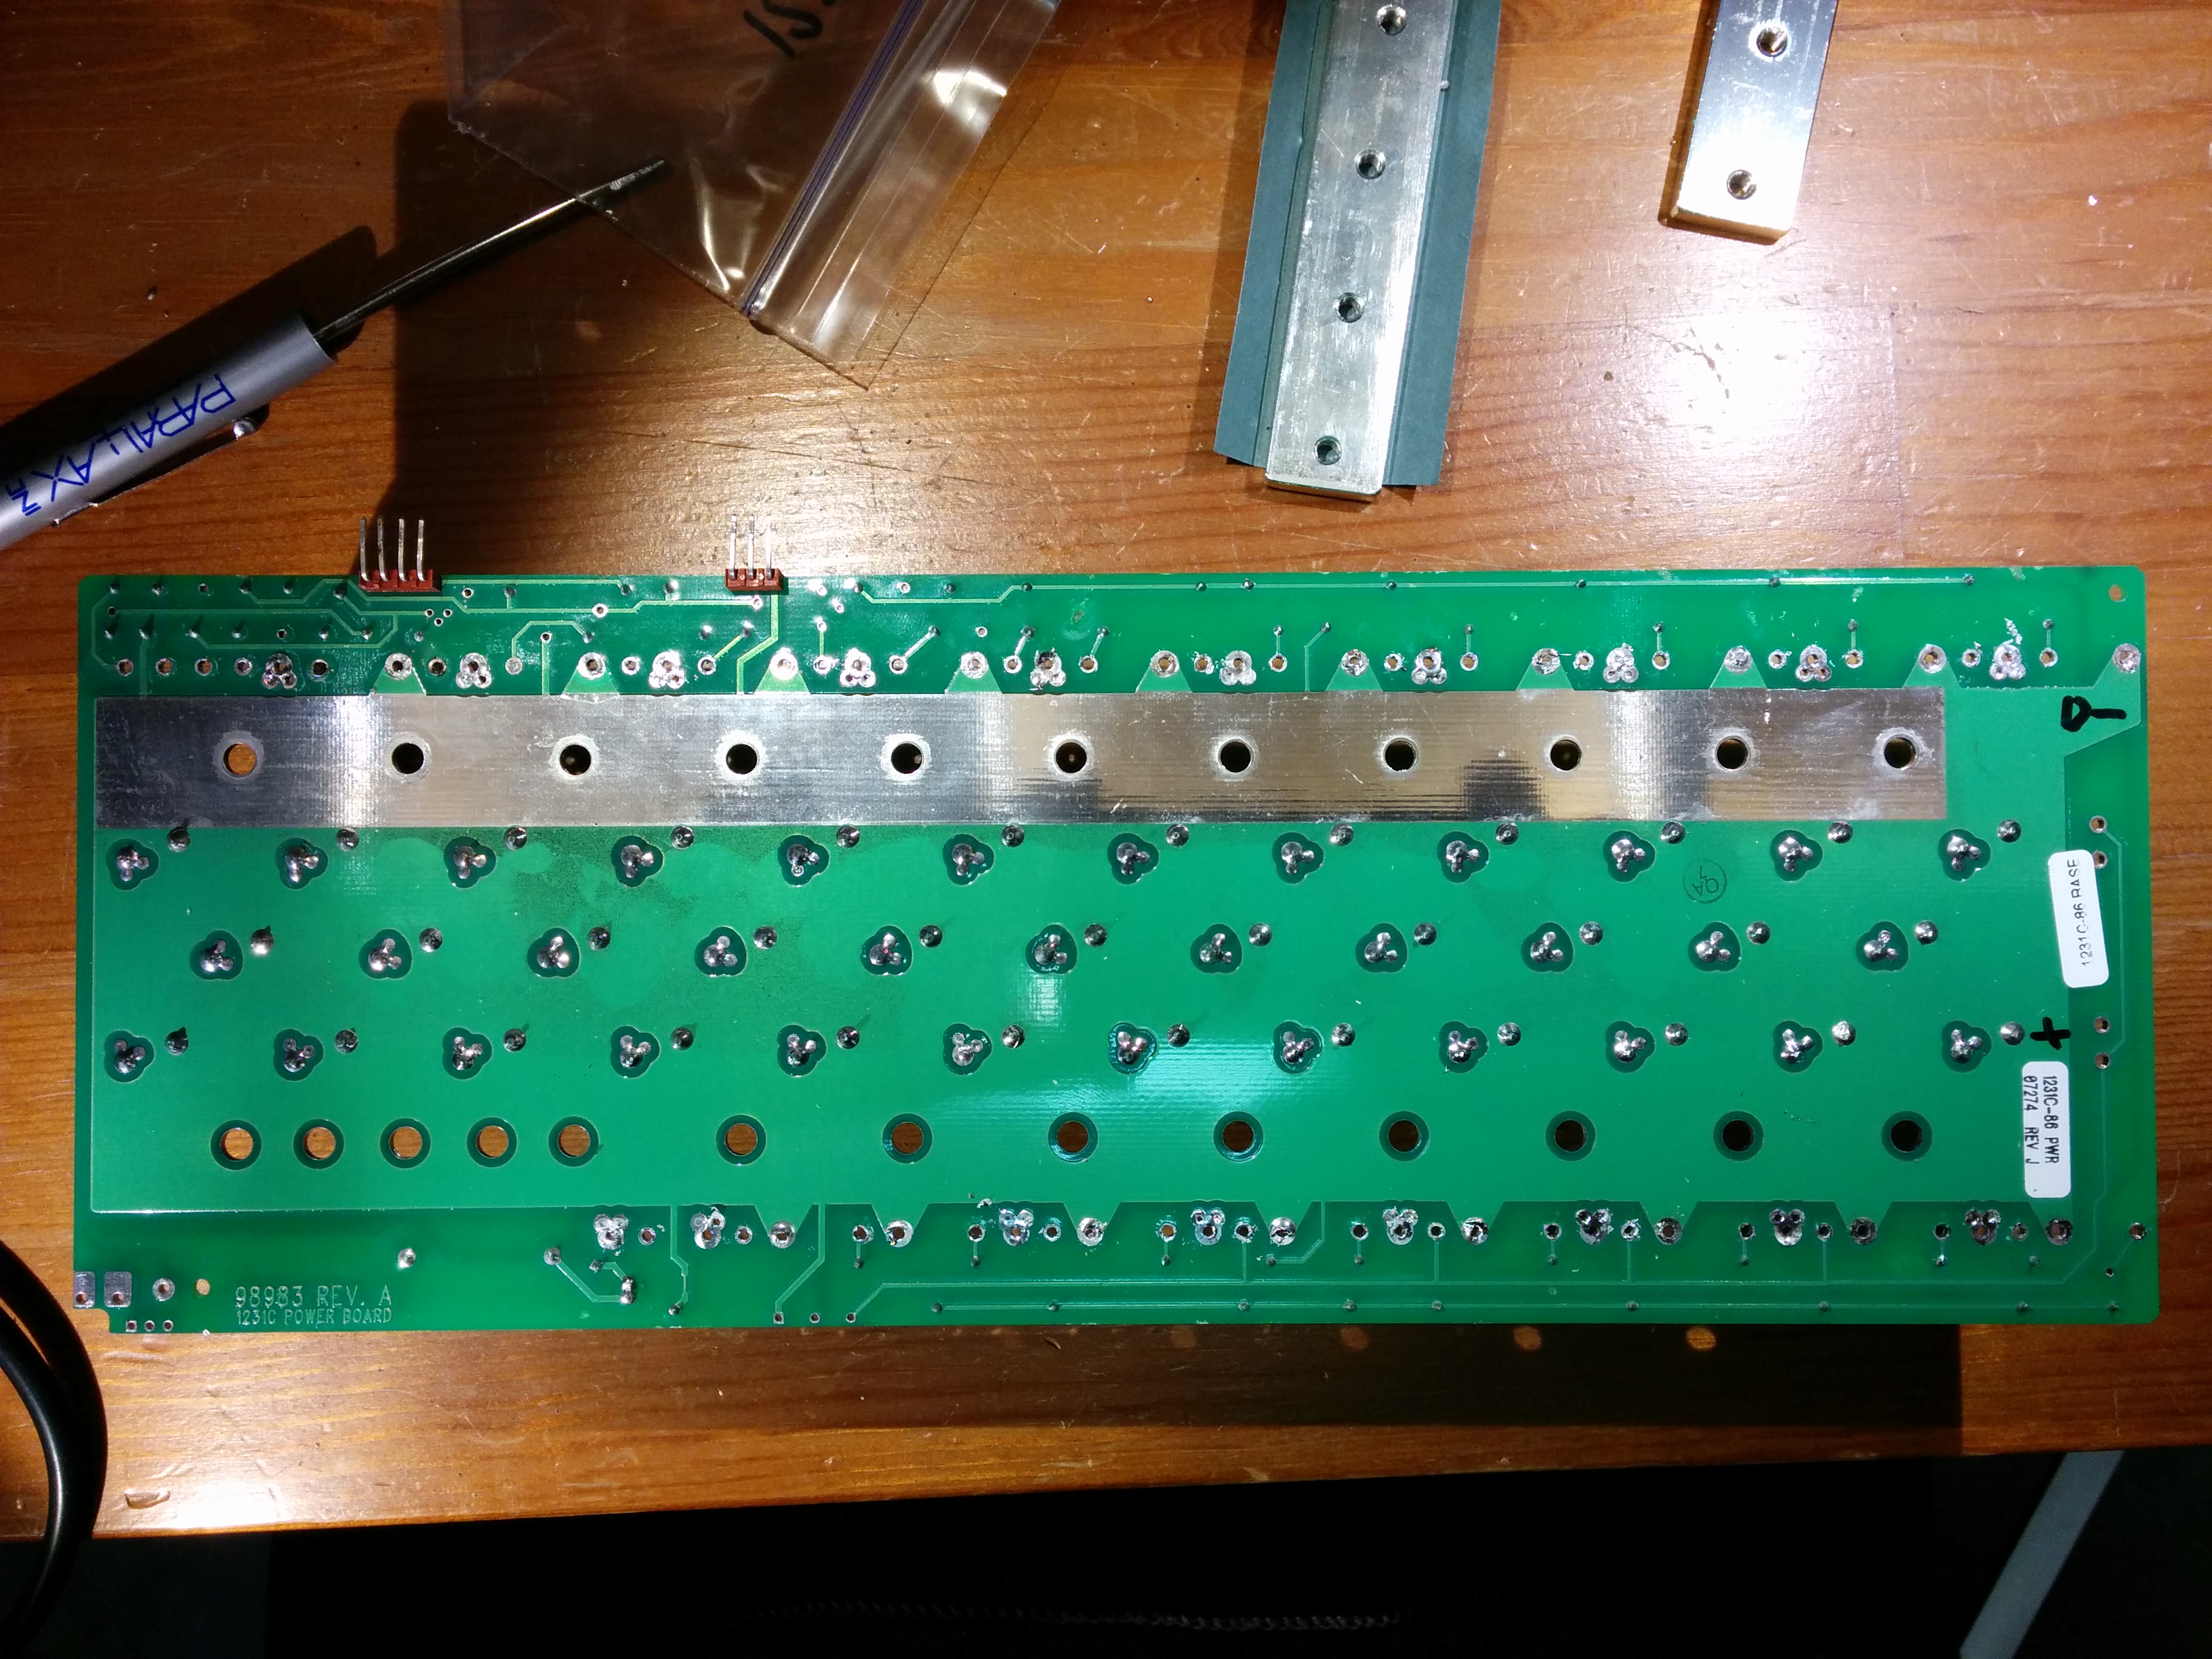
I desoldered all of the main power components (diodes, MOSFETS, capacitors) from the power board of my failed Curtis 1231c PWM DC motor controller. The plan is to upgrade all of the components to give it higher capacity; while producing less heat. Of course, to replace them, I had to remove the old ones, which took around 6 hours of work with two different soldering irons and a solder sucker.
My advice:
-Heat component legs (diodes/MOSFETS) from the top of the board (side with the component) while you solder-suck from the bottom. Get one leg completely free first, then work on the other. After you suck almost all the solder out, you may still need to re-heat the leg and push it away from the PCB with a small screwdriver so it doesn’t stick to the inside of the hole.
-For the capacitors, don’t be afraid to add a little solder to the smaller leg, and then use a 100 Watt super wide tip soldering iron to heat both legs up at the same time, and pull the capacitor straight out. Suck the solder from each hole individually later once all the components are gone.
-I heartily recommend the Engineers SS-02 Solder Sucker, the silicon tube it uses is great! I did get solder stuck inside the metal tip a few times, but nothing a 5/64th drill couldn’t fix right up.
Here are a few photos of the process, with a nice video at the bottom:
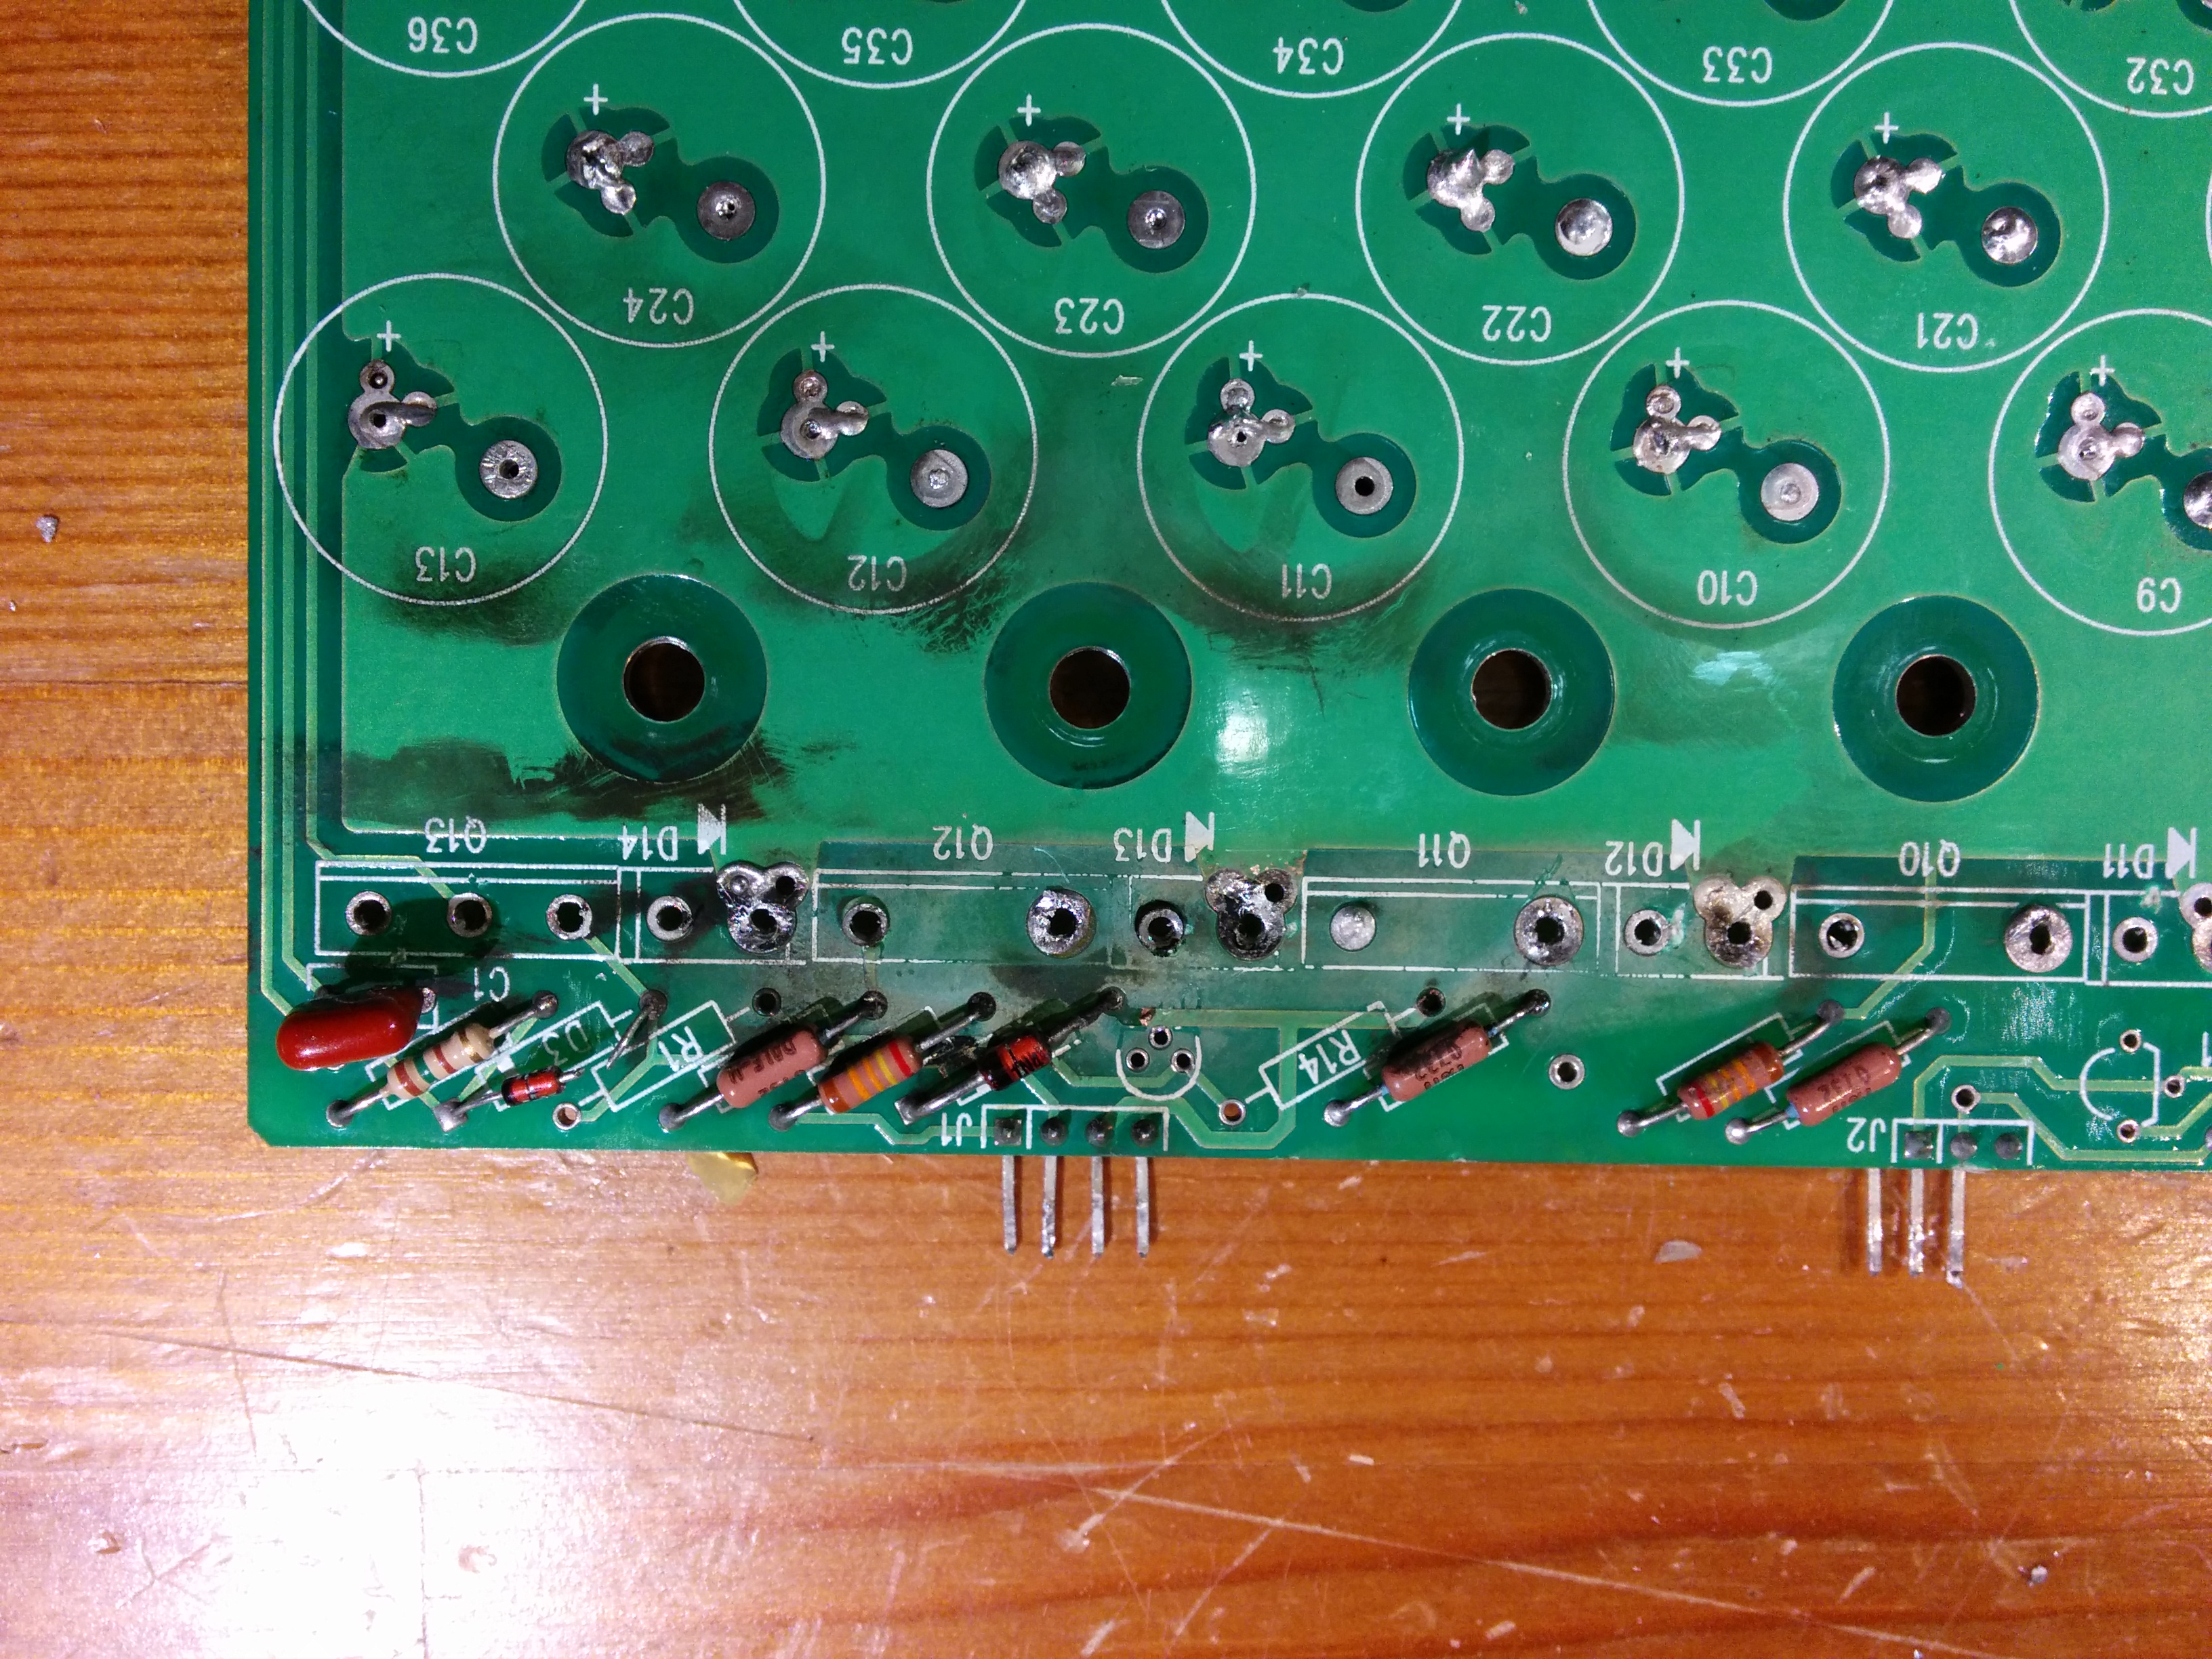
This photo shows a little bit of the carbon soot left over after two MOSFET’s blew themselves up. I’ll be cleaning all of that up before re-populating the board.


