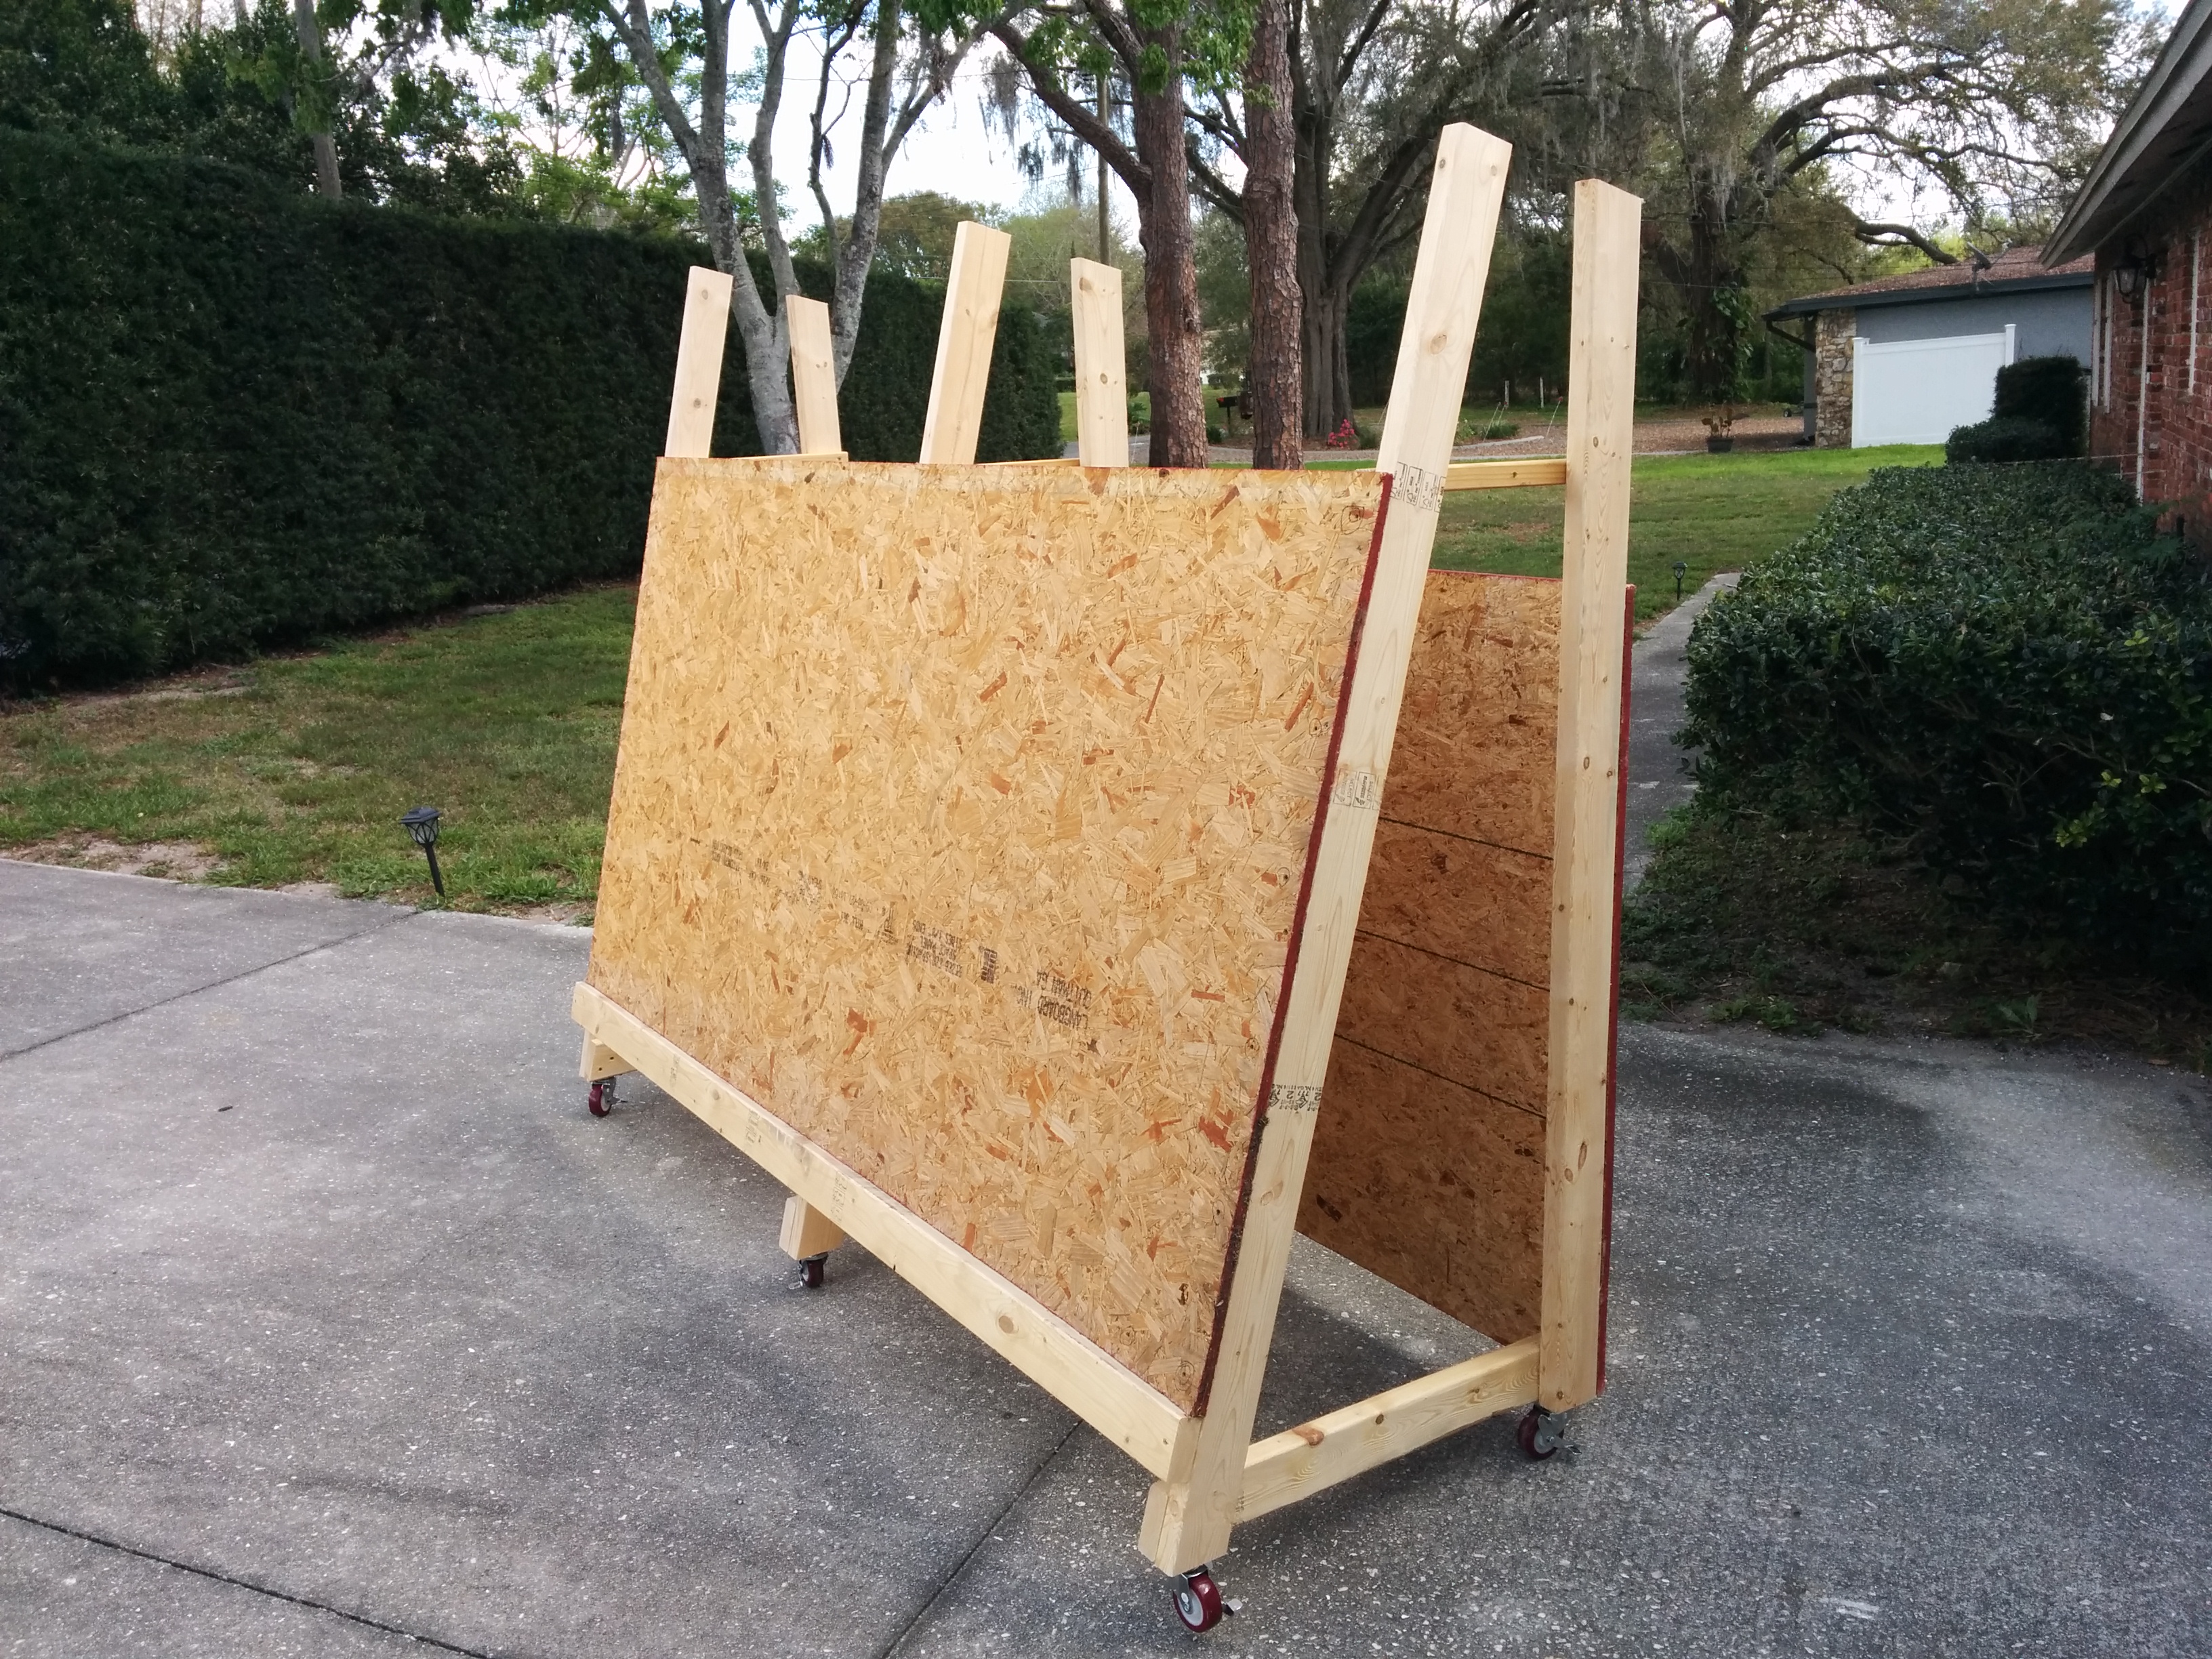
I built this rolling triangle shaped frame as a multi-purpose piece of shop furniture. It’s primary function will be as the frame for my maslow CNC router, which is why the front face is at a 15 degree angle and it has the 10′ unistrut beam at the top to mount the chain drive motors on. 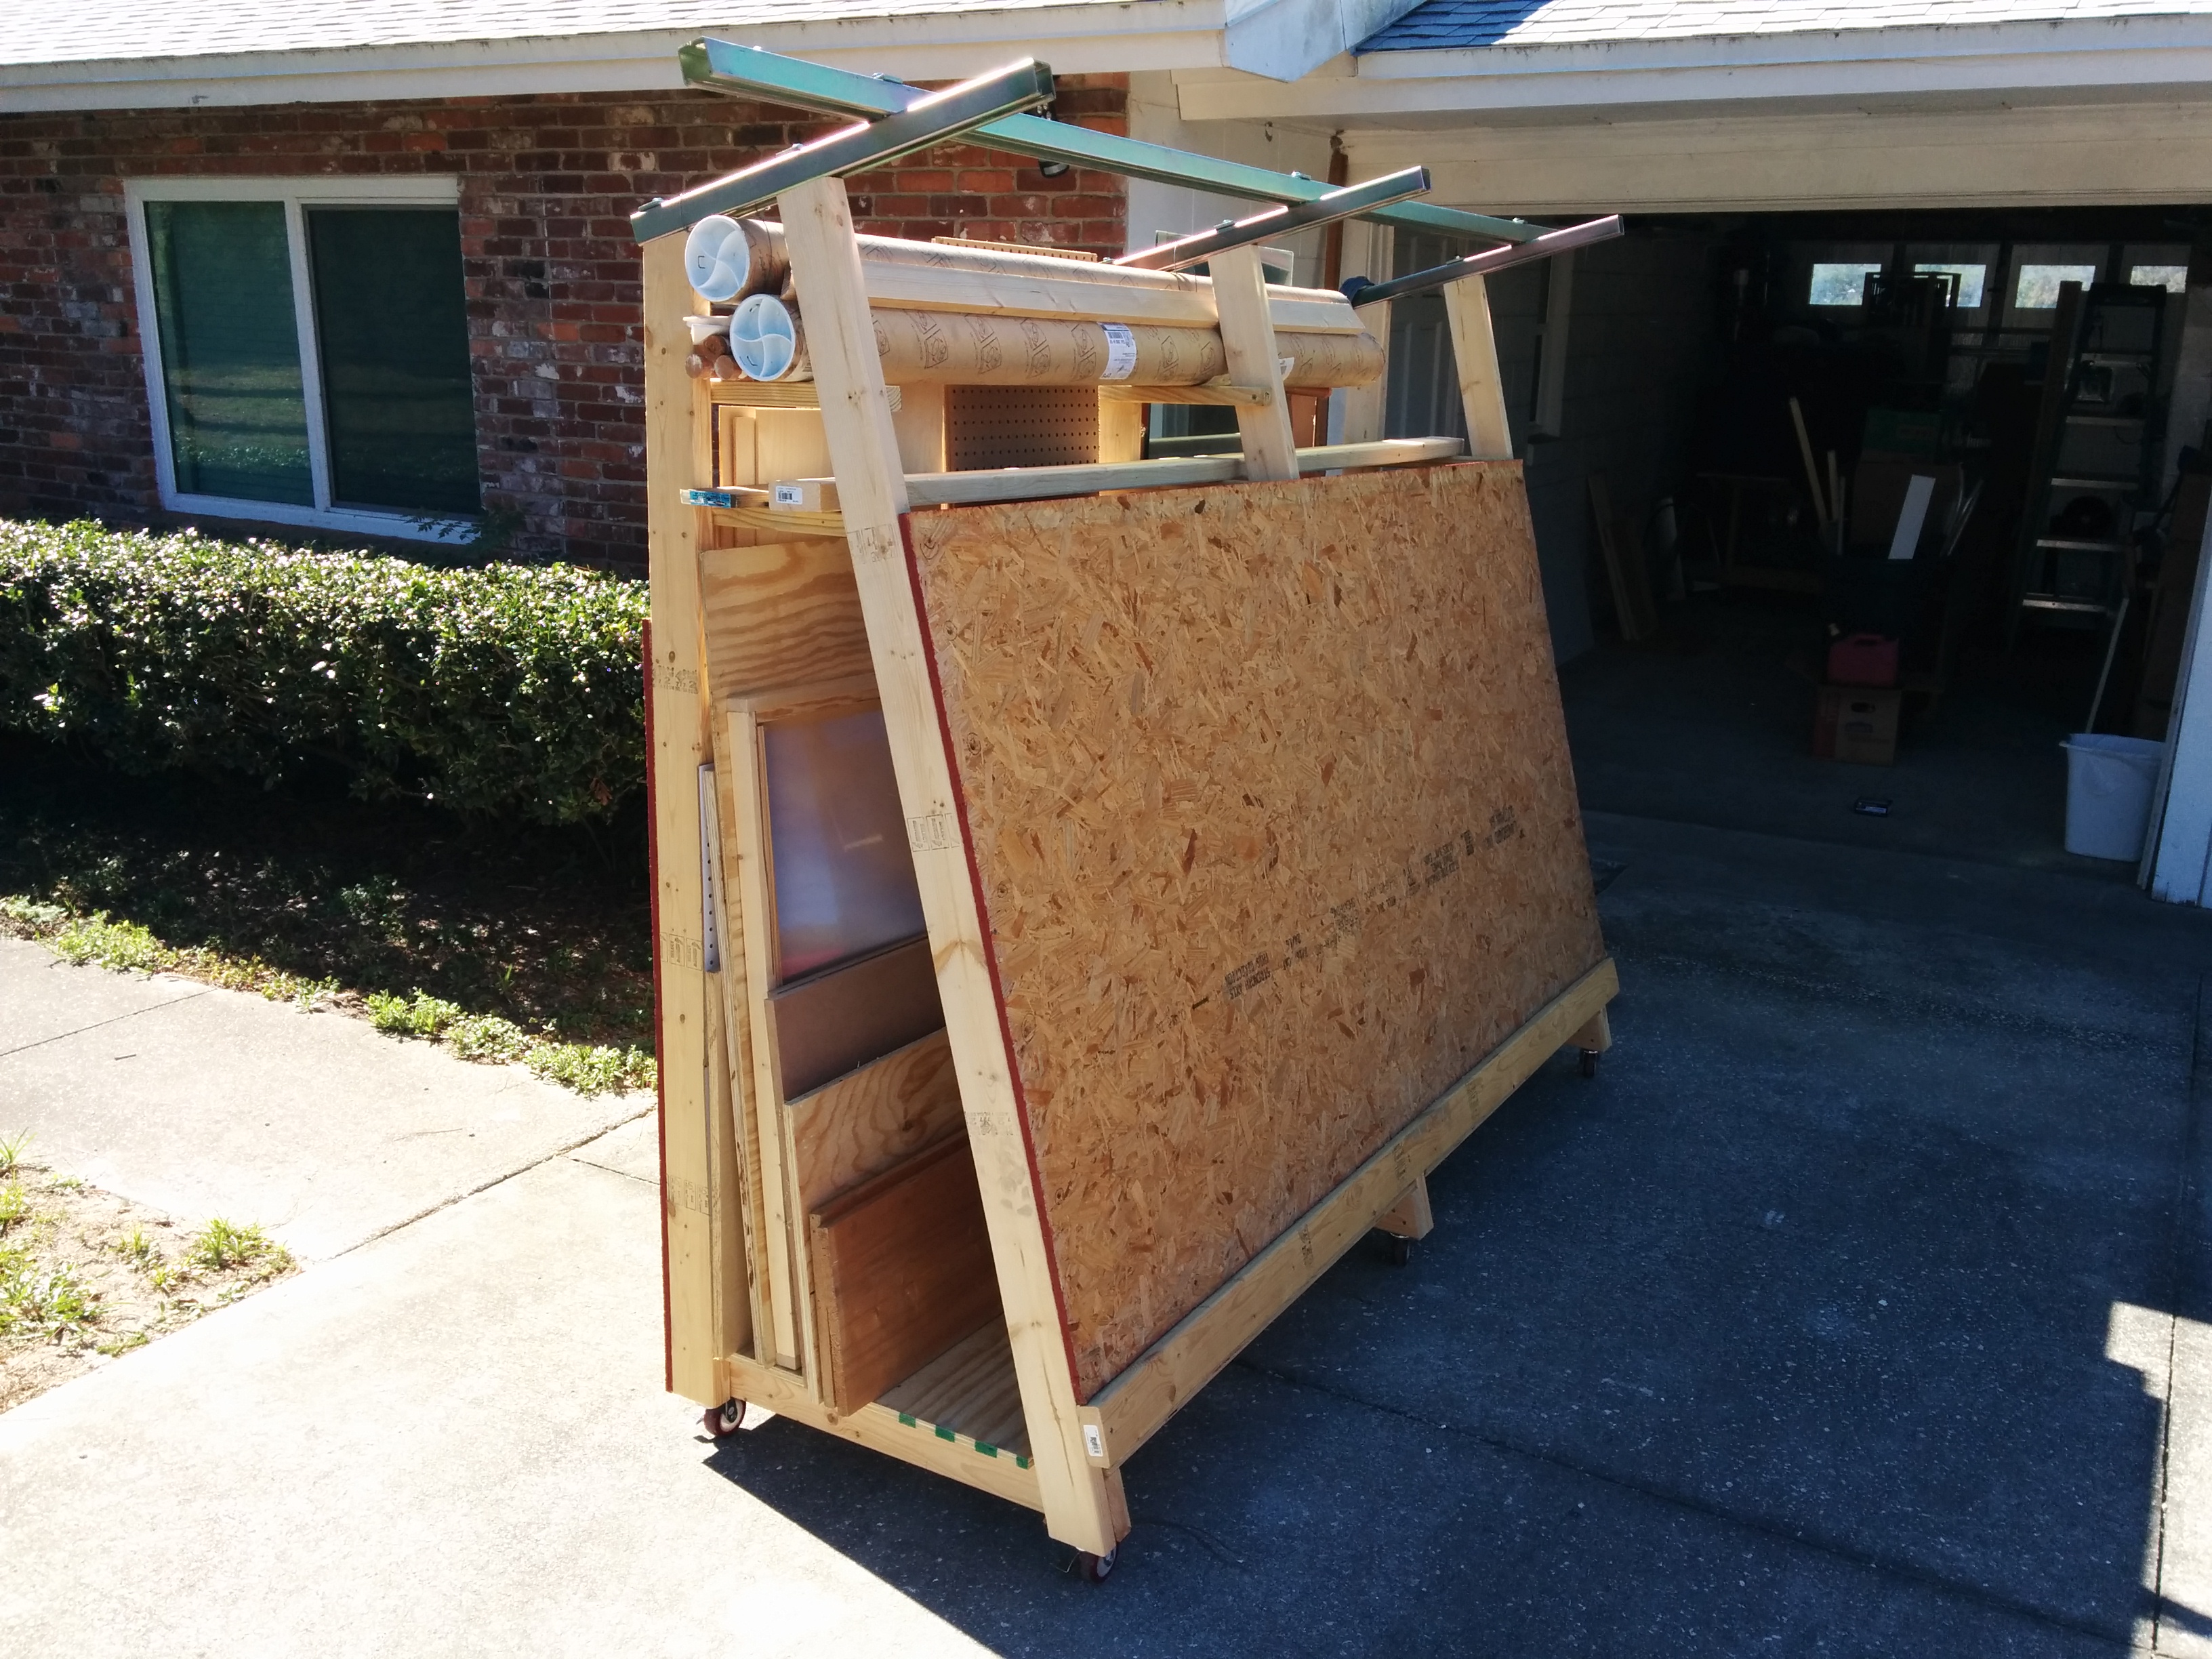
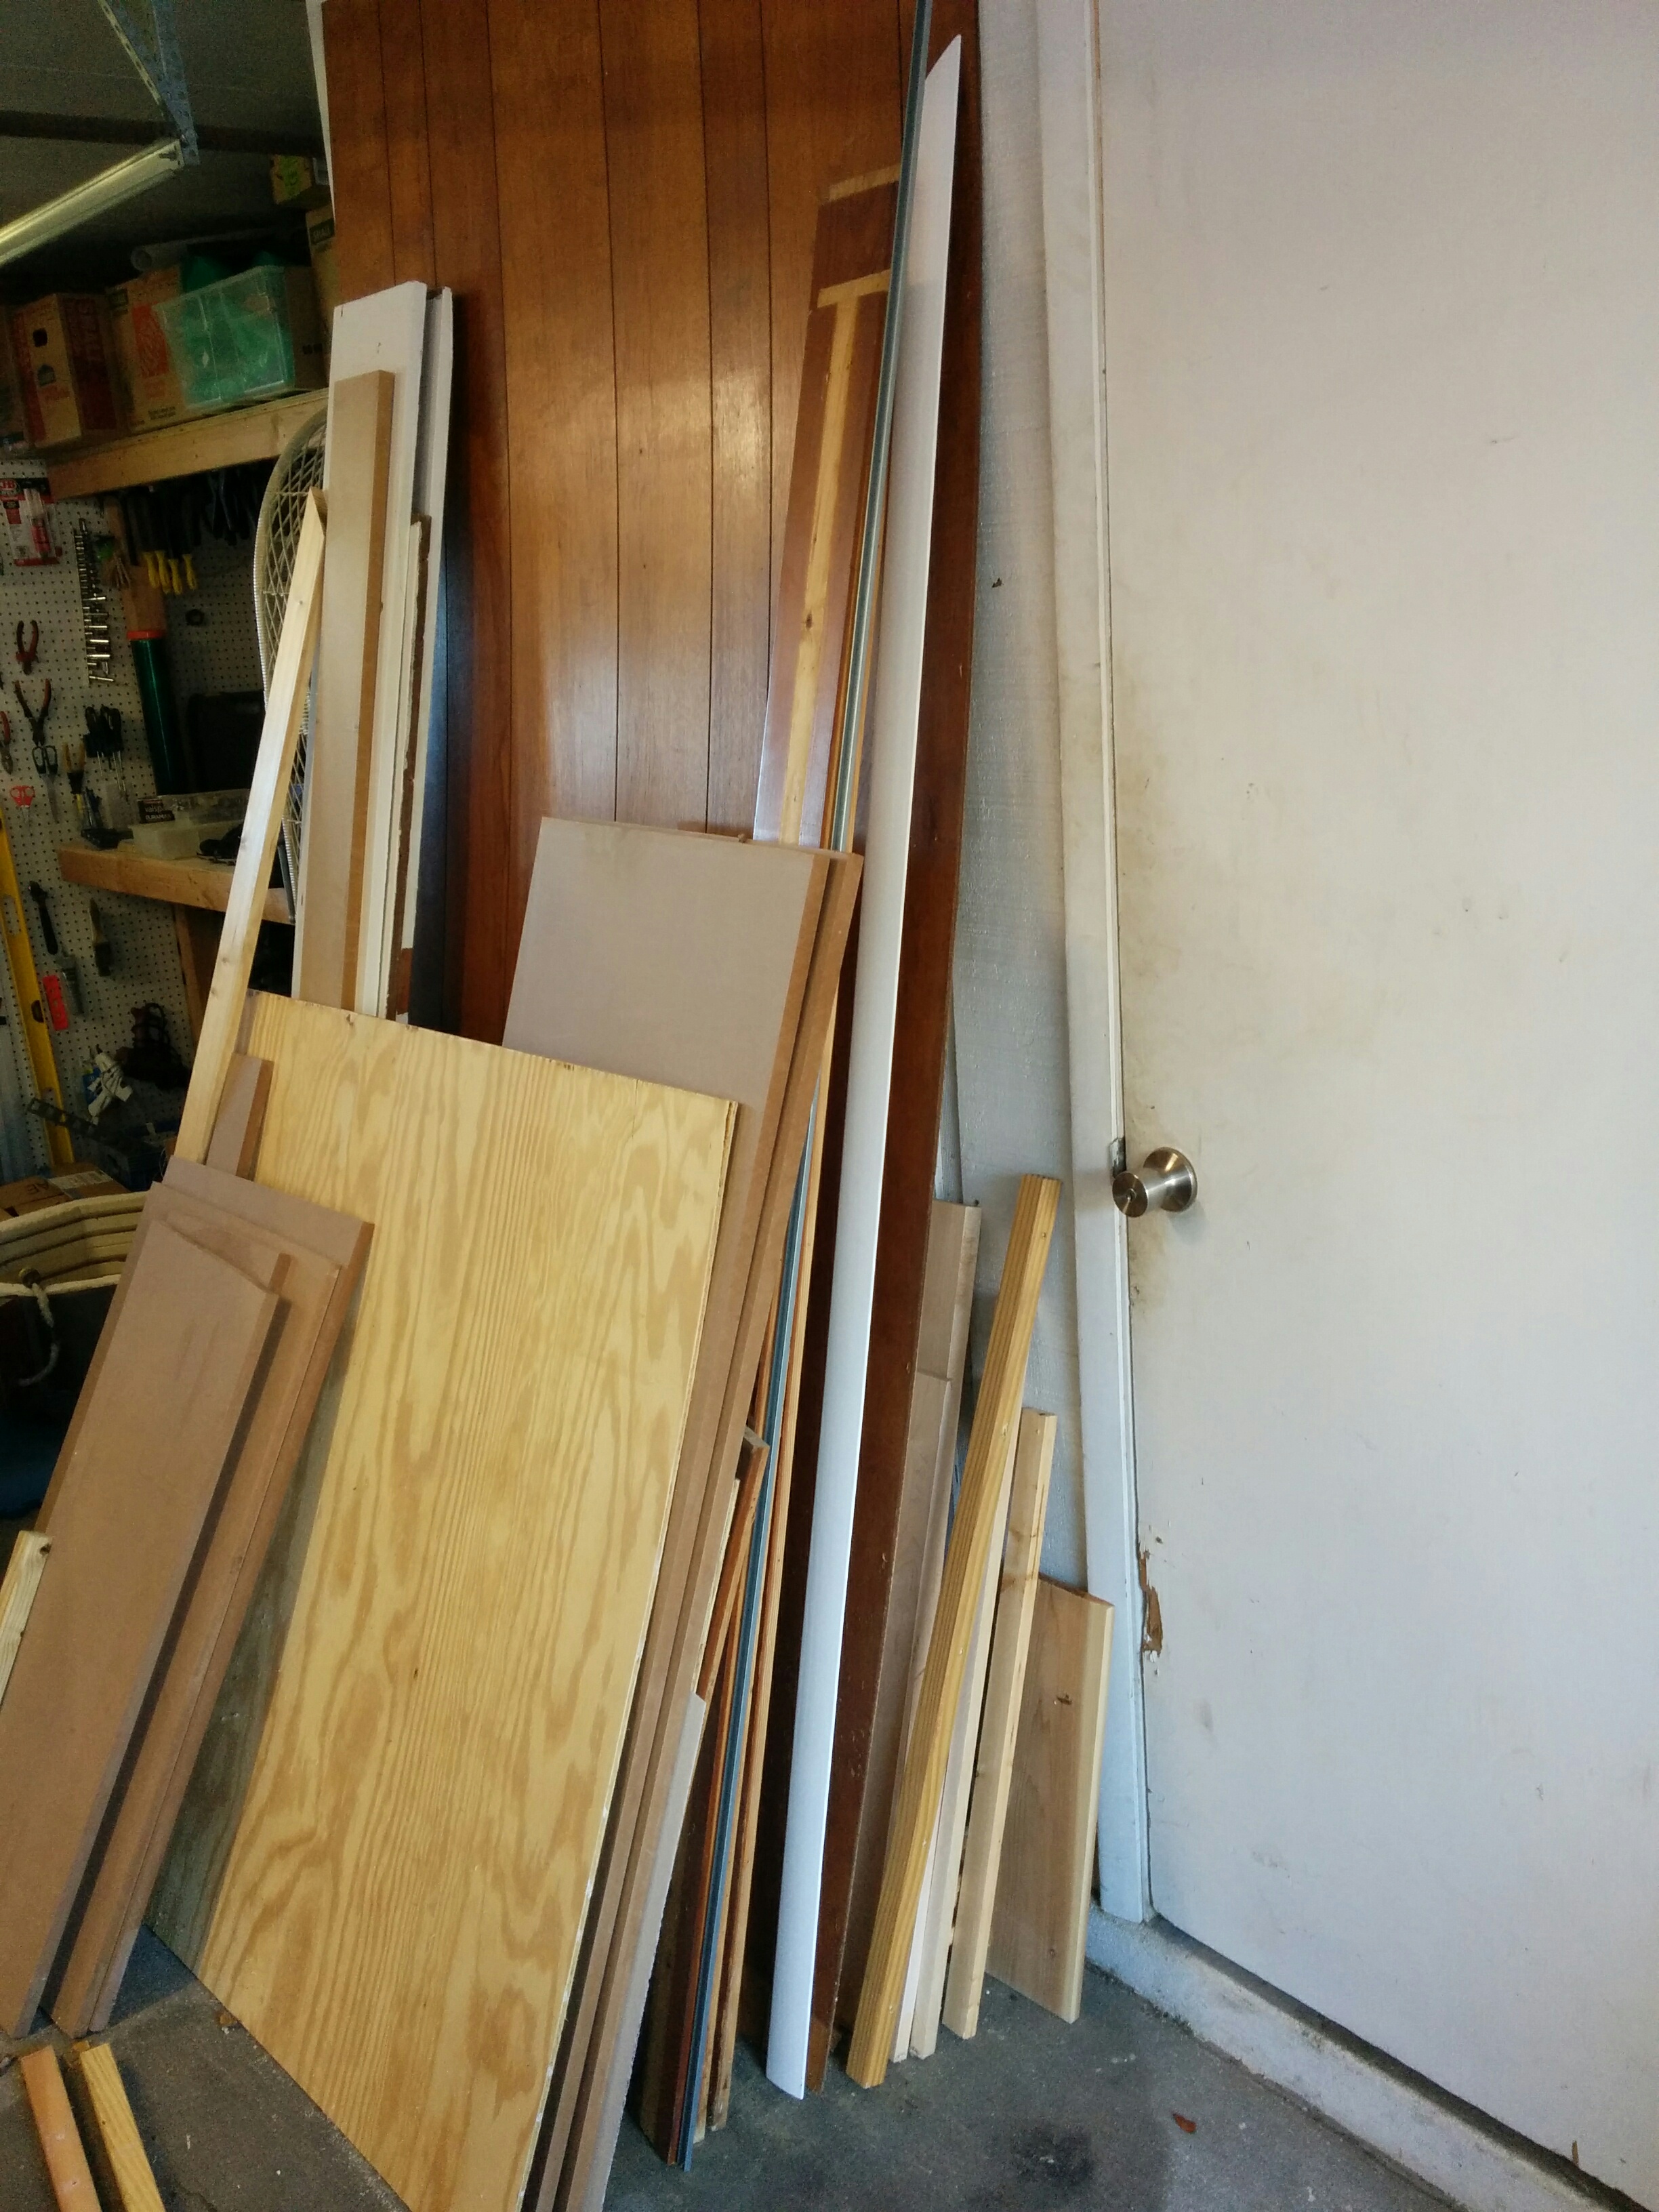
But, if I’m going to have a frame to hold a 4’x8′ sheet in my garage, I wanted the back of the frame to serve a useful purpose, so I integrated sheet and board storage into the rolling frame. I can store multiple 4’x8′ sheets inside, along with many long boards in the top. It also stores various pieces of flat plastic and glass I’m saving for important future uses.
![]()
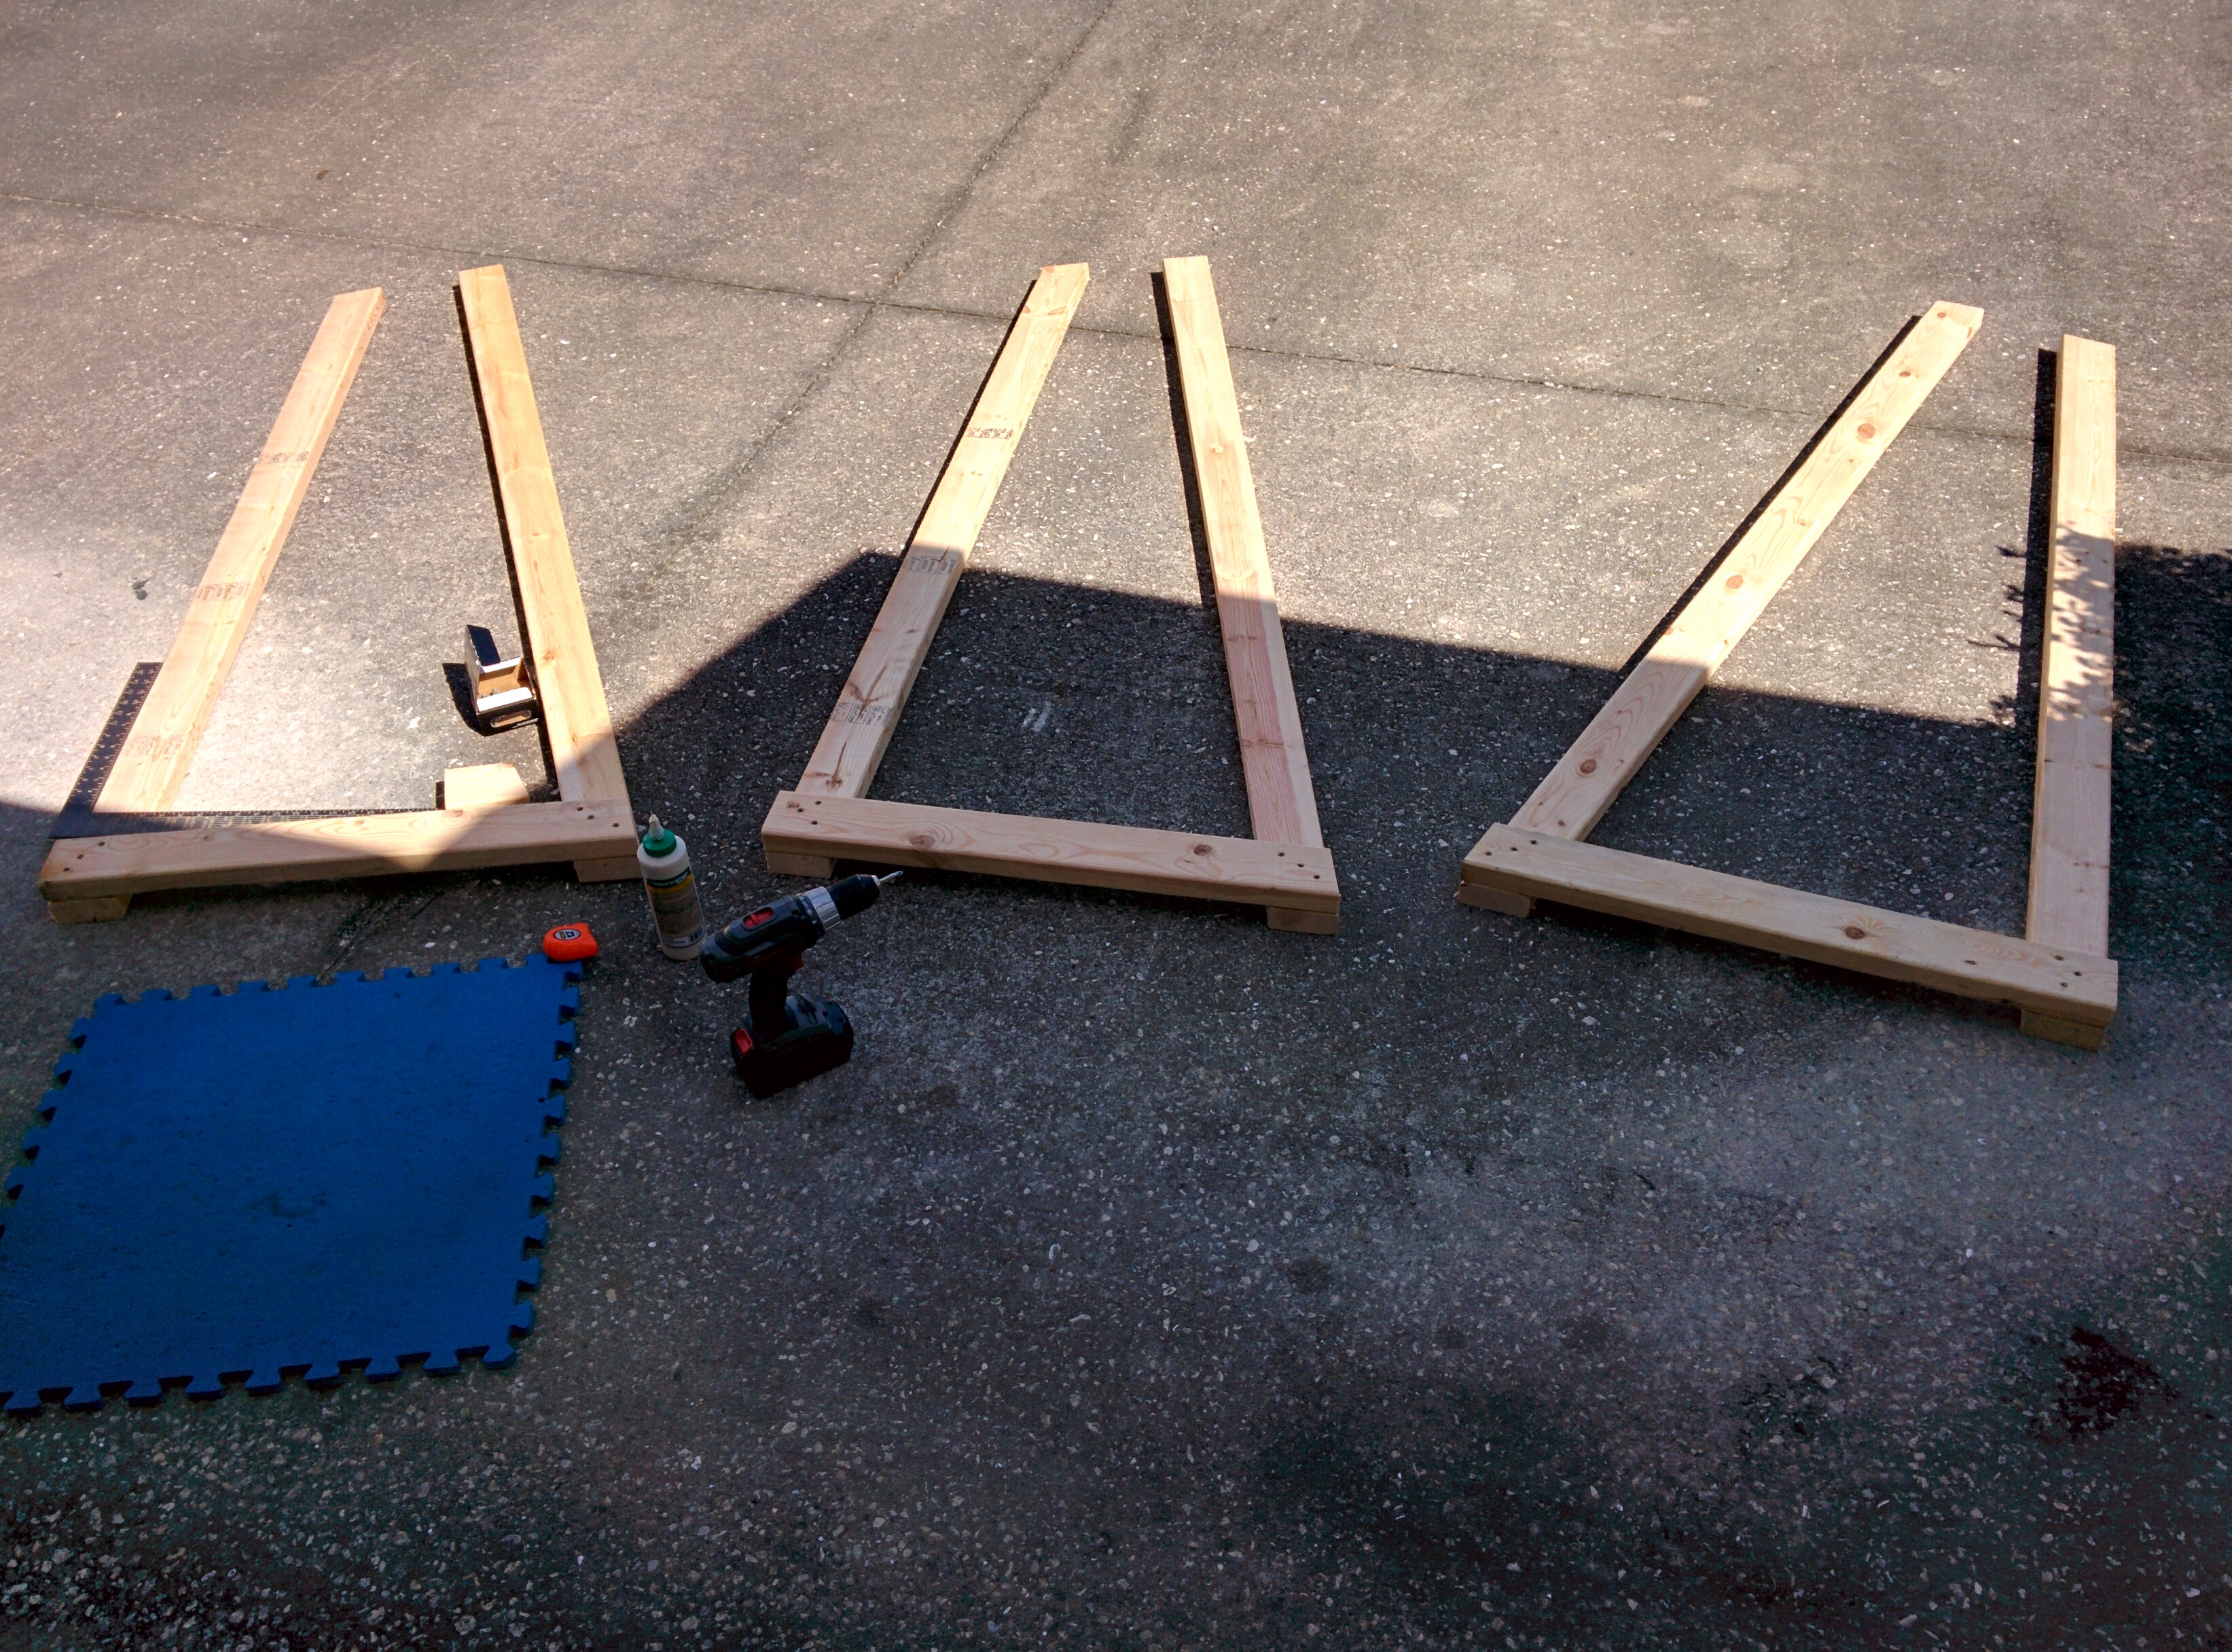
Construction was relatively straightforward except for the fact that I had to cut a lot of 15 degree angles on one end of each of my frame boards. I made three triangular frames out of 2×4’s. The three boards that make up my triangle(ish) frame are 31.5″, 73.5″ and 68.75″ on the long side. They each have one 90 degree angle end, and one 75 degree (15 degree cut) end. The top of the “triangle” is flattened and the outside ends of the 2×4’s are ~13″ apart (12.392 according to calculations, closer to 13 in reality), later to be supported in place by a cantilevered piece of unistrut/superstrut that will hold up the 10′ piece of superstrut to support my X/Y axis chain motors.


Then I used two pieces of 4×8 chipboard left over from the last hurricane as the front and back, and a 30″ piece of nice plywood notched around the 2×4’s for the bottom. I put an 8′ 2×4 stud along the bottom of the front board to be used as a ledge to hold up my work piece. I also cut three 17″ long pieces of 2×2 with a 15 degree cut at one end which I mounted with the bottom 50″ above the flat bottom 2×4. These helped hold the system together before I mounted the unitstrut on the top, and also serve as shelf supports for long board storage above my main area for sheet storage.
I bought two 10′ lengths of “SuperStrut” (Lowe’s version of Unistrut) and cut one down into three 26″ long sections that I lag bolted to the top of the 2×4 uprights. These cantilevered pieces support a 10′ length of superstrut which will support my maslow’s X/Y chain drive motors.
![]()
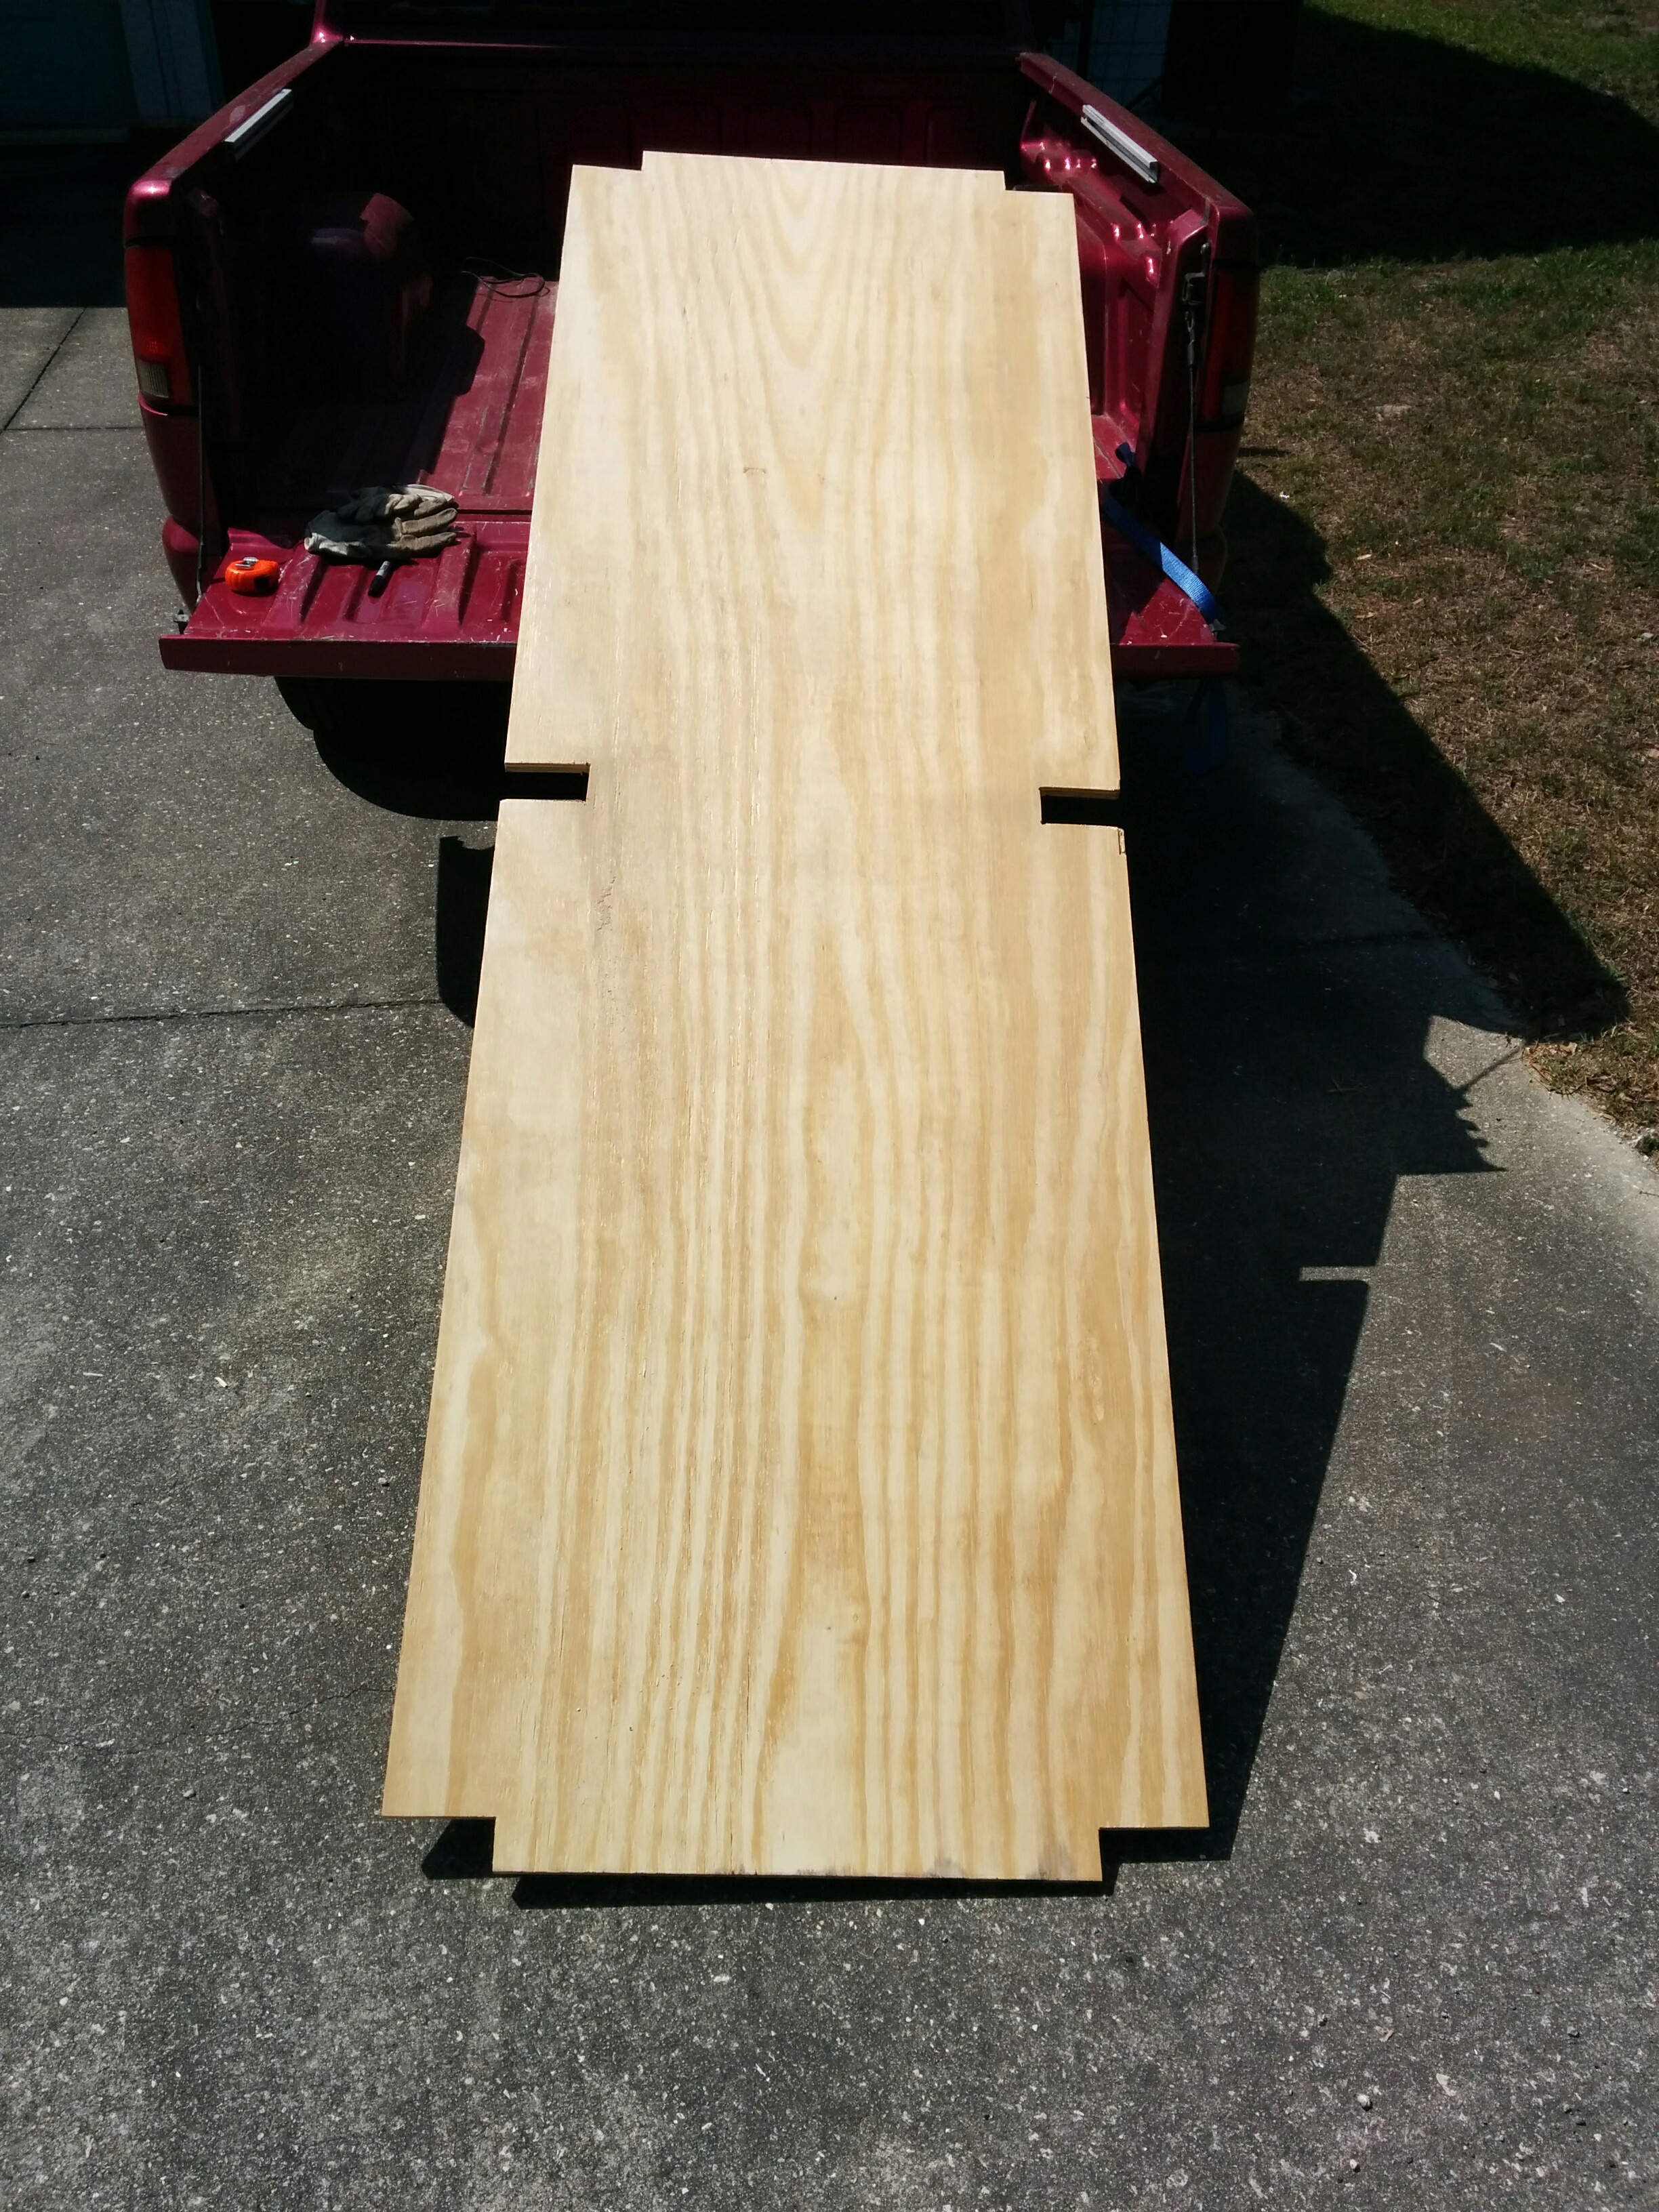
This is a welcome improvement over my previous sheet/board storage solution.
Pingback: Maslow CNC setup | Jay's Technical Talk
I like your design and how you made the storage space between the front and b ack. The detail of the build was very good. Thanks for taking the time to explain the details and the excellent pictures
Great design, especially with the wood storage. Would you mind checking the triangle measurements? I did a quick mock-up of one of the triangles and those dimensions here don’t match the picture you have of the flattened triangle. The front leg of my triangle is about 2 1/2″ too short. Thanks!
You are right, I did flub those measurements somehow, sorry. (I think I recorded the “short” length on two of them but reported them as the long length). I have updated the post to reflect the correct measurements (31.5, 68.75 and 73.5″). Keep in mind that the bottom board overlaps the two uprights when I screw them together.
Just ordered my Maslow CNC from Makermade and I love your frame! The storage factor is genious! Do you have directions posted anywhere or how you set up the machine on the frame?
Nothing other than this post:
https://www.summet.com/blog/2018/04/27/maslow-cnc-setup/
First of all, thanks for sharing your design in such detail. I got my kit recently but have been putting off building the frame as I reviewed what other people have had success with. Could you share what kind of accuracy you’ve managed to get consistently & any other comments you have about your frame design & Maslow configuration?
I’ve been relatively happy with the accuracy. It’s not quite up there with a gantry style professonal router, but was certainly good enough for what I was doing with you. You can read my full review here:
https://www.summet.com/blog/2018/06/12/maslow-cnc-hanging-router-review/
And an example of something I built here:
https://www.summet.com/blog/2018/07/11/pokeball-decoration-mdf-paint-resin/
Hi that looks pretty neat, I’m going to try some of those design elements in my Maslow and post the result! Do you mind if I cite you as the creator?
Glad to hear I gave you some ideas, feel free to cite/link as you like.
awesome! just the idea that I was looking for. Just ordered my Maslow components :-))
Quick question: Is there some reason why you made the 26″ unistruts that length?
That was the longest length that would fit under my garage door. They generally don’t need to be that long to support the top beam, but I had a full piece of Unistrut to cut up, so I decided to make them long enough that I could move the top bean out a ways if I ever put something thick on the stand and needed the extra clearance. So far that hasn’t happened, but I did take advantage of the extra length to hang a roll of fiberglass off of two of them, which worked out well….
Hi I really like this because I feel the same regarding space…i’m looking for a cut list..did i miss it?
Afraid I don’t have a set cutlist, but I believe I have listed all of the measurements for the triangular pieces of wood. Everything between them is basically just 8′ sheet goods or boards.The exact spacing isn’t critical as long as the center triangle is near the middle.
How did you end up attaching the x/y motors to the unistrut?
You’ll want to read my next post:
https://www.summet.com/blog/2018/04/27/maslow-cnc-setup/
Ha thanks!
What were the dimensions of the unistrut and how did you attach it to the timber?
26″ long for the three smaller pieces. I just used Lag bolts with fender washers into the end of the 2x4s.
This is perfect for my needs! Thank you so much for sharing this. How far out from the 73.5″ support did you secure the 10′ beam? I know the struts were cut at 26 but you put the beam somewhere halfway.
Thank you again!
From the front of the 2×4 to the inside of the unistrut beam is about 3″, 5 and 1/4″ to the gear on the Maslow motor. Because the 10′ beam is a piece of unistrut, mounted on 3 pieces of unistrut, you can just unbolt and slide it forward/backwards to clear low openings or adjust for different thicknesses of wood.
Hey Jay,
Nice build and thanks for sharing! Quick question what size casters did you use? Are all the casters swivel?
Thanks again!
I used 4″ castors (3″ dia wheels, 4″ total height) and they all swivel. Once I got it loaded up with wood, it was hard to move around (my garage floor has some cracks and slopes) so I’m considering upgrading to 5″ heavy duty castors (4″ dia wheels) but am a bit worried that I might have to chop an inch off the top of the wooden uprights to be able to get it under the garage door. On the plus side, I don’t need to move it around very much, so it’s been on the back burner.
Can this work with a 12 ft unistrut?
I don’t see any reason why not, although you would probably want to make the body longer than 8′ (say 10′ body, 12′ unistrut to keep a similar 1′ overhang…), or put some braces in to support the ends of the unistrut.
Quick followup question.
Would you build this again or do something different?
I’d recommend larger caster wheels on the bottom. I’ve got some cracks in my concrete floor, and with it fully loaded it’s hard to get over them. If starting from scratch I might also make a full box section for the base with two pieces of plywood separated by 2×4’s to give the base a bit more rigidity (only necessary if your concrete floor isn’t flat…when the center wheels lift up off the floor going up a high spot on one side it flexes a little bit for me).
I appreciate the reply! I have been wanting a sheet storage cart for a while and this is a natural combination.
I like your suggestions. I have a fairly flat floor, but bigger wheels probably still wont hurt.
Can this work with the M2 as well? I would love to build this, thanks for taking the time to lay everything out.
I can’t think of any reason why it wouldn’t work with a MakerMade M2, as you can adjust both the distance the top beam is “out” along the unistrut as well as the distance between the sprockets when you bolt the motors on.
Damn I just bought all of the recommended wood for the standard m2 build. I am in my garage just about to build that setup. Then I see this superior design you have. I’ll be hopping back to the Depot tomorrow 🙂
Thanks for posting.
While thinking a bit, I was thinking of how cool “wings” would be for the sides. These would be adjustable wood pieces that plug into the side of the frame left/right and you could adjust them up/down (to be level with the working surface) so you would be able to get most of the 4’x8′ real estate as possible.
Yes, wings on the side would be nice (but add complication) I’ve found that the Maslow is slightly less accurate the farther away from the center you get, so unless you need to make one big piece/cut, it is better to slide the 4×8 sheet back and forth to cut smaller pieces out of it always near the center of the maslow working area… [And even if you are needing to make one big piece, you can always hold your hand on the sled to keep it form “tilting over the edge” when it gets near the edges….it’s a manual process…but you mostly have to be there to babysit the CNC cutting anyways….]