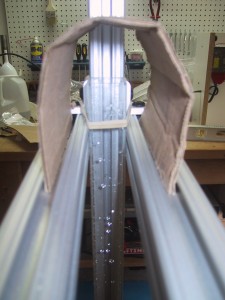
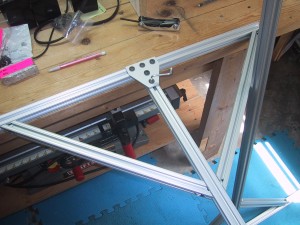
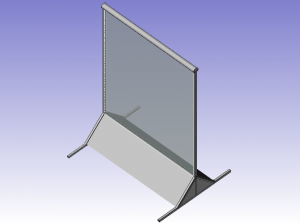
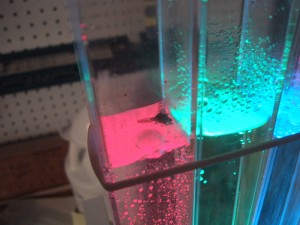
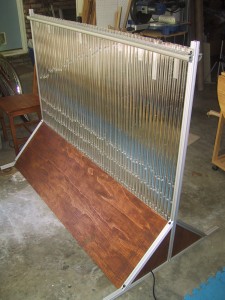
I am using T-Slot aluminum extrusions for the frame of the full sized bubble display. After I made the CAD plan, the decision was made to shorten the display to 36″ tall tubes (The width will be 60 tubes / inches). This allowed me to shorten up the support legs as the center of gravity of the frame will be much lower. I haven’t actually cut any of the aluminum stock to size yet, so the photos below show pieces of aluminum extending out the back and top, and it is 72″ wide instead of 62″ wide. You can see a single tube mounted with a rubber band on the far left. The piece of cardboard on top of it is taking the place of a metal mesh that will eventually mount over the top of the tubes, running the entire width. (The bottom cross support is simply to hold the frame up, and will probably not be visible in the final assembly either.) The triangular prism at the bottom of the frame will be covered with panels of plastic or wood, and contain the electronics, LED’s and pumps.
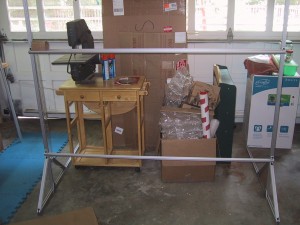
I’m really liking T-slot aluminum extrusions. They bolt together very easily and can be reconfigured quickly. Although they costs more than wood, it gives a nicer appearance without needing finishing steps, and provides greater strength. You do have to plan your design out before you order to make sure you get the appropriate fasteners and connectors, but that is generally a good plan anyways.
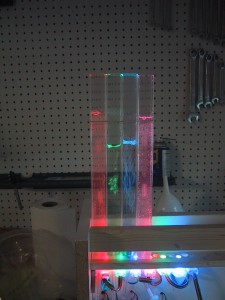
I will be using a few pieces of wood inside the bottom of the frame to support the tubes, pumps and electronics, as well as give the frame lateral stability. I expect to have a piece of 3/4″ thick MDF covered by a water resistant veneer (closet shelf) mounted vertically just off center, with a 3/4″ piece of wood with the appropriate holes drilled in it for the LED’s and air tubes mounted at a right angle directly under the tubes. You may recognize this configuration from the bubble display prototype.
I plan on covering the outside of the regular prism at the bottom of the frame with plastic or birch plywood panels. This picture shows one way to mount a triangular 1/4″ thick panel inside the frame (mocked up with cardboard to get the dimensions correct).
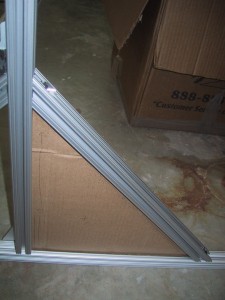
I may need to use the side t-slots to mount my MDF board, so the final panels may have to mount to the outside of the frame (possibly hiding the aluminum that makes up the bottom prism shape entirely.) This may work out better for the large 62″ by 18″ panels on the front & back, as I am not sure that unsupported 1/4″ wood or acrylic would hold it’s shape well enough over that span. I may end up using 1/2″ or 3/4″ birch plywood nicely finished for the bottom prism to soften the industrial look of the acrylic tubes and aluminum support structure.
Here is a closeup of how the metal screen/mesh will cover the tubes. I will need to make some custom end caps with rounded tops to transition around the tops of the support beams.
