The original batteries in my (8-10 year old) Sphero 2.0 died.
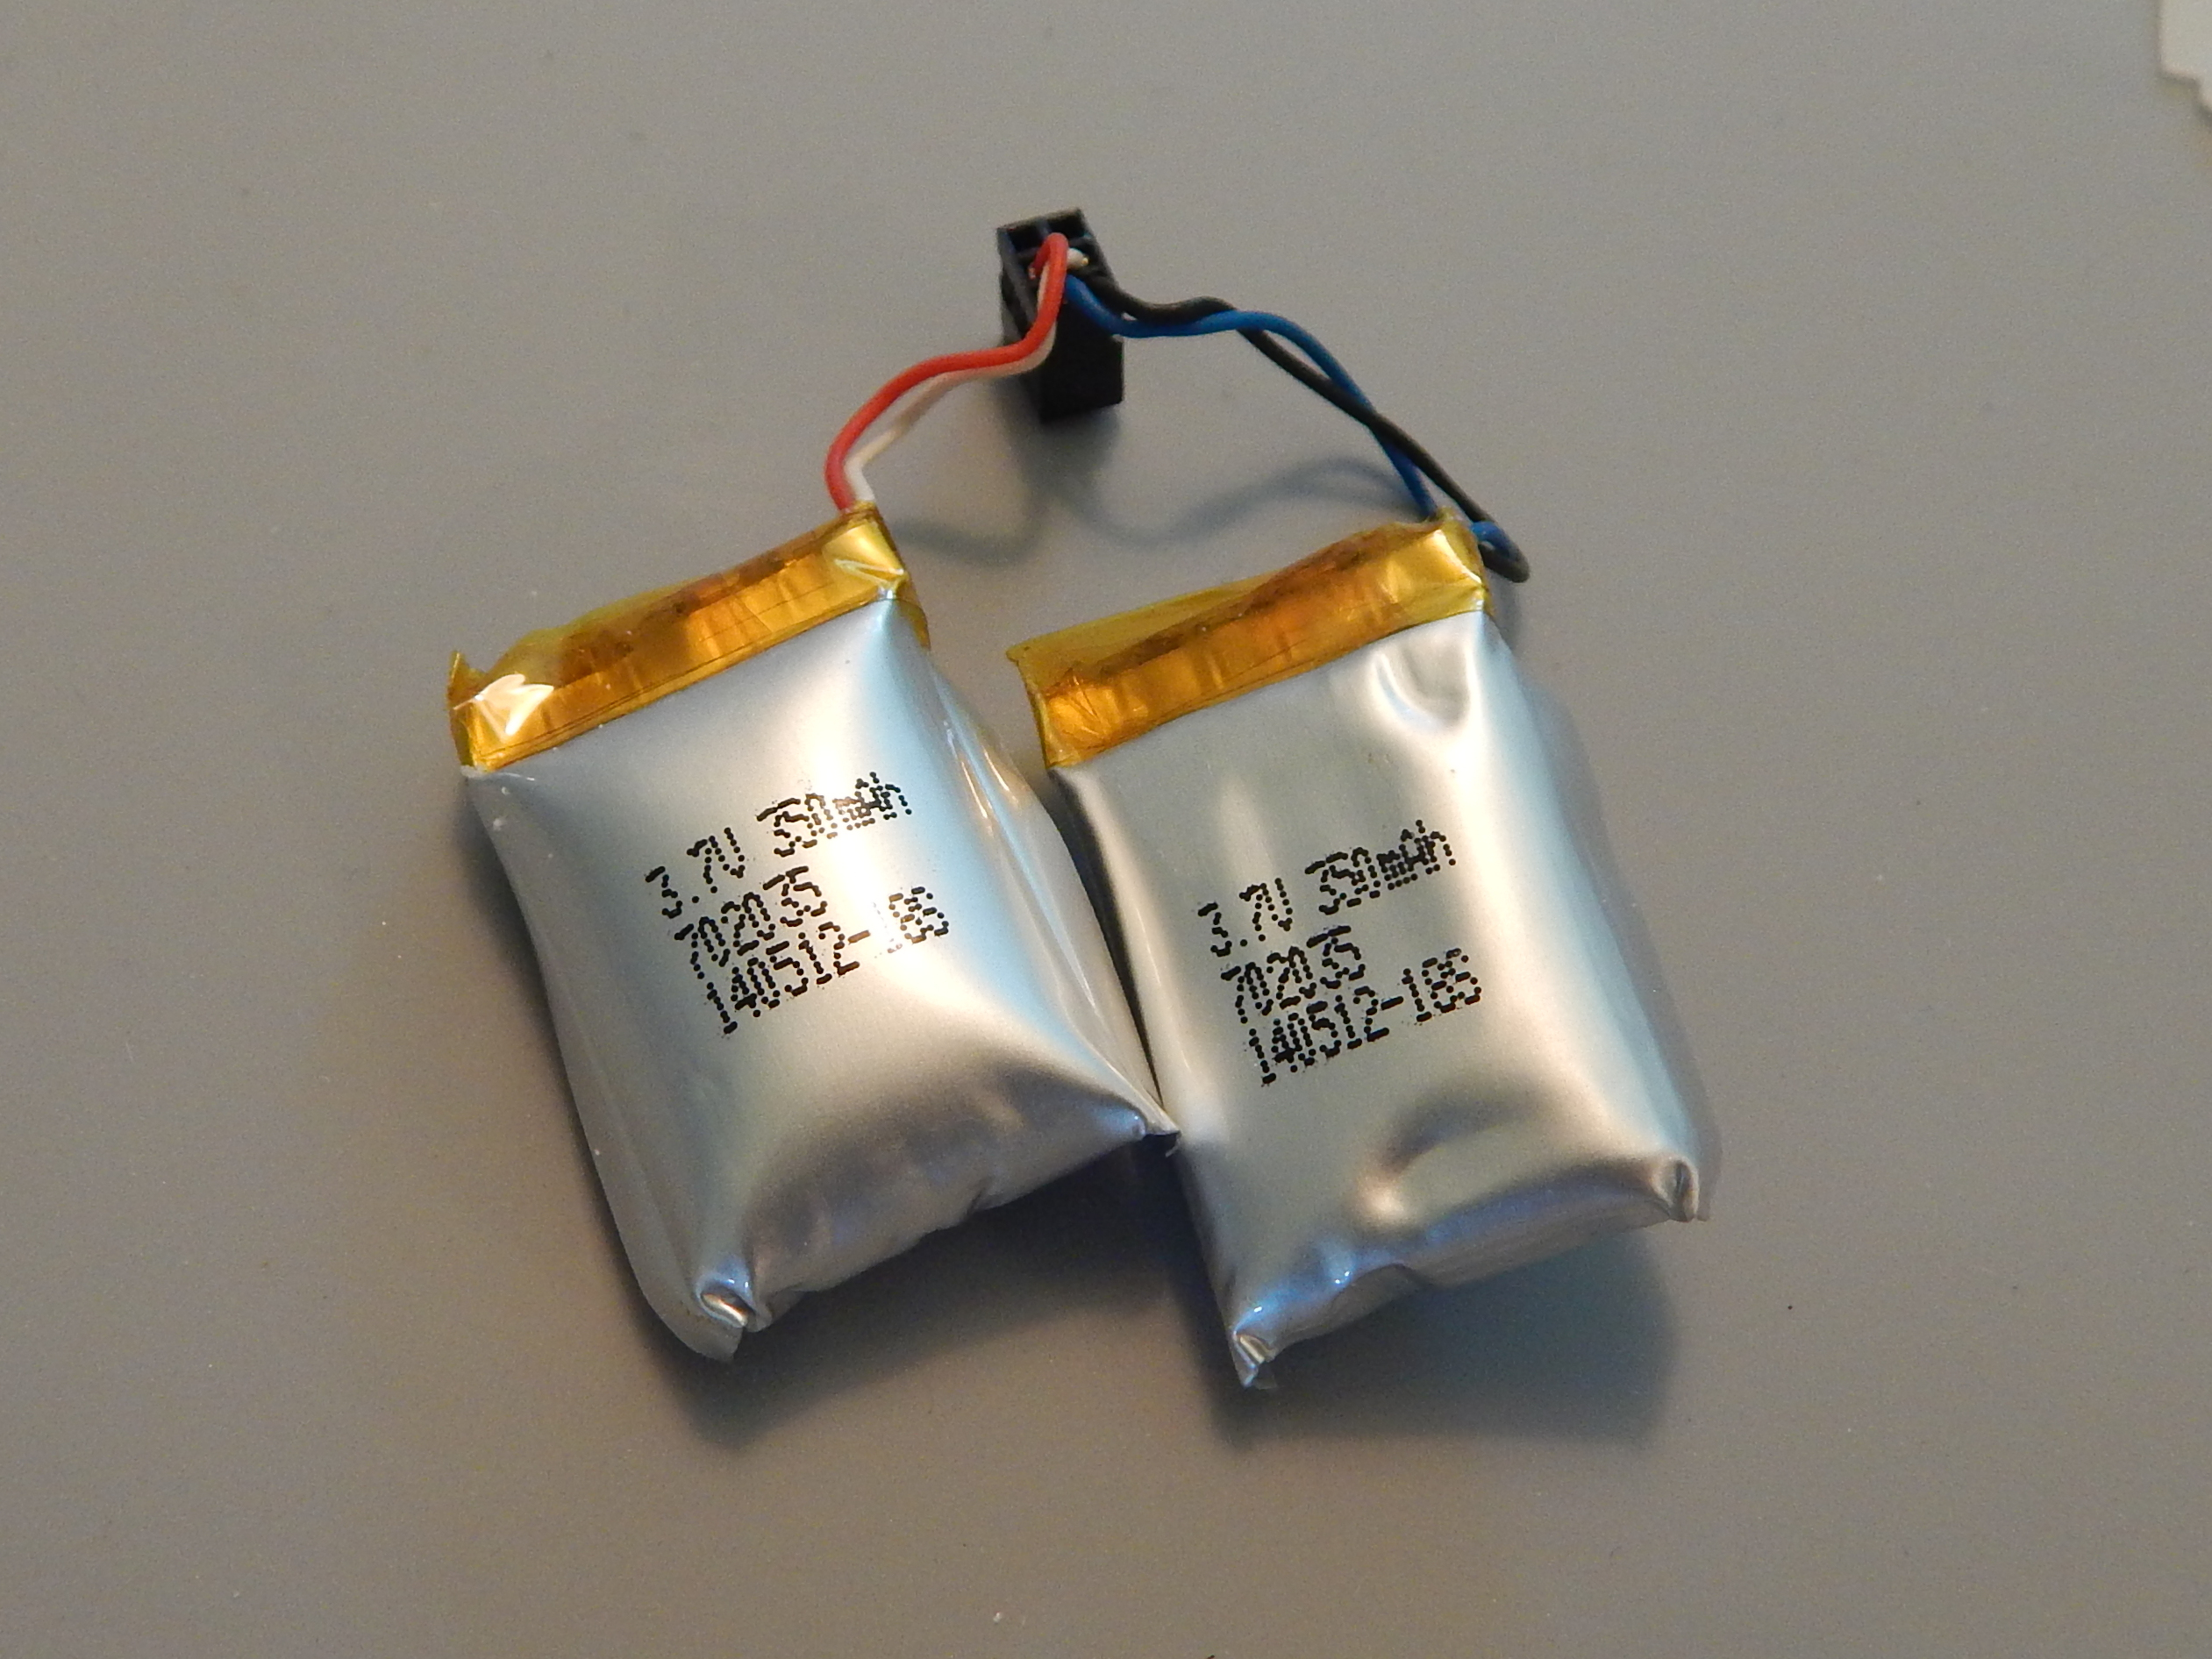
Once I got the sphere open and removed them, it was clear that they had “bloated”.
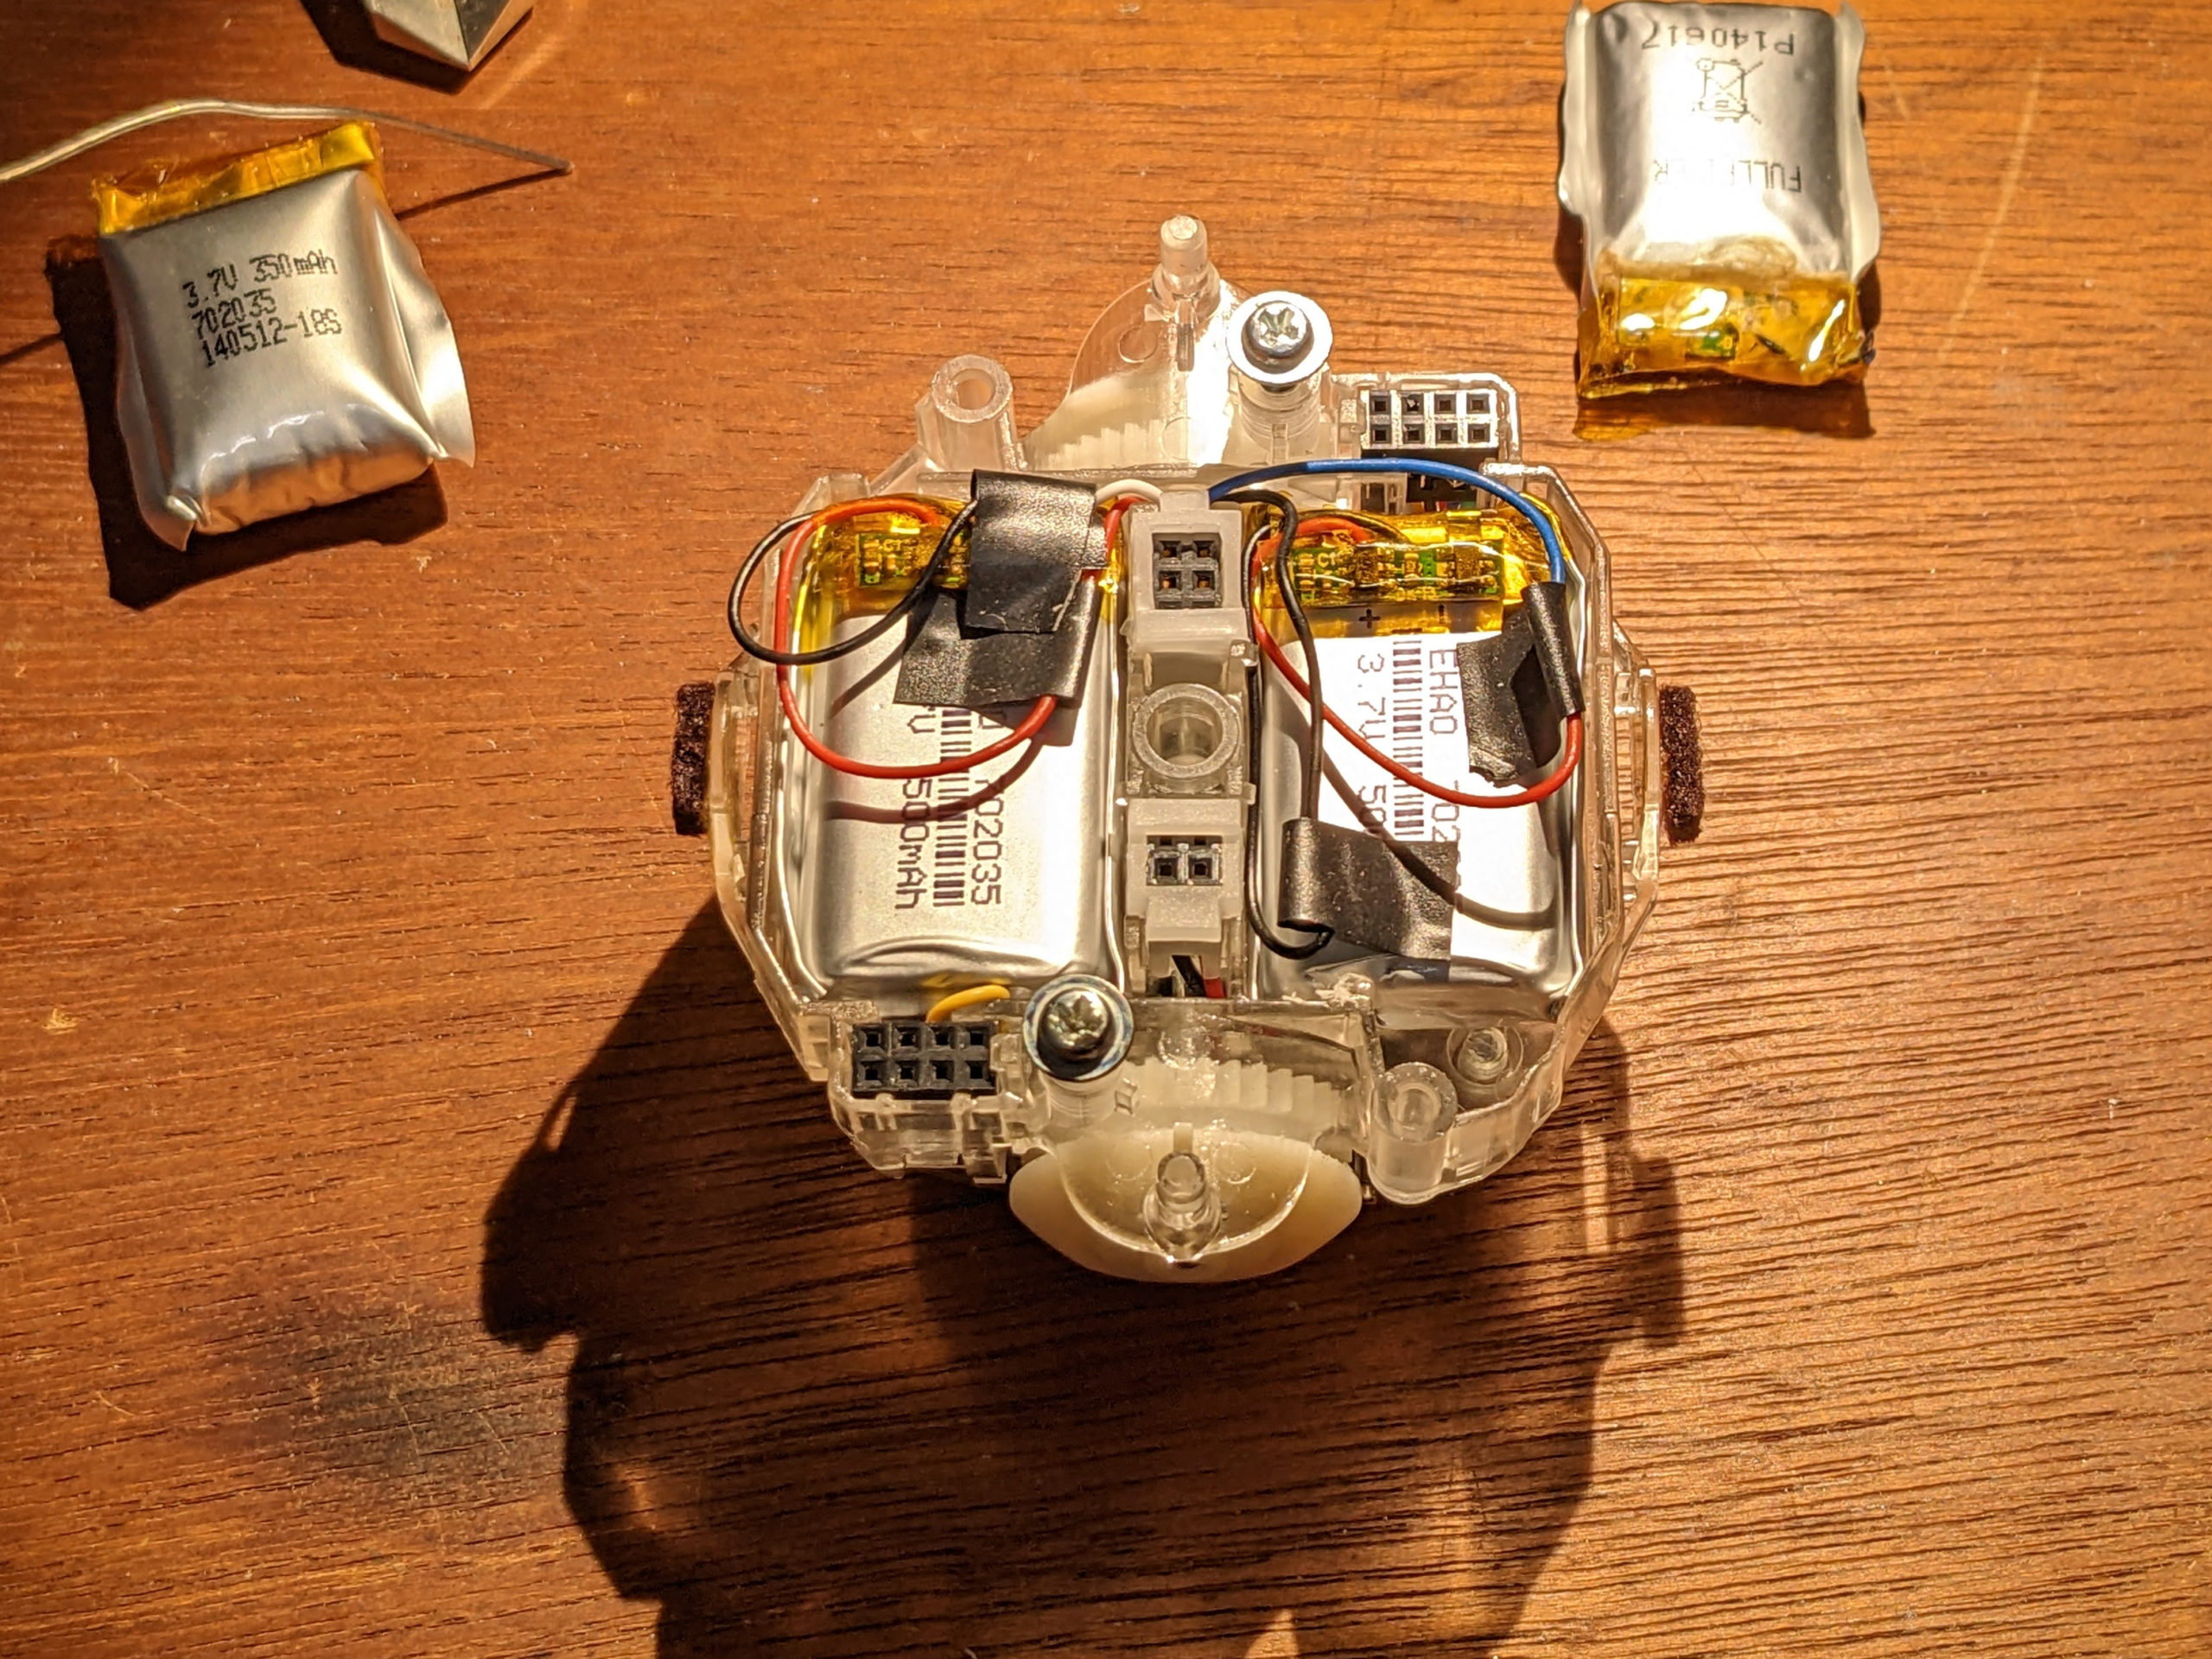
They are marked 702035 (7mm thick, 20mm wide, and 35mm long). However, I don’t recommend buying 702035 batteries to replace them, as the opening they need to go into is closer to 30 or 32mm in length. If I had to do it again, I’d order these 702030 batteries instead.
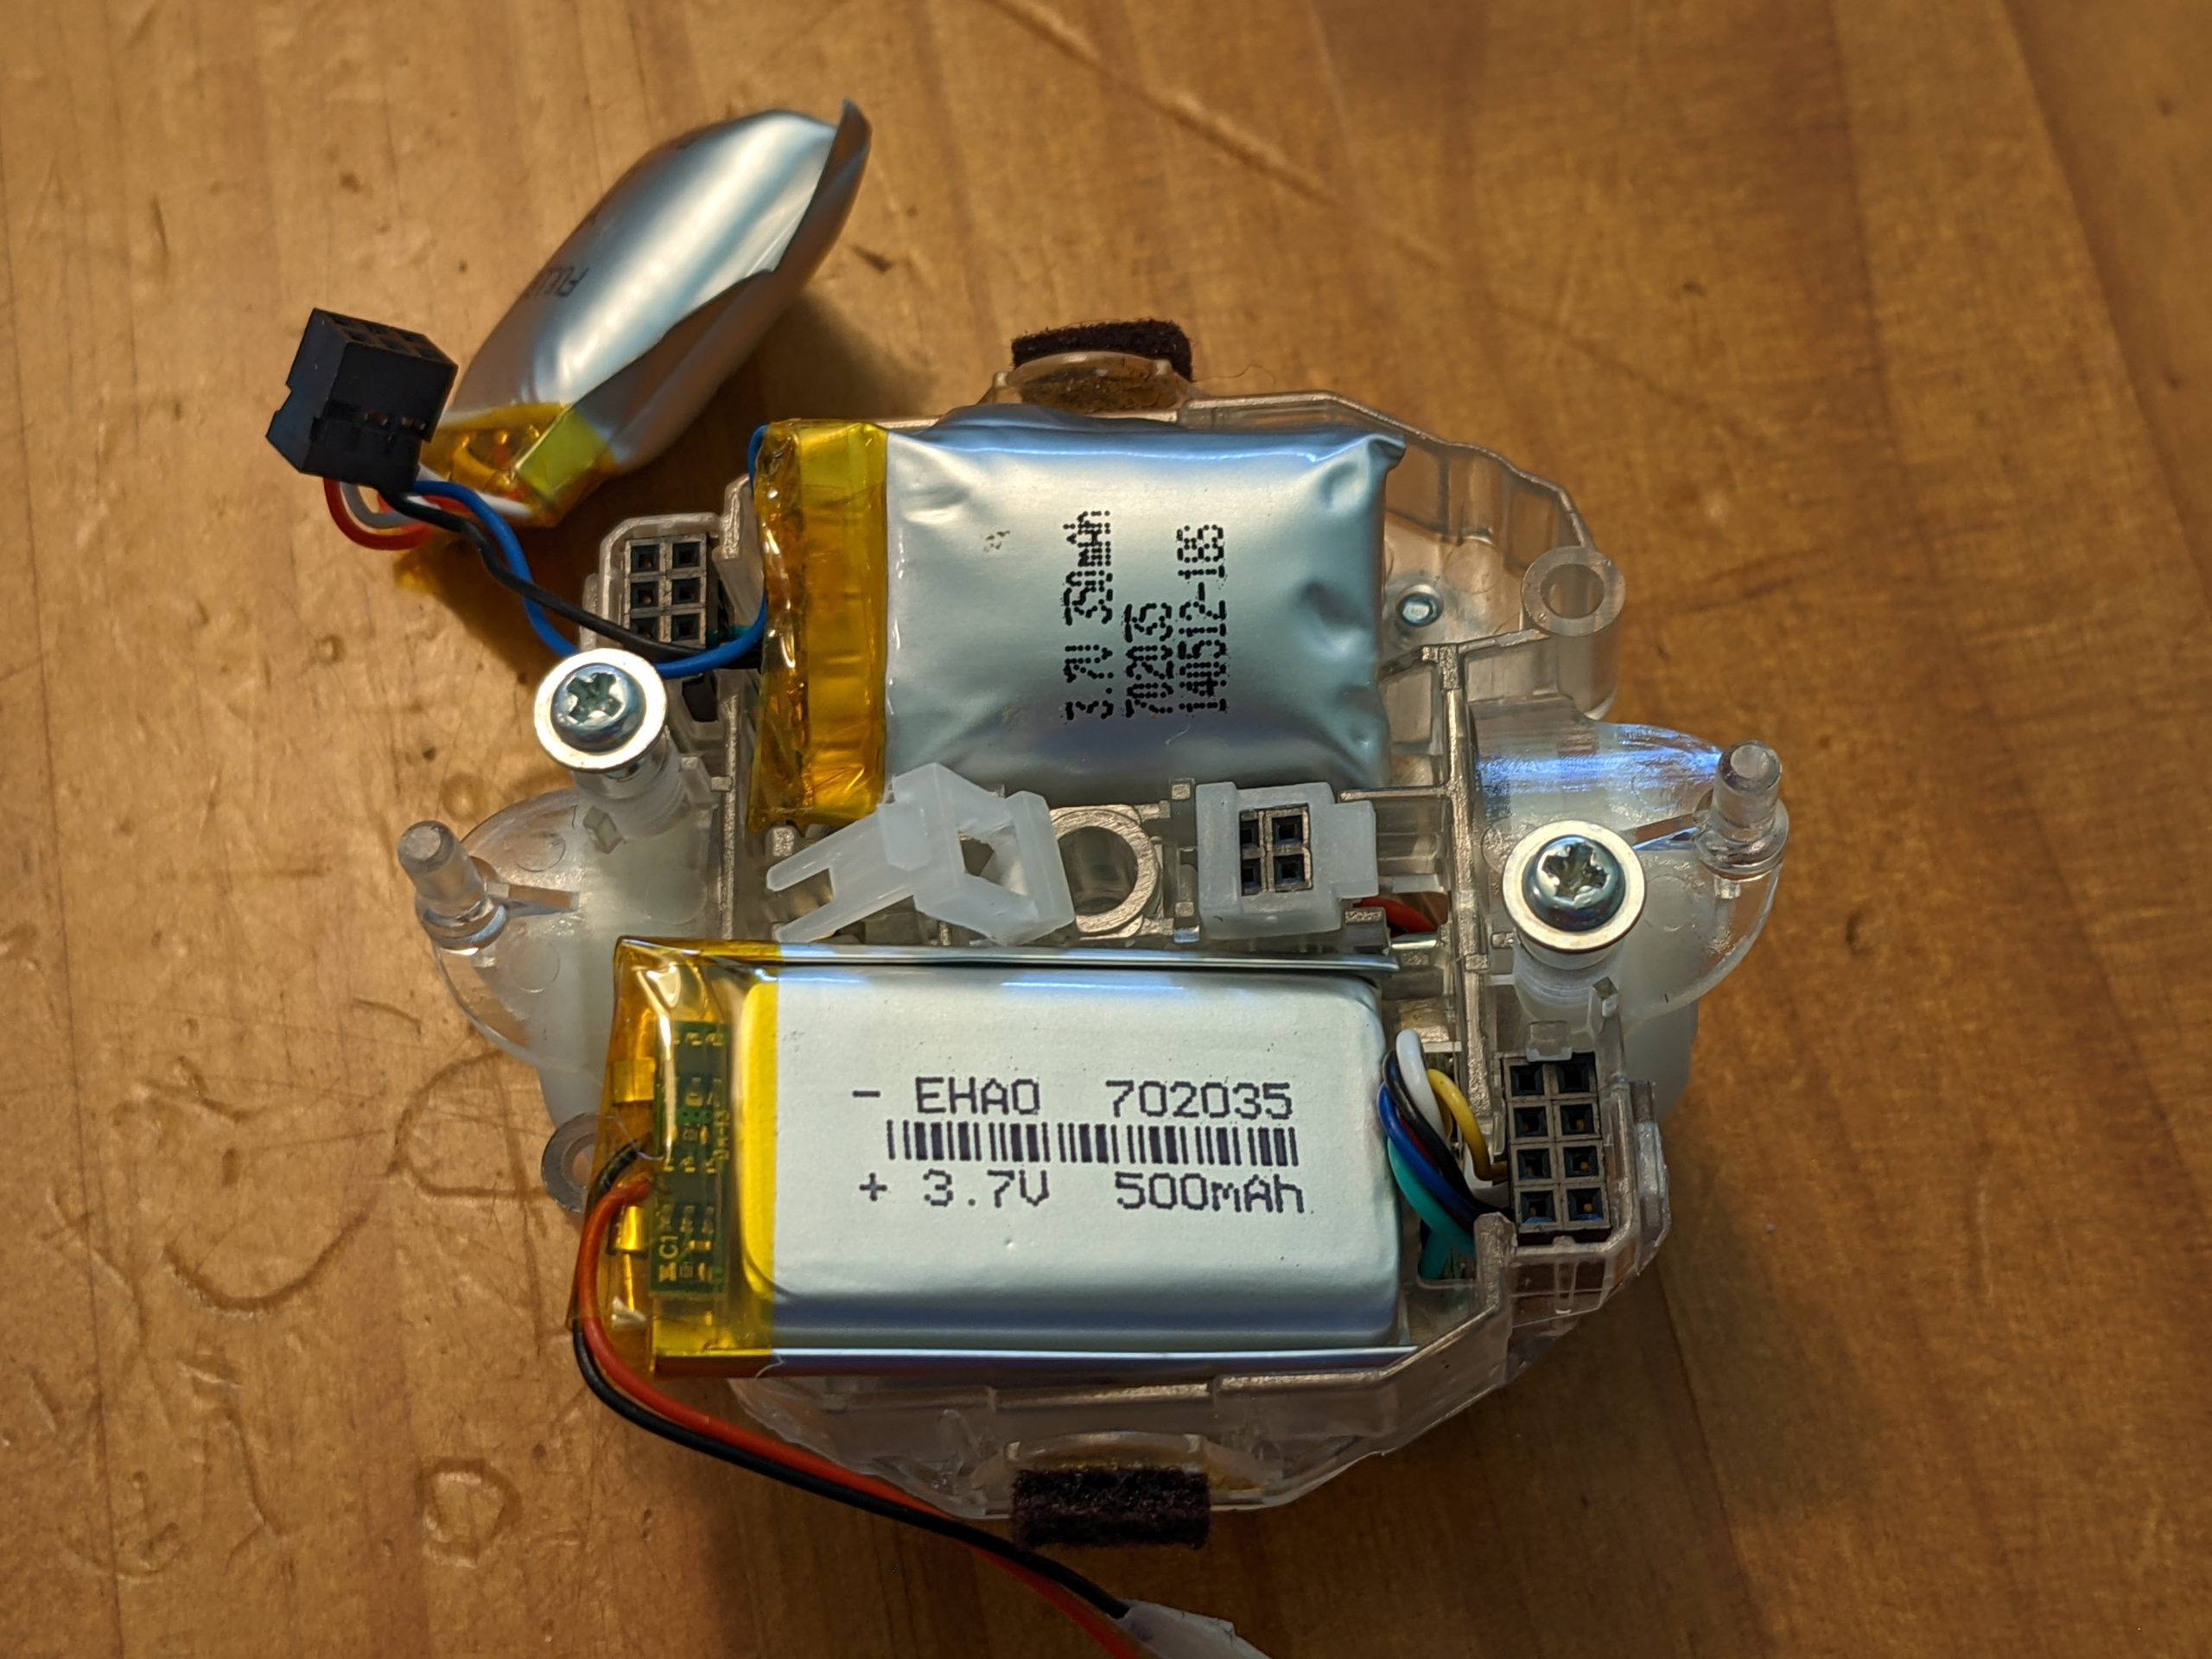
I made it work, but it was very tight, and I had to use a rotary tool to grind down a small piece of plastic to make it fit.
The hardest part was opening the factory sealed, waterproof sphere that the robot spins around inside of. I tried the “woodpecker” method on my Sphero 2.0, but it did not crack open the shell (different type of plastic), so I had to cut it open along the seam.
Before starting, I made a single black mark with a sharpie across the seam so that I could “register” and line it up again when gluing it back in place. I used a coping saw with a thin blade that fit easily into the existing gap, and made a relatively clean cut. (A hacksaw would probably also work well.)
After cutting, I sanded the cut sides down a little to remove stray pieces of plastic.
I used standard CA (Superglue) to fix the two halves back together, and so far it is holding well. I had a clamp sized up and ready to hold the two halves together after I applied the glue to one side and used my black sharpie mark to align them.
After clamping, I rotated the whole assembly a few times just in case any superglue had gotten inside, trying to make sure that the interior robot didn’t accidentally get glued to the inside of the sphere.
The sphere is very slightly smaller now (due to the cut material) but the interior robot “spring arm” assembly had plenty of slack and it doesn’t appear to be having any problems in the slightly smaller sphere. But the gap between the two halves is much smaller now.
Video of the procedure:
")

")
 - 4 year update")
Excellent walkthrough, thank you for posting this!
I have the exact same device you do, as far as I can tell.
I know it has been quite some time since you posted this, but I just went through the steps you indicated, and I was wondering if you have any troubleshooting advice.
Before changing the batteries, the challenge was that the charger would blink about 15 times, then go solid, and the device never charged / responded to being shook to turn it on after leaving it on the charger.
I used the smaller batteries as you suggested, everything came apart, and went back together as expected. However, even after removing the obviouisly puffy batteries and replacing them with the new ones, I get the same challenge with the charger, about 15 blinks and then solid. Even after leaving the device on the charger for quite some time, when I try shaking it, I get nothing.
A few extra notes: I am trying to charge the device with the outter shell off but I don’t see why that would make a difference. Also, I am not using the exact same wall wart charger / adapter, but have matched the barrel size, polarity, voltage, and it seems to activate the charger light as expected.
Any thoughts or ideas you or anyone else may have would be appreciated.
Thank you!
I’m afraid I don’t have any recommendations for you.