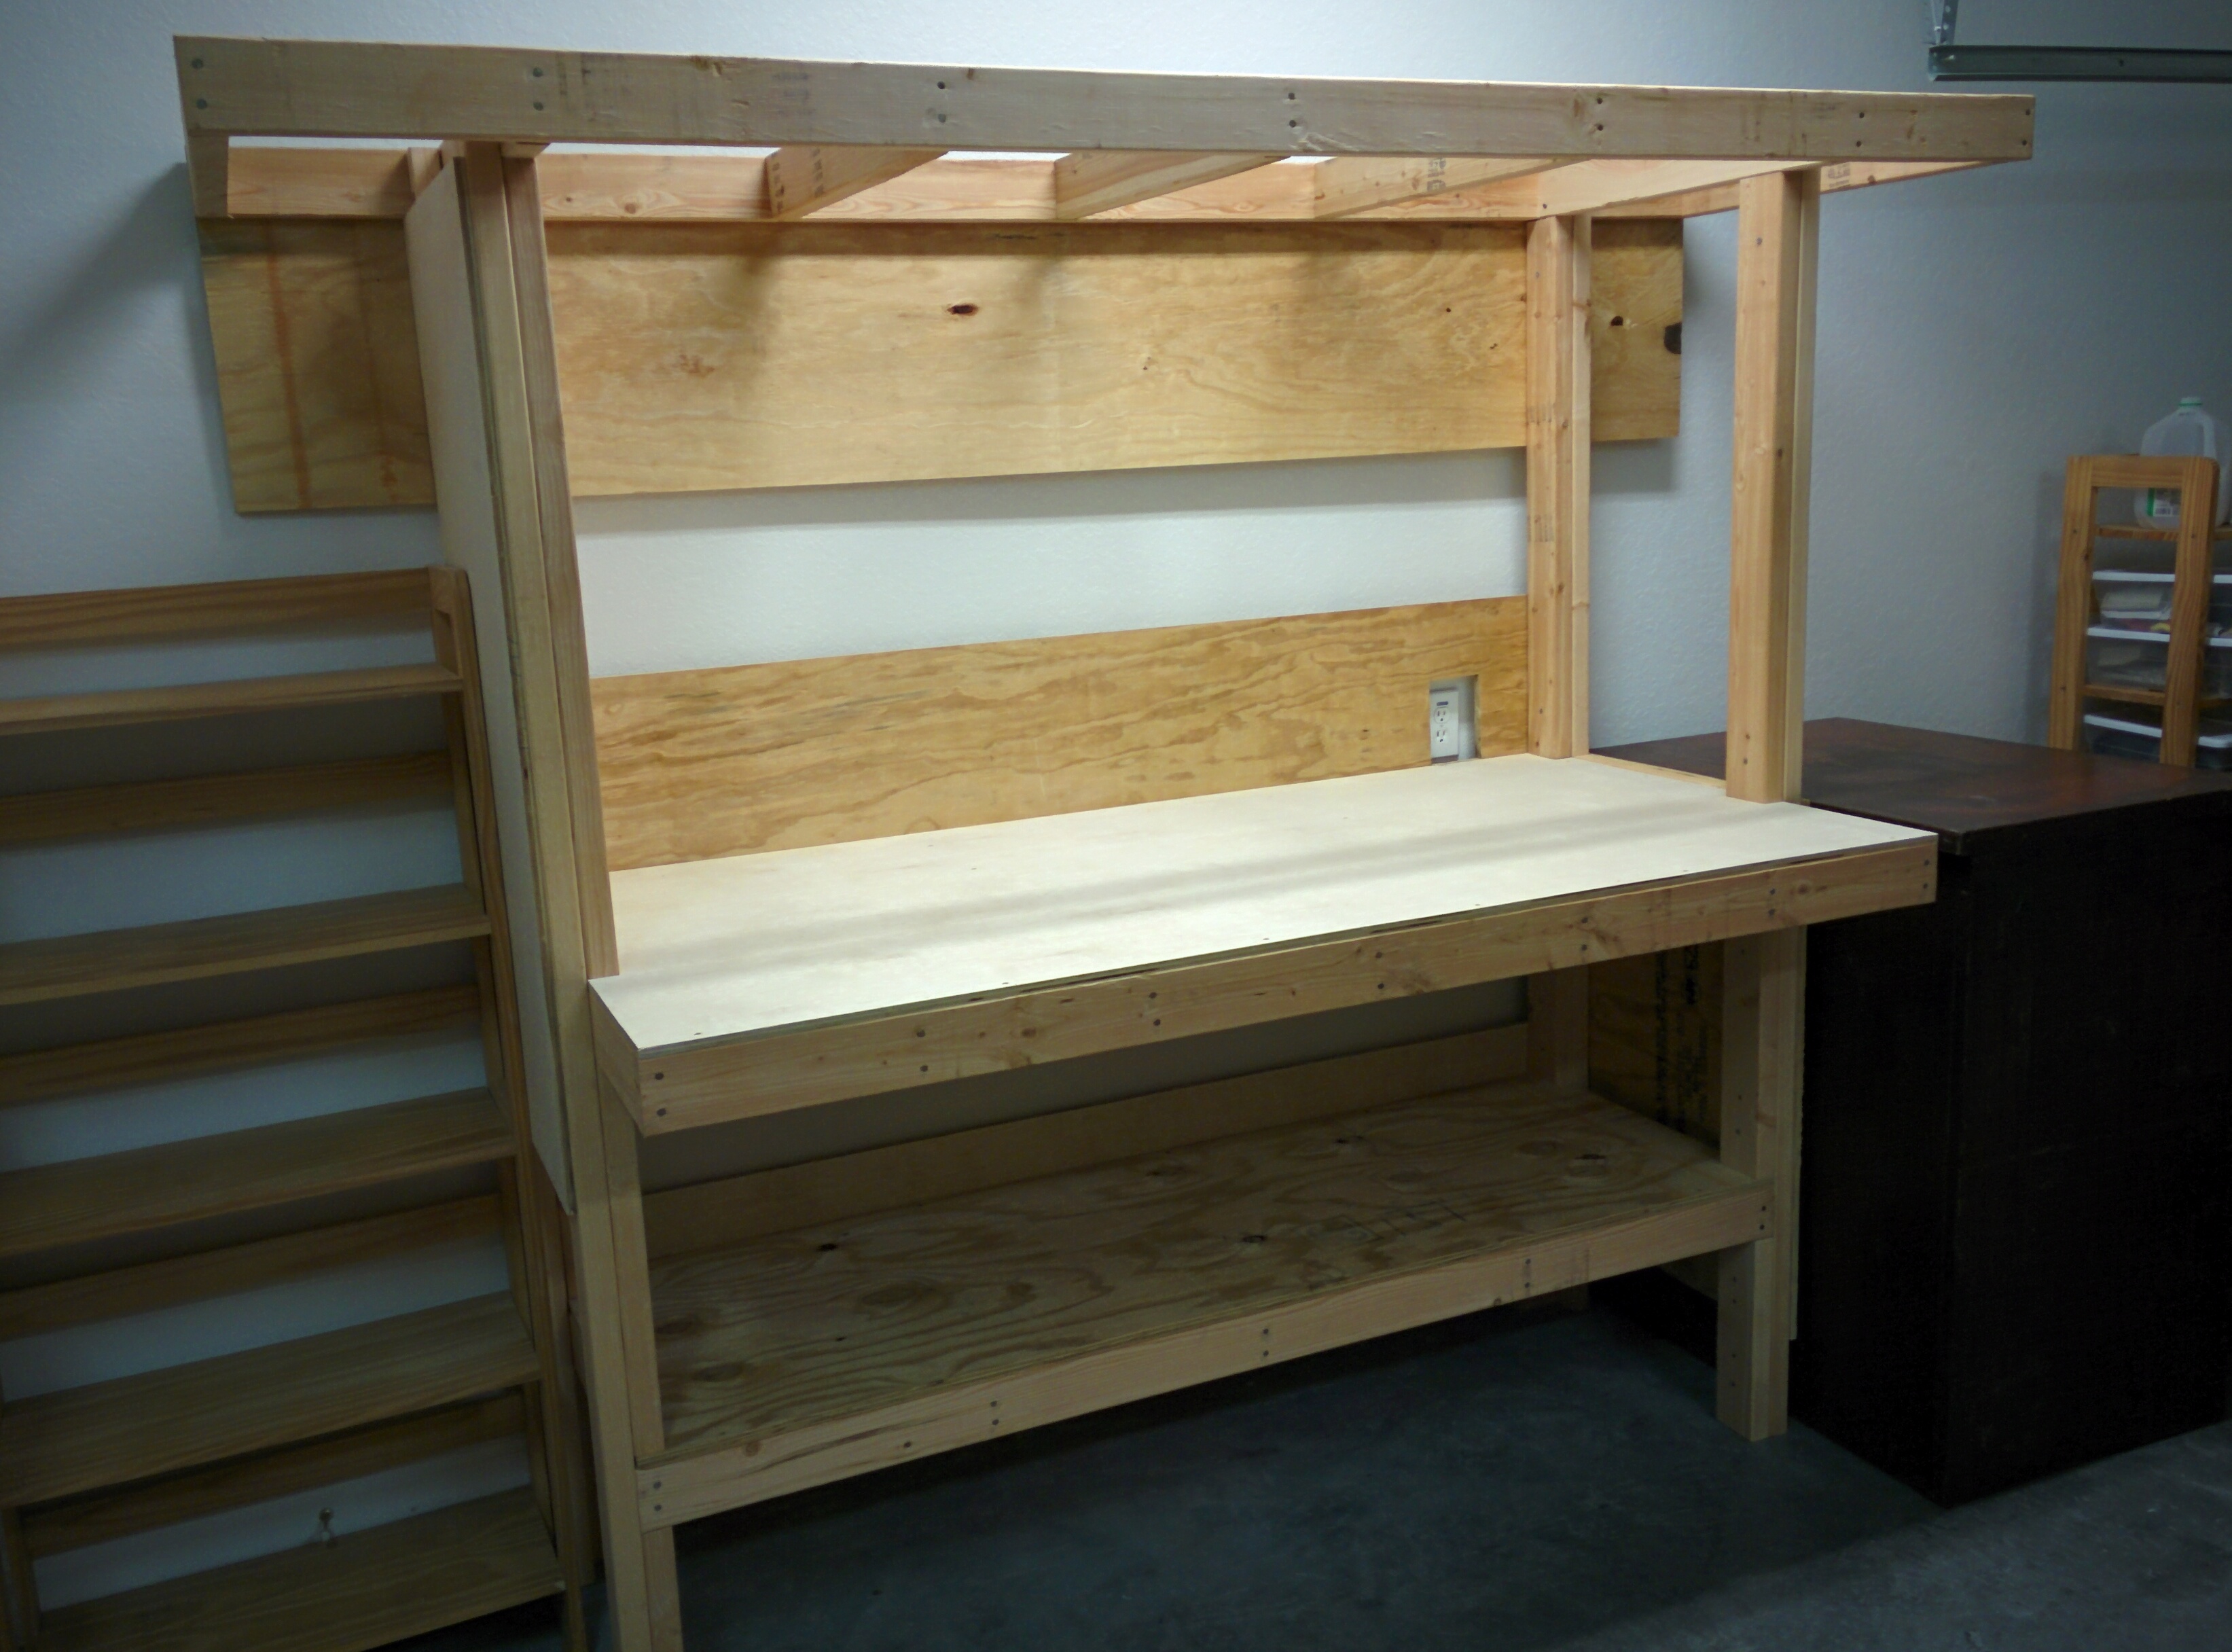
This is the workbench I build from twenty-two 2×4’s and three sheets of plywood. Because my current garage has tall ceilings, it has a lofted storage shelf. And it also has a shelf for tool and box storage below.
I used two sheets of 3/4″ builder grade plywood for the lower and upper storage shelves and a 1/2″ sheet of sanded ply for the main workbench. The dimensions were carefully chosen so that all of the excess can be used for reinforcing sheathing.
The first piece of 3/4″ plywood I cut into an 8 foot by 30 inch lofted storage shelf, and the remainder 8 foot by 17 7/8″ section was used as sheathing along the back of the top shelf.

The second piece of 3/4″ plywood was cut into a 2×4 foot sheet to be used as sheathing on the side, a 6×2 foot piece to be the bottom shelf, and a 6x 23 7/8″ piece to be sheathing along the back.

The fancy 1/2″ sanded plywood was used for a 6 x 3 foot piece for the main workbench surface, which left a 2×4 foot section for a side sheathing panel and a six by 11 7/8″ panel to be back sheathing.

Then I made a lot of sawdust cutting up a whole lot of 2×4’s for the three frames for the shelves and the four legs and 12 shelf support jack studs.


The bottom shelf frame is six feet by two feet, the workbench frame is six feet by three feet, and the lofted storage shelf is eight feet by 30 inches. The frames are nailed together with 16d nails for strength.


The four legs are cut to the height you want your lofted shelf to be. The jack studs that support the shelf frames are cut to the distance you want between each shelf.
I wanted 14″ under my bottom shelf which is the perfect size to store a small moving box, so my bottom jack studs were 14″ long. The jack studs between my bottom shelf and my workbench frame were 20″ tall, which is just enough room for my mini-table saw and chop saw. I gave myself 36″ between the workbench and the lofted storage shelf because I
had enough ceiling height to support it. Don’t forget to add the thickness of the plywood to the 2×4 frame when you are calculating your leg and jack stud lengths.
I attached the bottom jack studs to the legs with screws while I was making sure the legs would stand level, and then 8d nails for load bearing strength.


I got fancy and put the back two at a 90 degree angle, but that really wasn’t necessary.

Then I put the bottom shelf frame onto the legs and affixed them with 2-1/2″ exterior deck screws. (So that I could disassemble the workbench if I need to move it.)
I only put a single screw into each corner so that I could still twist the legs to make them all level before affixing the back sheathing.

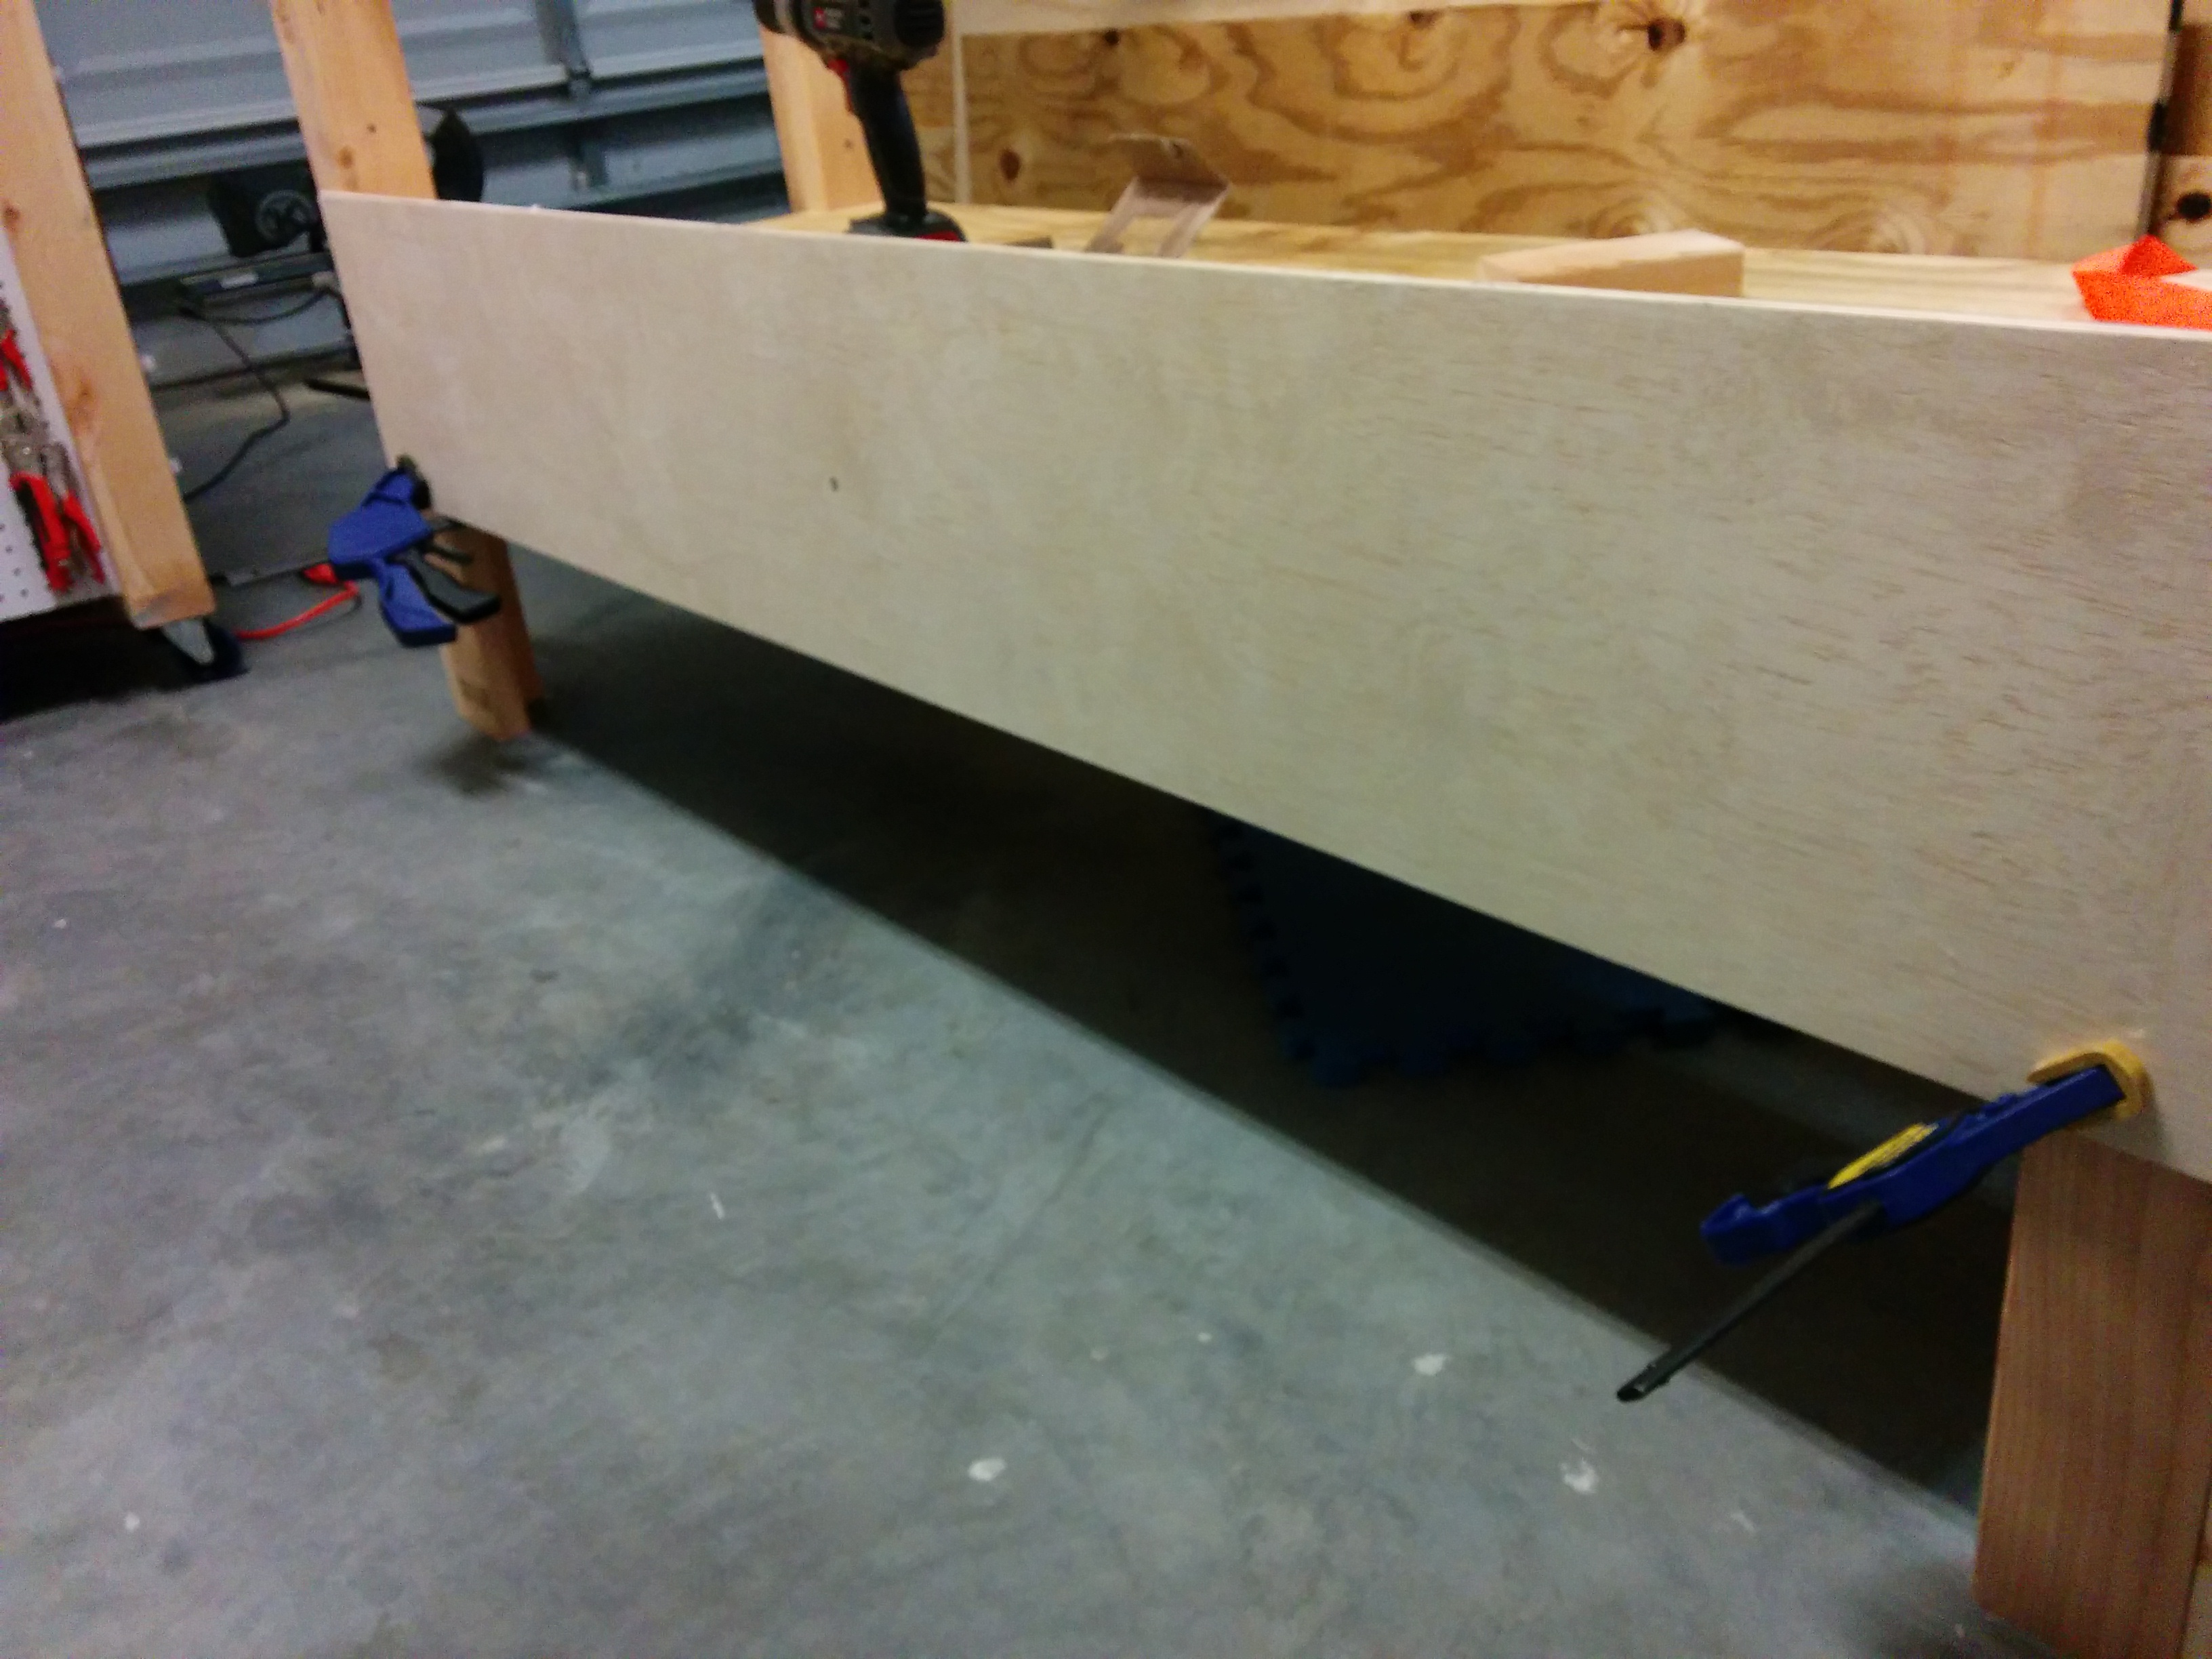
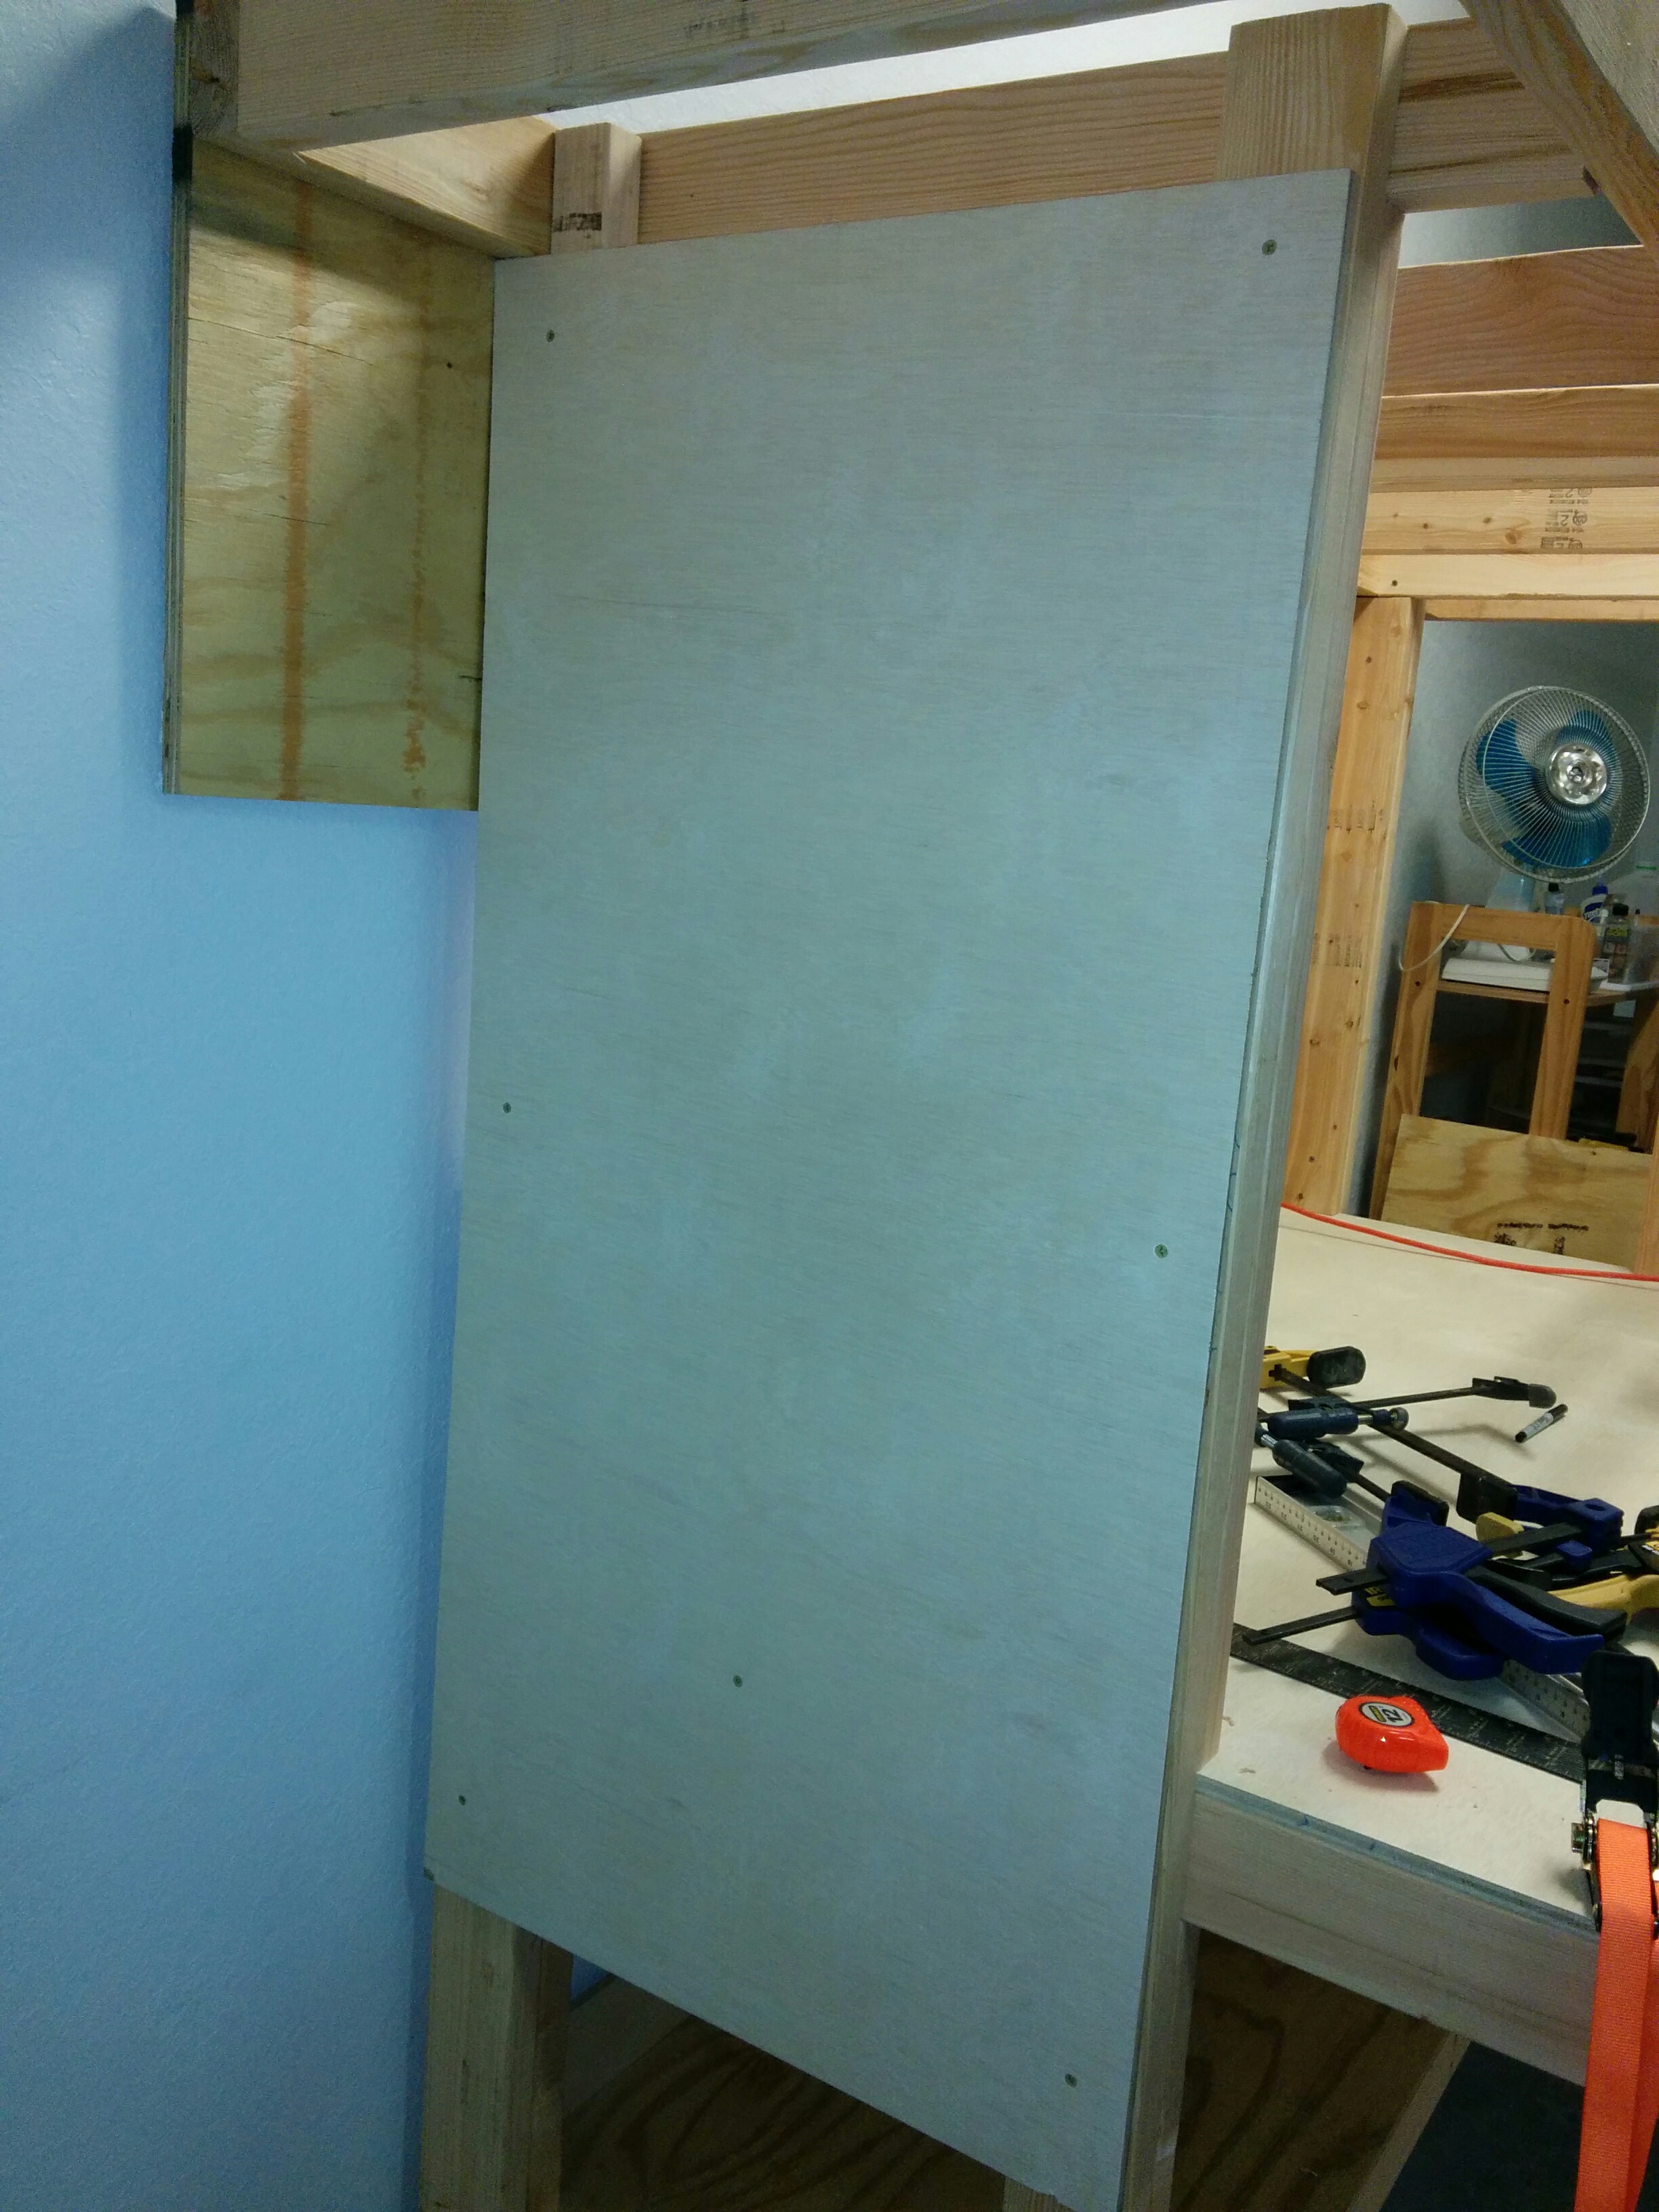
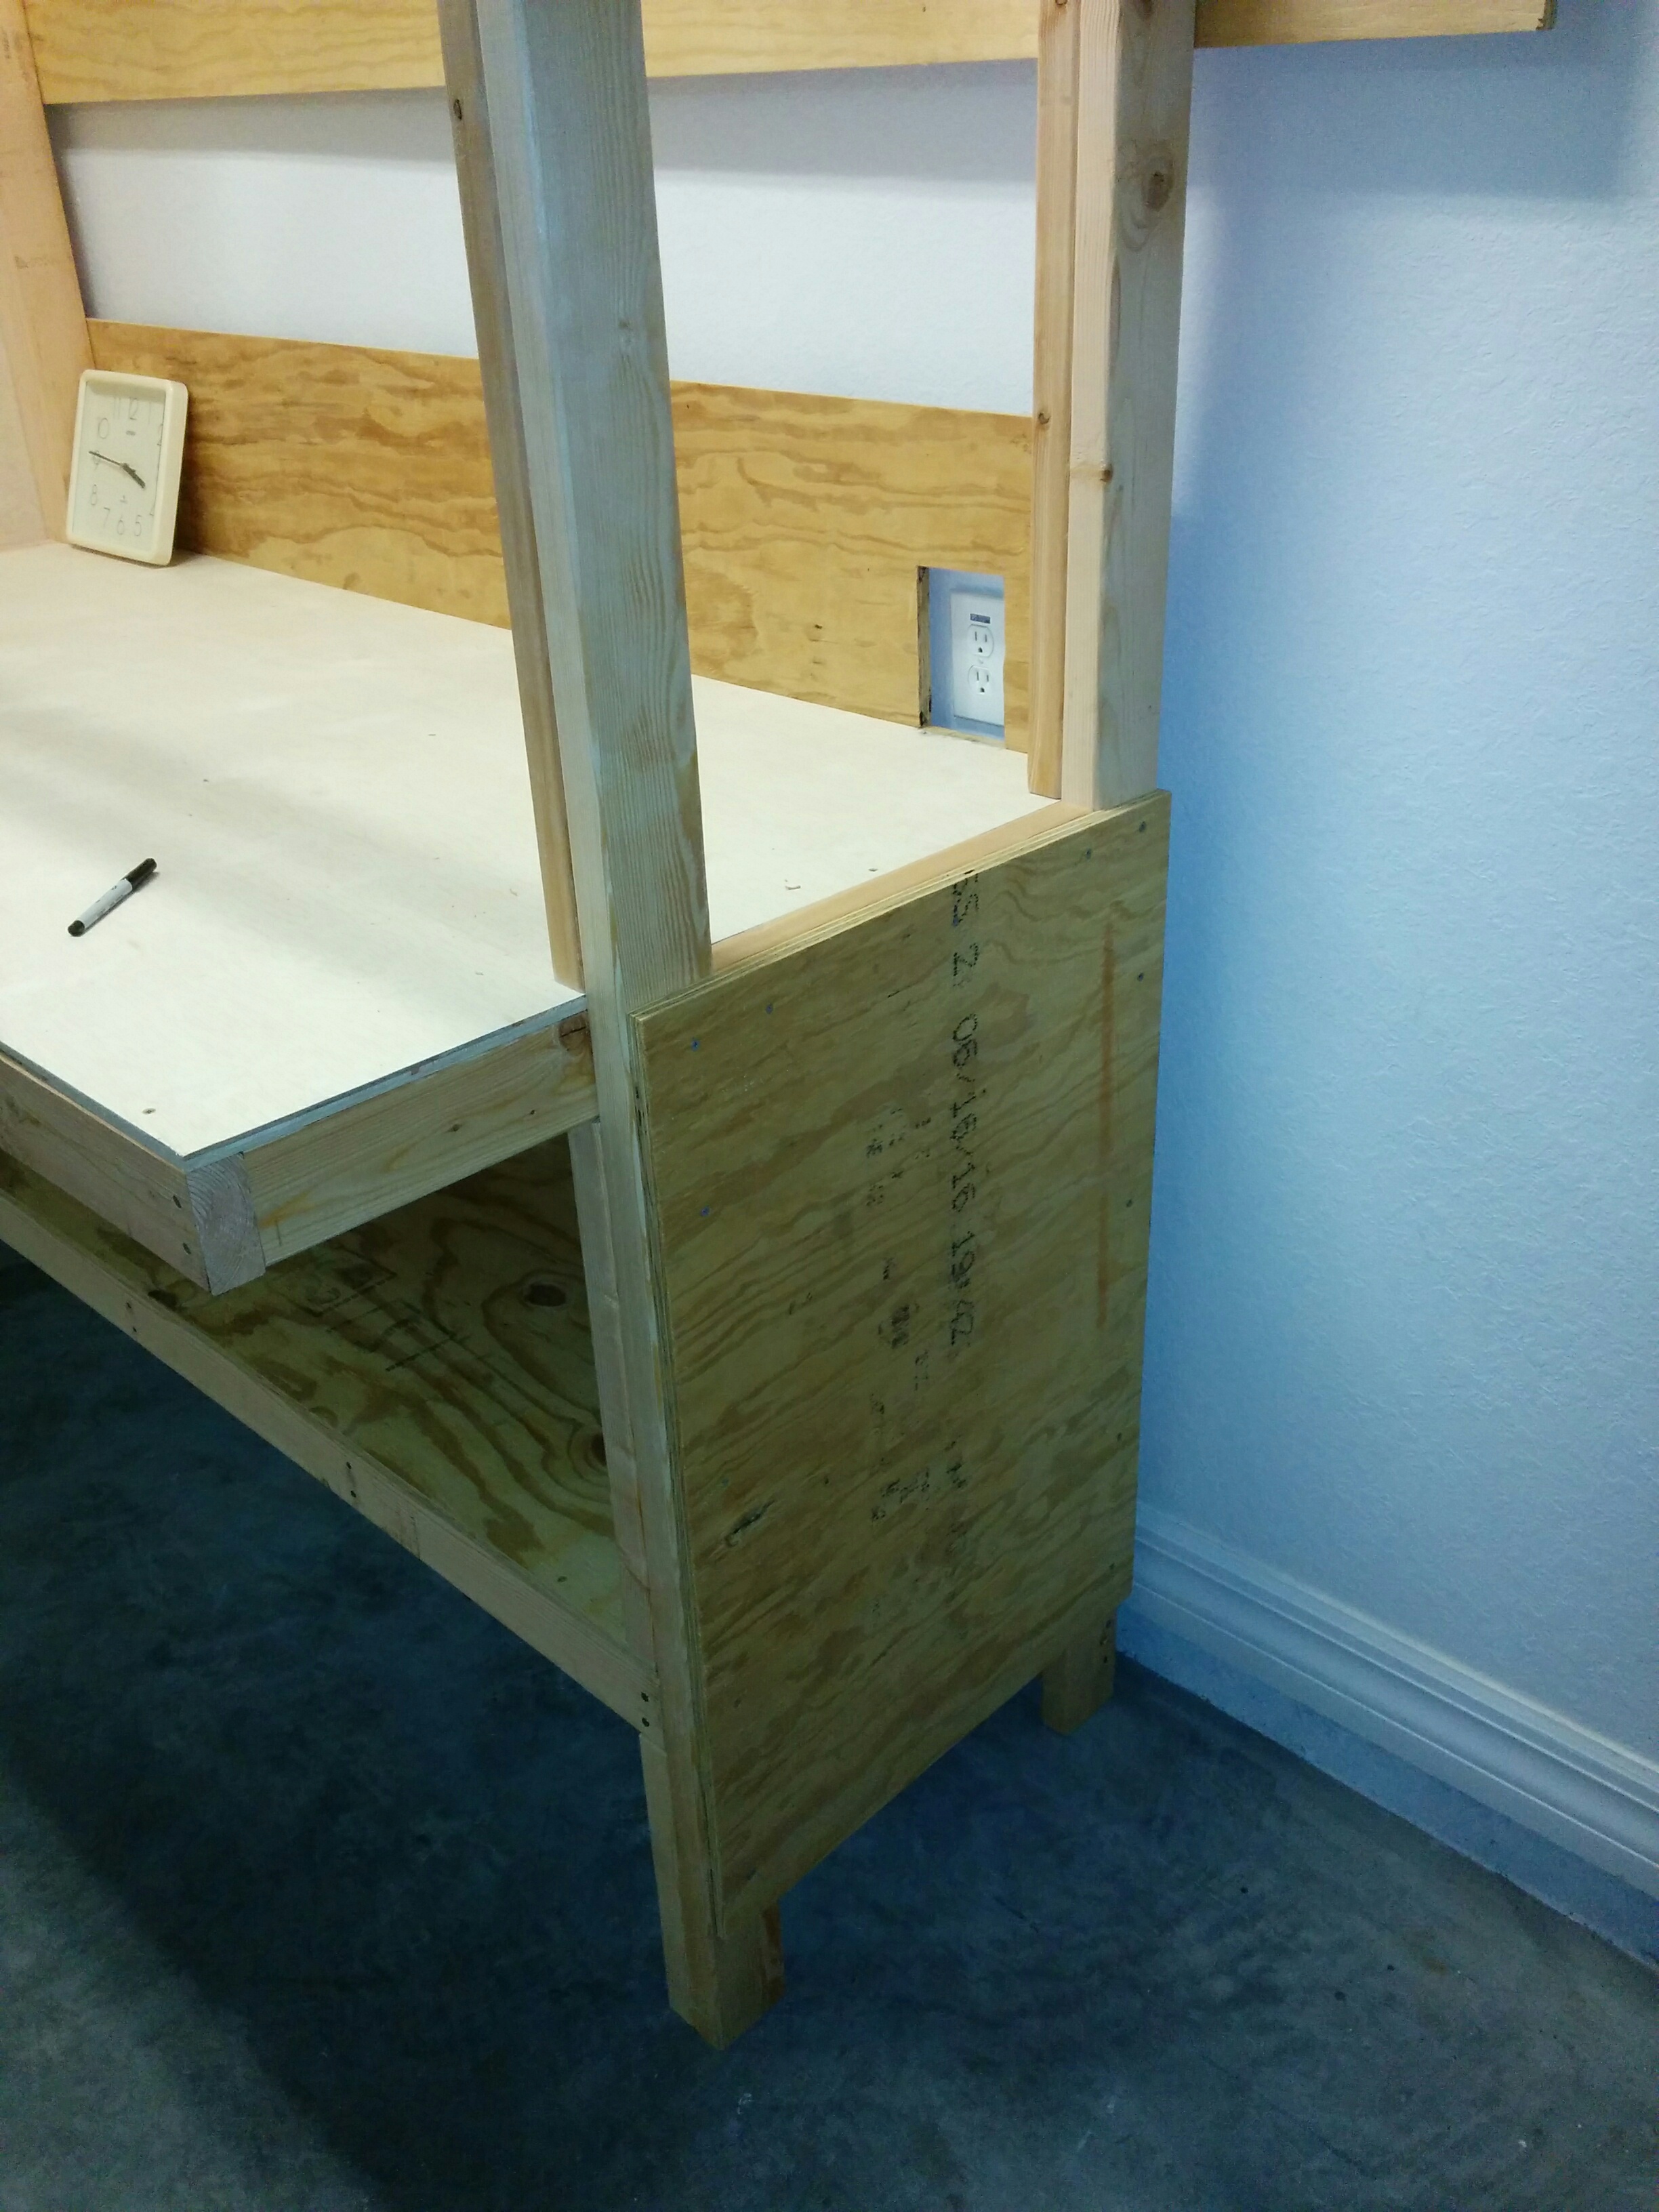
Here is where I used my first bit of extra plywood as reinforcing sheathing along the back of the bottom shelf. It also serves to keep things from dropping off the back of the shelf. I held it up with a single screw in the middle and then pulled everything into square before screwing it into both legs and the rest of the frame.
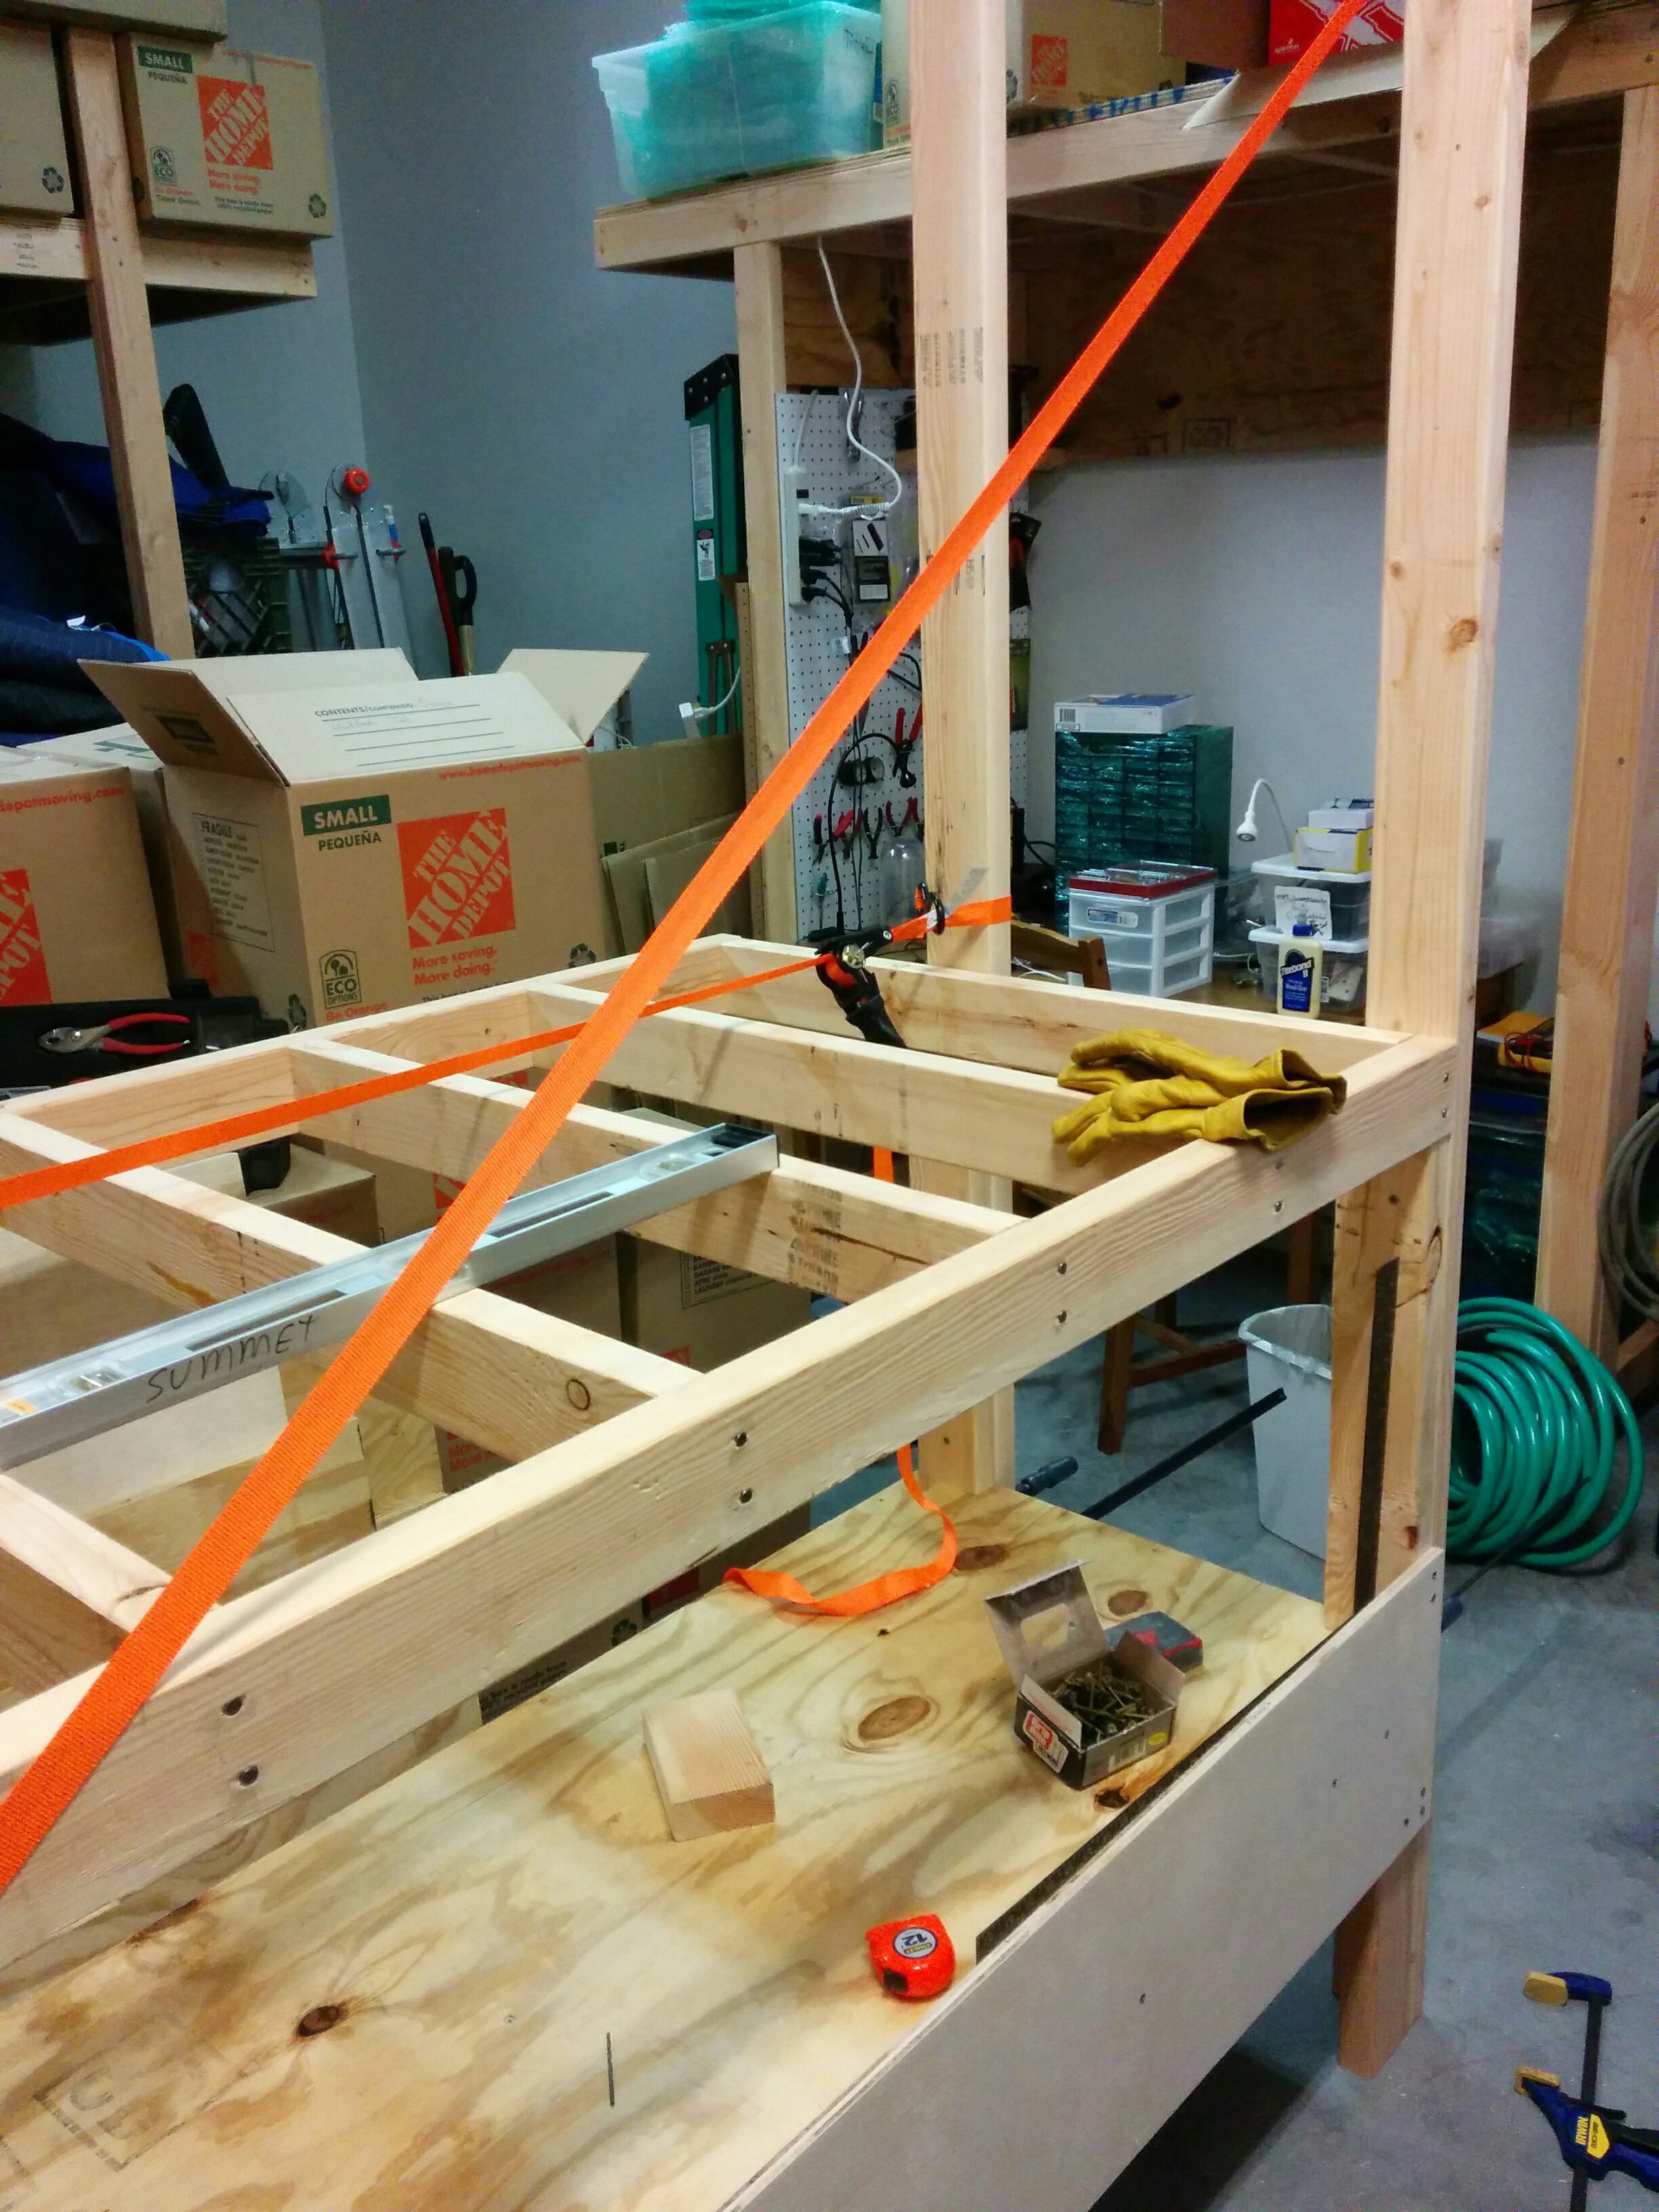
I then added four 20 inch jack studs to the inside of the legs, resting on top of the bottom shelf to hold up the workbench frame. I used the piece of six feet by 23 7/8″ leftover from one of the 3/4″ plywood sheets as the reinforcing sheathing here, which also keeps things from going off the back of the workbench.

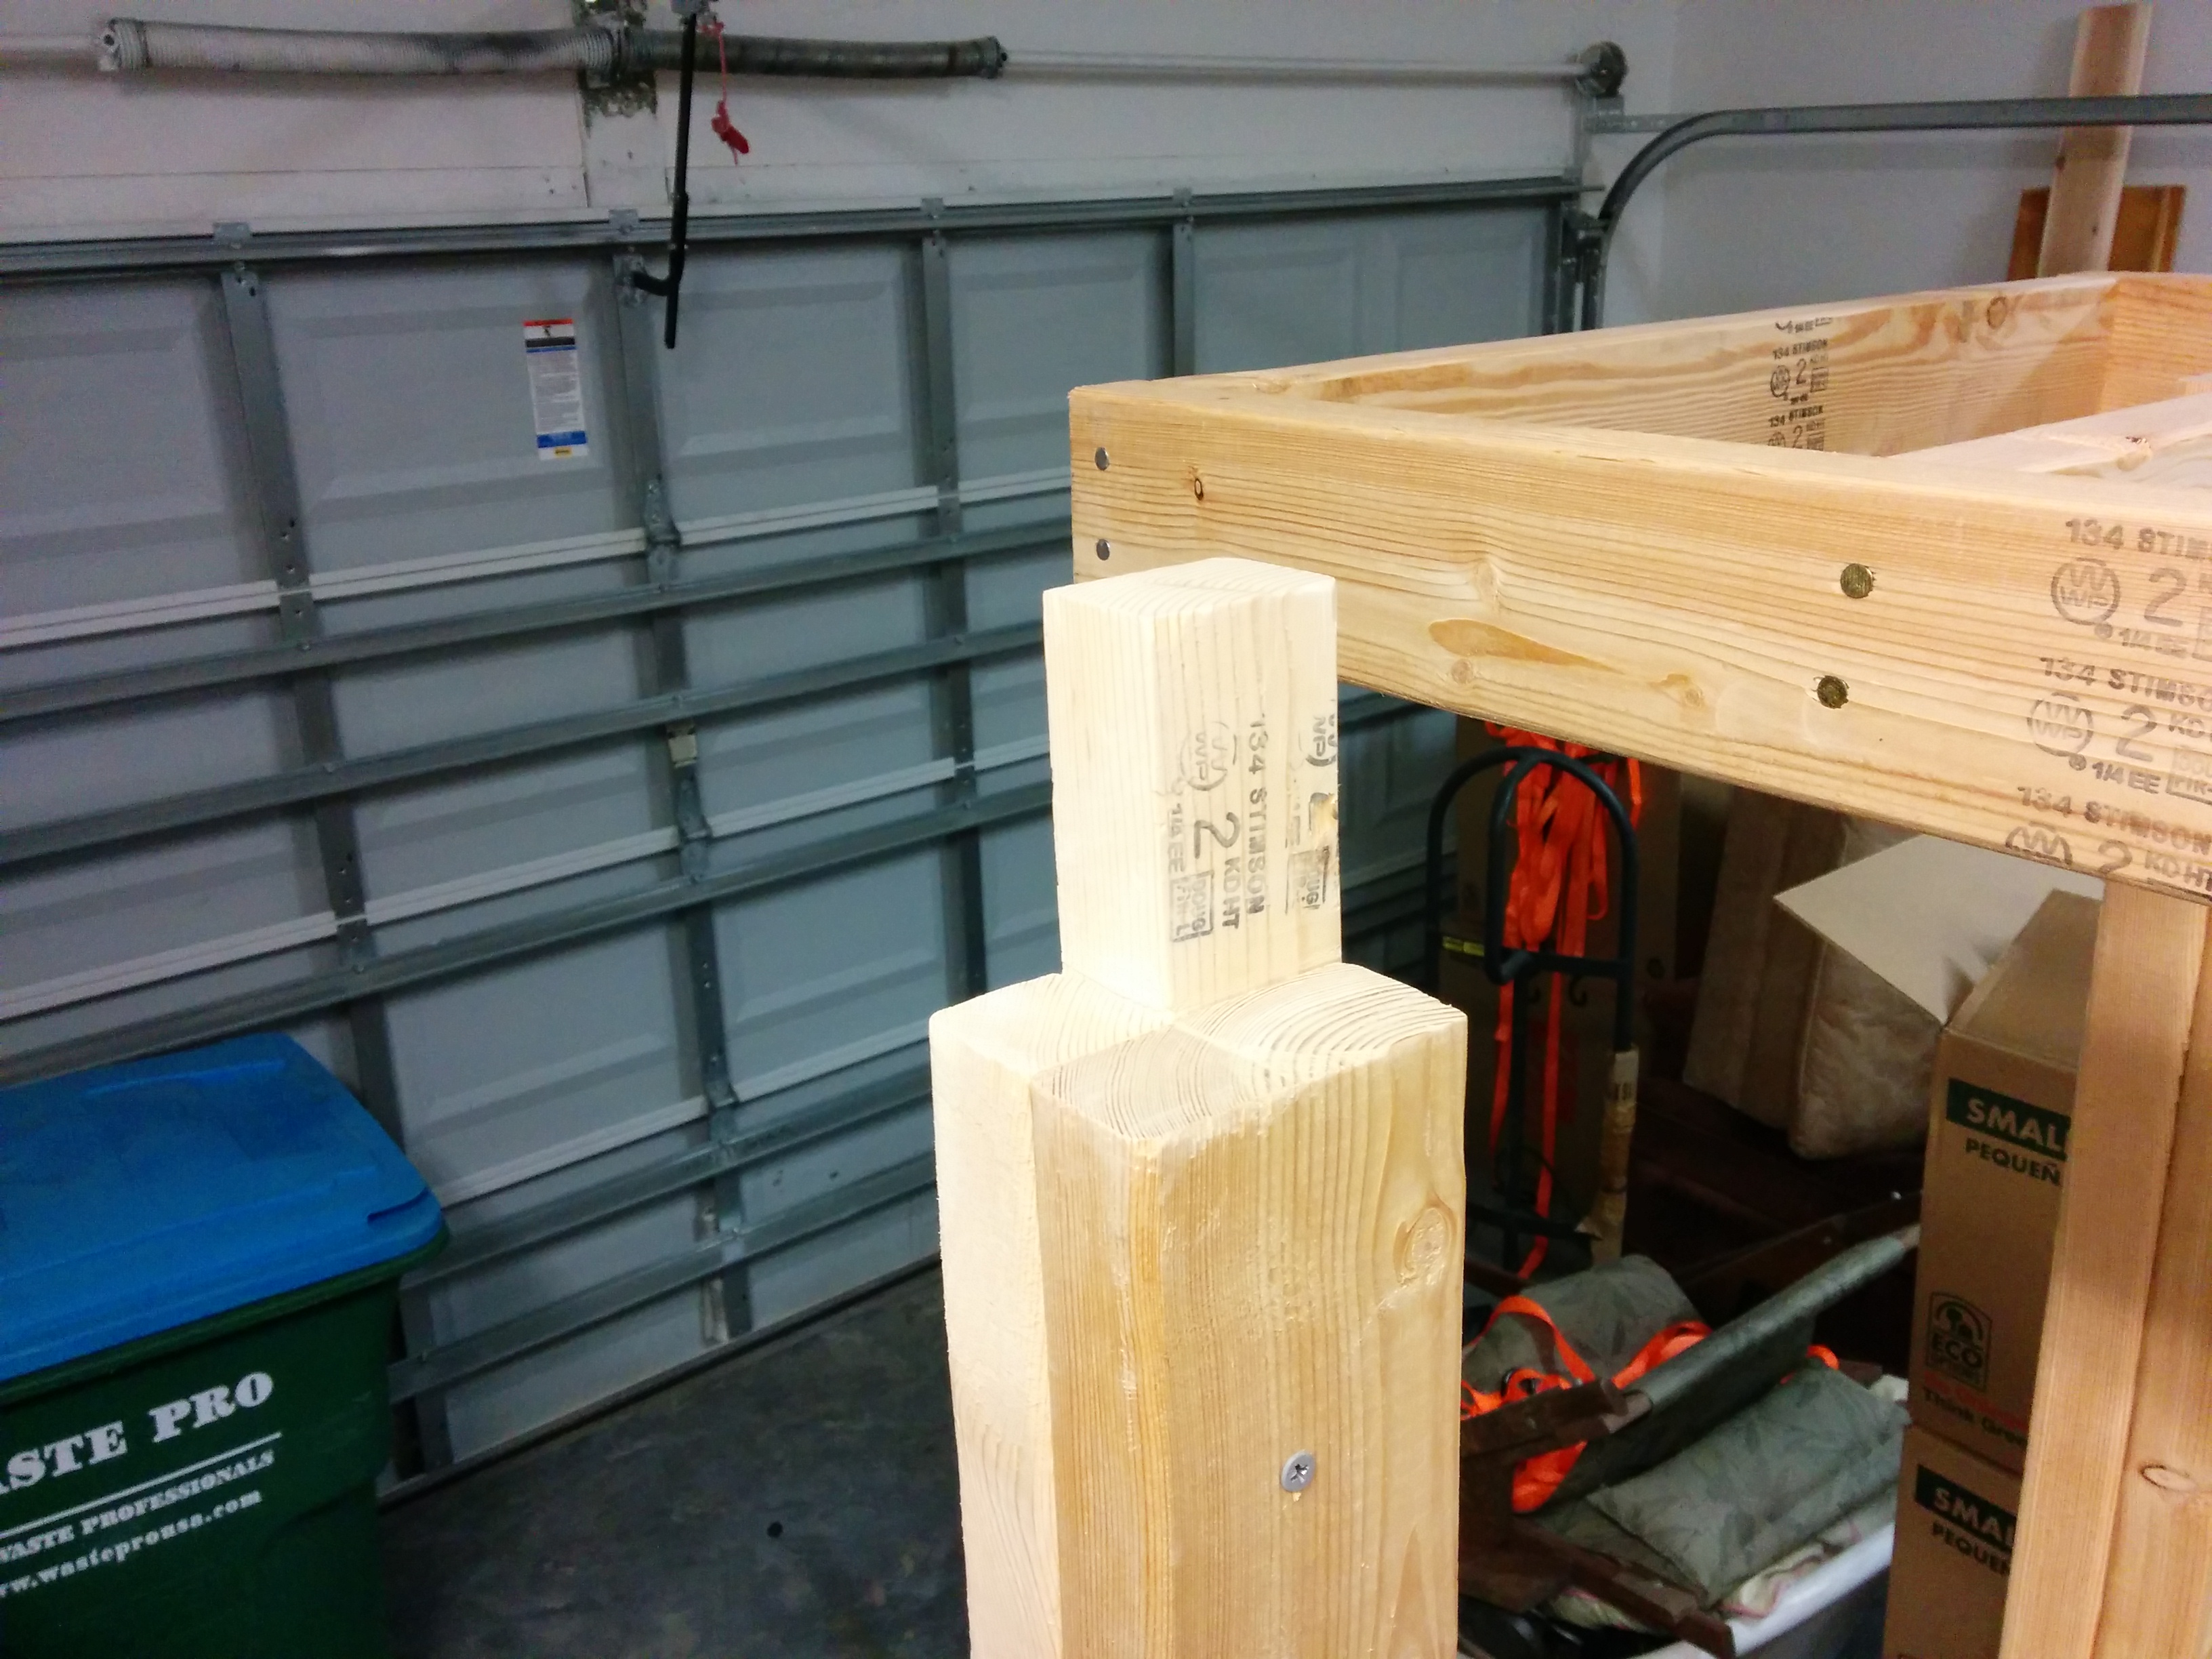
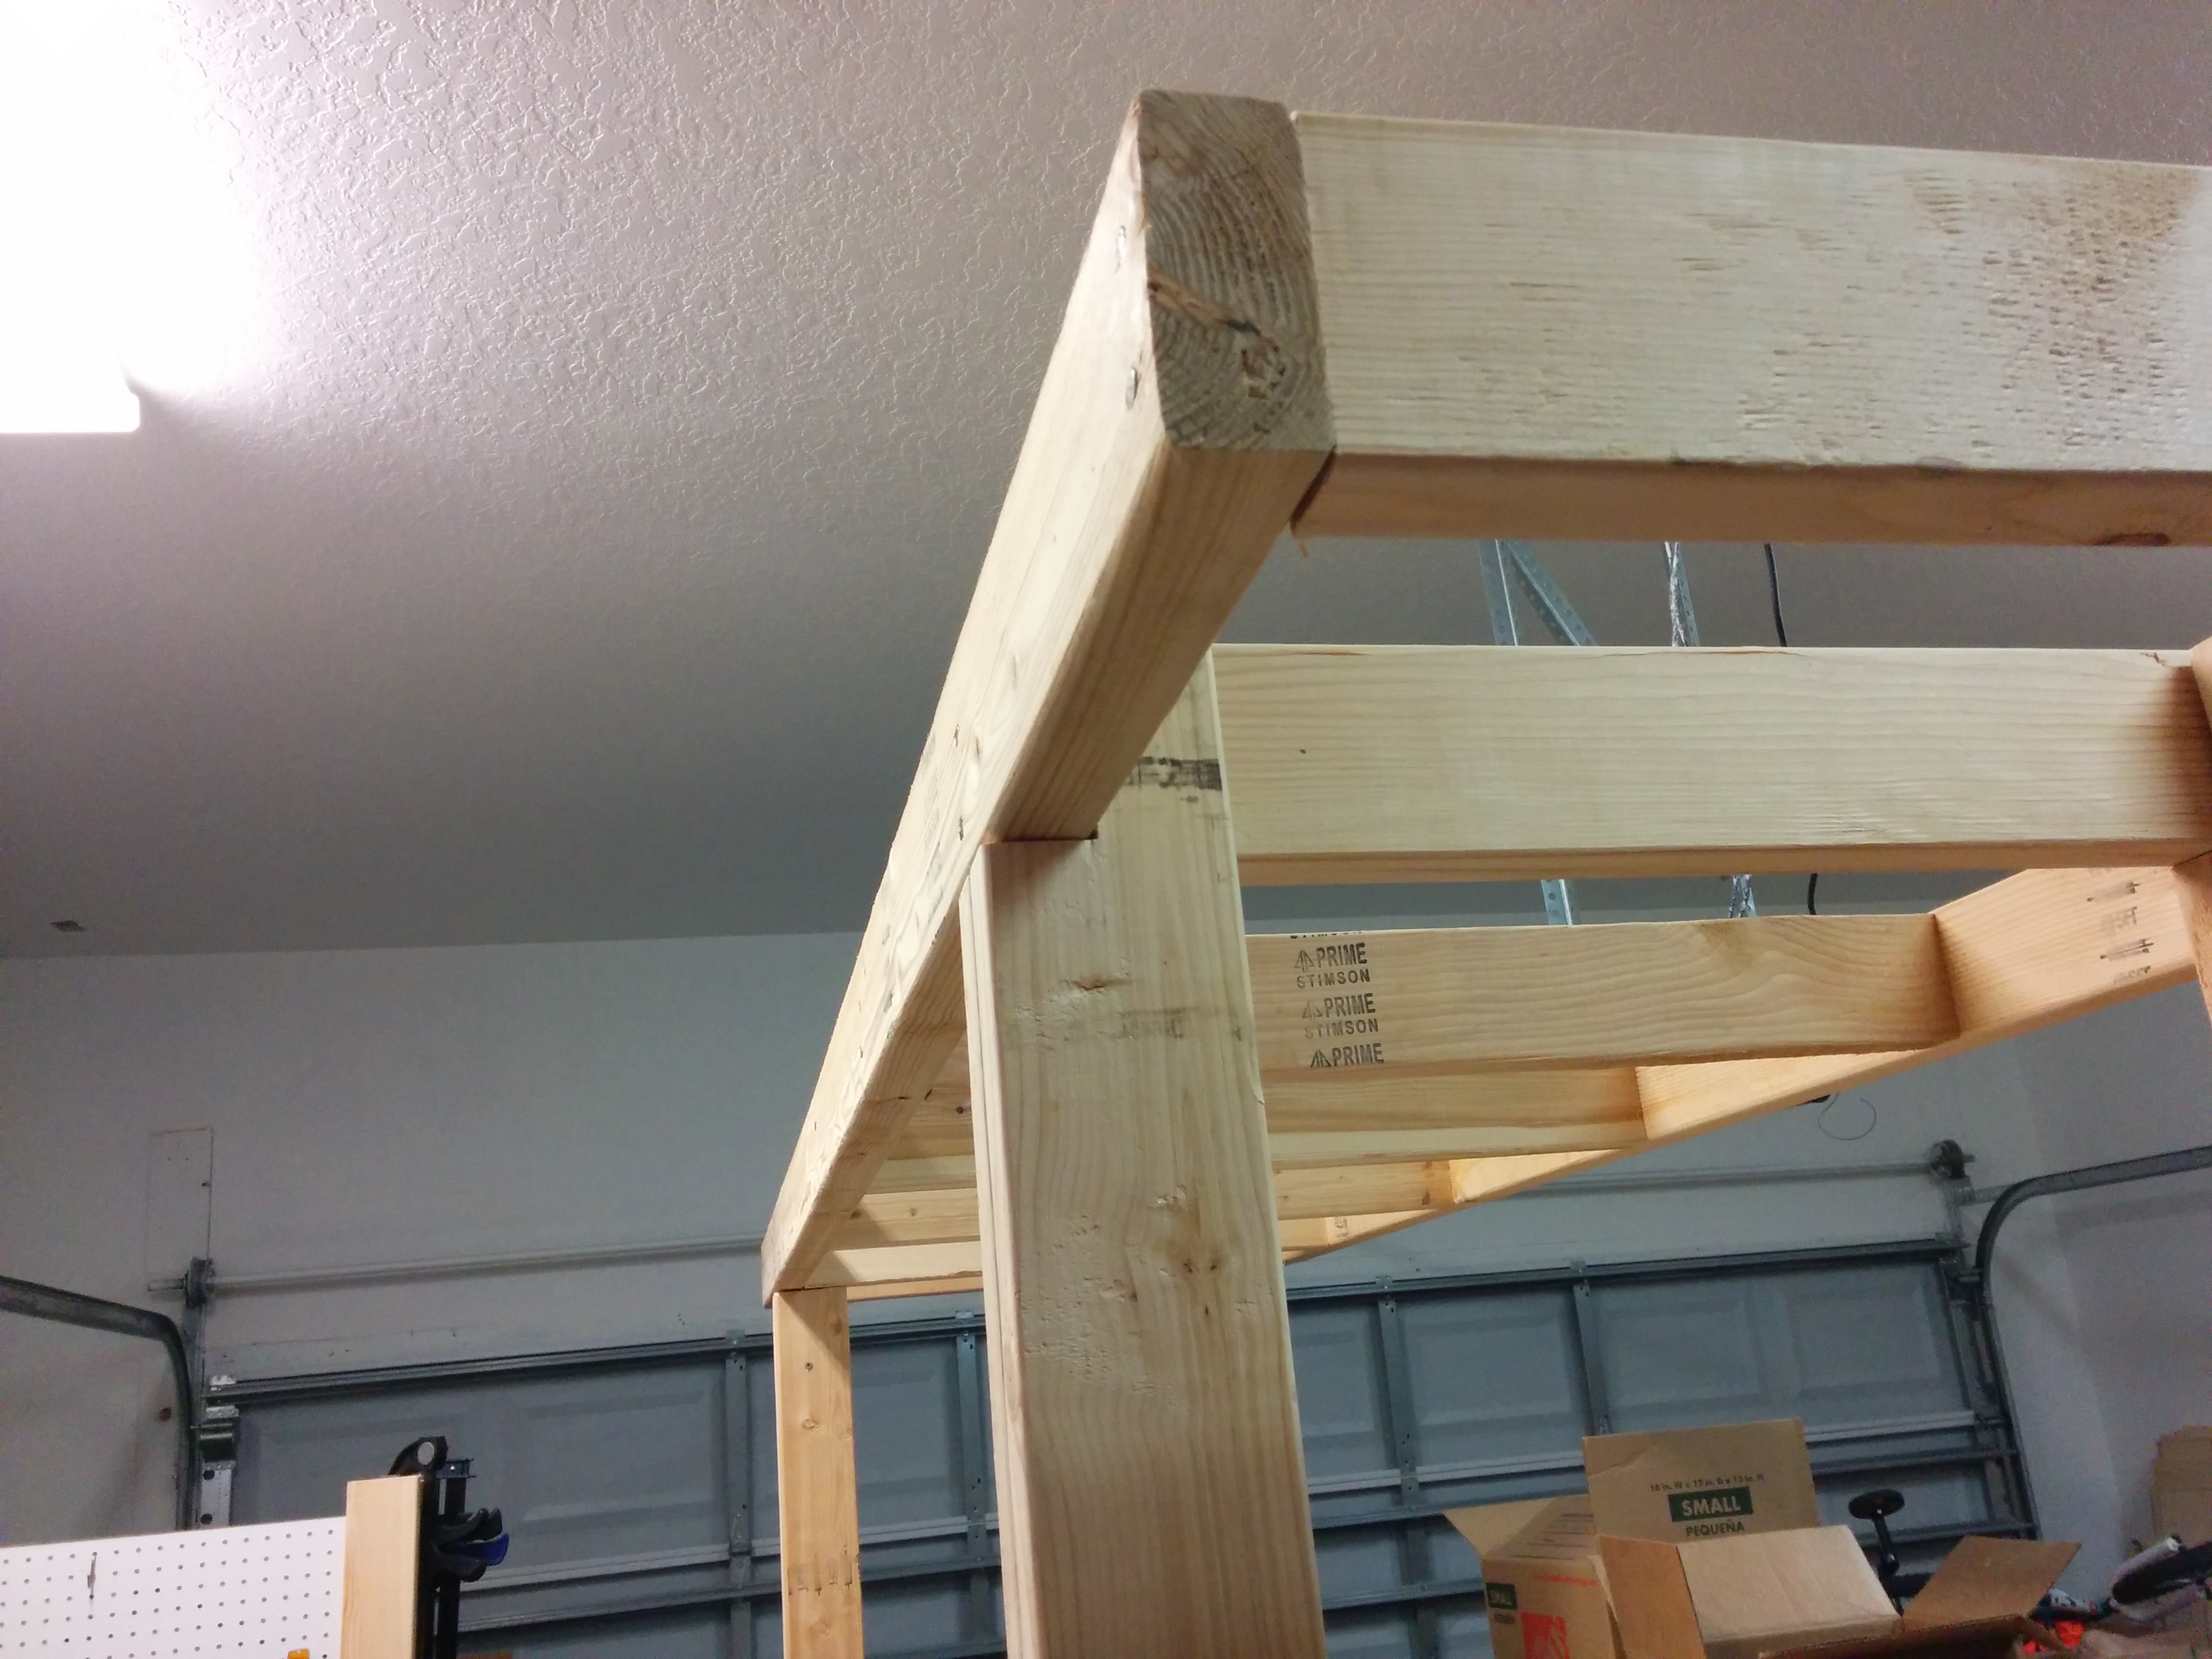
The only thing remaining is the 8′ long lofted storage shelf. If you are willing to hang the back of the frame off the end of your workbench, and support all of the weight on only eight 16d nails, you wouldn’t have to do any joinery here. Note that the legs are 3.5″ (width of a 2×4) longer than the jack studs, so they sort of support the plywood that will go on top, but most of the load should be transfered by the frame to the jack studs.
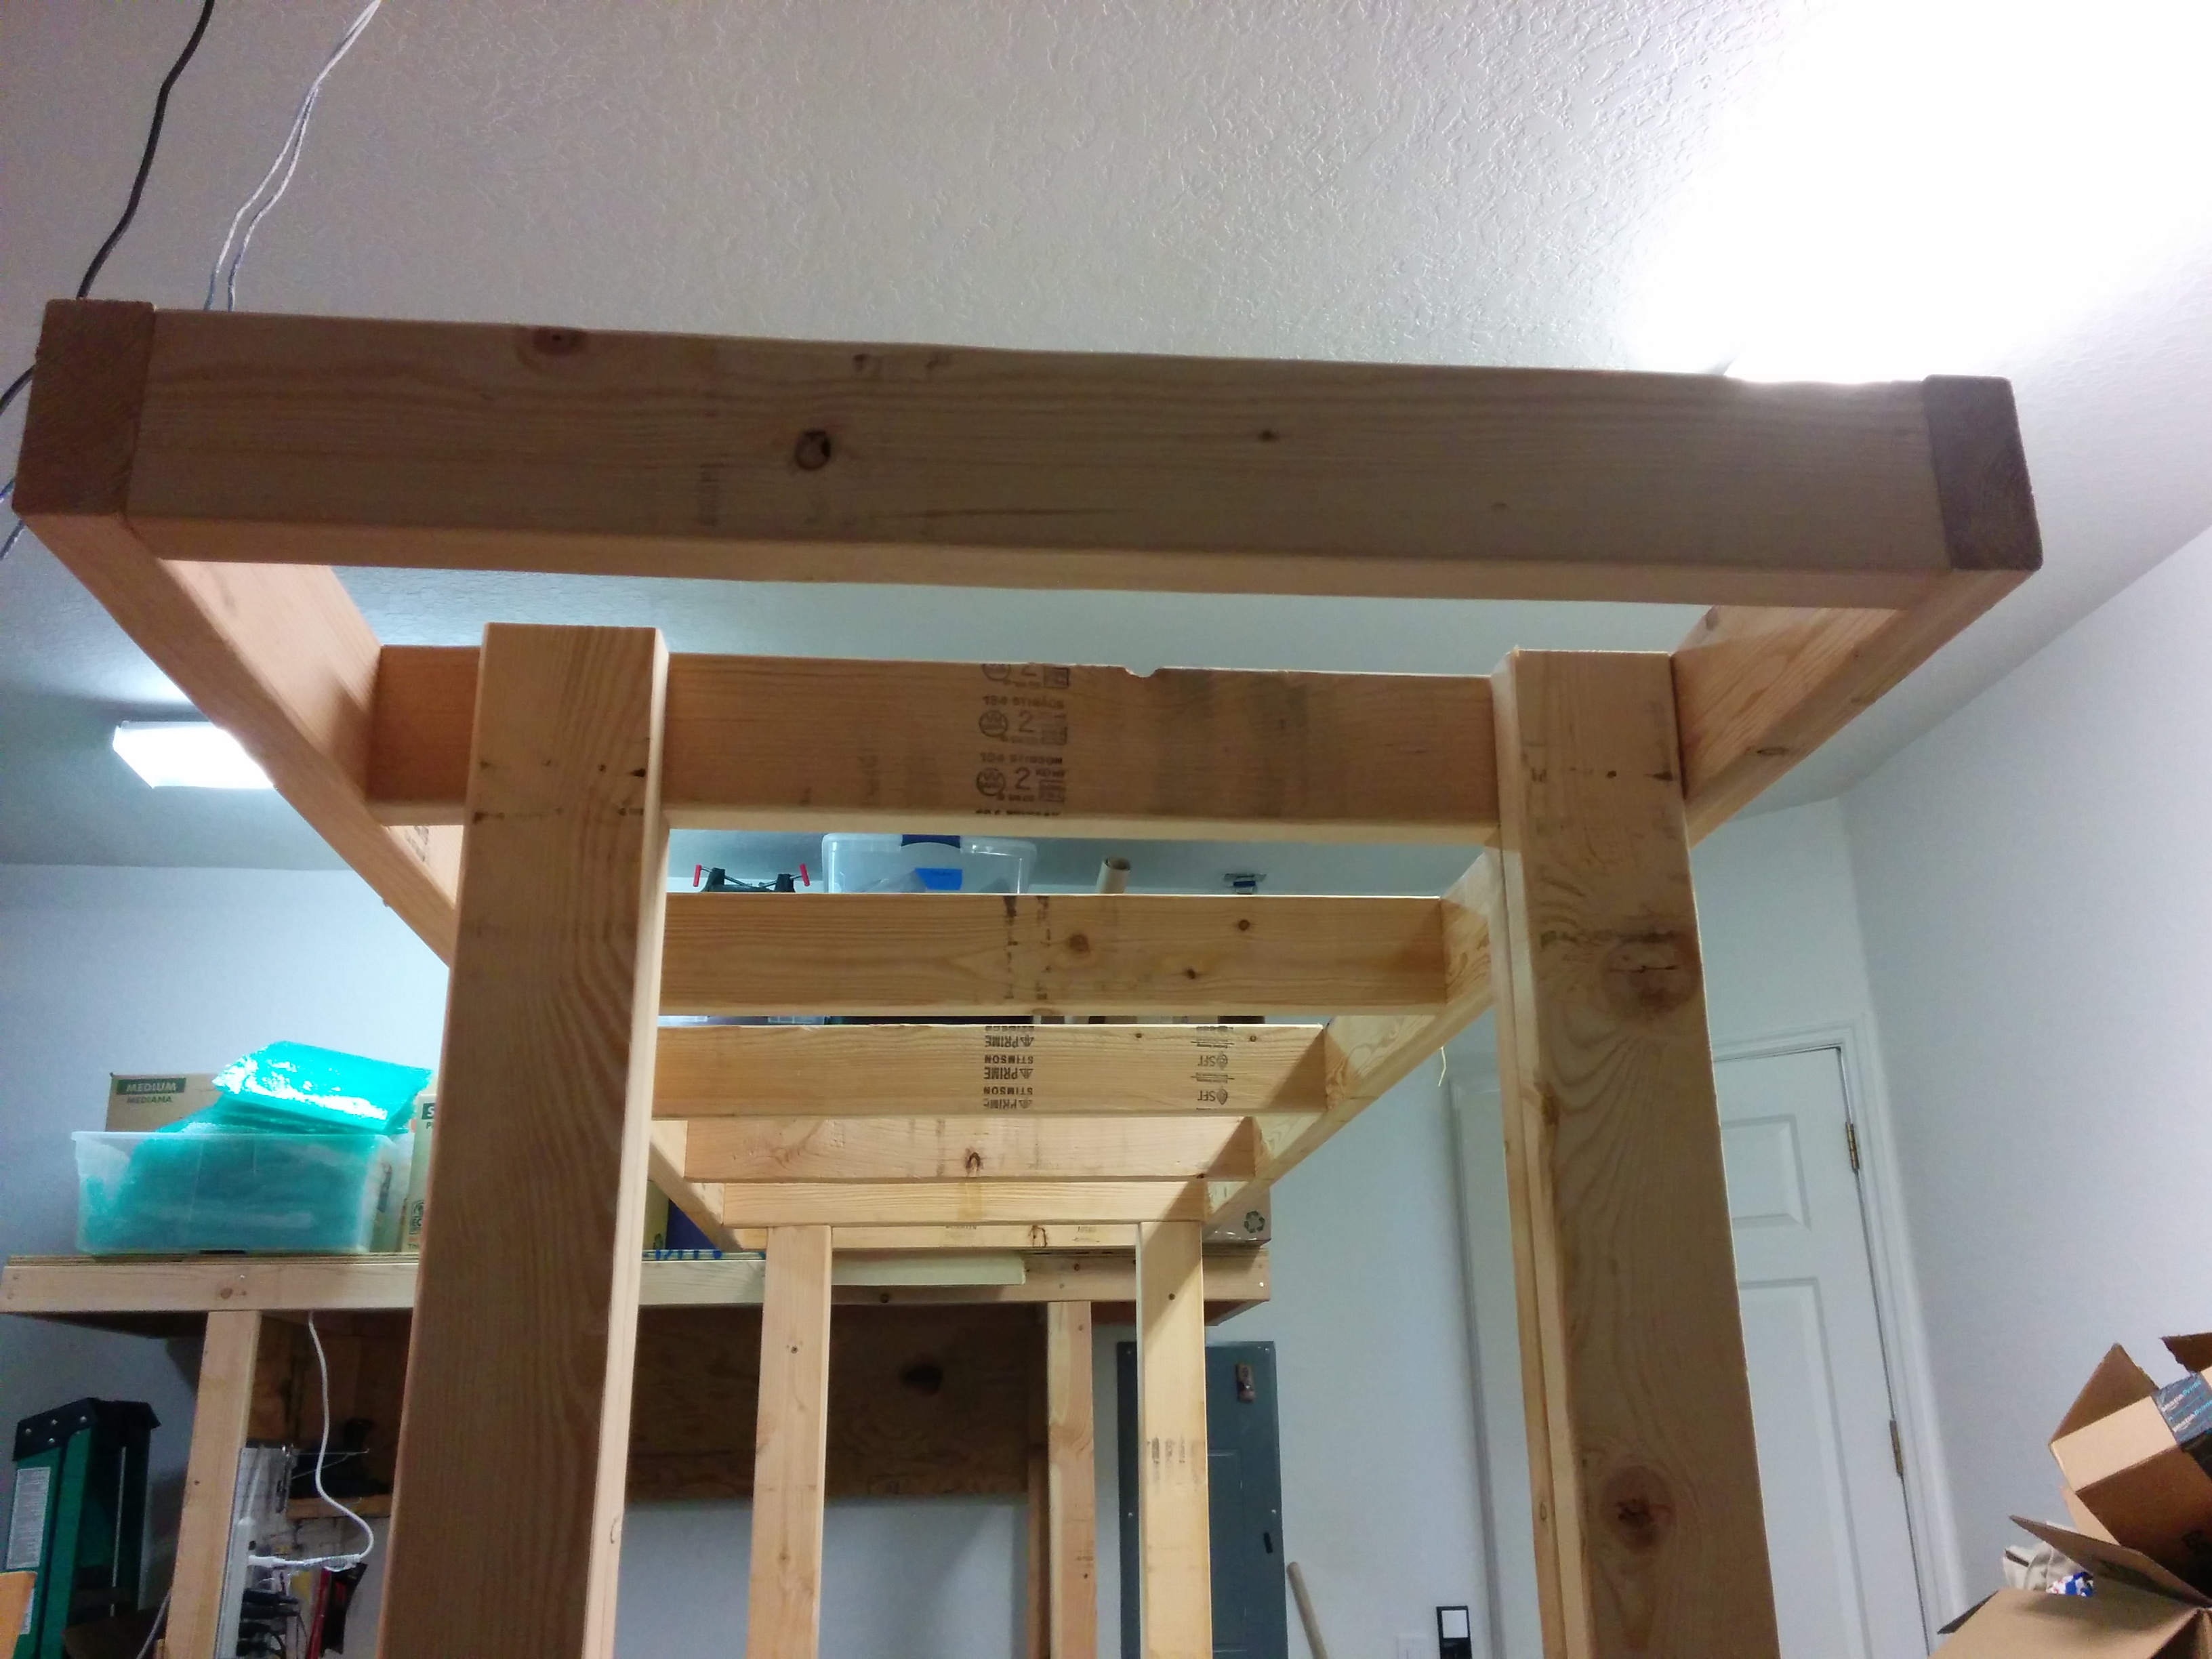
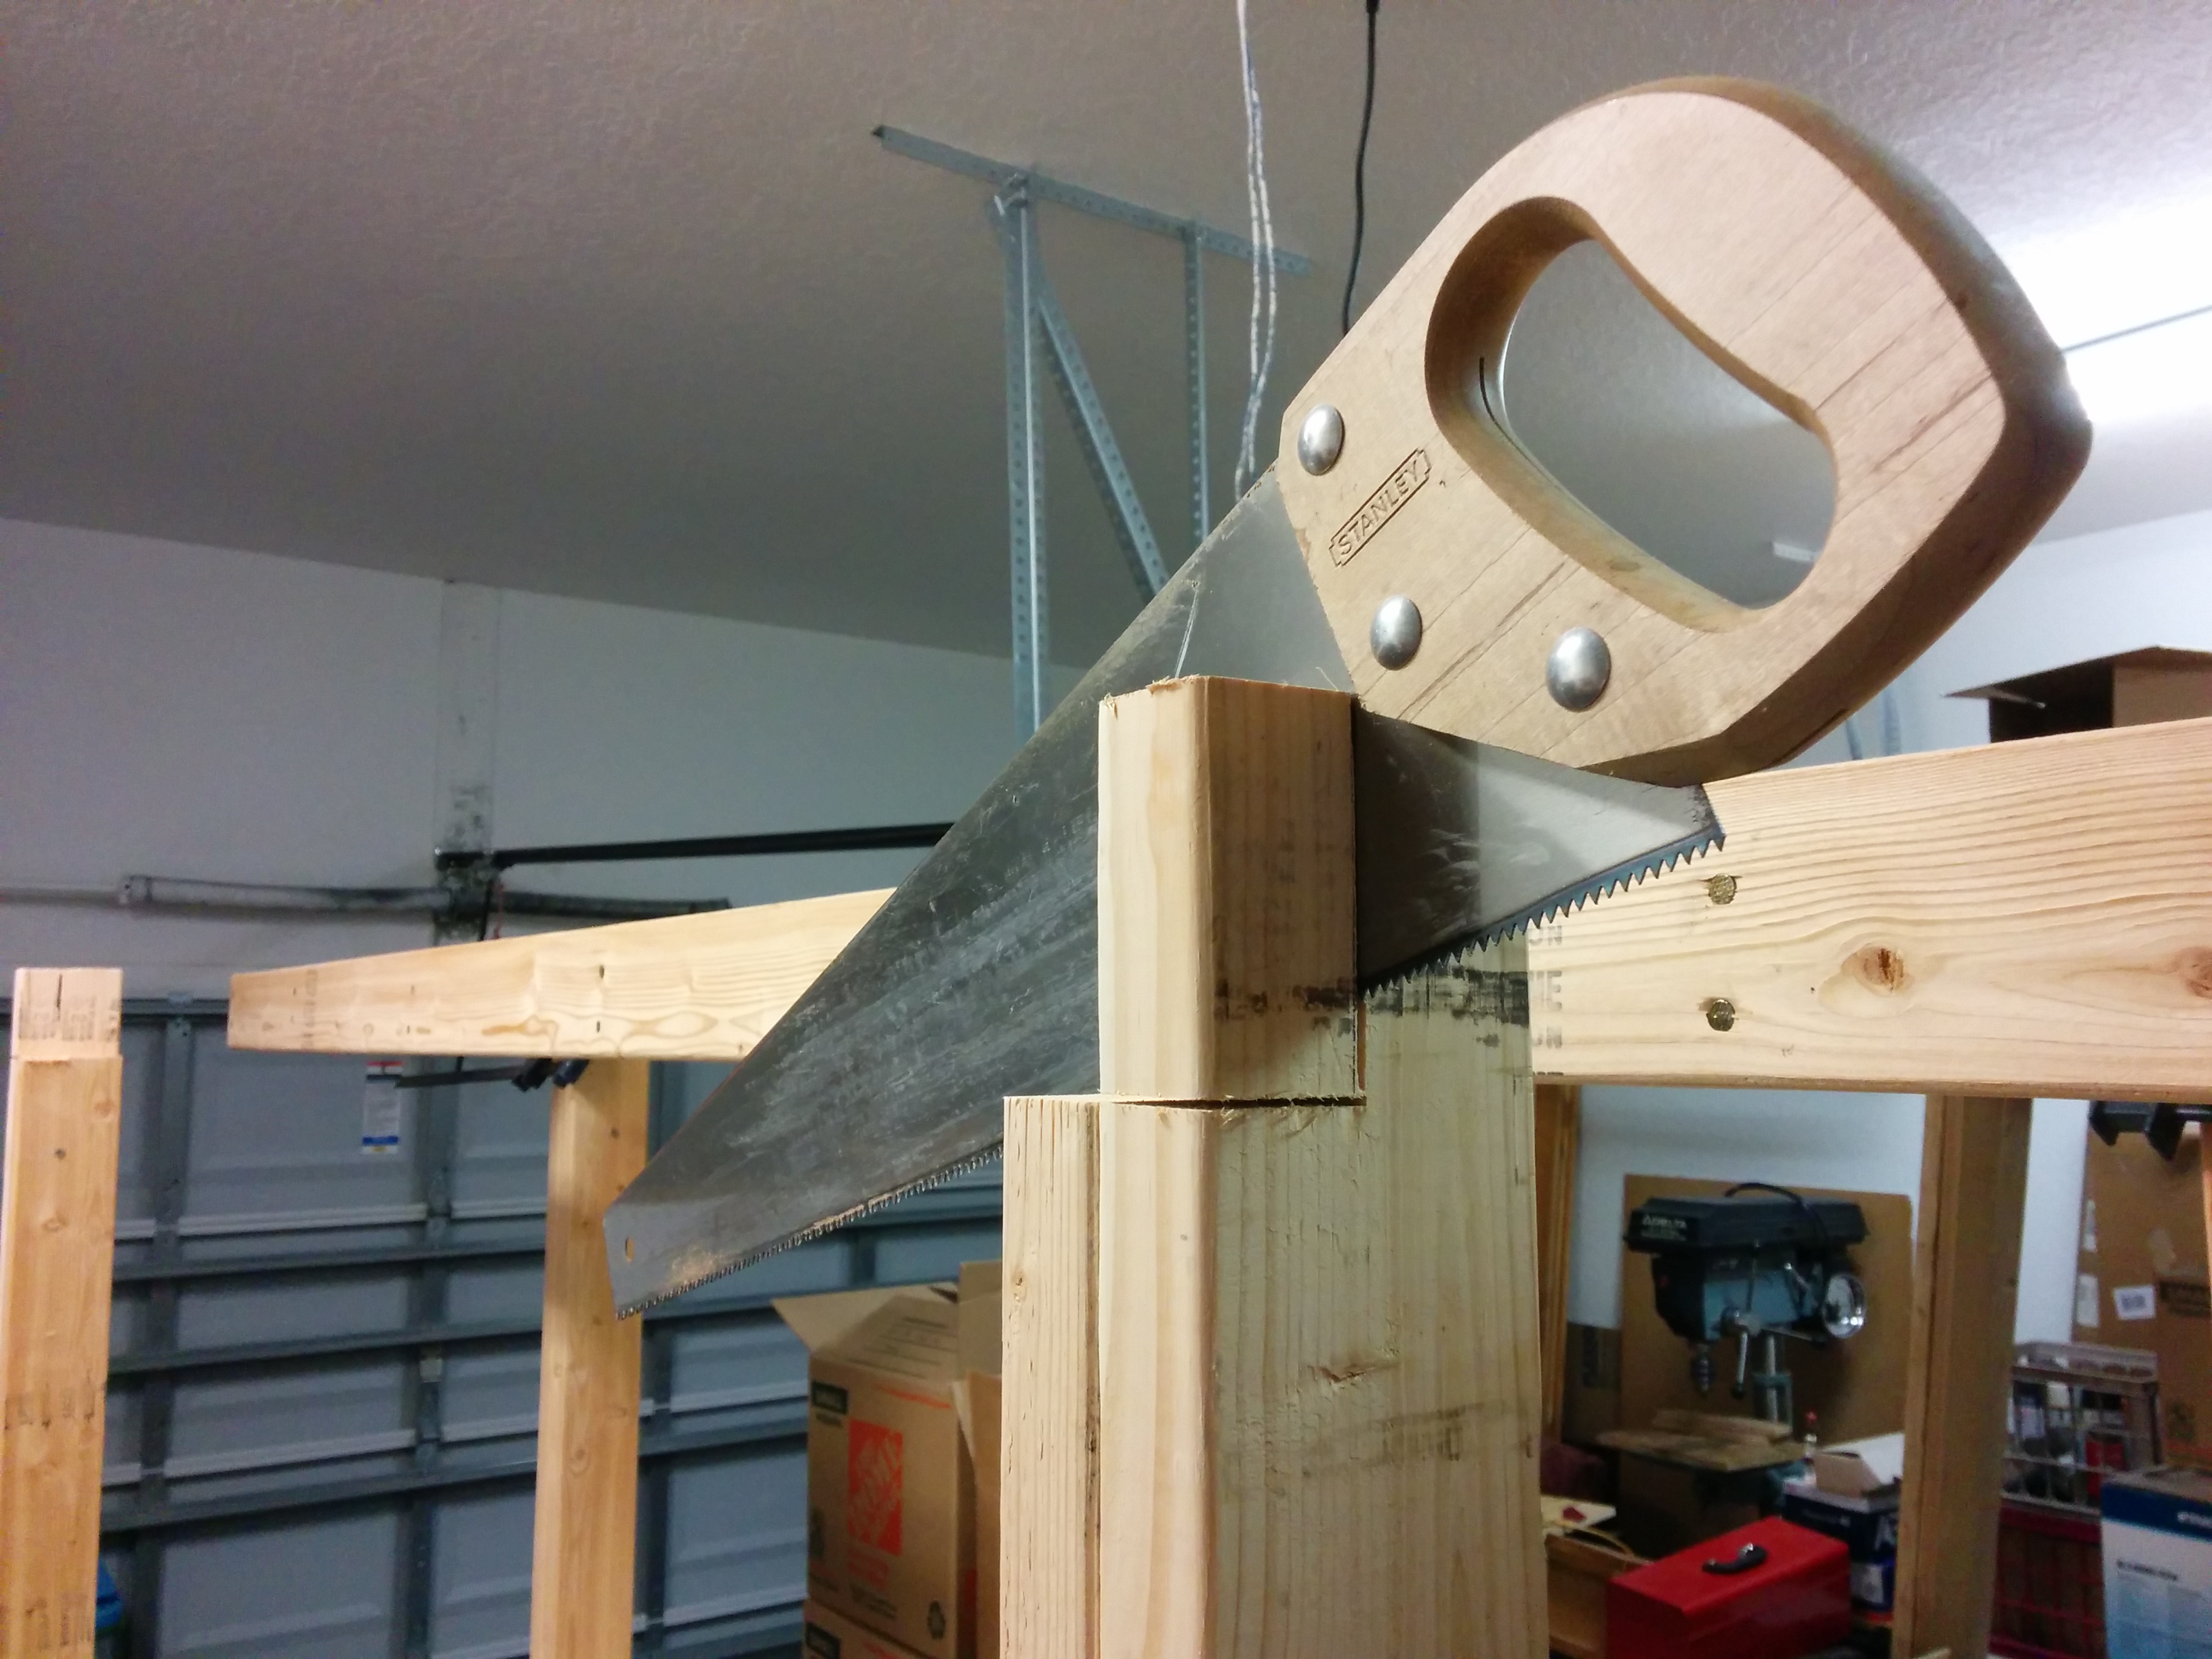
However, I wanted the back frame rail supported by the jack stud and a bit of the leg, so I
cut a 1.5″ slot so that the top frame would be flush with the legs and the back rail would be supported on top of both the jack stud and leg. (The front rail is only supported by the 16d nails through the two cantilevered studs)
I used my 8′ x 17 7/8″ extra from the top shelf as reinforcing sheathing on the back top.

The two extra 2×4 sheets were used as reinforcement sheathing on the left and right sides. I put the fancy sanded ply up top where I mount various things to it, and the ugly 3/4″ down low, where it is hidden behind a cabinet.
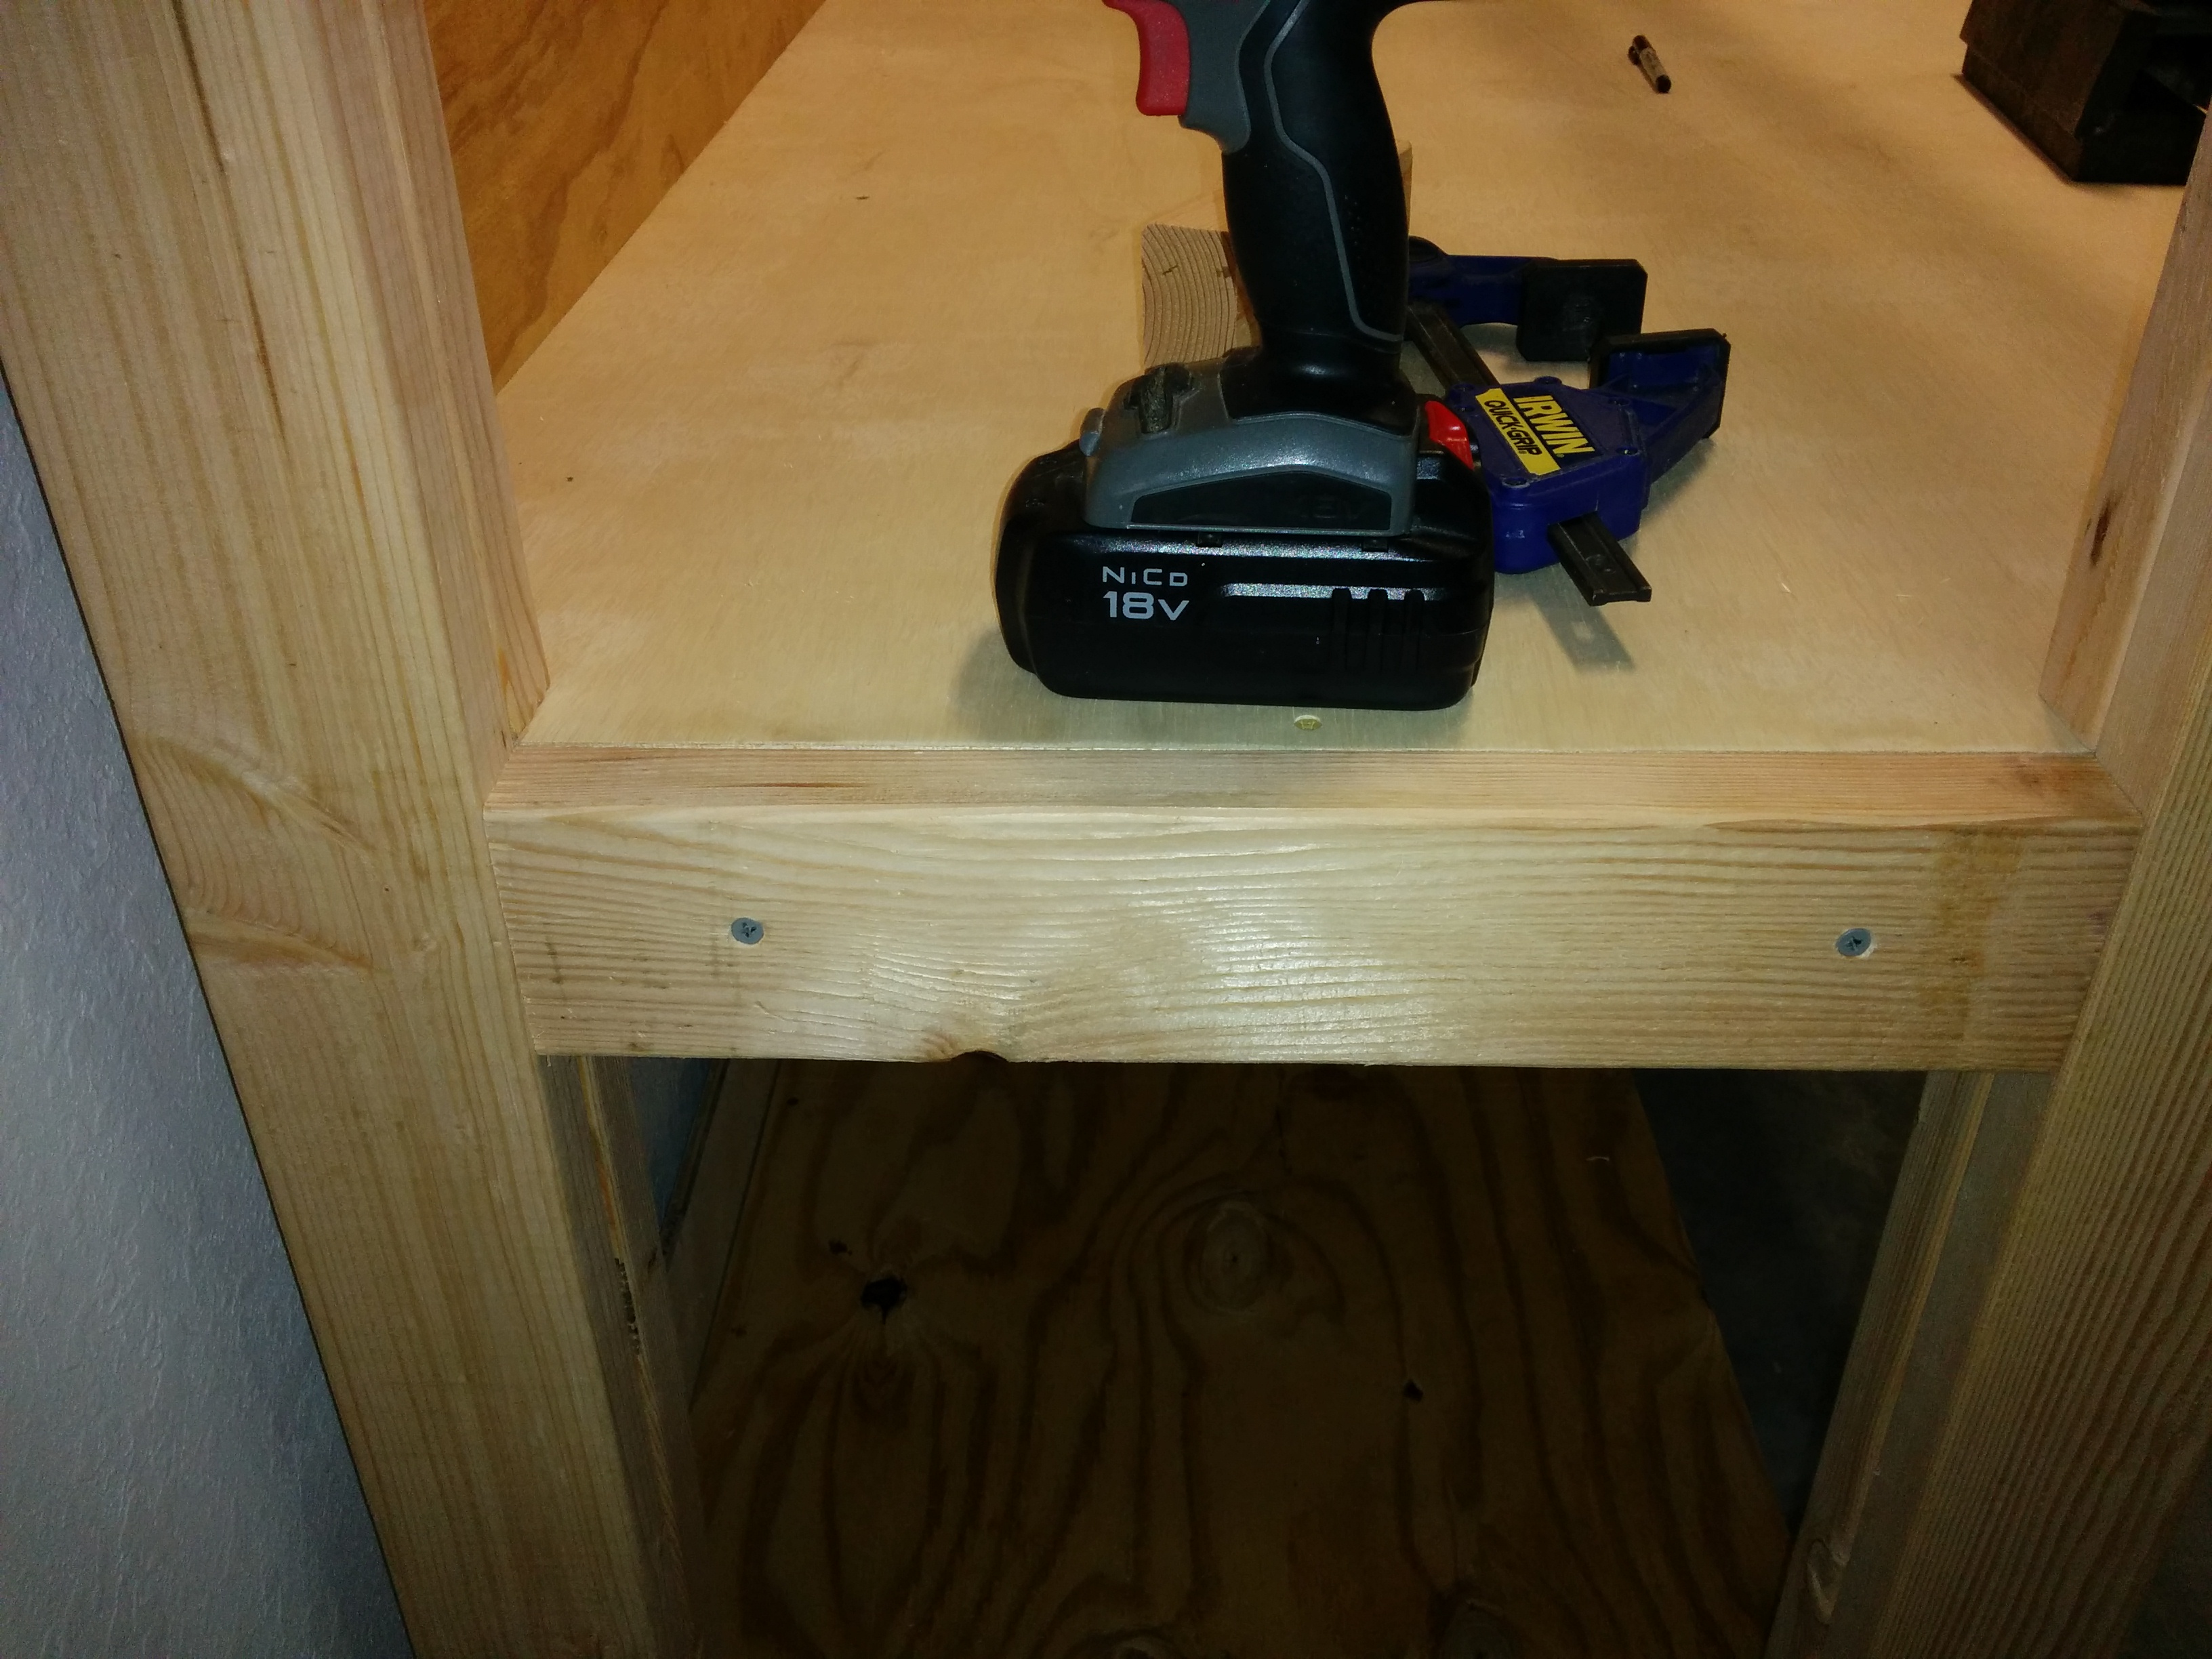
Don’t forget you’ll also need to add a few 2×4’s between the legs at the workbench level if you don’t want gaps to show…
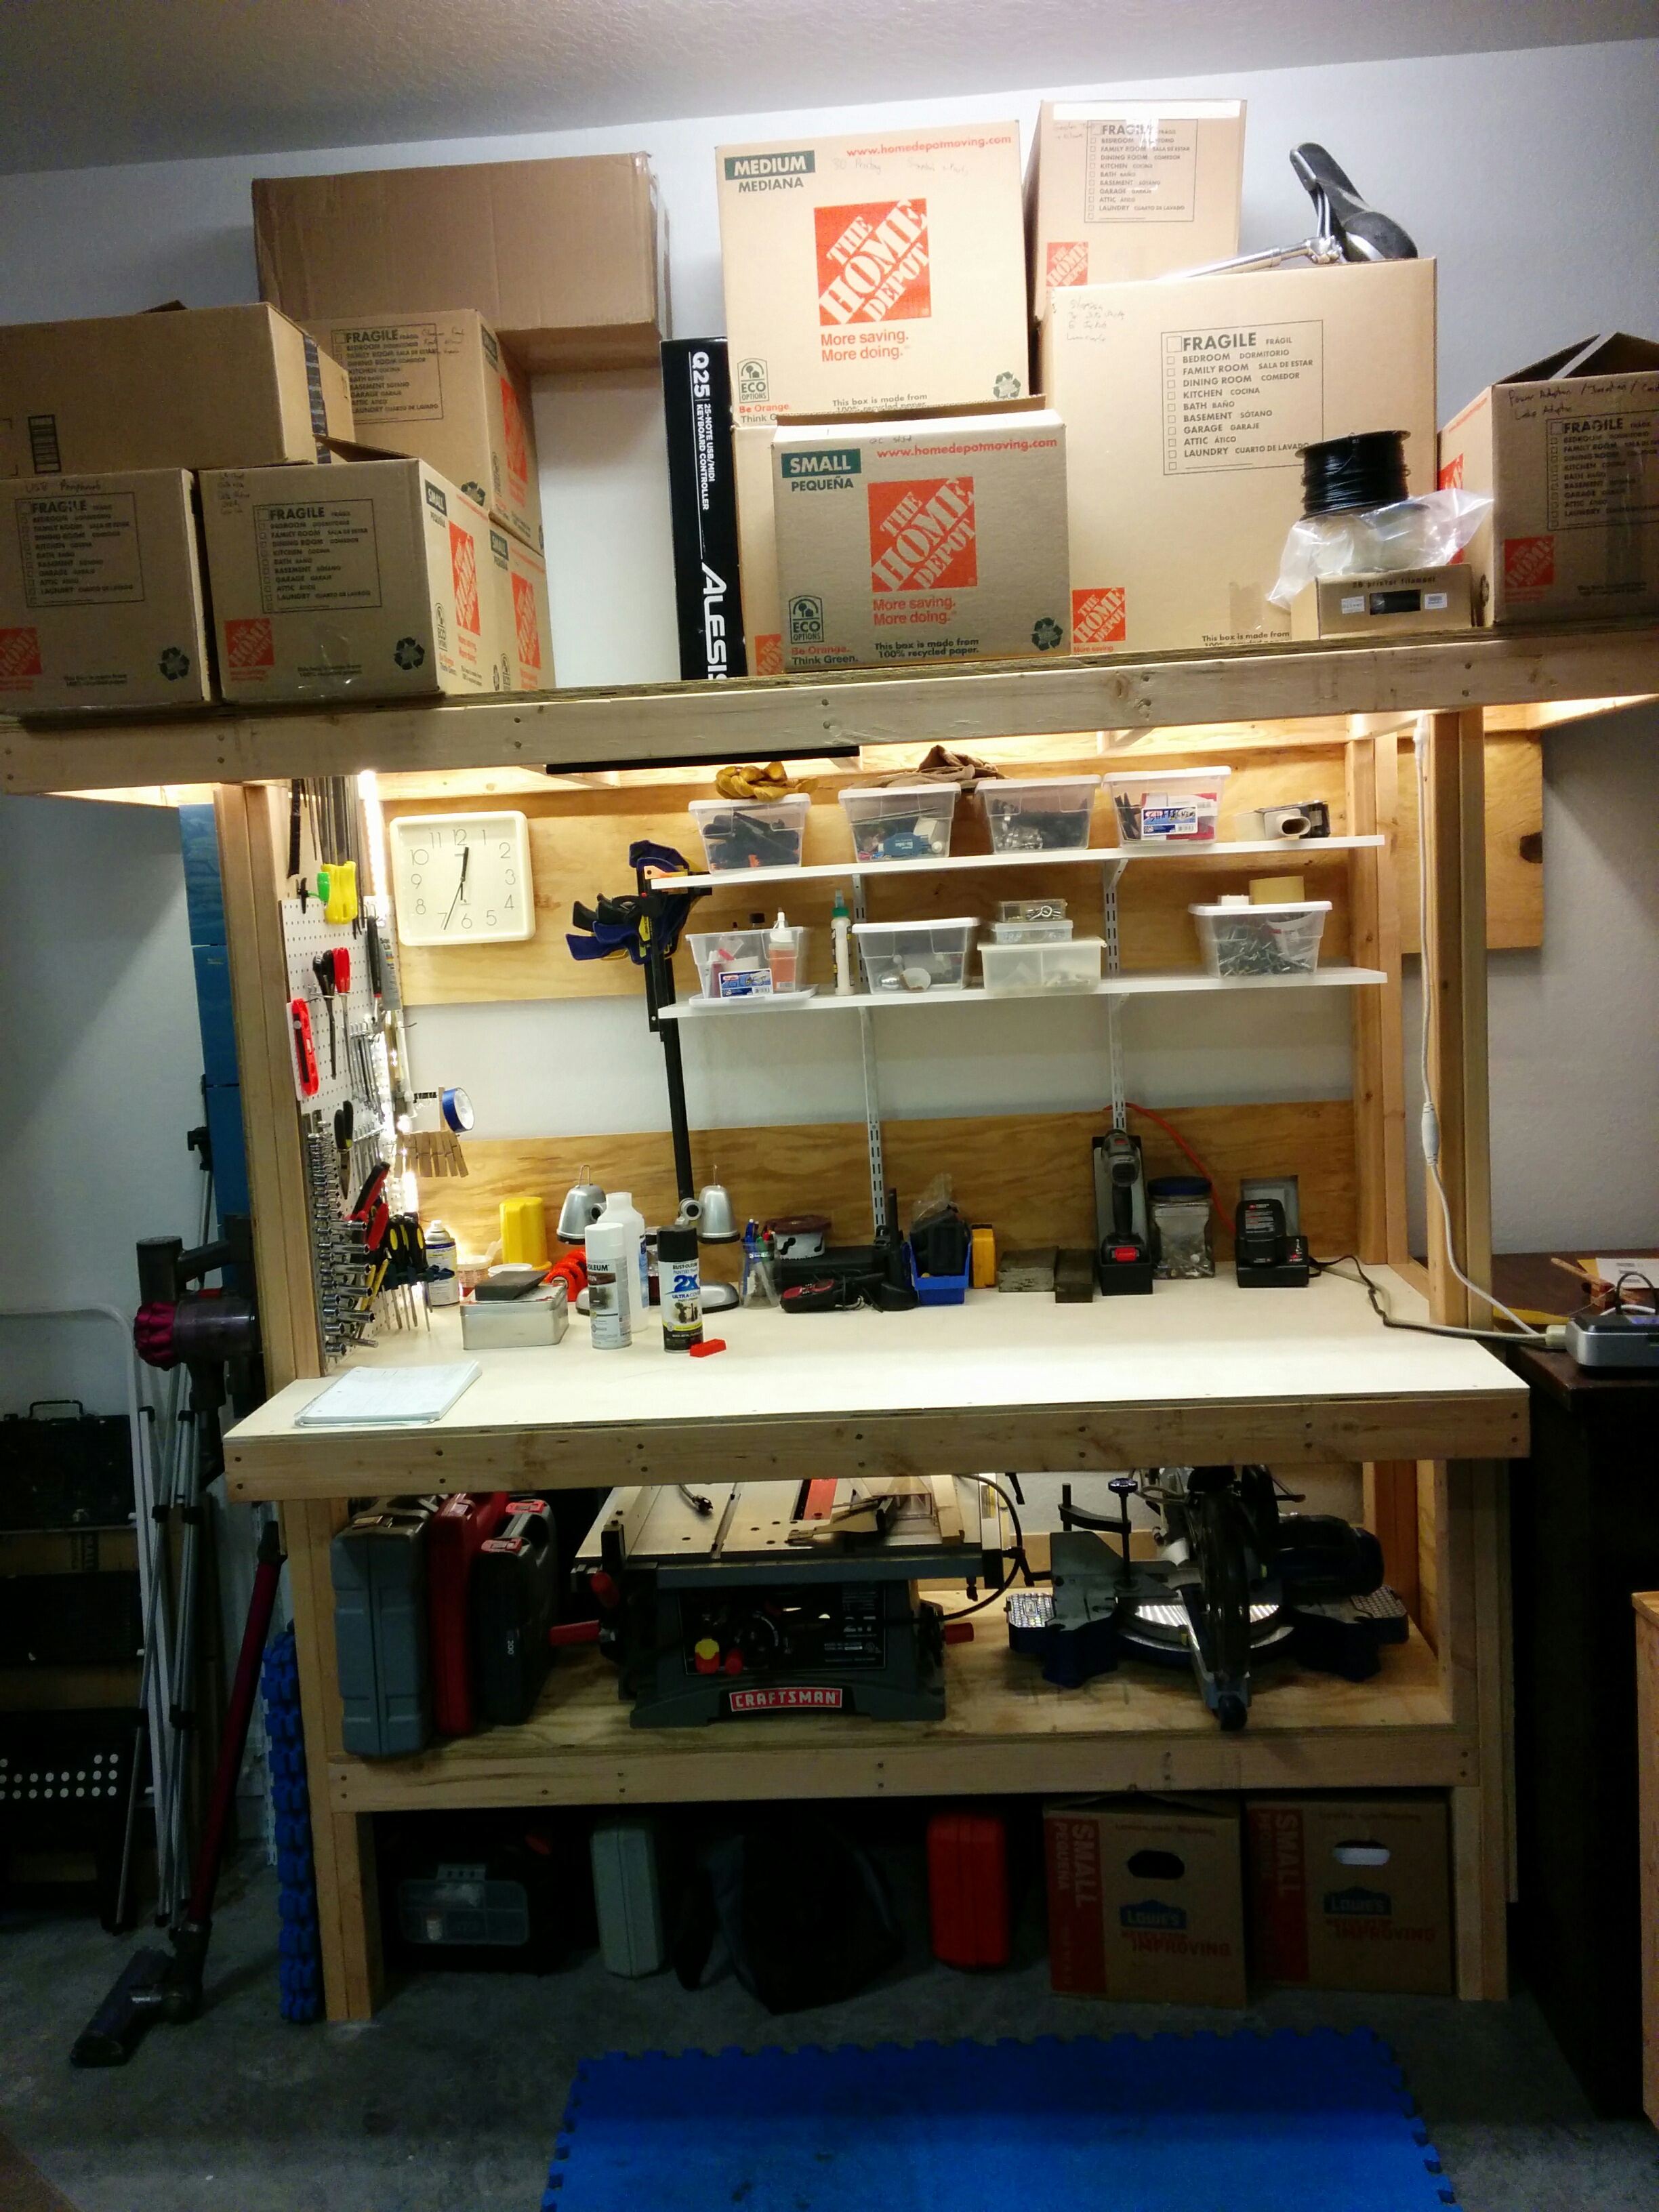
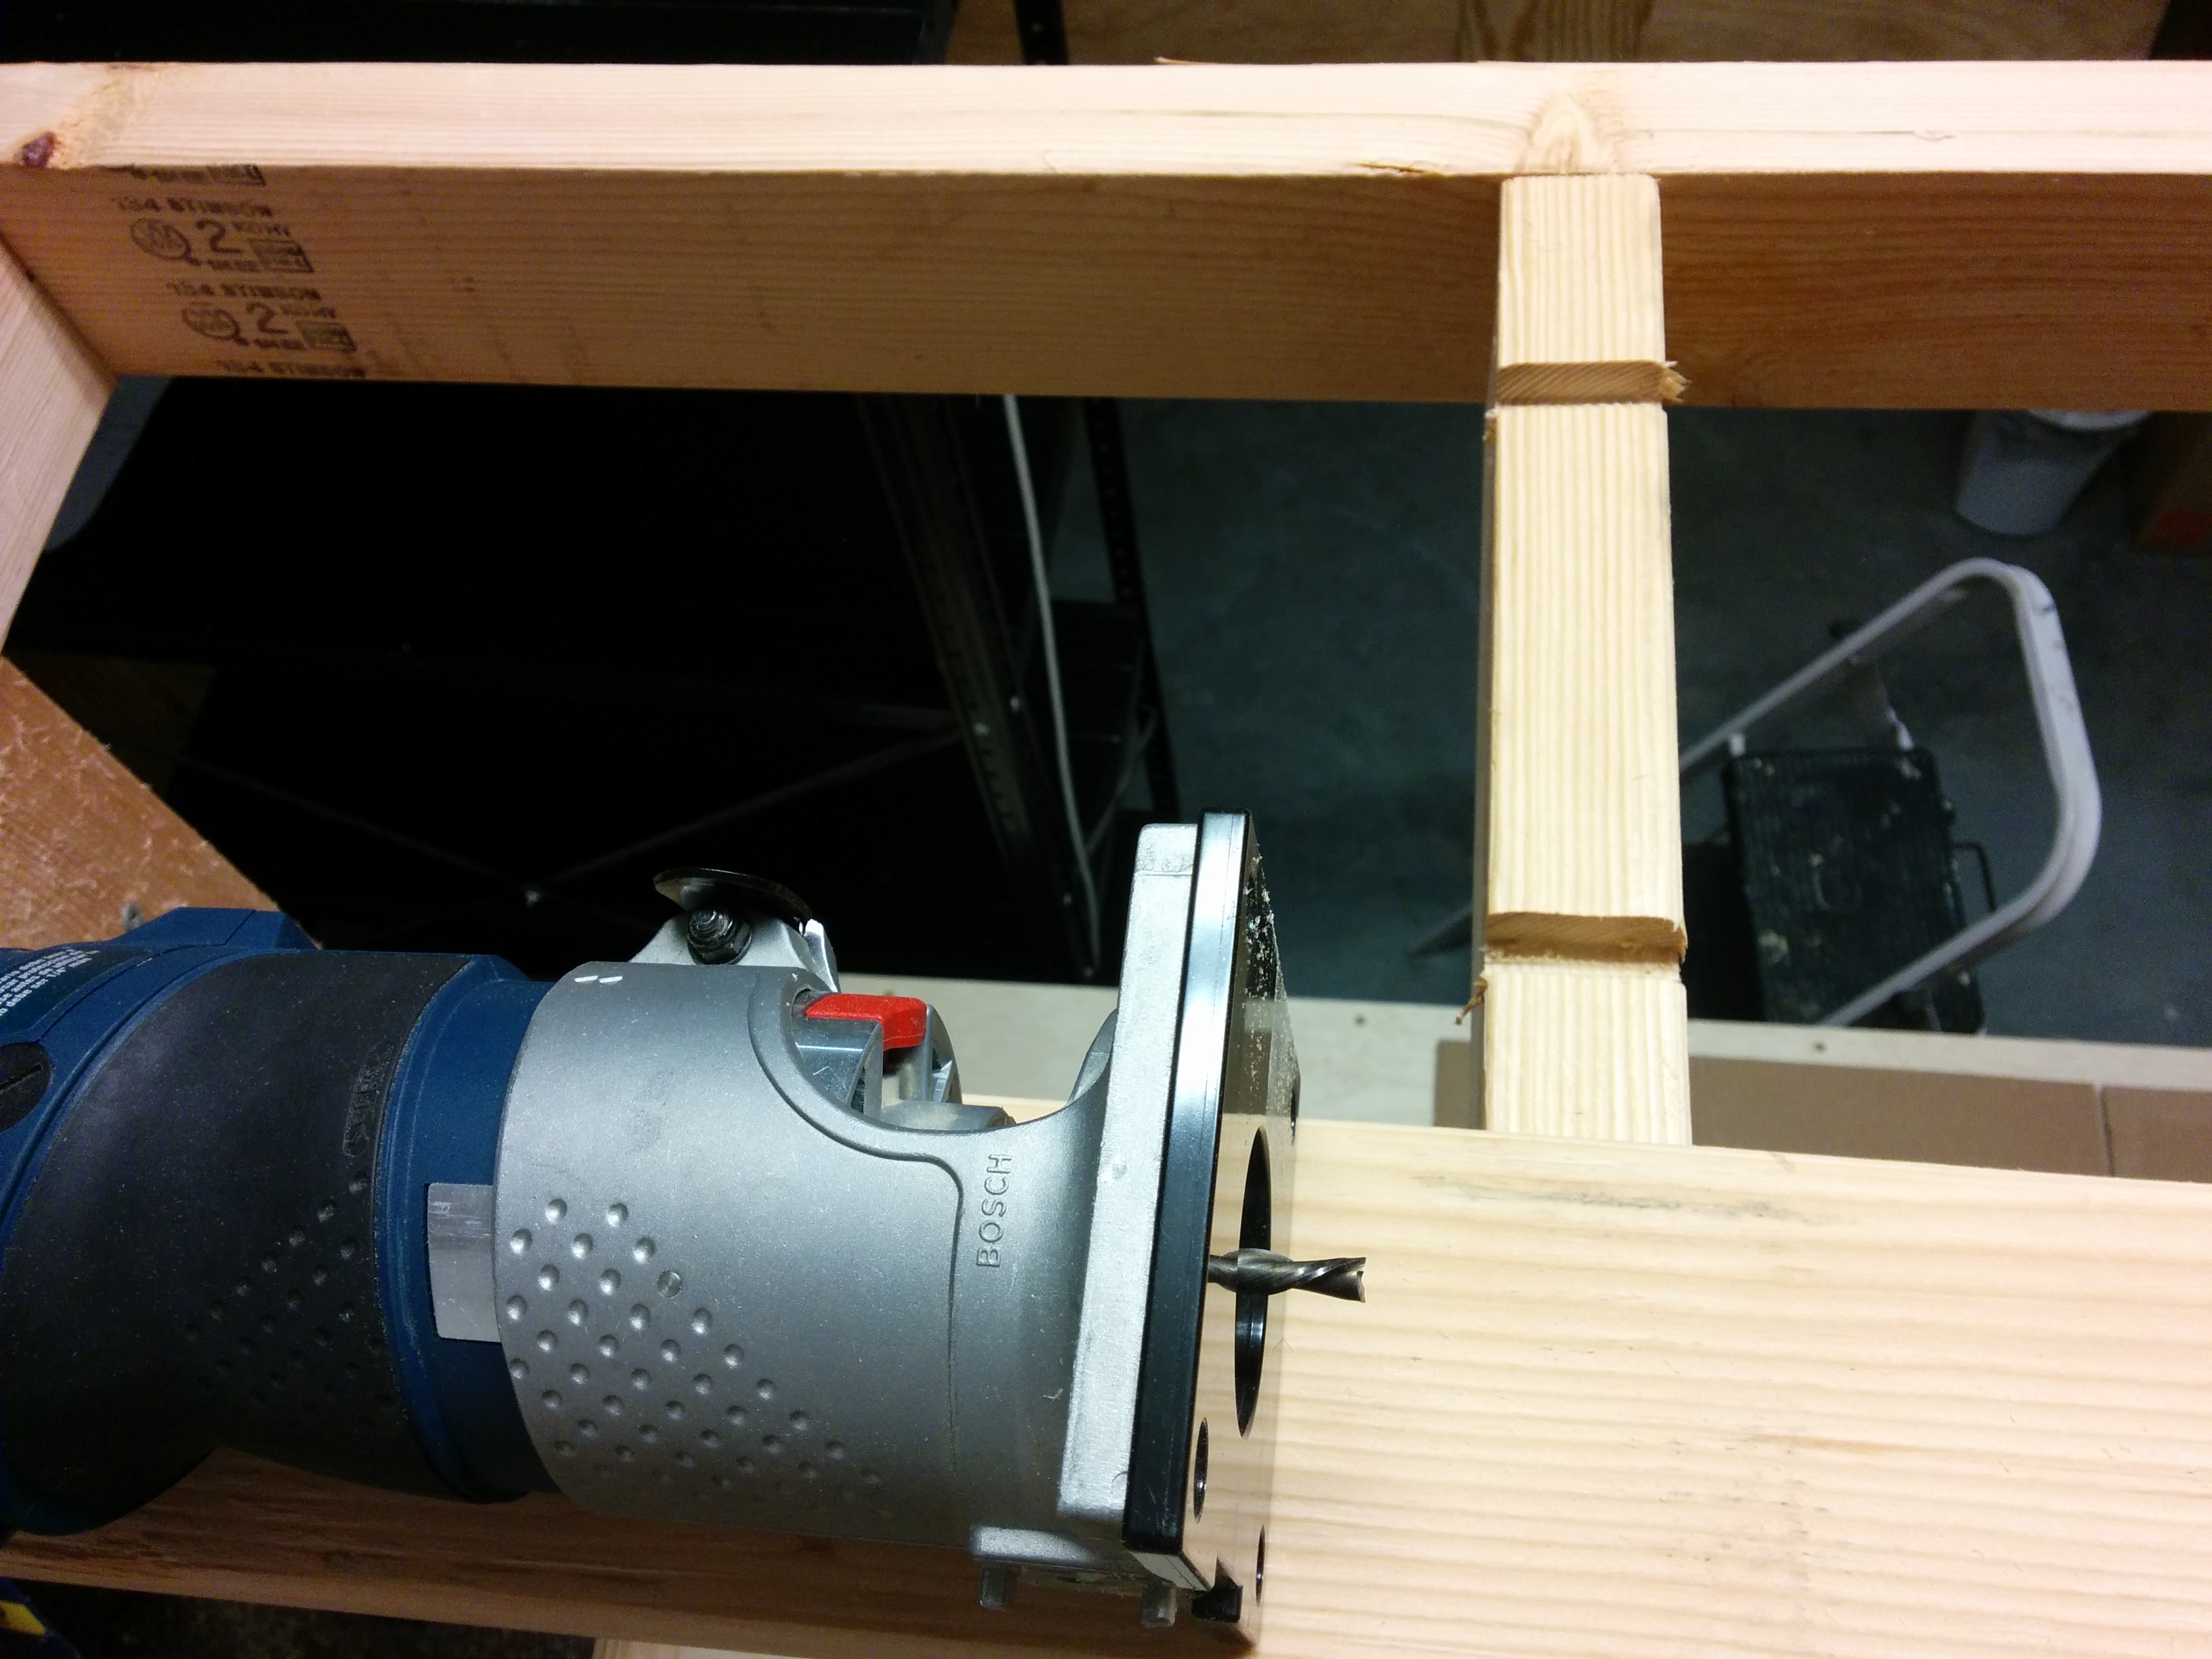
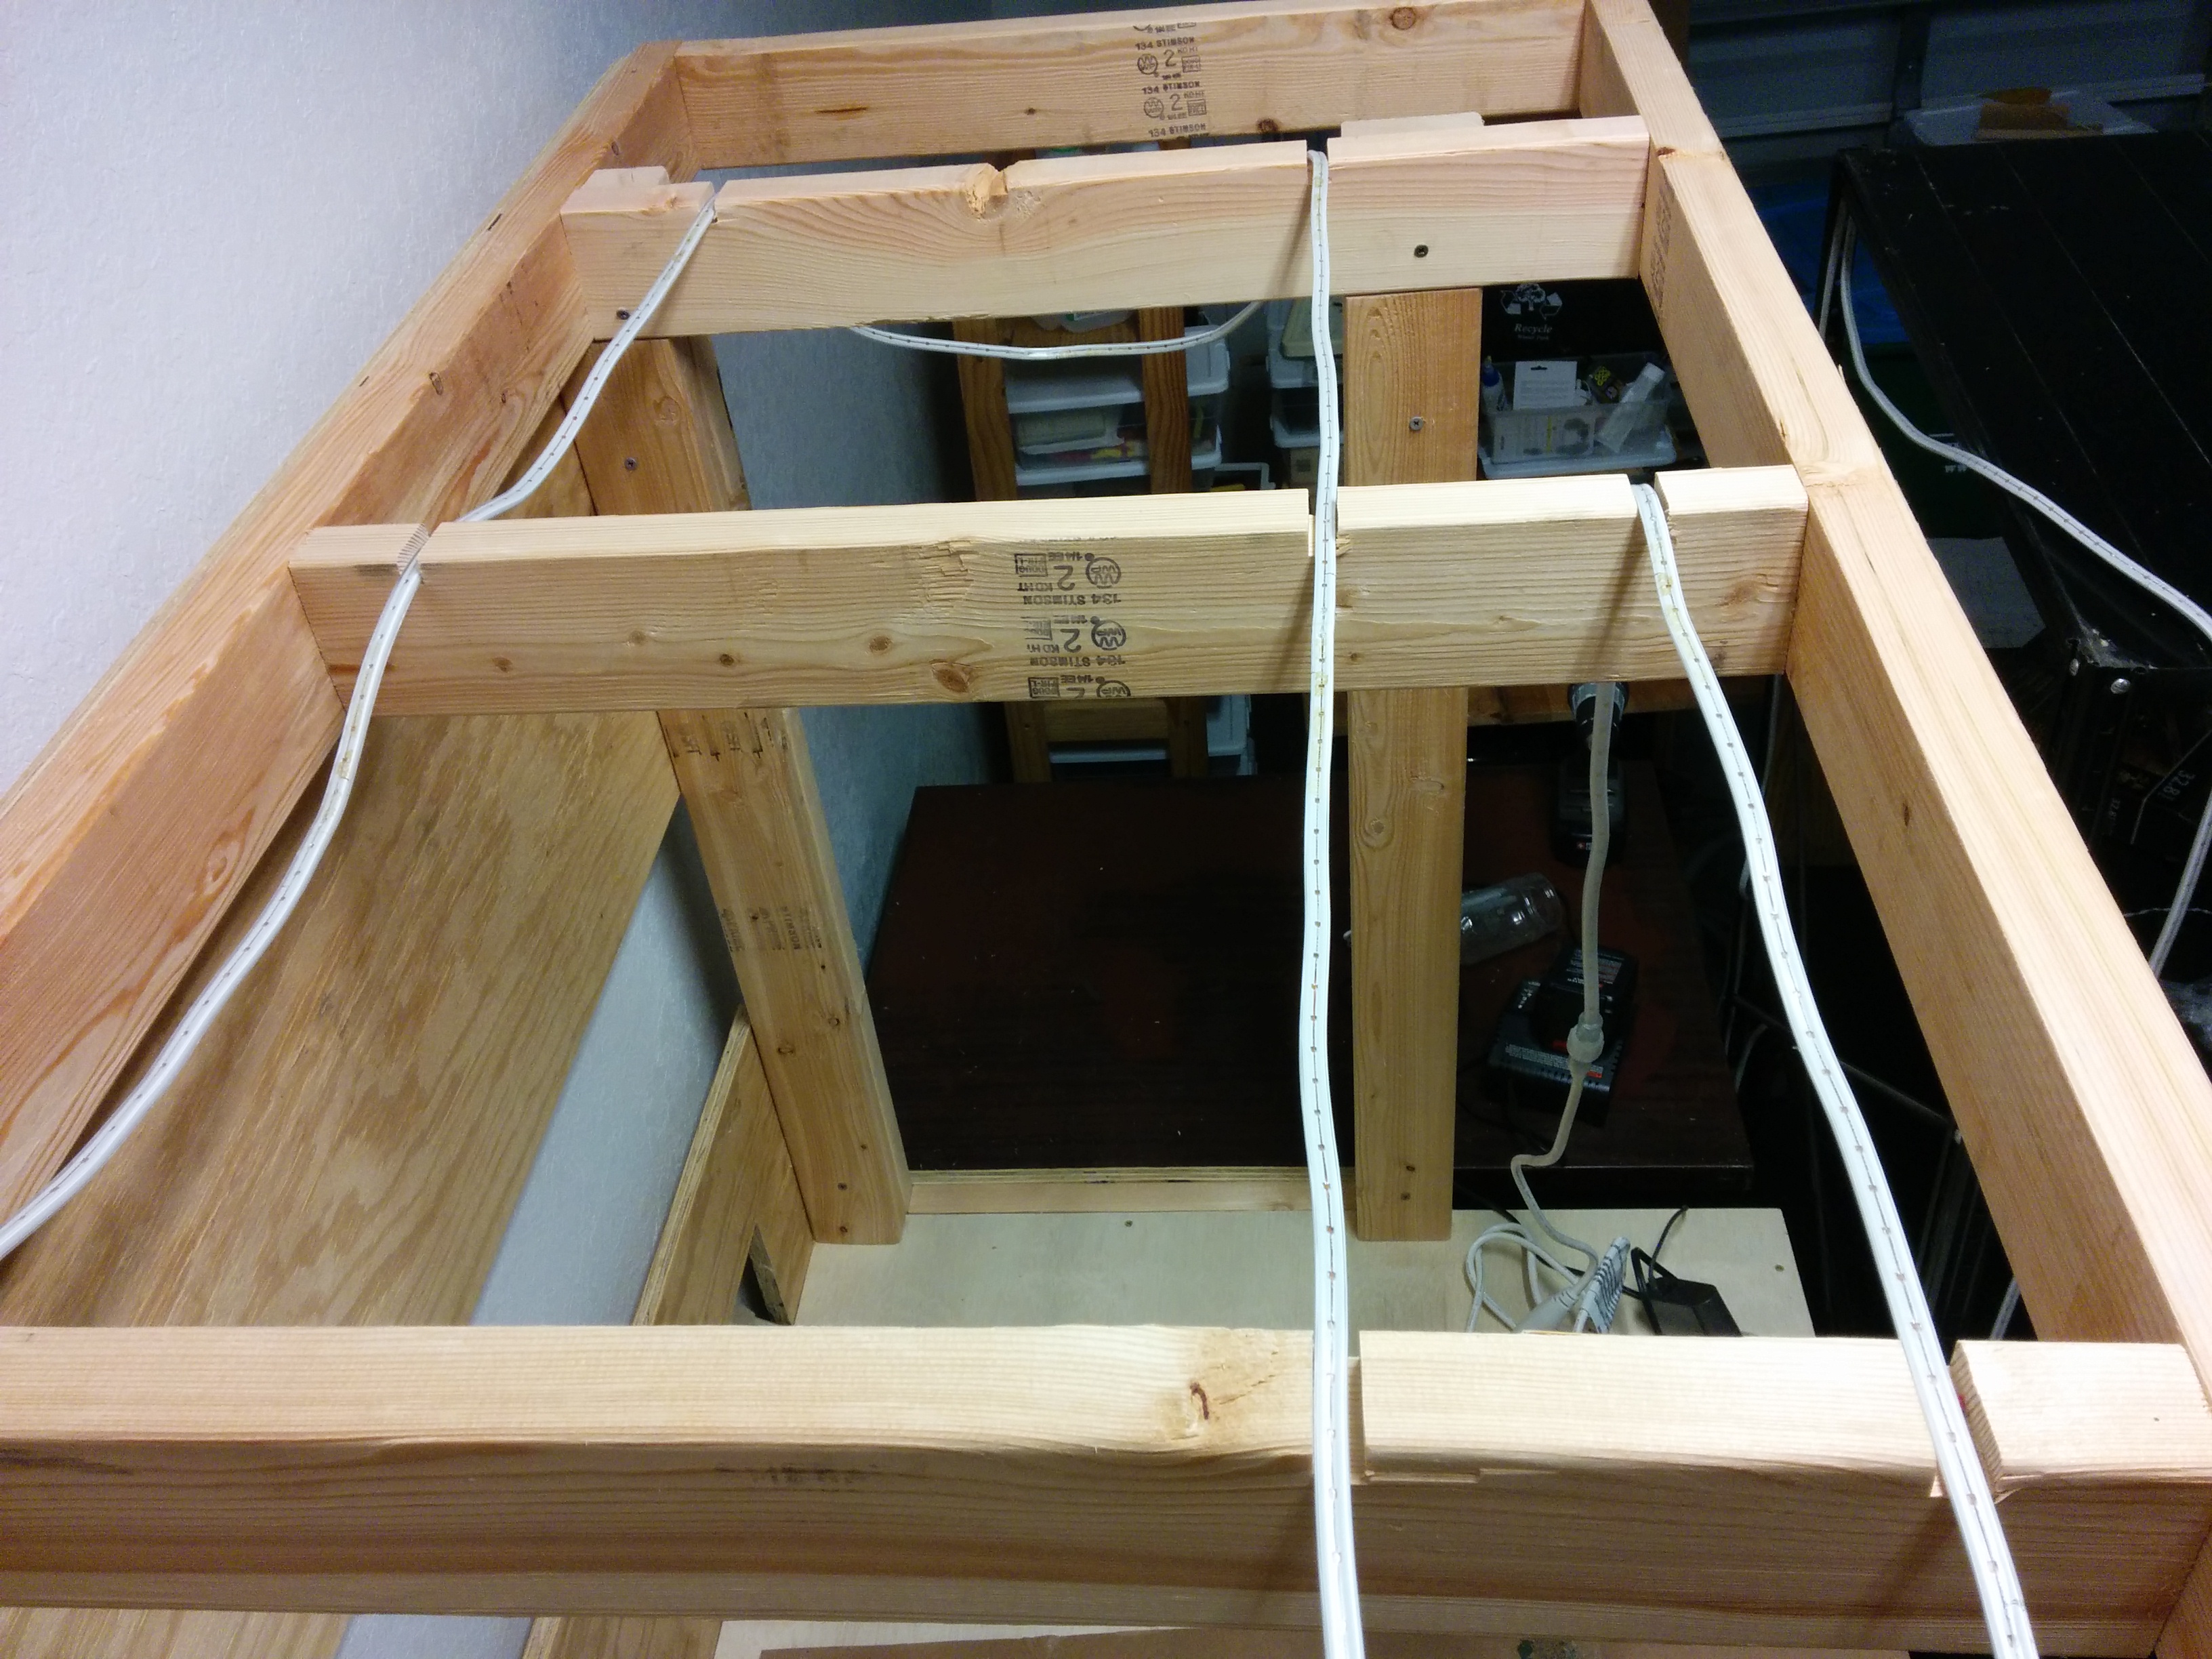
That’s the basic construction, but I added a few finishing touches that are well worth it. I used a router to cut slots in the top of the lofted shelf frame so that I could install rope lighting to illuminate the workbench before screwing down the plywood. I had such a long bit of rope light that I also ran the remainder under the workbench, to make it easy to see the tools on the bottom shelf.

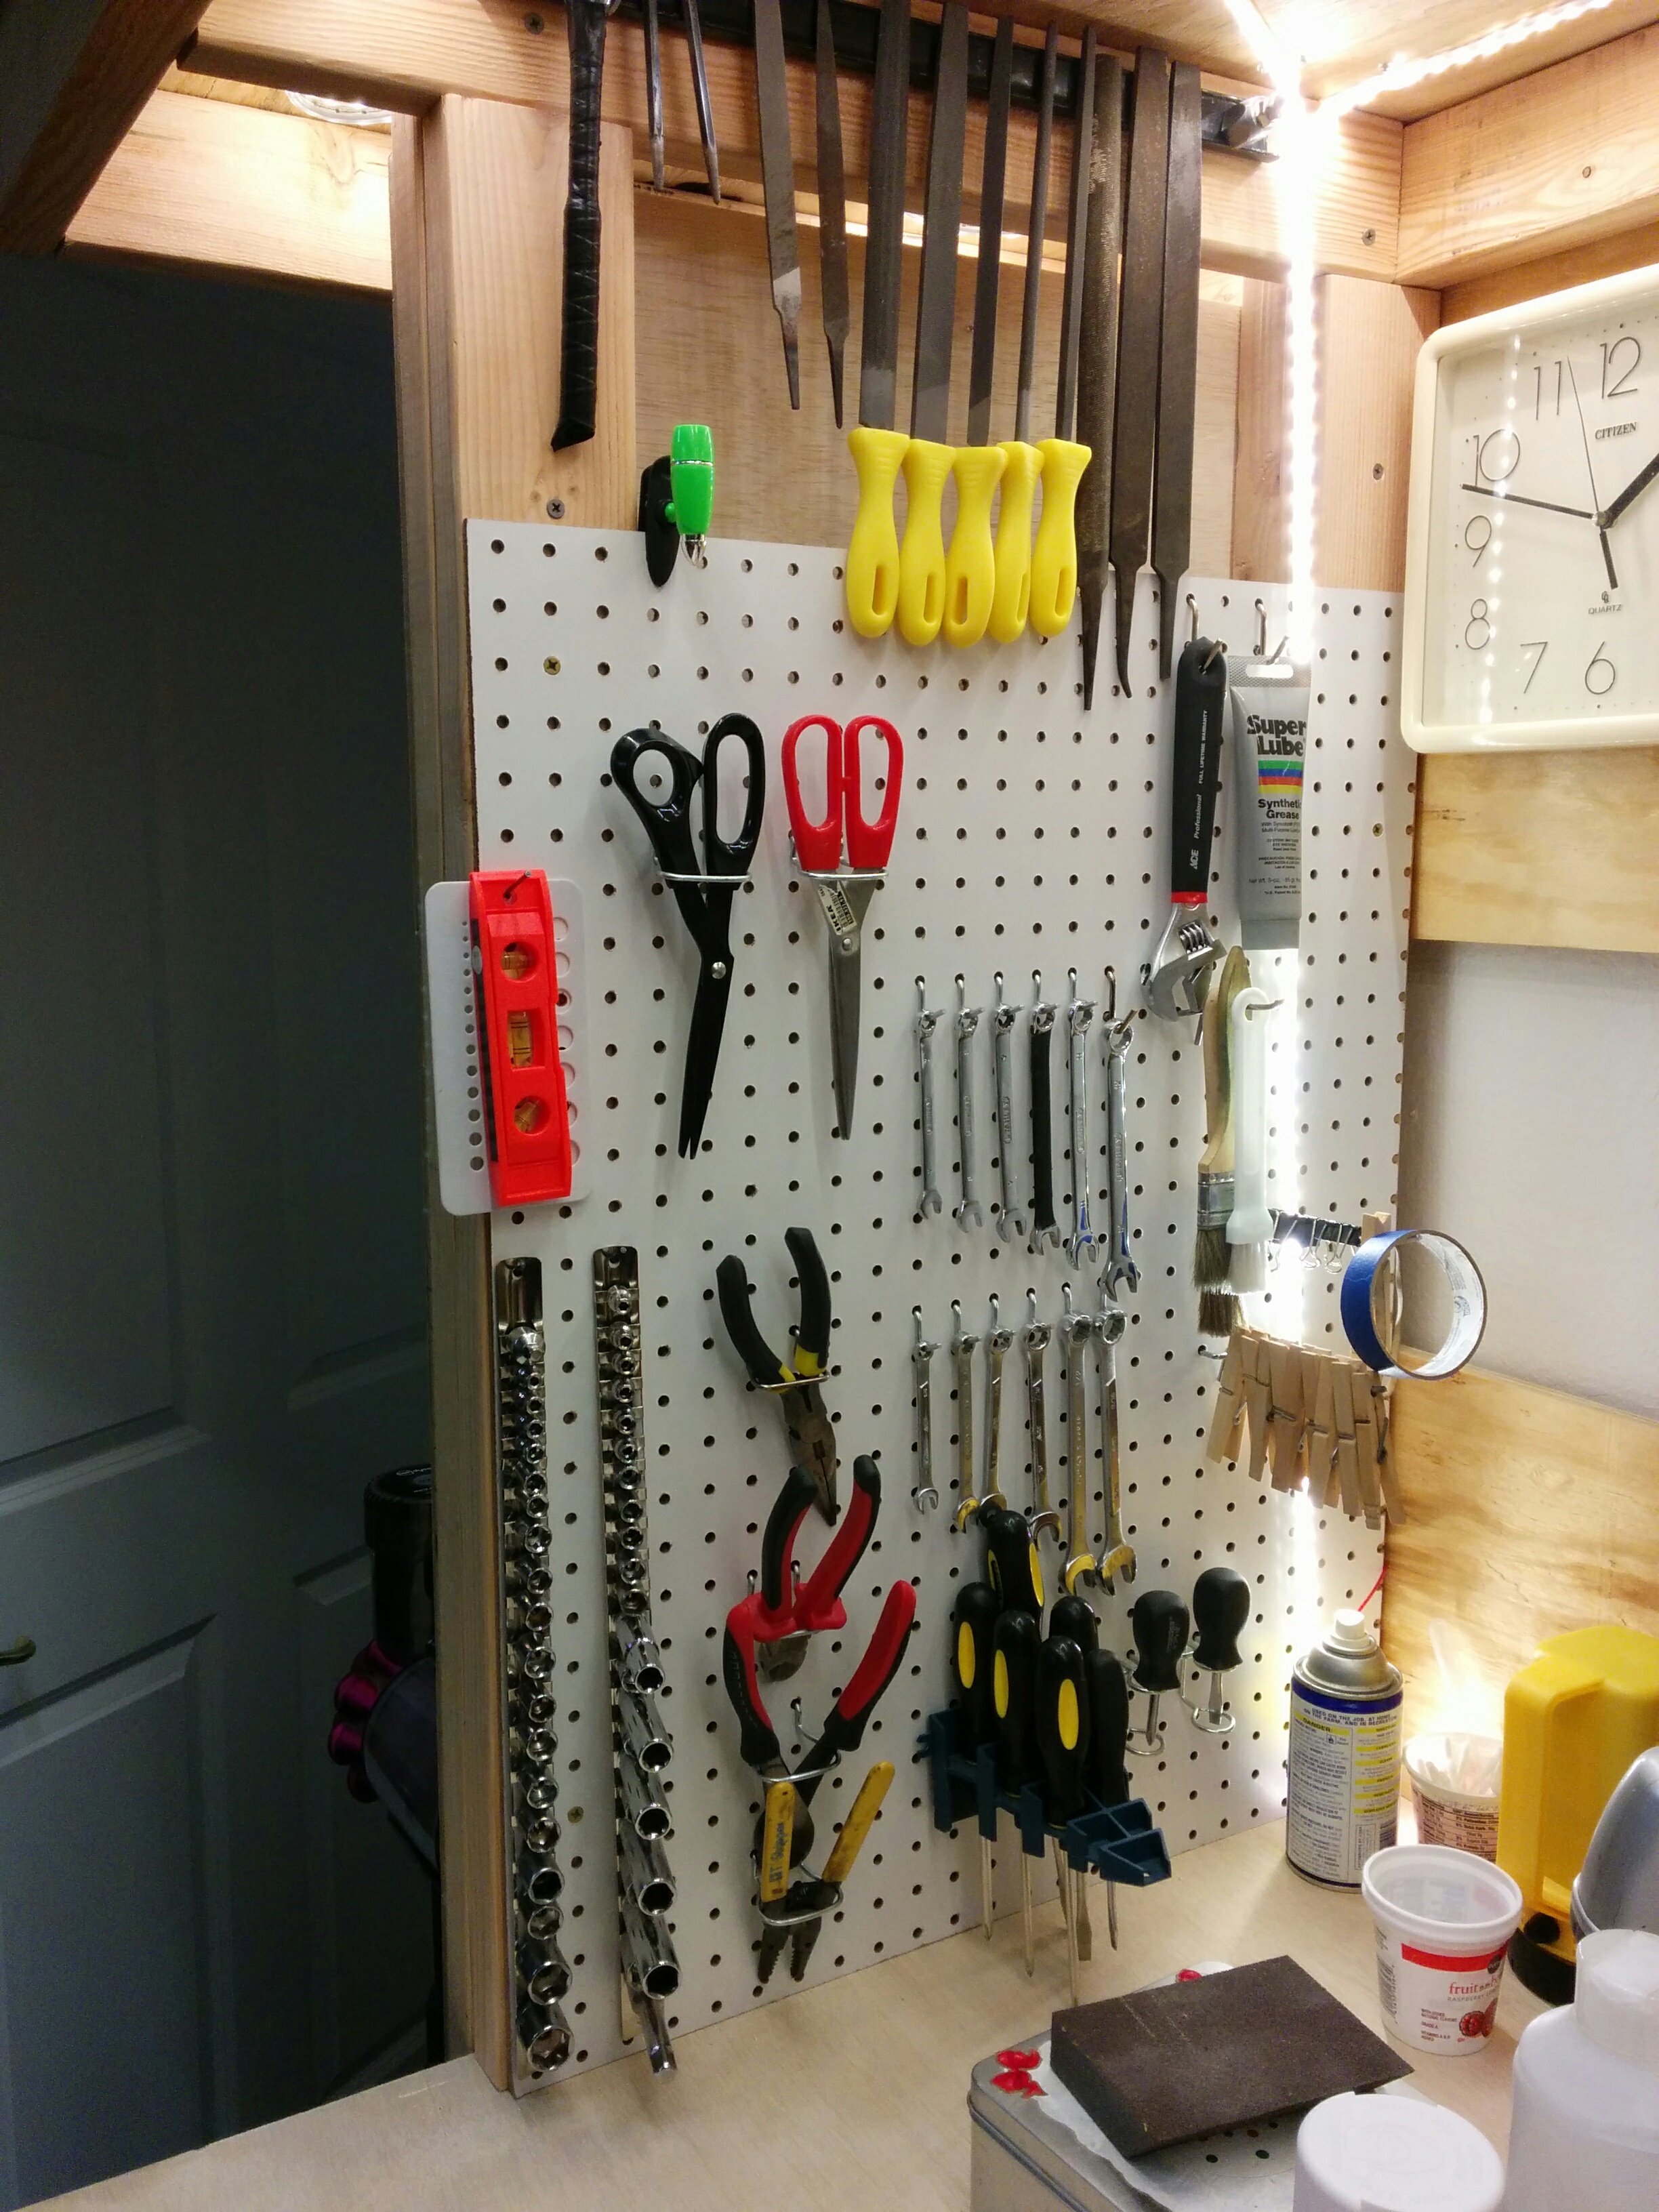
I also bought some shelf rails and brackets from Home depot to add a few shelves on the rear of the workbench, and used some extra pegboard I had to give me a place to mount some tools.

Here is a video I made that introduces the workbench:


Pingback: Disassembly and reassembly of my workbench | Jay's Technical Talk