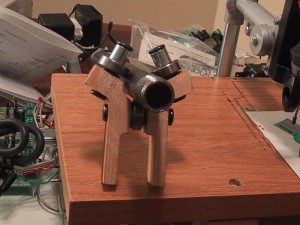
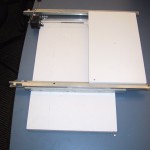
I manufactured a second copy of my bracket and used my hand drill to put a few holes in them to hold bearings. The idea is to mount 3 inline skate bearings at 120 degree increments around a pipe to limit motion to 1D (two of these on one side, plus two 2D mounts on the other side, make a Z-axis platform). I estimated the space taken up by the washers, and got it wrong, so if I wanted to use this design I will have to tweak my design and make a few “off-size” brackets to pair with the current ones I have. (Making all new brackets does not sound like fun, as each of them take almost 2 hours of routing time). The alignment and motion is a bit rough (I did eye-ball the holes) but I think I could improve upon that enough to make them passable with enough practice. However, due to the two-hour build time, I’m seriously considering using the “standard” angle-iron solution for my Z-axis.
Continue reading
Category Archives: Projects
CNC – First 2.5D cutting
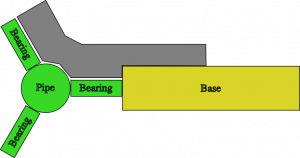
I have designed a bracket that I used as my first attempt to manufacture something with my CNC mill. Because I’m still using python code I wrote myself and have not yet calibrated my stepper coordinates into real-world measurements, I had to design the bracket in Inkscape, print it out, and manually move my router bit to each point to determine the stepper coordinates along the path I wanted to cut out. This really sucked, and I plan on switching over to the parallel port controller board and EMC2 very soon so that I do not have to keep writing code. (I had to add code to cut out the bracket that interpolates between two endpoints so that I could route semi-accurate 60 degree lines.)
The piece of wood was secured Continue reading
First performance evaluation
Checking Accuracy
Using my simple router code I had the X/Y table plot a square with a circle inside of it (and then added some extra code to draw a smaller circle inside that). The first time I tried this I found that one side of my X/Y table was significantly (1mm or more) lower than the other. I added a washer between the table and the piece of wood that attached it to the Y-axis drawer pull and that improved things quite a bit ( the washer is on the bottom left corner of the test pattern). Using a felt tip marker gives a good indication of the level of the work platform, as the tip will be pushed up (and spread out, leaving a wider mark) if the table gains height, or get smaller if the table drops. One of my corners (top left in the image) has a distinct dip in it, but because I started the plotter at that corner and adjusted the height as it was moving I need to repeat the test. The giant ink spot in the top middle is because I left the pen sitting on the paper while writing the code to draw the inner circle.
Continue reading
New Serial Controller
I received the new and improved serial stepper controller board (version 4) from Ocean Controls. (Cost: 65 AUD) Although it supports up to a 6kHz stepping rate, I found that my steppers can only be driven at the RATE 12 setting, or approximately 745 steps a second. I’m not sure if this is because I’m not providing enough voltage or power (currently at 6v and 1.66A) or if that’s just the maximum rate of the steppers. When I try to use RATE 11, the steppers make nasty noises and are obviously loosing steps here and there. I don’t think it’s a current issue, as the usable RATE doesn’t change when running one stepper or two steppers at the same time. At some point in the future I’ll find a higher voltage power supply and see if that allows the motors to step faster.
This speed is still a small improvement over the original stepper controller, which worked at 605 steps a second maximum speed (despite the fact that it was supposed to run at 1000 s.p.s. or 1kHz). The documentation for the SSCB says that rate 12 is equivalent to 755.9 steps/second, so my measured 745 is relatively close, and probably is due to the built in acceleration and deceleration at the start and end of motion.
The real benefits of the version 4 board is the ability to start multiple motors at the same time, and get a prompt back over the serial line when the motors stop moving so I don’t have to poll the position (which still results in the controller board dropping steps). The new board also includes two command controlled relays, which will be perfect for turning on a spindle motor via program control, and perhaps enabling the stepper motor power supply.
The new multi-motor start command and feedback when finished greatly simplified the python code to interface with the stepper controller, and the serial control board no longer drops characters (perhaps because I am sending less characters and waiting patiently for motors to finish moving.)
Limit Switches: Important!
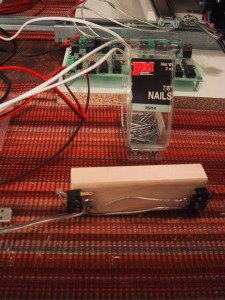
I have added limit switches to my X and Y axis. I always planned on adding them eventually, but after I stripped the nylon threads on one of my flange nuts in a router accident I decided that it was time. I’m using small micro-switches mounted such that they are closed when the X or Y axis nears the maximum extend of it’s motion. The ocean controls serial stepper controller has ports for limit switches on each axis, and when the circuit is closed that axis immediately stops moving and can only be moved one step at a time until the circuit opens again. I mounted the X-axis switches on a piece of wood from my 8 foot board I had to buy for the Y-axis pusher assembly (7.8 feet left!). I can’t decide what makes the router look more ghetto: The Ikea drawer rails, or the 45 degree screws holding the piece of wood down. (Also in the running is the blob of black epoxy-putty that pushes one of the X-axis limit switch.) Continue reading
CNC Mill Electronics
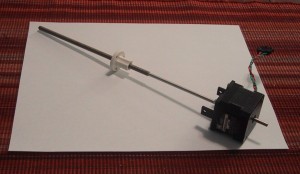
I purchased the 3 stepper motors from a surplus supply house for $25 each, and have been very happy with them. The fact that they include a screw drive mechanism has really simplified my mechanical construction. They are manufactured by HSI inc, and are Model 43000 external linear actuators.
The electronics that control the stepper motors on my CNC mill were purchased from Ocean Controls (An Australian company) in kit form. Specifically, I purchased Continue reading
X/Y Table Motion, or 2.5 axis CNC router
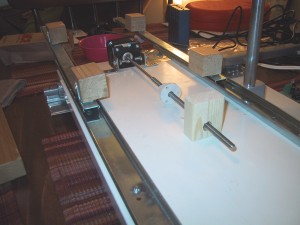
Since my last post I have constructed the Y table servo mount and pusher assembly. The Y-axis servo is mounted using a pair of L-Brackets, M4 machine screws, washers and nuts that were purchased specifically for this project and actually fit the screw holes on my servo! (Unlike the X-axis servo, which is connected with a 3/32 machine screw that doesn’t actually fit the threaded hole in the servo, and relies on friction to keep it from moving.) Since I was at the hardware store, I also bought an 8 foot piece of wood (2 inches of which I used for the pusher assembly with a lot left over for things like the X-axis limit switches.)
The video below shows the router drawing a diamond (twice as difficult as a square, because you have to make two motors move at the same time). I am controlling it using a small bit of python code to issue motor commands over a serial port to the stepper controller board. The diamond is drawn from 0 to 18,000 in stepper coordinates on each axis. (The 5.5 inch range of each axis ranges from 0 to 46,000 in stepper coordinates, so the working area is about 2.5 times larger than the drawn diamond.) As you can see from the (lengthy) video, the screw drive assembly on my (1.8 degree per step) steppers makes the actual motion speed of the X and Y axis quite slow. It is unlikely that I will have to artificially slow down my cutting speed when cutting actual material.
The device holding the sharpie marker is a (cheap, and inexpensive) “Dremel Drill Press” from Harbor Freight Tools that cost me $15. I can no longer find them on the Harbor Freight website, but they do have a “Drill Press Milling Vise” for $60 that is basically an X/Y table with 8 and 7 inch travel and a 5 inch jaw capacity. Adding a few servos to that would effectively replicate my X/Y table made from IKEA parts for only slightly more money and a bit less labor, although you’d still have to figure out a way to anchor the servos and connect them to the screw drives. I plan on raising and lowering my dremel drill press by hand to cut out the parts I need for my next generation CNC mill. So my computer control program will run the X/Y axis automatically, and then give on-screen prompts to the human Z-axis operator.
CNC Router (Milling Machine) from IKEA Surplus parts
I am building a poor man’s Computer Controlled Router (Milling Machine). My first step will be to bootstrap the ability to mill needed components. Before I can make my own linear bearings, I am using cheap linear rails from the AS-IS (Surplus, Scratch & Dent) room of IKEA. Specifically, drawer rails make relatively good linear bearings. (Well, relatively good compared to what I could make myself without a mill.)
Continue reading
Passat Clutch Problem – Bleeding the Clutch on a Manual
Friday morning I got into the family car (1998 VW Passat with manual transmission) and, depressing the clutch, started the engine. The car rocked backwards (I normally leave the gearshift in reverse when parked, plus the parking break was on), the engine died, and the clutch petal stayed on the floor (not good!). The clutch petal had lost all resistance, so I couldn’t shift the car. Looking under the hood, I found that a hose leading from the brake fluid reservoir had popped off and sprayed brake fluid around. I connected it back to the reservoir, and started the engine in Neutral, but the clutch didn’t magically start working. (Sigh…I like easy solutions.) Twenty Dollar bike to the rescue!
Laptop Battery Refill update
I refilled the Li-ion cells in my laptop battery about 18 months ago.The battery has worked as expected since then. The only "special" treatment this battery gets is that it travels in my laptop (as opposed to being the extra battery in my backpack) when traveling through TSA security checkpoints. (I figure it's better the have the battery with the fully applied IBM label sticker visible in the backpack, and the battery where I pulled off the label sticker to dissasemble it safely integrated with the laptop.)
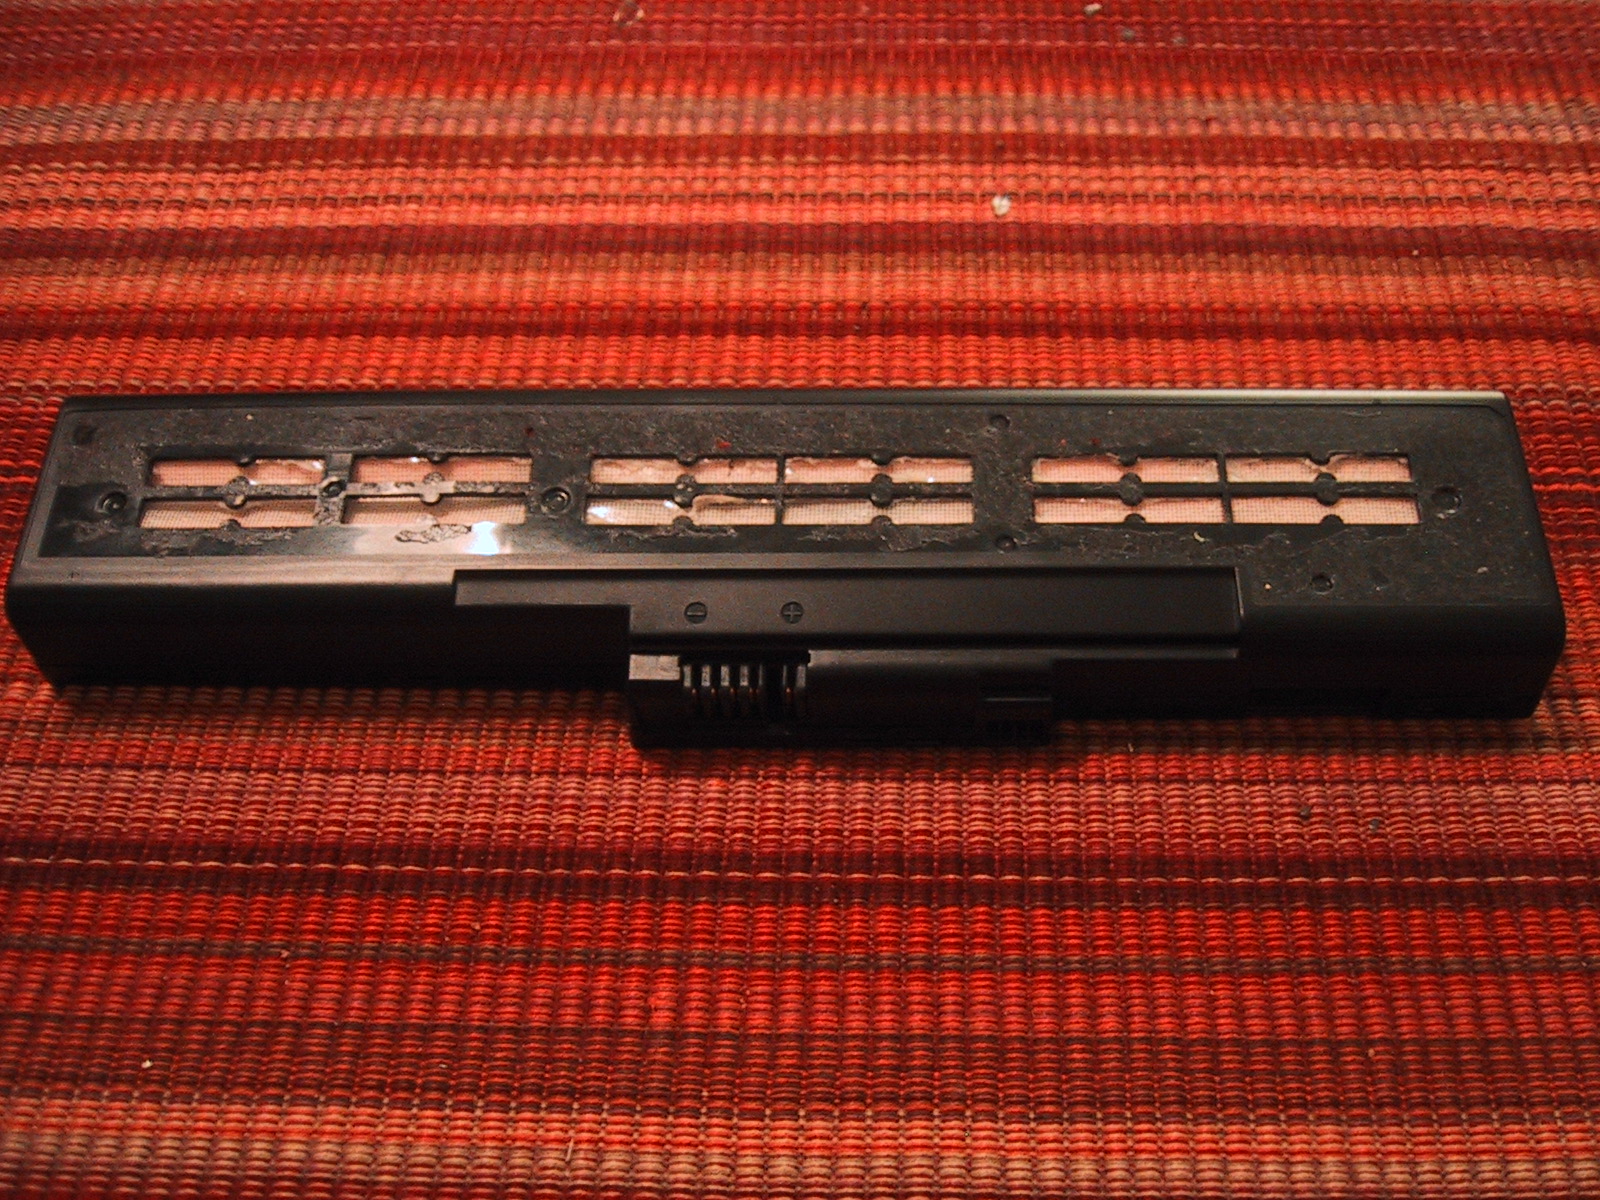
Over the last 18 months, the battery capacity has reduced itself to 44% of the original value (This happens with LiIon cells as they age). My last full capacity ACPI reading is now 21060 mWh, and provides 1-2 hours of working time on my IBM X31 Thinkpad. In a few more months it will be time to replace the Li-Ion cells again. Luckly, a friend gave me an IBM T60 extended battery (containing 8 cells) that had failed. When I took it appart, it appeared that 6 of the cells worked fine, and two of the cells were dead (killing the entire battery). TaDa! 6 free replacement cells!
