Building a solar filter for the Vaonis Vespera smart telescope

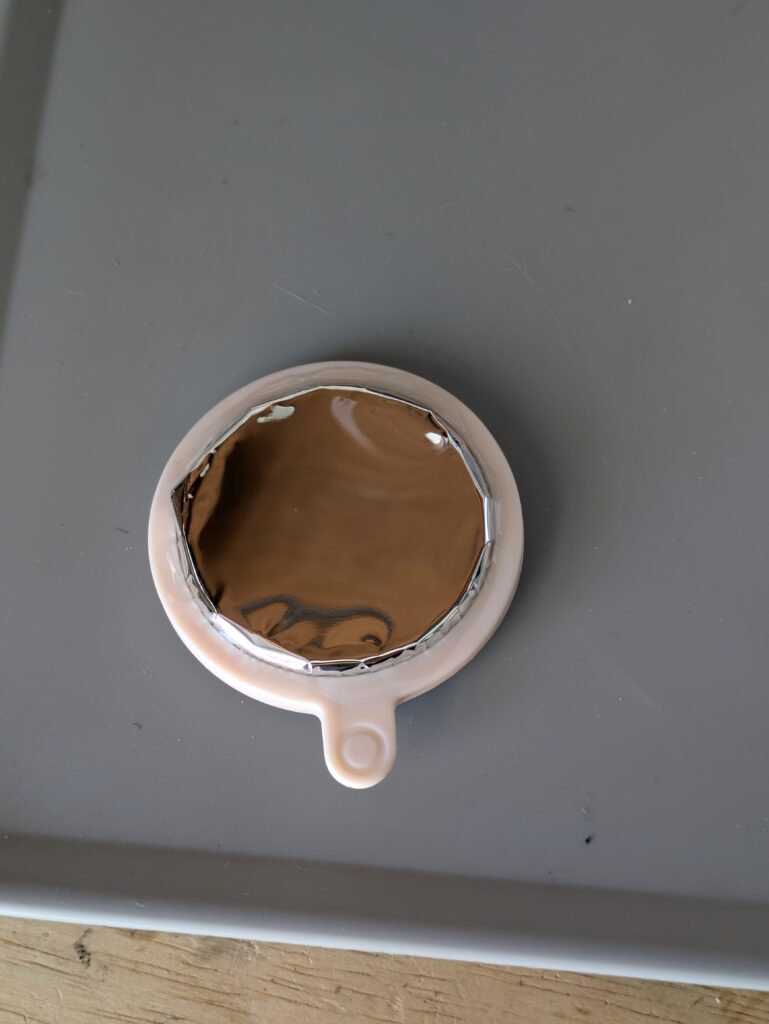
After my success with a Dual Band filter holder, I spent $38 on a sheet of BAADAR AstroSolar Safety Film (from ScopeStuff in Round Rock TX) and used some 3M VHB double sided tape (cut in very thin strips) to attach it to the 3D printed filter holder.  The filter holder is really designed for screwing in a 2″ (50.8mm) astro filter, so it didn’t have as much surface area on the “ring” as I would have liked, but it worked reasonably well, especially as I then sandwiched the outside film within the larger outside ring when I snapped them together.    [I cut one bit of film a little too short, so it didn’t go under the ring, you can see it in the bottom left in the photo below.] I put a ring of UV cured resin around the outside of the filter film just as added insurance it won’t pull up in the wind or something.

I was very tempted to use superglue on the ring before dropping it down onto the filter film (instead of small pieces of VHB double sided tape).  I didn’t do that because I was worried it might not stick to the film, and I was also worried about CA glue offgassing when the filter was used in the sun.   After I made this filter, I tested gluing the resin print to some cutoff film, and it appeared to work great. If I need to make another filter (or make one that looks a little smoother around the edges) I will try using CA glue instead, and make sure I put the whole filter out in the sun for a day before using it on my telescope to make sure the CA glue won’t offgas onto the lens.

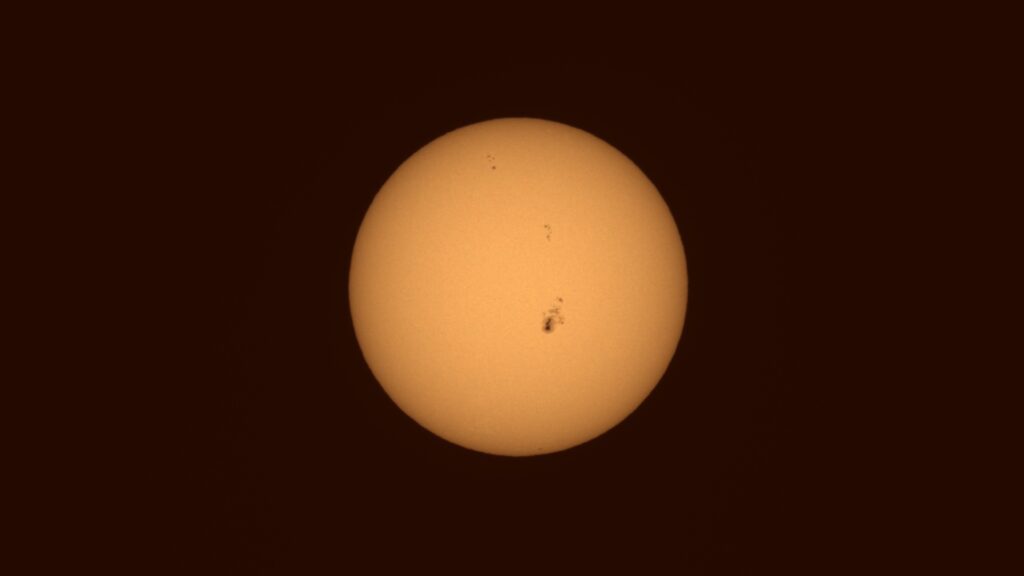
However, even though the edges of the filter film look a little wrinkly, almost the entire surface of the optical path was very flat (but not overly tensioned) and the images through the solar filter look as good as any of my other smart telescopes produce, so I think functionally it worked great.

Sun stats: 0;0;0;0.003048, exposure: 300µs , gain: 0dB

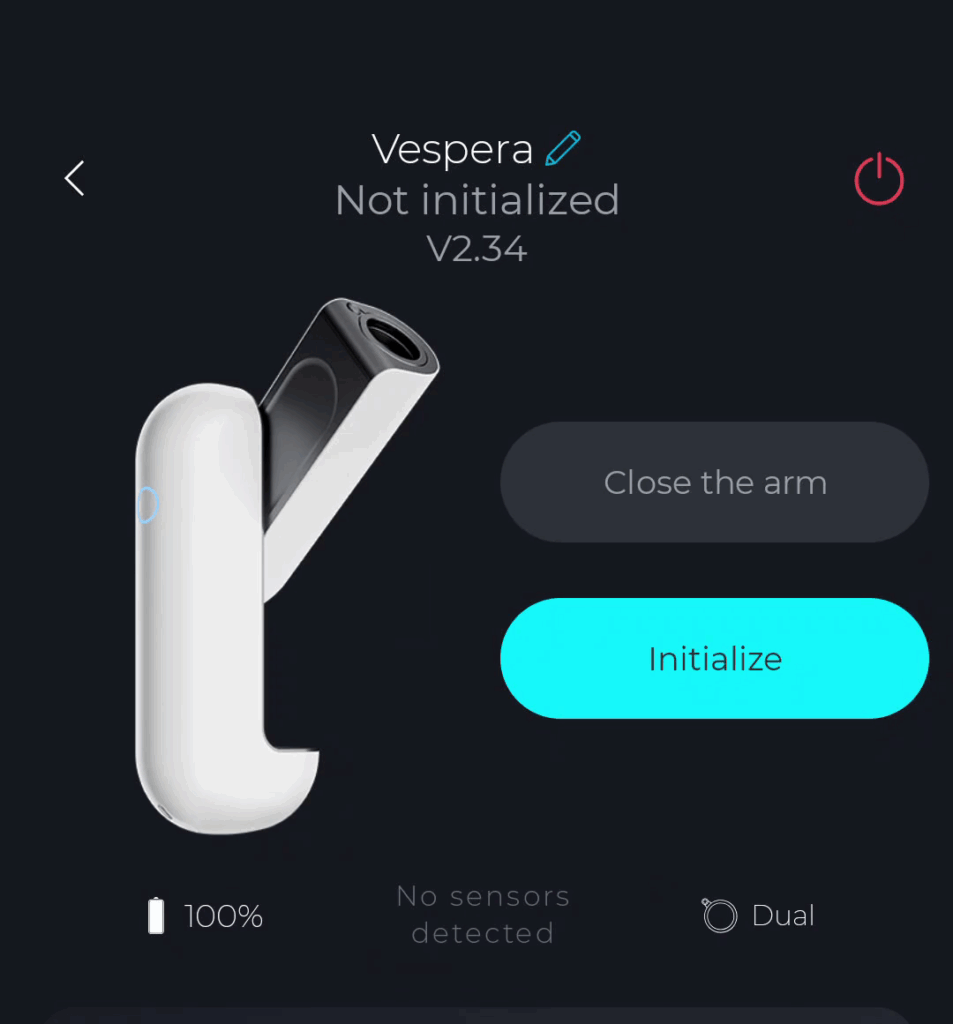
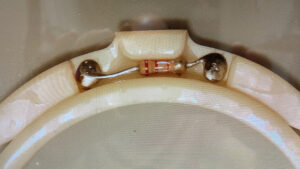
I used a 4.6 Kohm 1/8 watt resistor with the leads circled and soldered inside the filter holder to indicate to the Vespera that it had a solar filter installed, and it was detected correctly as soon as I plugged in into the telescope.

Continue reading

DIY Dual Band Filter holder for the Vaonis Vespera Smart Telescope

I purchased a used Vaonis Vespera smart telescope, but if I wanted to buy the “official” (and proprietary) Dual Band filter to use for imaging emission nebula, it would cost $400 USD!

This especially smarts, as I already own a 2″ SVBony SV220 dual band filter that I use on my main telescope.  Luckily for me, aureliend2000 has posted a 3D model on Thingiverse that allows you to create your own ‘Vespera compatible’ filter by screwing in any standard 2″ optical filter.

[And if you put a 24k Ohm resistor in the right spot, the Vespera automatically detects that a  “Dual” band filter is installed, setting the gain of the camera appropriately.]

Here is a video showing the full process of how I made mine:

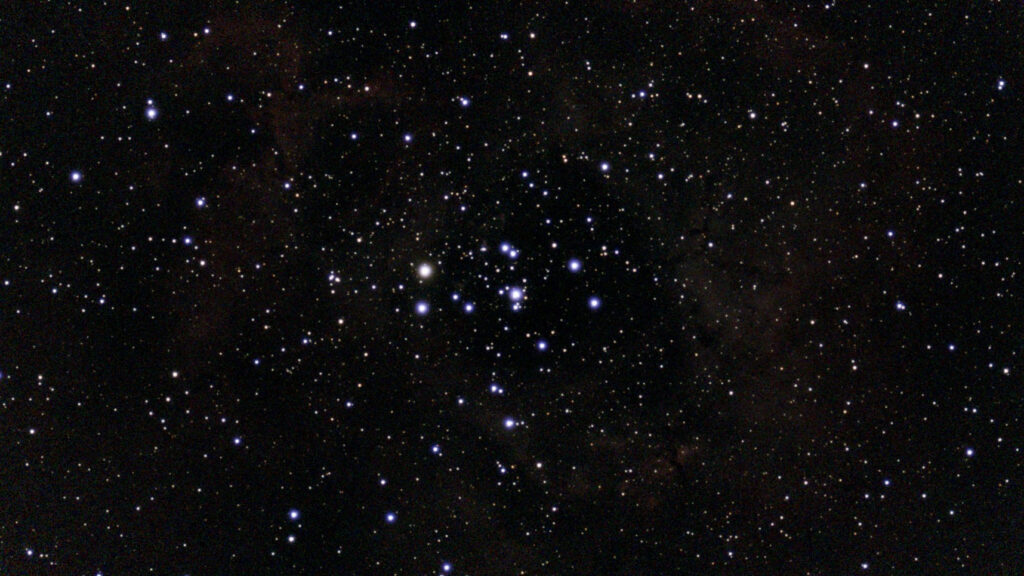
Here is a 48min exposure of the Rosette Nebula (from Bortle 7.5) without the Dual Band filter:

NGC2237_44 (290 exp)

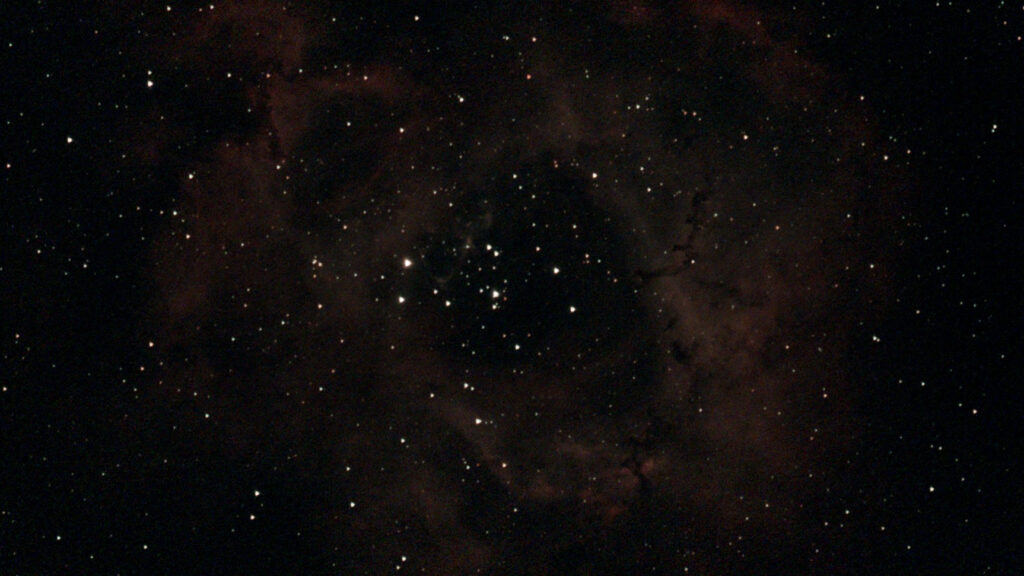
And for comparison, here is a  48 min exposure WITH the SvBony SV220 dual band filter:

NGC2237_44 (287 exp)


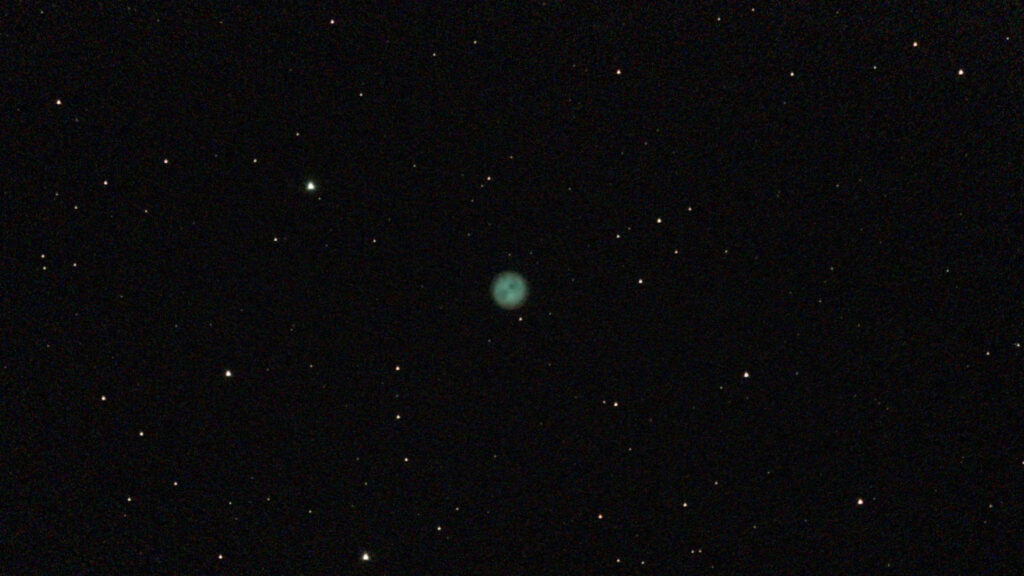
And here is a 57 minute exposure of the Owl Nebula using the SV220 dual band filter:

M97 (342 exp)

Considering I already had the SV220 filter, a 3D printer, and a 24k Ohm resistor “in stock” I’m very pleased with the ability to use a dual band on the Vespera without spending (any more) money.  I’m so happy with the result that I’ve ordered a sheet of solar film and plan on making my own Solar Filter so I can use the Vespera to image the sun.   [Yes, my Zwo Seestar S50 came with a solar filter and a built in light pollution / DB filter….but the optics, tracking, and software of the Vespera are all just slightly nicer, and since I got it used the cost wasn’t outrageous.]

Telescope dolly alignment jigs to repeatedly return to polar alignment

I want my telescope to be polar aligned when using it. To do this, I need to have the base accurately pointing exactly towards the north pole (in the Azimuth direction) and the Altitude of the wedge the same as my latitude. [This essentially means that I need the tripod base to be exactly level.]

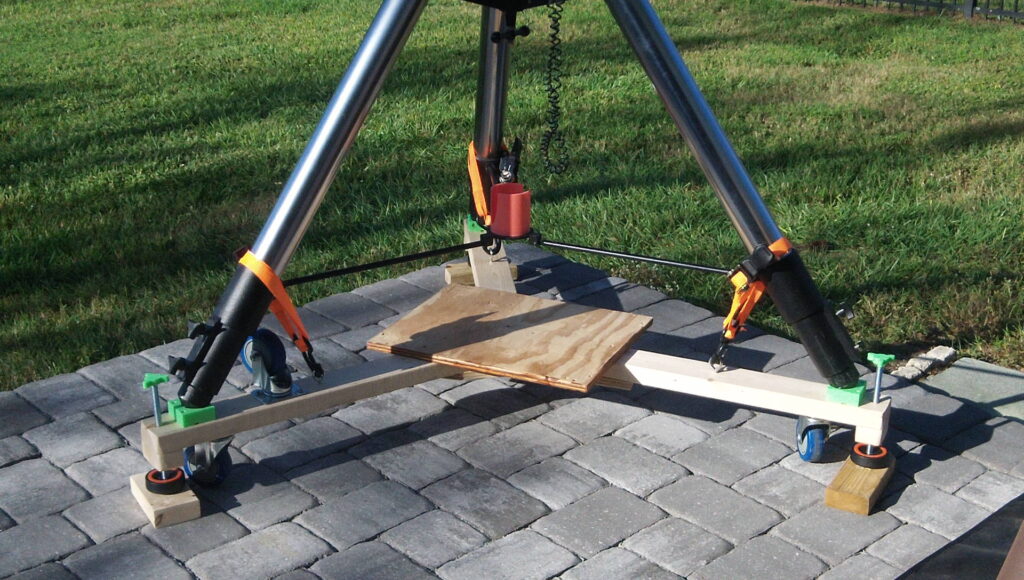
Getting the tripod level is easy, as I have 3 leveling bolts built into the ends of my home built rolling dolly and a bubble level on the telescope wedge.  However, to get the AZ orientation correct, I need to reliably place at least 2 of the alignment bolts in the exact same spots on my patio every time I wheel the telescope outside to use it.

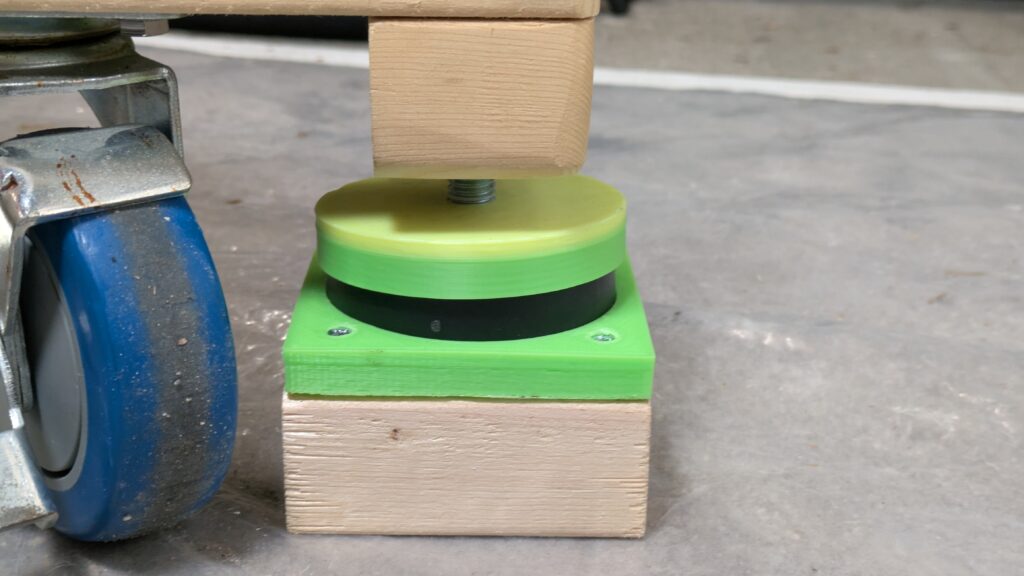
To make this easy, I built these alignment jigs. They consist of a square piece of 2×4 (3.5″ by 3.5″) which rest inside a white square of gaffers tape. The square gaffers tape lets me put these wood base blocks at the exact same point each night. But, I really need to align the 3 leveling bolts, not just the wood blocks. So I designed and printed two 3D printed jigs. One to align the anti vibration puck to the center of the wood spacer block, and one to align the bolt to the center of the anti-vibration puck. The combination of jigs allows me to place the three leveling bolts (and hence, the dolly, and tripod) at the exact same location every night.

You can watch the video below to see how this works in practice.

Focal Reducers f/3.3 and f/6.6 with native Meade f/10 LX200 telescope

I have a Meade LX200GPS – 12″ SCT telescope, which has a focal length of 3048mm (305mm aperture) and a focal ration of f/10.  This telescope is great for planetary imaging (what I’m mostly limited to, living in a Bortle 7-8 light pollution area, but there exist optical accessories called Focal Reducers which allow you to get this telescope down to a quick f/6.3 or an incredibly fast f/3.3.

I’ve purchased both an Anteries f/6.3 and a Meade series 4000 CCD f/3.3 focal reducer for my telescope, and have been playing around with them and my Sony A6300 crop sensor camera.

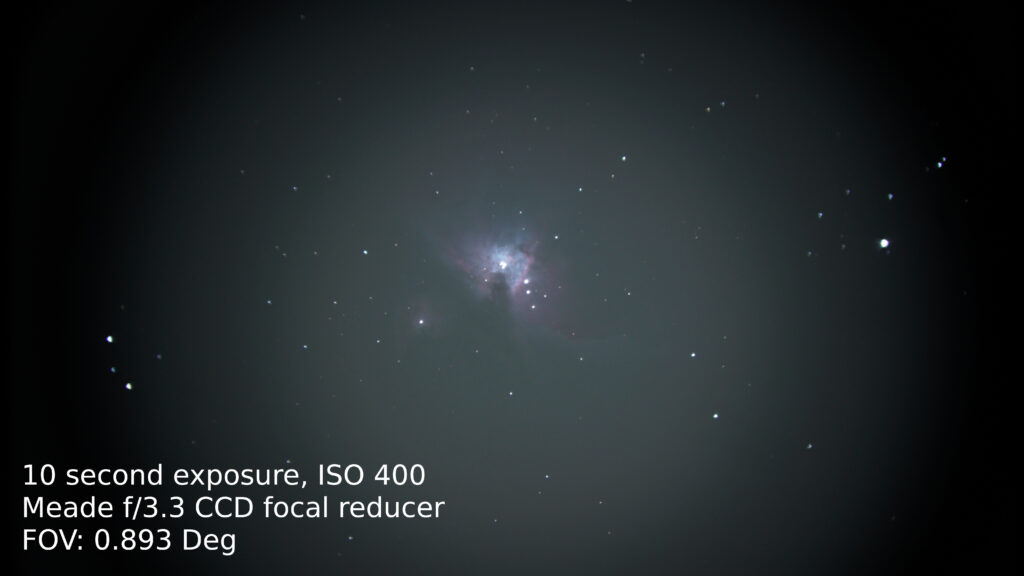
f/3.3 Meade Series 4000 Focal Reducer, 10 second exposure, ISO 400


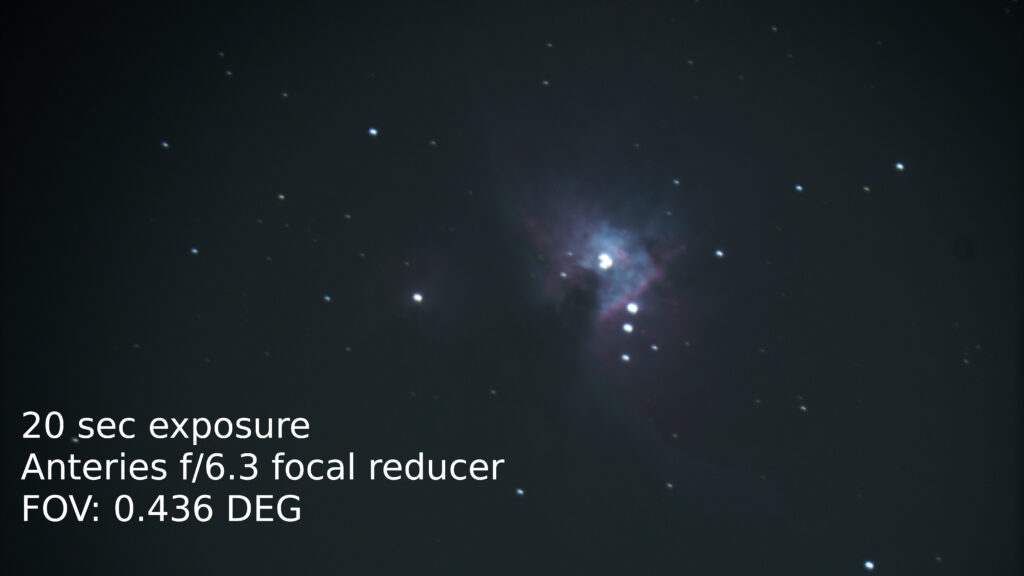
Antares f/6.3 focal reducer, 20 second exposure (unknown ISO, possibly 400)


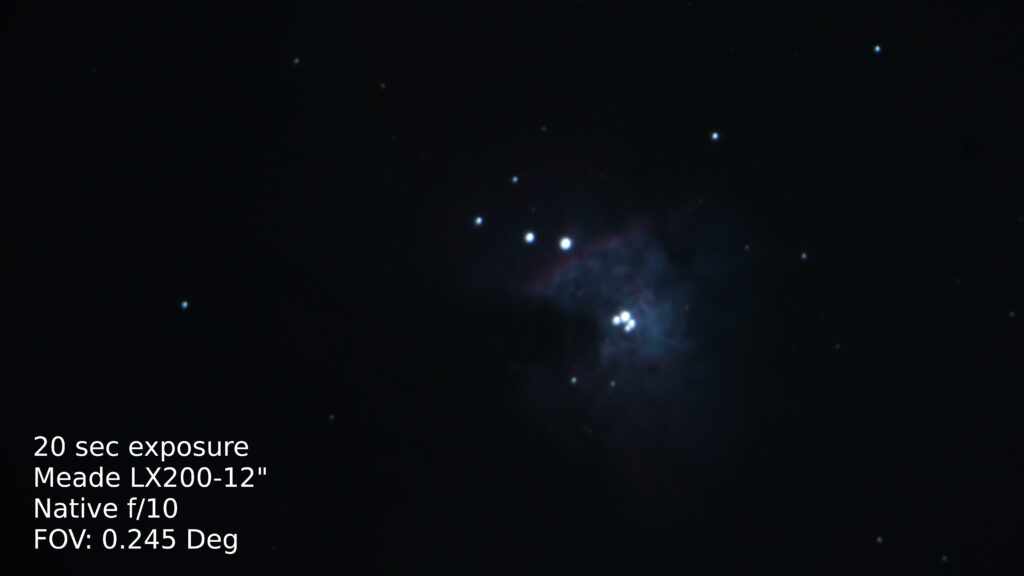
Native LX200GPS – 12 inch f/10, 20 second exposure

Continue reading

Google Pixel 5A – Colorful Snow screen flashing problem – Resolved by re-flowing solder on motherboard

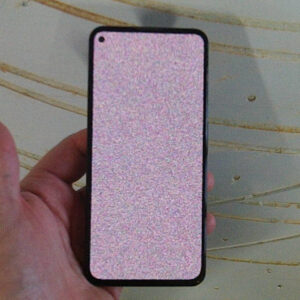
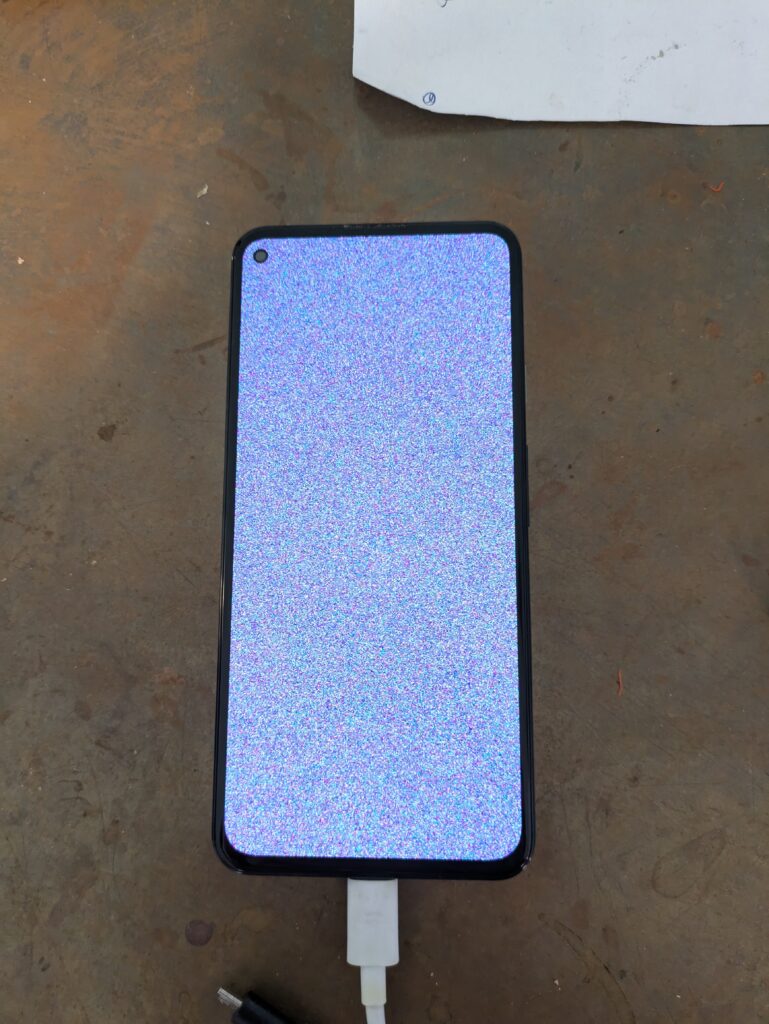
My wife’s Google Pixel 5A phone developed a problem where the screen would “flash” between a colorful snow pattern and was it was supposed to be showing. It started out slowly, with intermittent flashes, but quickly got worse where the screen was barely ever showing what it was supposed to. [It also does not accept touch input events when “flashing” the colored snow pattern..]

I was able to retrieve the data off of the phone by heating the entire phone up, but this was a temporary fix as the problem returns as soon as the phone cools down.

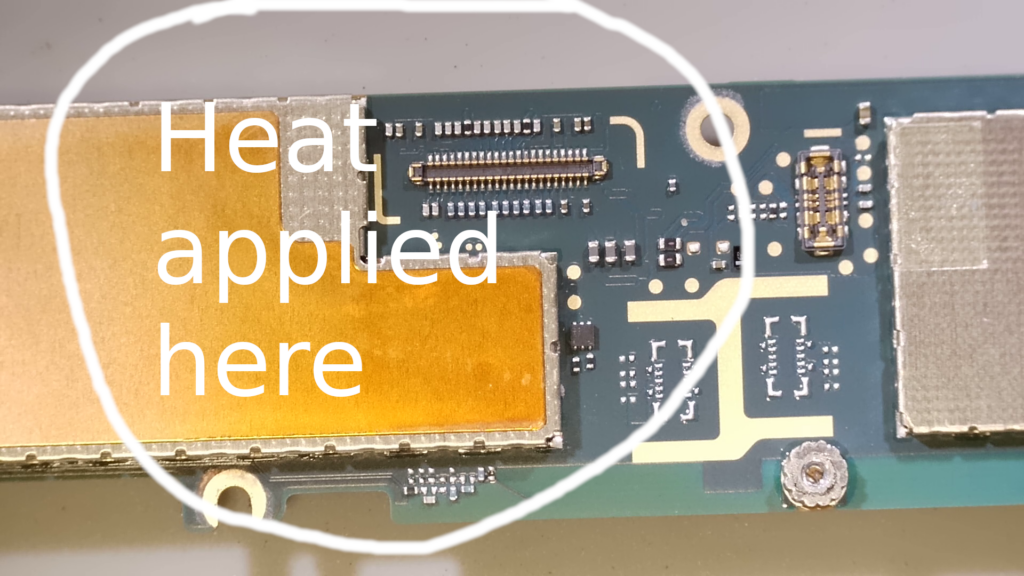
I was able to fix the problem (hopefully permanently) by completely disassembling the phone, extracting the motherboard, and hitting it with 5 minutes of heat from a 300 deg c hot air rework station. (I aimed the hot air at the video connector, and then at the covered set of chips right above the video connector (opposite from the battery connector), as I figured that was the most likely location for the video graphics chips. I still don’t know which EXACT component had the problem, but allowing the solder joints in that general area to re-flow appears to have fixed the problem, as when I re-assembled the phone it is working perfectly at room temperature.

Building a Telescope Tripod dolly (Meade LX-200 12″)

I built my own Tripod Dolly with casters & Leveling bolts (out of 2×4’s and plywood) for my Meade LX-200 12″ with Giant Field Tripod (the one with the 3″ diameter legs).

I was originally thinking it would be just so I could play around with the telescope (move it in and out of the garage) and get a feel for things until I decided what commercial dolly / truck / cart to buy, but I’ve been so happy with the results that I think I’ll just use it permanently.

Tripod Dolly built from 2x4s and plywood


I’ve got a short 5 minute intro video here (which links to a full 40 minute how to build step by step video if you decide to follow along and build your own):

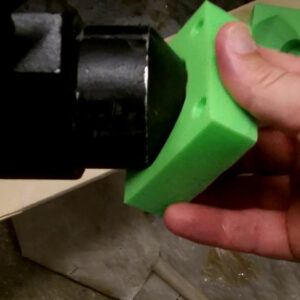
Also of potential interest to people with the Meade Giant Field Tripod is that I modeled the tip of the tripod legs and designed a 3D printed bracket for holding the tripod tips securely in place on the 2×4’s…[Of course, you could just drill a 1″ hole at a 55 degree angle, but if you’ve got a 3D printer everything needs a custom bracket….]

You can find the 3D model & OpenSCAD design file on Thingiverse here: https://www.thingiverse.com/thing:6826864


Google Pixel 5A screen flashing “colored snow” – Recovering the photos.

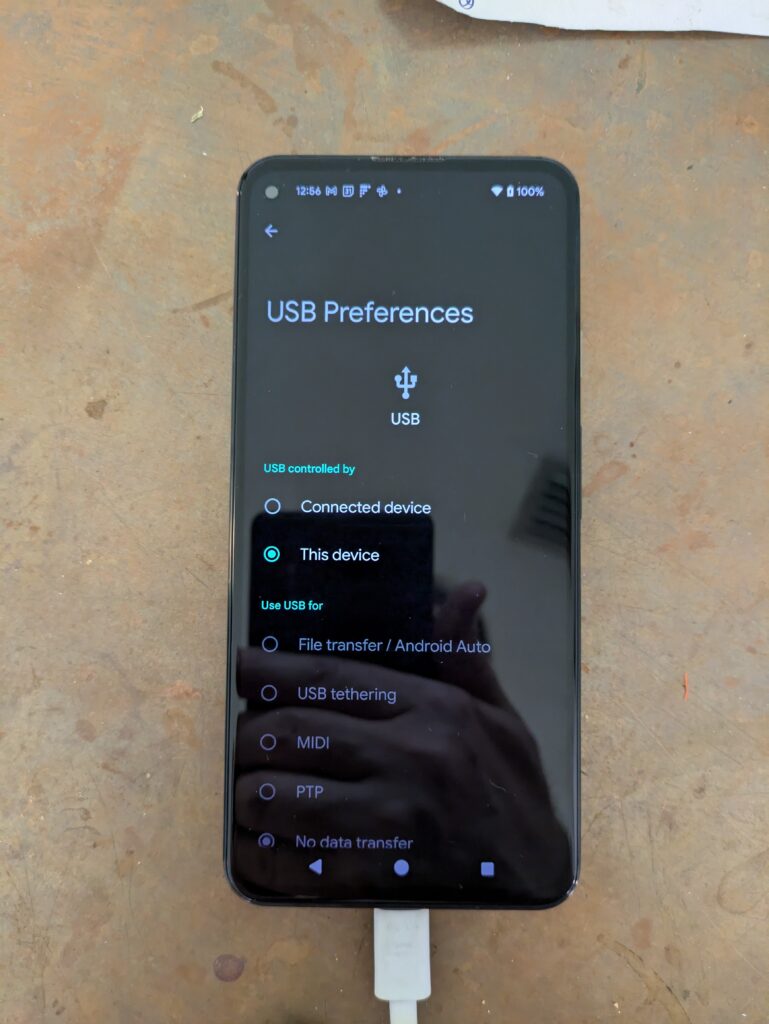
Pixel 5a phone showing the USB Preferences screenGoogle pixel 5a showing the "colored snow" pattern

My wife’s Google Pixel 5a phone suddenly developed a hardware fault that presents as a “colored snow” screen flashing over the entire phone display. While the “colored snow” pattern is on the screen, the phone does not respond to touch events.

However, when the colored snow pattern is NOT showing, the phone display goes back to showing what it should be showing, and it will accept touch events.

The difficulty is that the speed of flashing is very fast (on the order of 0.5 seconds) so it is difficult to read the screen and push buttons or UI areas effectively to do anything.

Continue reading

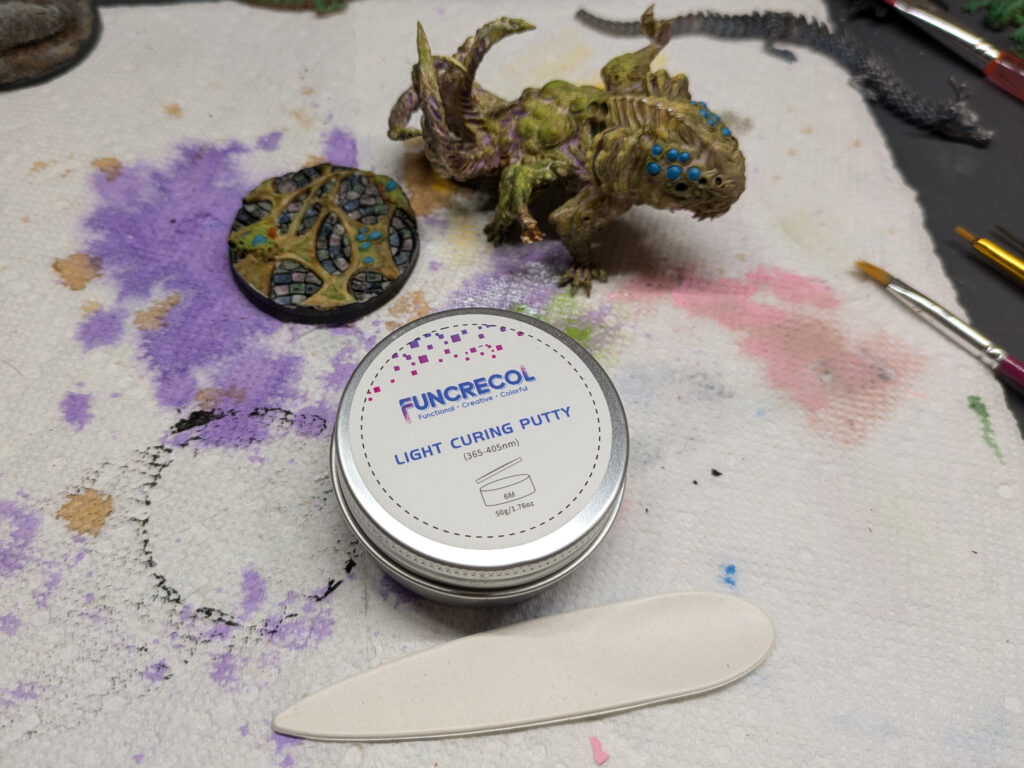
Review: FUNCRECOL Light Curing UV Putty


FUNCRECOL Light Curing Putty comes in a metal tin with a screw top that contains 50 grams (1.76oz) of UV reactive putty. The package also includes a “scraper” tool, useful to pull putty out of the can, or smear it onto objects or cracks.

I used this putty to fill in a crack in a miniature figurine left behind when mating two parts together. The scraper tool was useful to push the putty into the crack, and I used a finger (protected by a vinyl glove) to smooth things out.

Continue reading

“Bus Nàutic” – Barcelona’s solar powered EV harbor ferry (& inexpensive short harbor tour option)

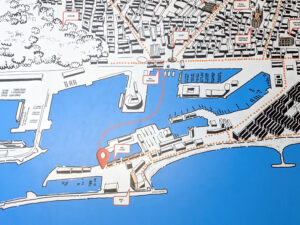
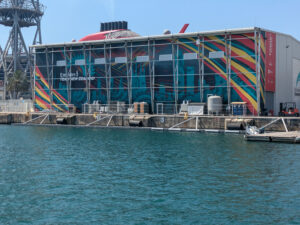
Starting July 4th 2024, Barcelona has opened a 10-15 minute long cross harbor catamaran ferry that goes from Moll de les Drassanes (Near the Columbus monument) across the harbor to Moll de Llevant (Near the W hotel).  One way tickets are 1.90 Euro for adults, and open round trip tickets cost 2.85 euro.

From 7am-10am, you can pay for the tickets on-board, as the ticket agent booth at Moll de les Drassanes does not open until 10am. [The Moll de Llevant station on the other side has an automated ticket vending machine and a public restroom, but is not always staffed.]

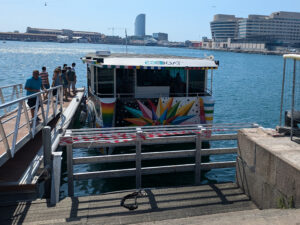
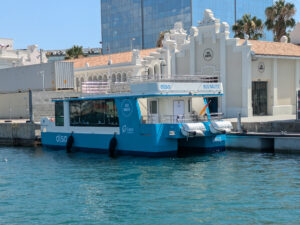
There are two solar/battery powered catamaran ferries (don’t worry about cloudy days, they have enough on-board battery power to run all day without the sun) that make the trip every 15 to 30 minutes. The smaller (and more colorful) ferry holds 56 passengers, while the larger ferry has rooftop seating and can hold up to 84 passengers.  [Sometimes the larger ferry does not operate if the demand is low.]

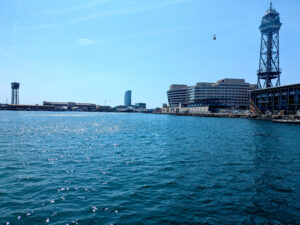
This 10 minute ferry trip gives you good views and photo opportunities for the America’s cup moorings, superyacht service station, views towards the commercial port and cruse ship berths, and views up to Montjuïc Castle and the overhead cable car line leading to the port cable car station.

The 40 minute “Golondrinas” ferry tour goes quite a bit farther in both directions, and only costs 8 euros, but if you are on a tight budget, have small children who may not want to spend 40 minutes on a ferry, or need to make the crossing from the W hotel to Las Ramblas anyways, the electric ferry is a great option to see a good sampling of what the harbor tour offers.

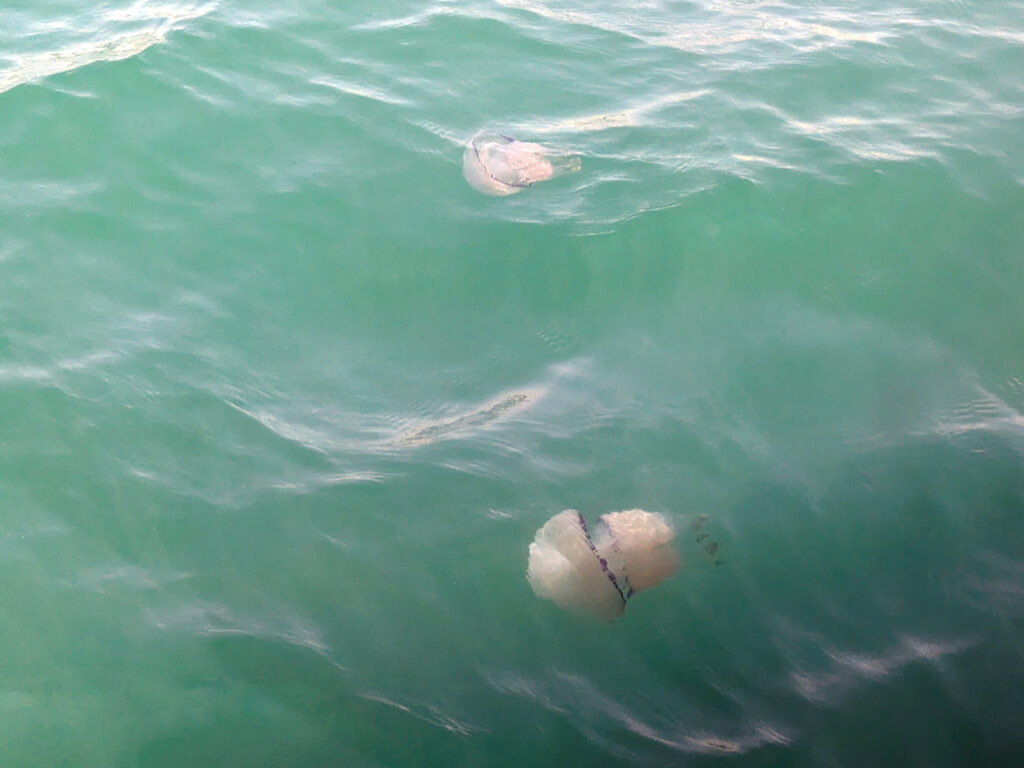
You can sometimes also see migrating jelly fish in the water, which can potentially be a danger to swimmers along the beaches.

The ferry shuttles run for 12 hours out of the day, so if you stay late at San Sebastià beach you may need to take the TMB V15/V19 bus and walk back along Pg. de Colom (or transfer to the D20) to return to the Colombus monument area.  [There are always a lot of Taxis waiting at the W hotel as well…]

Review: WOWCube Space Invaders Cubed edition

WOW Cube Diagnostic mode – possibly the coolest screensaver.

This was a pre-order that I paid $249 for on 6/6/2022 [For the WowCube System Starter Pack].

In the two years since, they had shipped some cubes, had some issues, got some feedback, and went to a lot of trade shows.

Now it looks like they have taken delivery of a big batch of cubes and are starting to deliver. They “upgraded” me to the Space Invaders Cubed edition (I suspect this is the only edition they are currently producing, or have stock in.) and I paid my $19.75 shipping fee on March 3rd 2024 and it was delivered on March 8th 2024. (Yep, 21 months later….hey, at least I got it…I’m looking at you Peachy Printer, CST, and Yomee yogurt Kickstarters….)

Continue reading