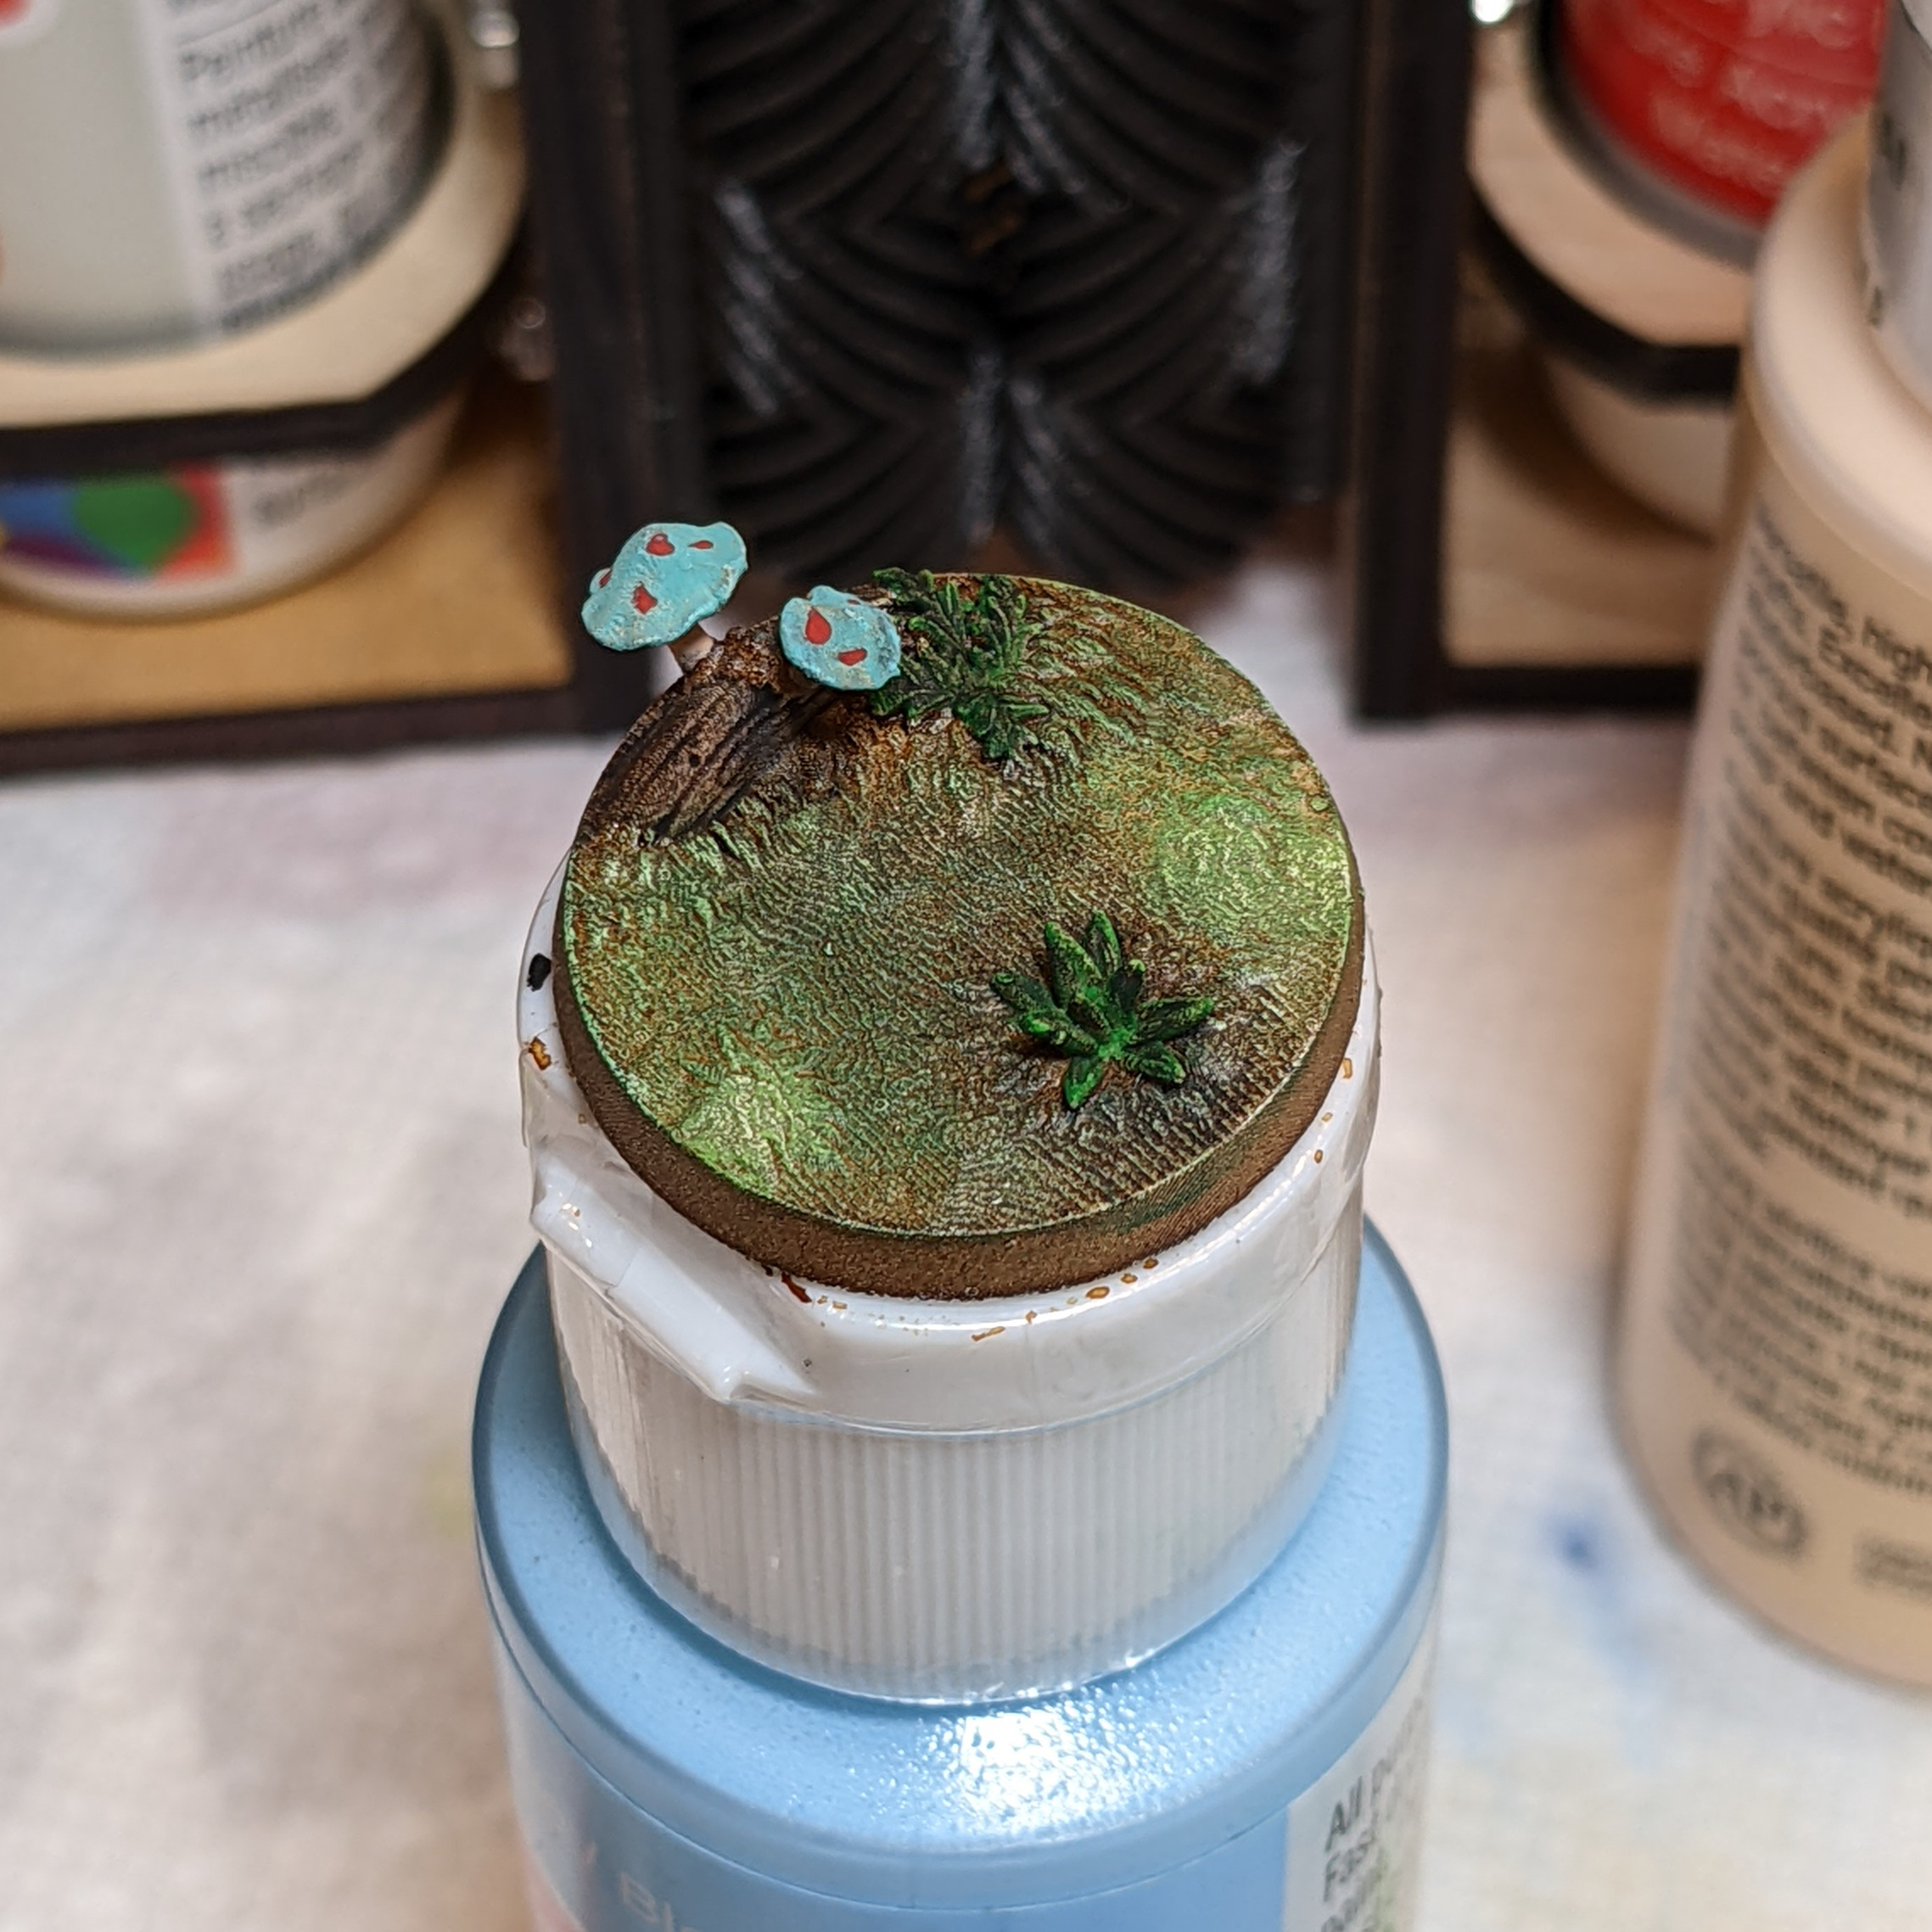
This is a 3D printed Resin base from BiteTheBullet Studio. I’m going to show you the steps I used to paint it.
This is a 3D printed Resin base from BiteTheBullet Studio. I’m going to show you the steps I used to paint it.
I’ve always wanted Prescription Lens inserts for my Oculus GO VR headset. But I just couldn’t justify the $80 price just so I wouldn’t have to wear my glasses while using the VR headset.
Then I found this project on Thingiverse: Oculus prescription lens adapter (Quest 2, Quest and Rift S)
That’s right, you can 3D print your own adapters that will convert a standard round eyeglass lens (such as you receive if you order Zenni Optical Round Glasses 55002. Which just happen to only cost $35 in my prescription).
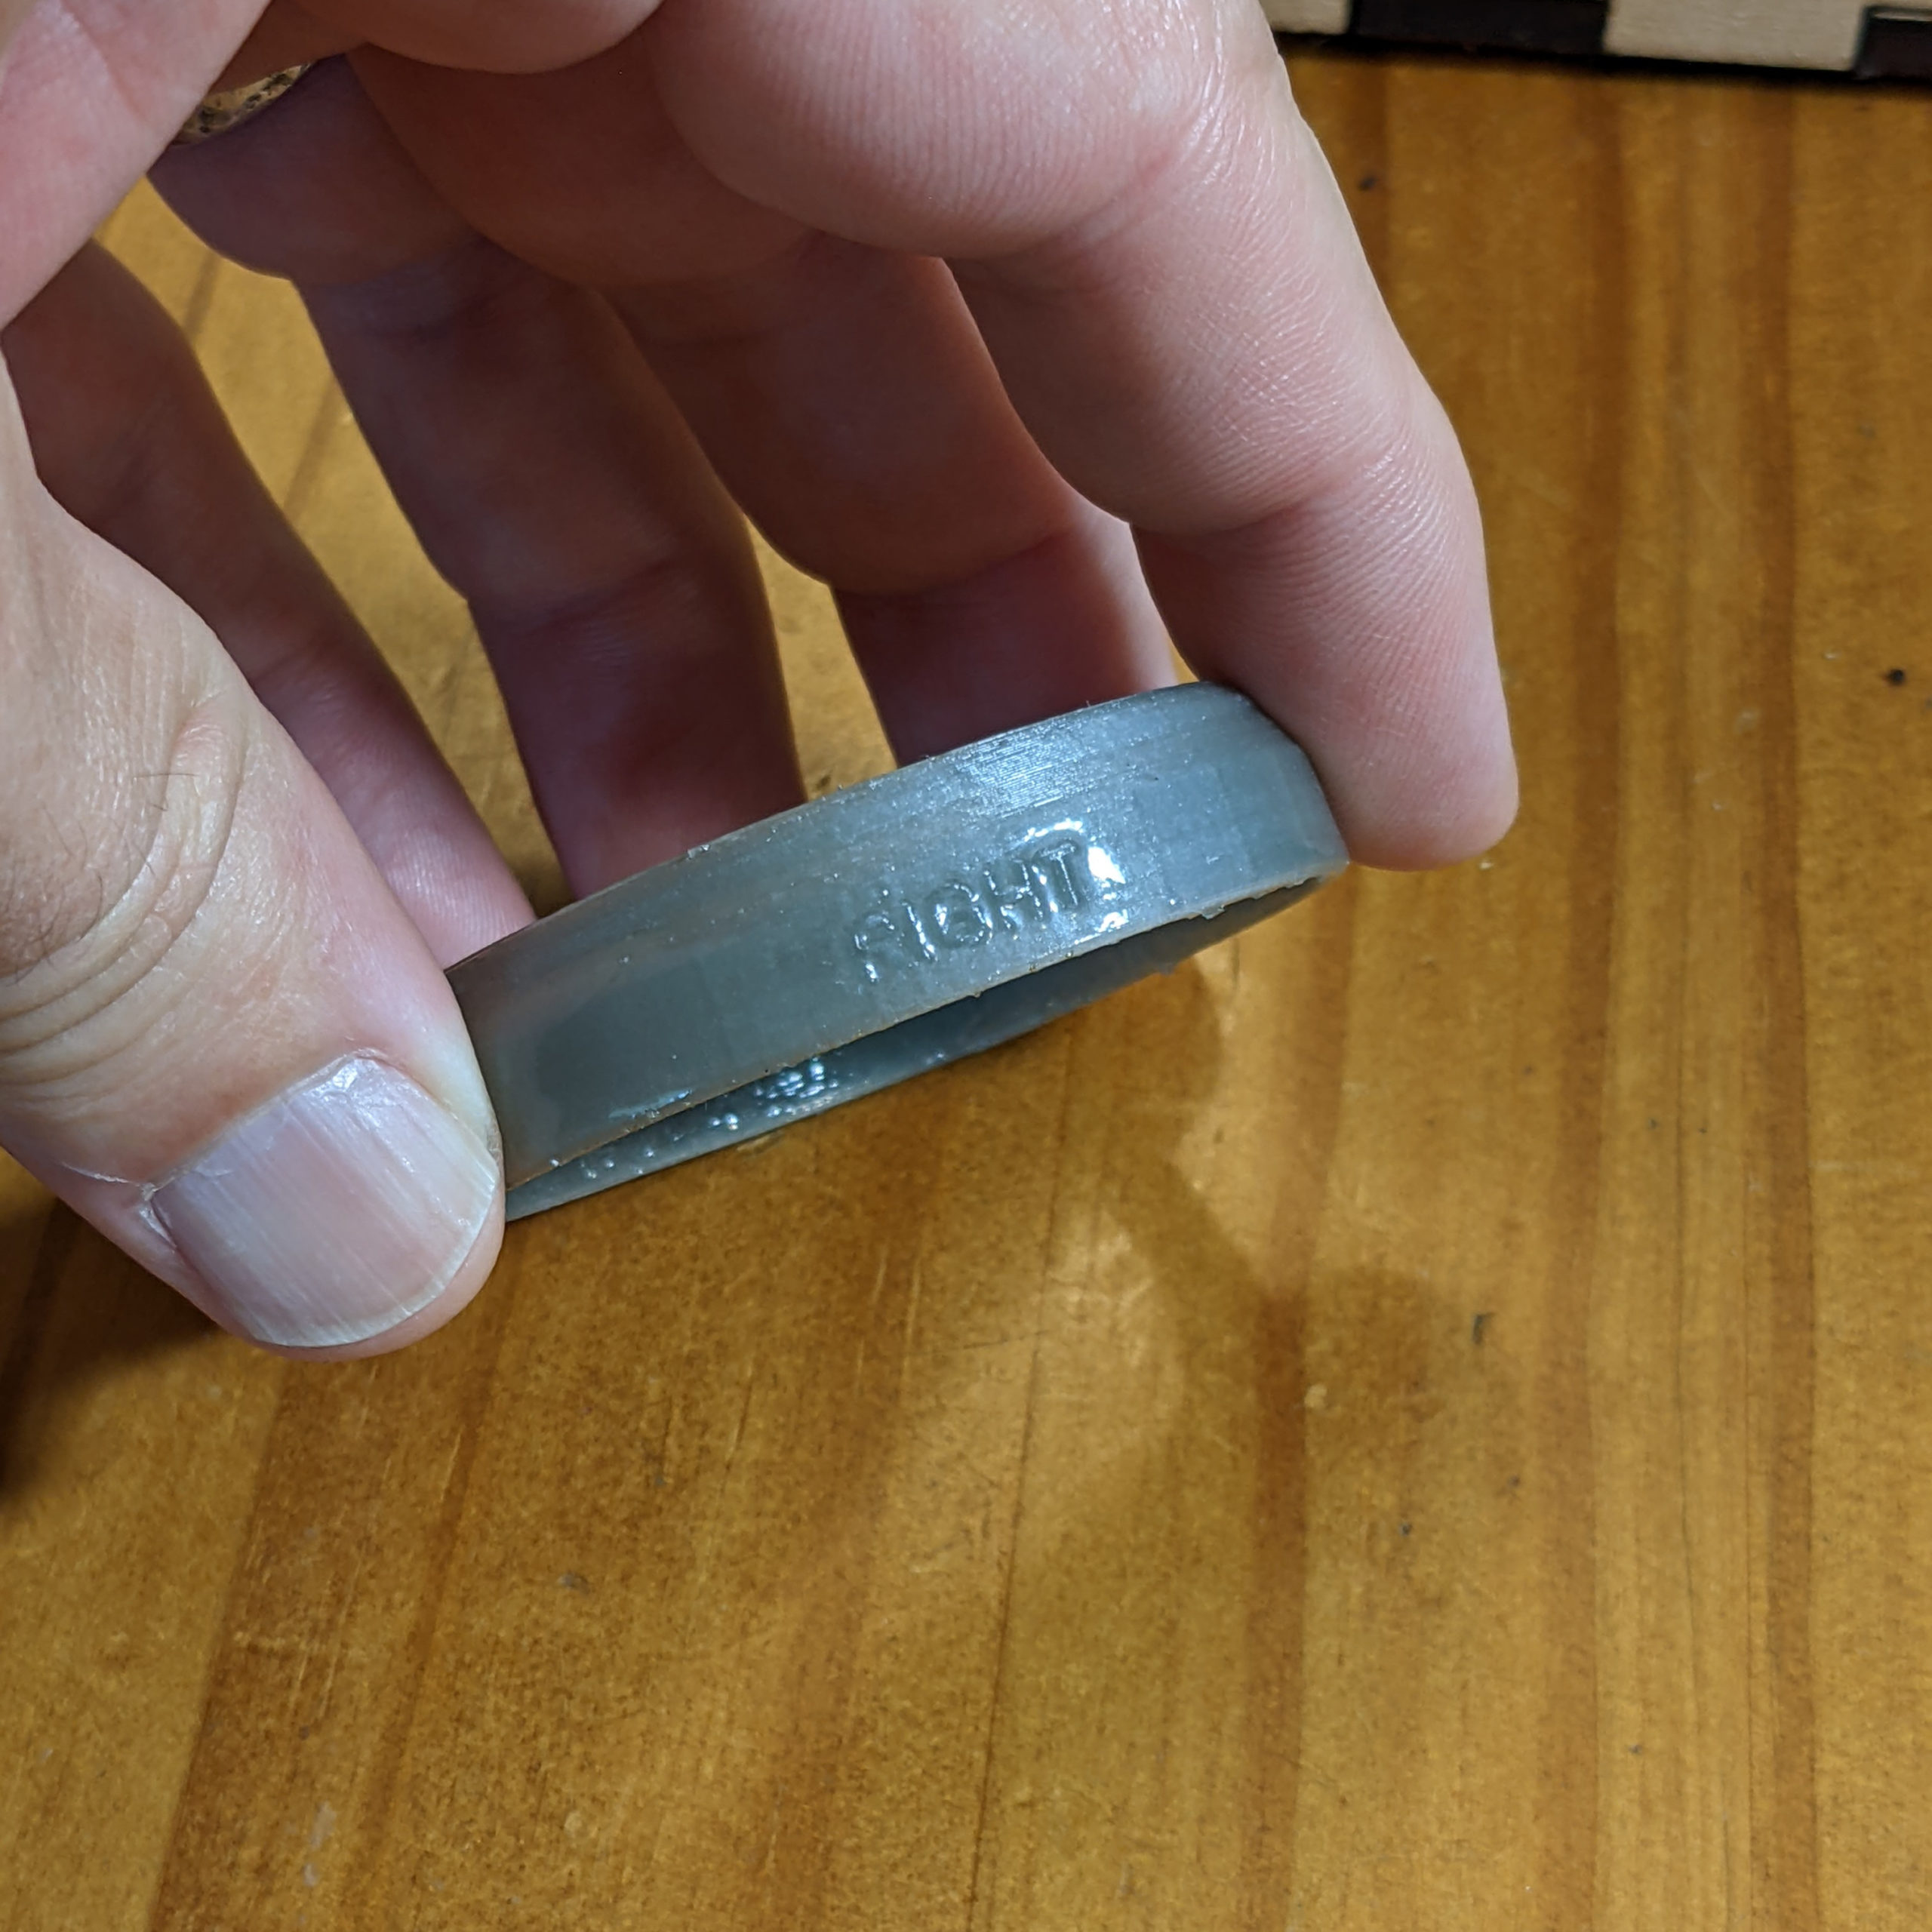
Seven days later, I was ready to mark the correct orientation, take the lenses out of the glasses (requires a small screwdriver), and pop them into my 3D printed adapters.
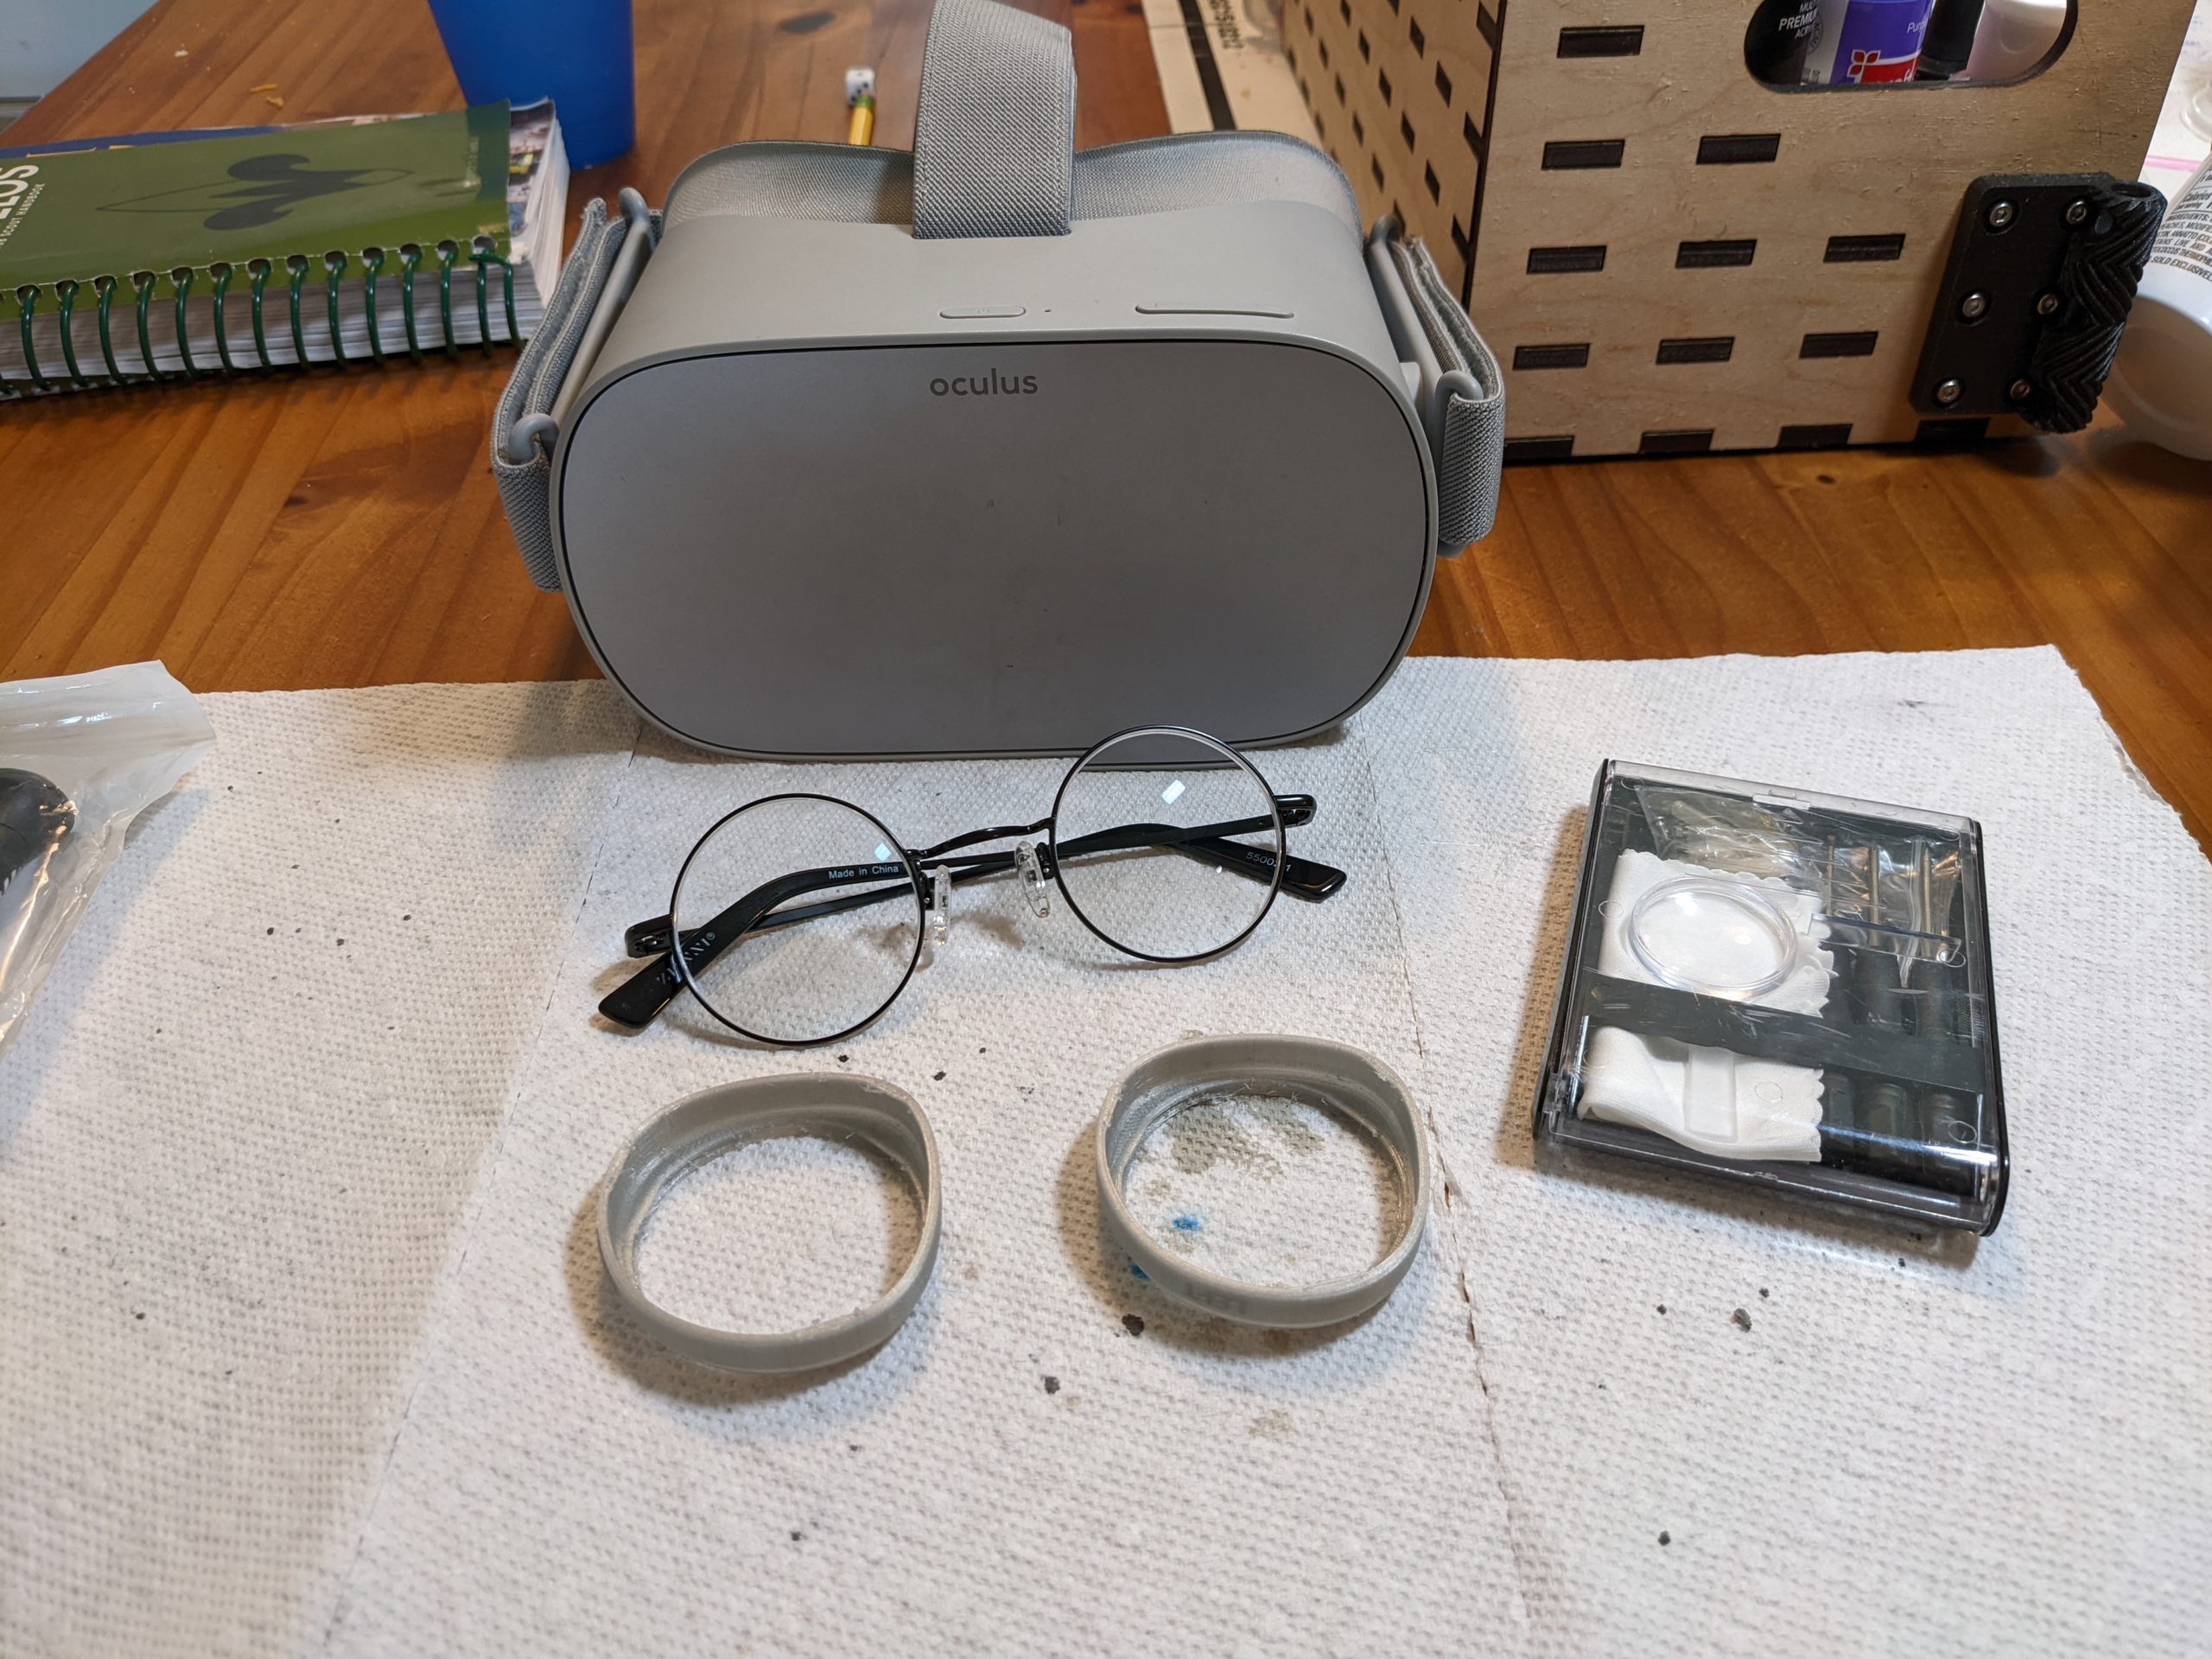
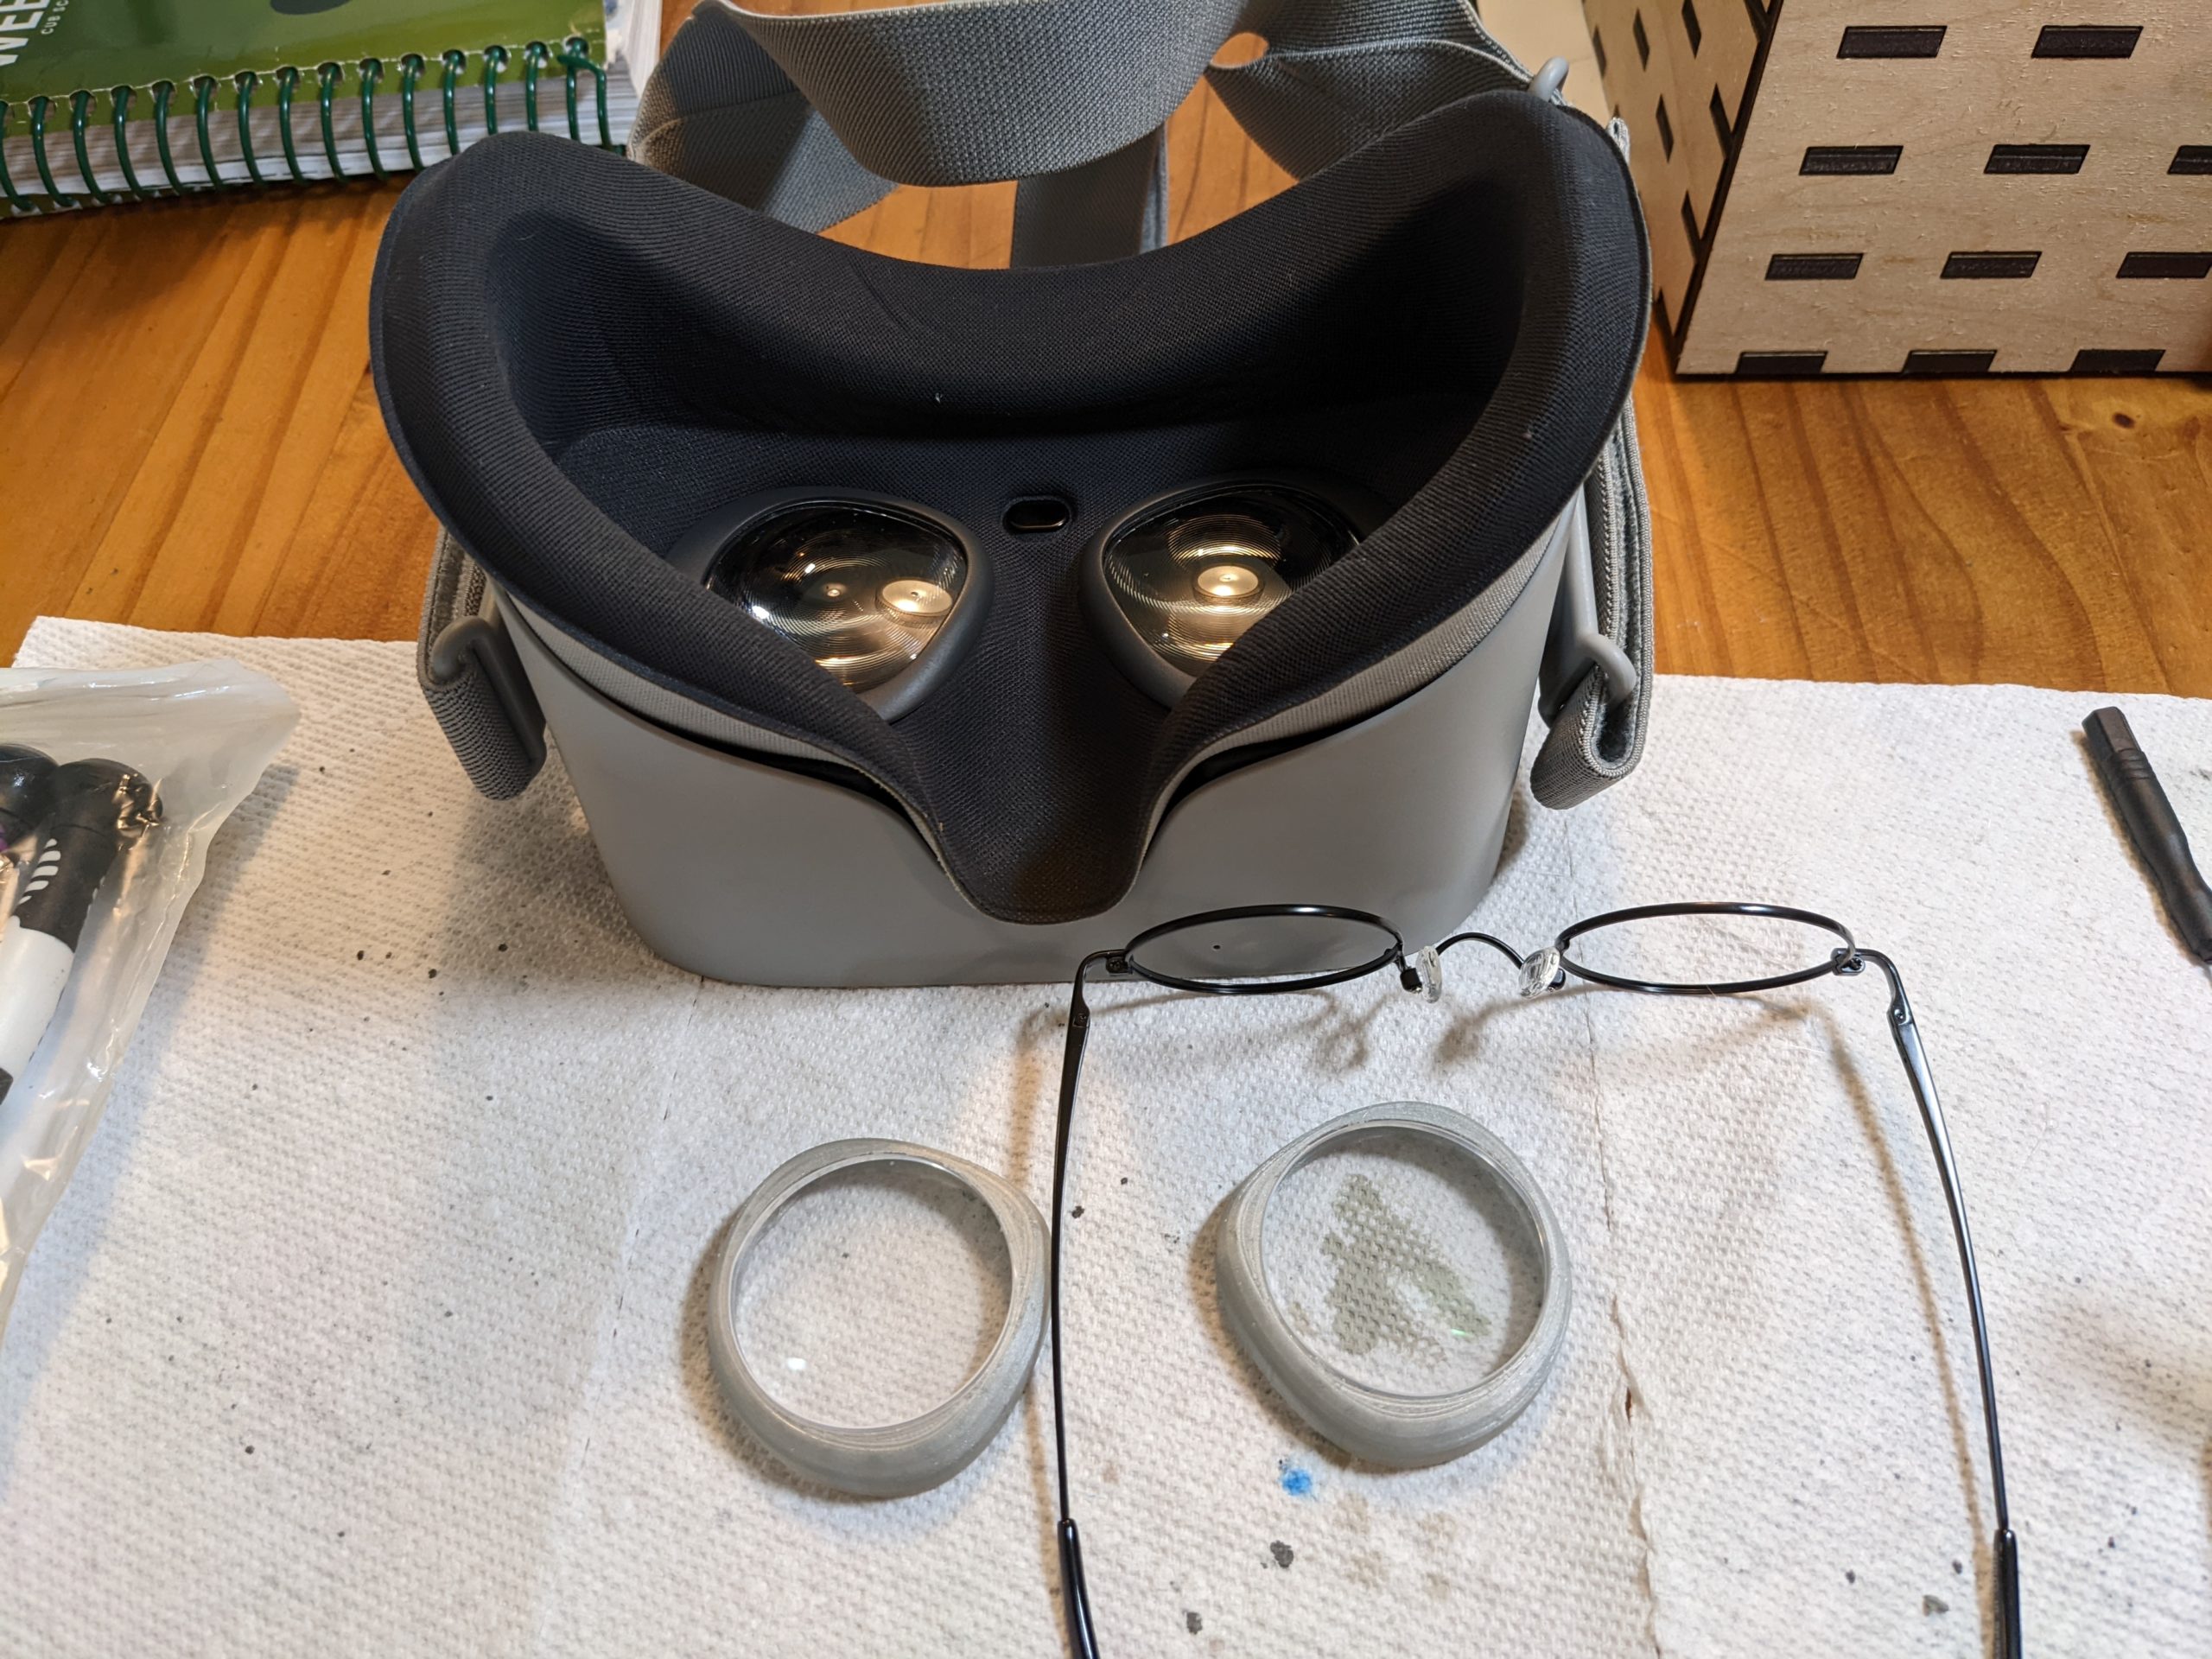
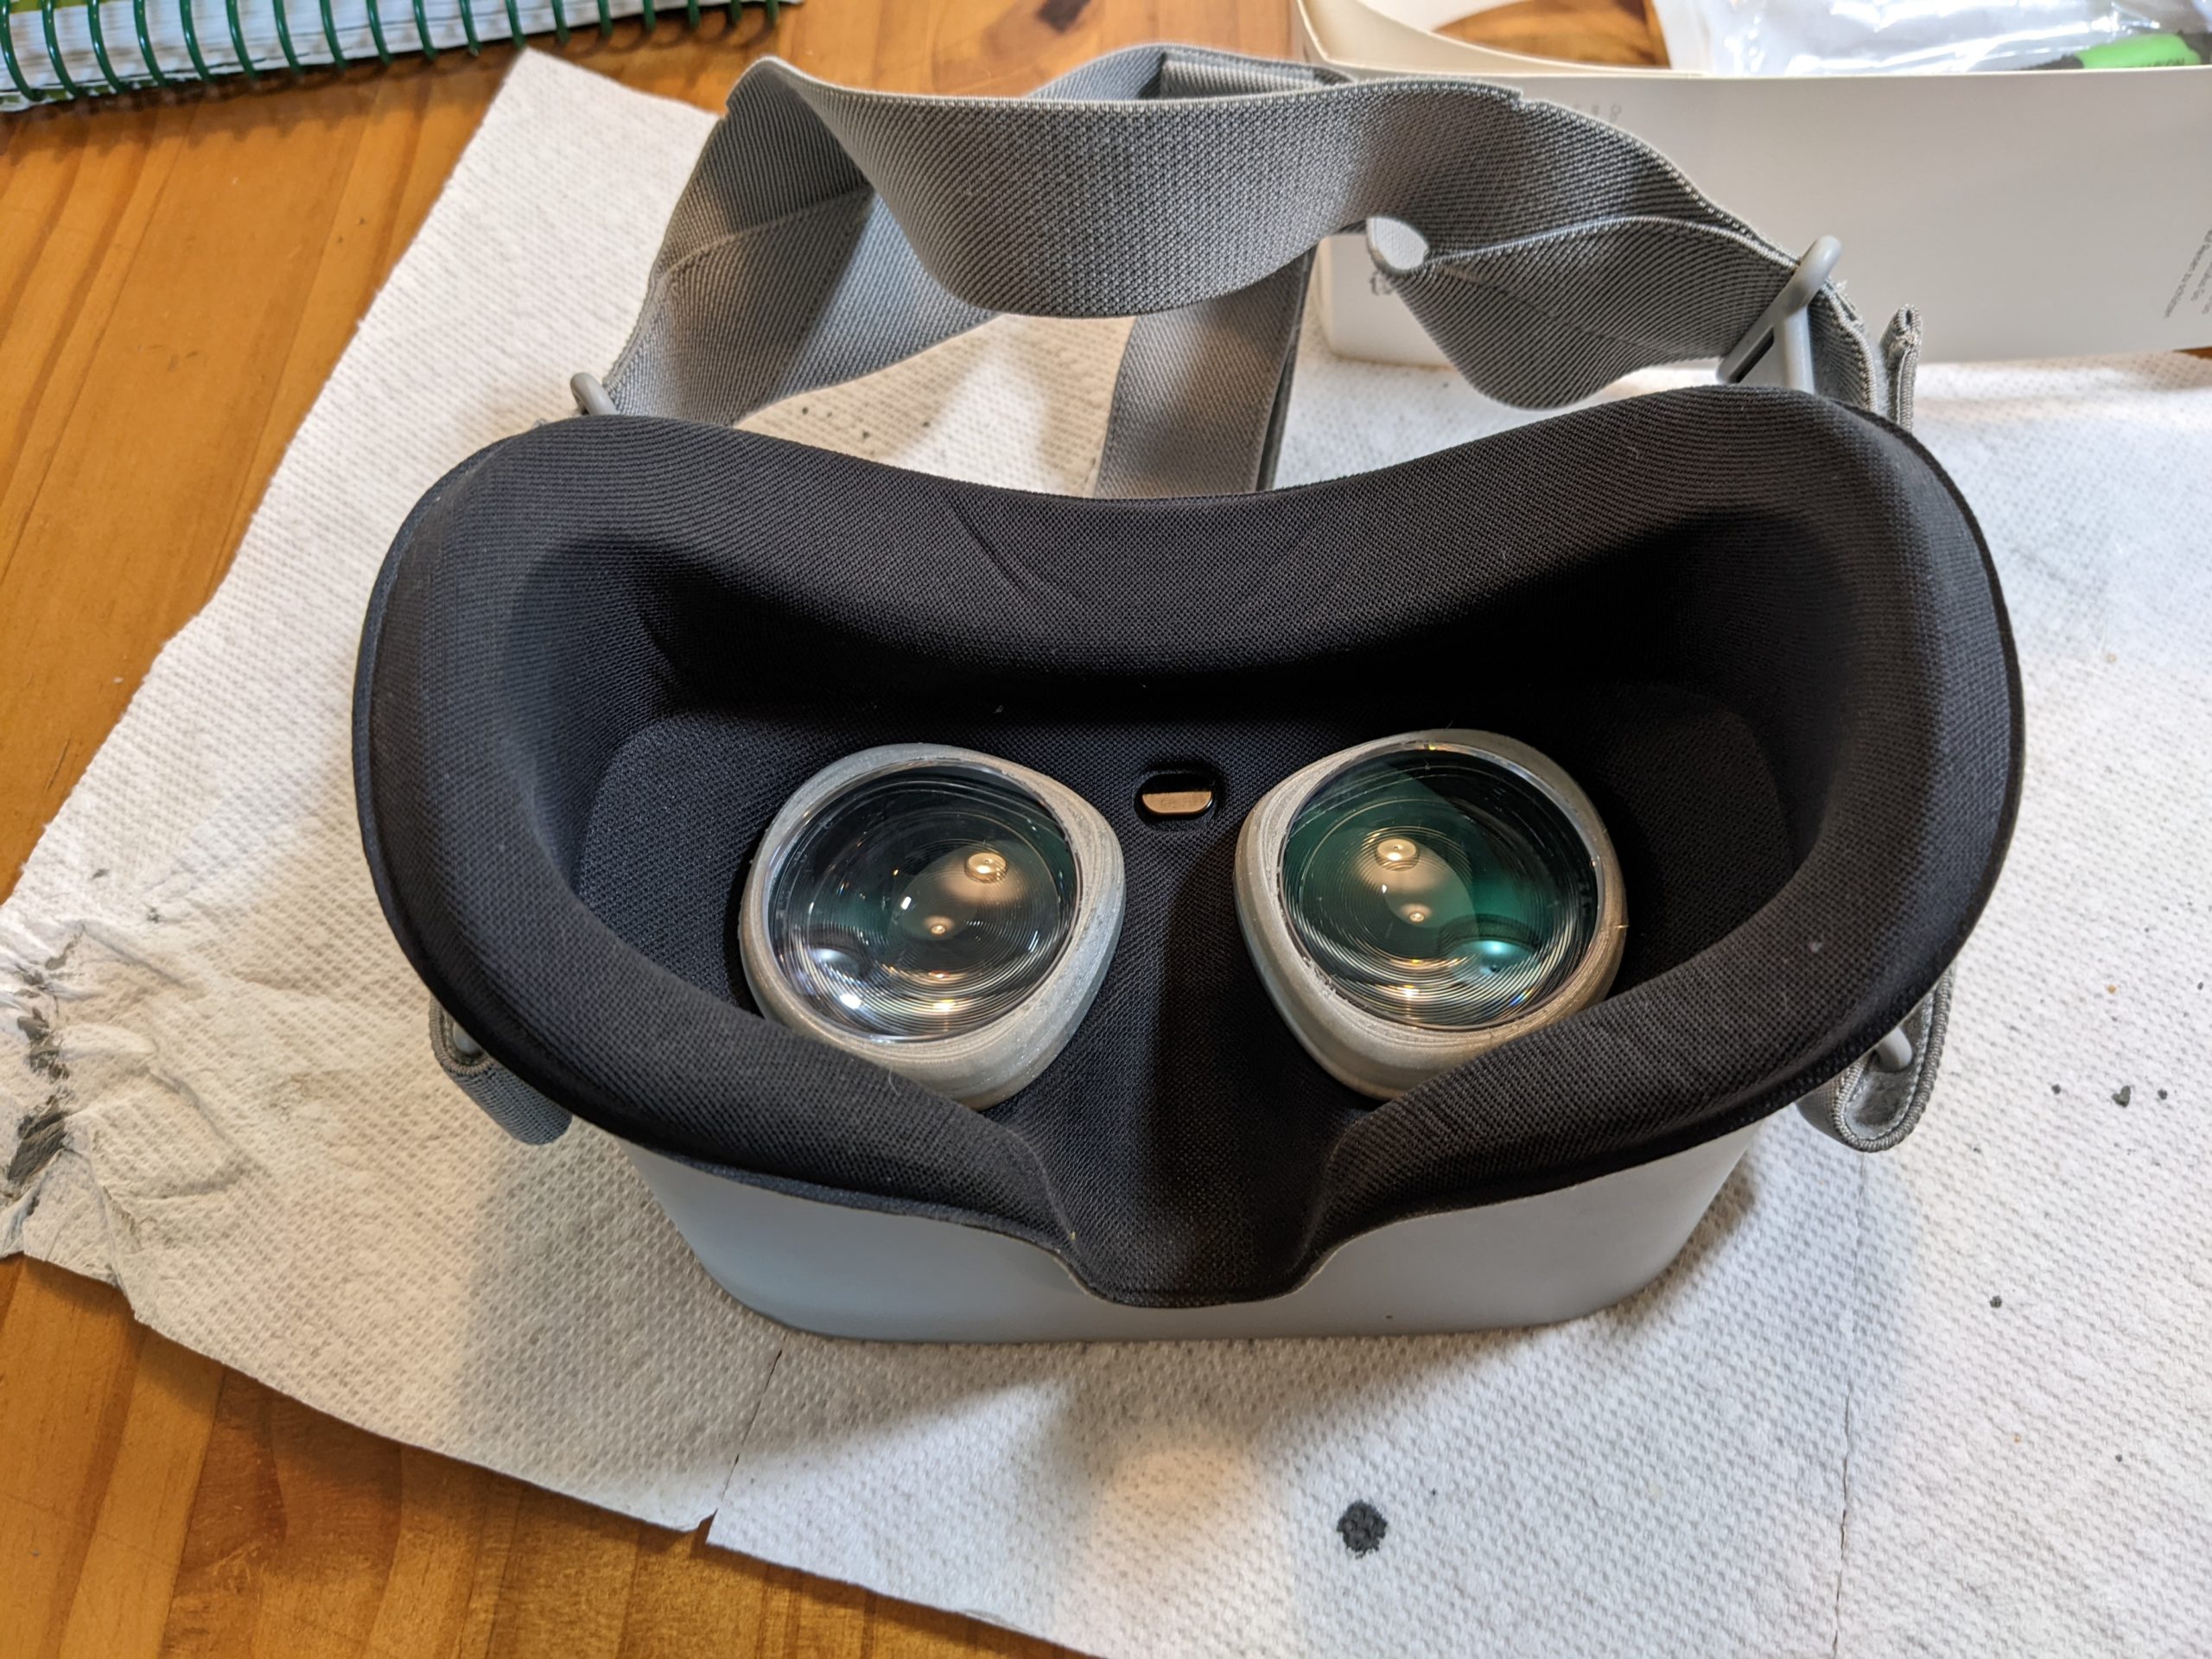
The “Version1” adapters pop right into my Oculus GO (which apparently are the same size as the original Quest), and now the VR headset fits more comfortably on my face (no more distracting gap around the nose area!).
Plus, I can give my son the now empty frames to have fun playing Harry Potter….
Update – July 19th 2022:
The lenses are working well in the Oculus Go, but after about 8 hours of use the right hand lens holder loosened up and stopped “gripping” the Occulus socket and holding in the foam. I believe one of the small “lips” printed along the bottom had either snapped or had gotten worn down. I printed a replacement part and before installing I dipped it in low viscosity epoxy resin. This made the part significantly more rigid (and smoother). I found it easier to install the lens (possibly due to experience) and it had a very satisfying grip on the Oculus. If you are installing for the first time and have access to low viscosity epoxy, I’d recommend using it. (I also wonder if superglue would have a similar effect….) My left hand lens mount is still holding strong, so I’m not going to mess with it at this time.
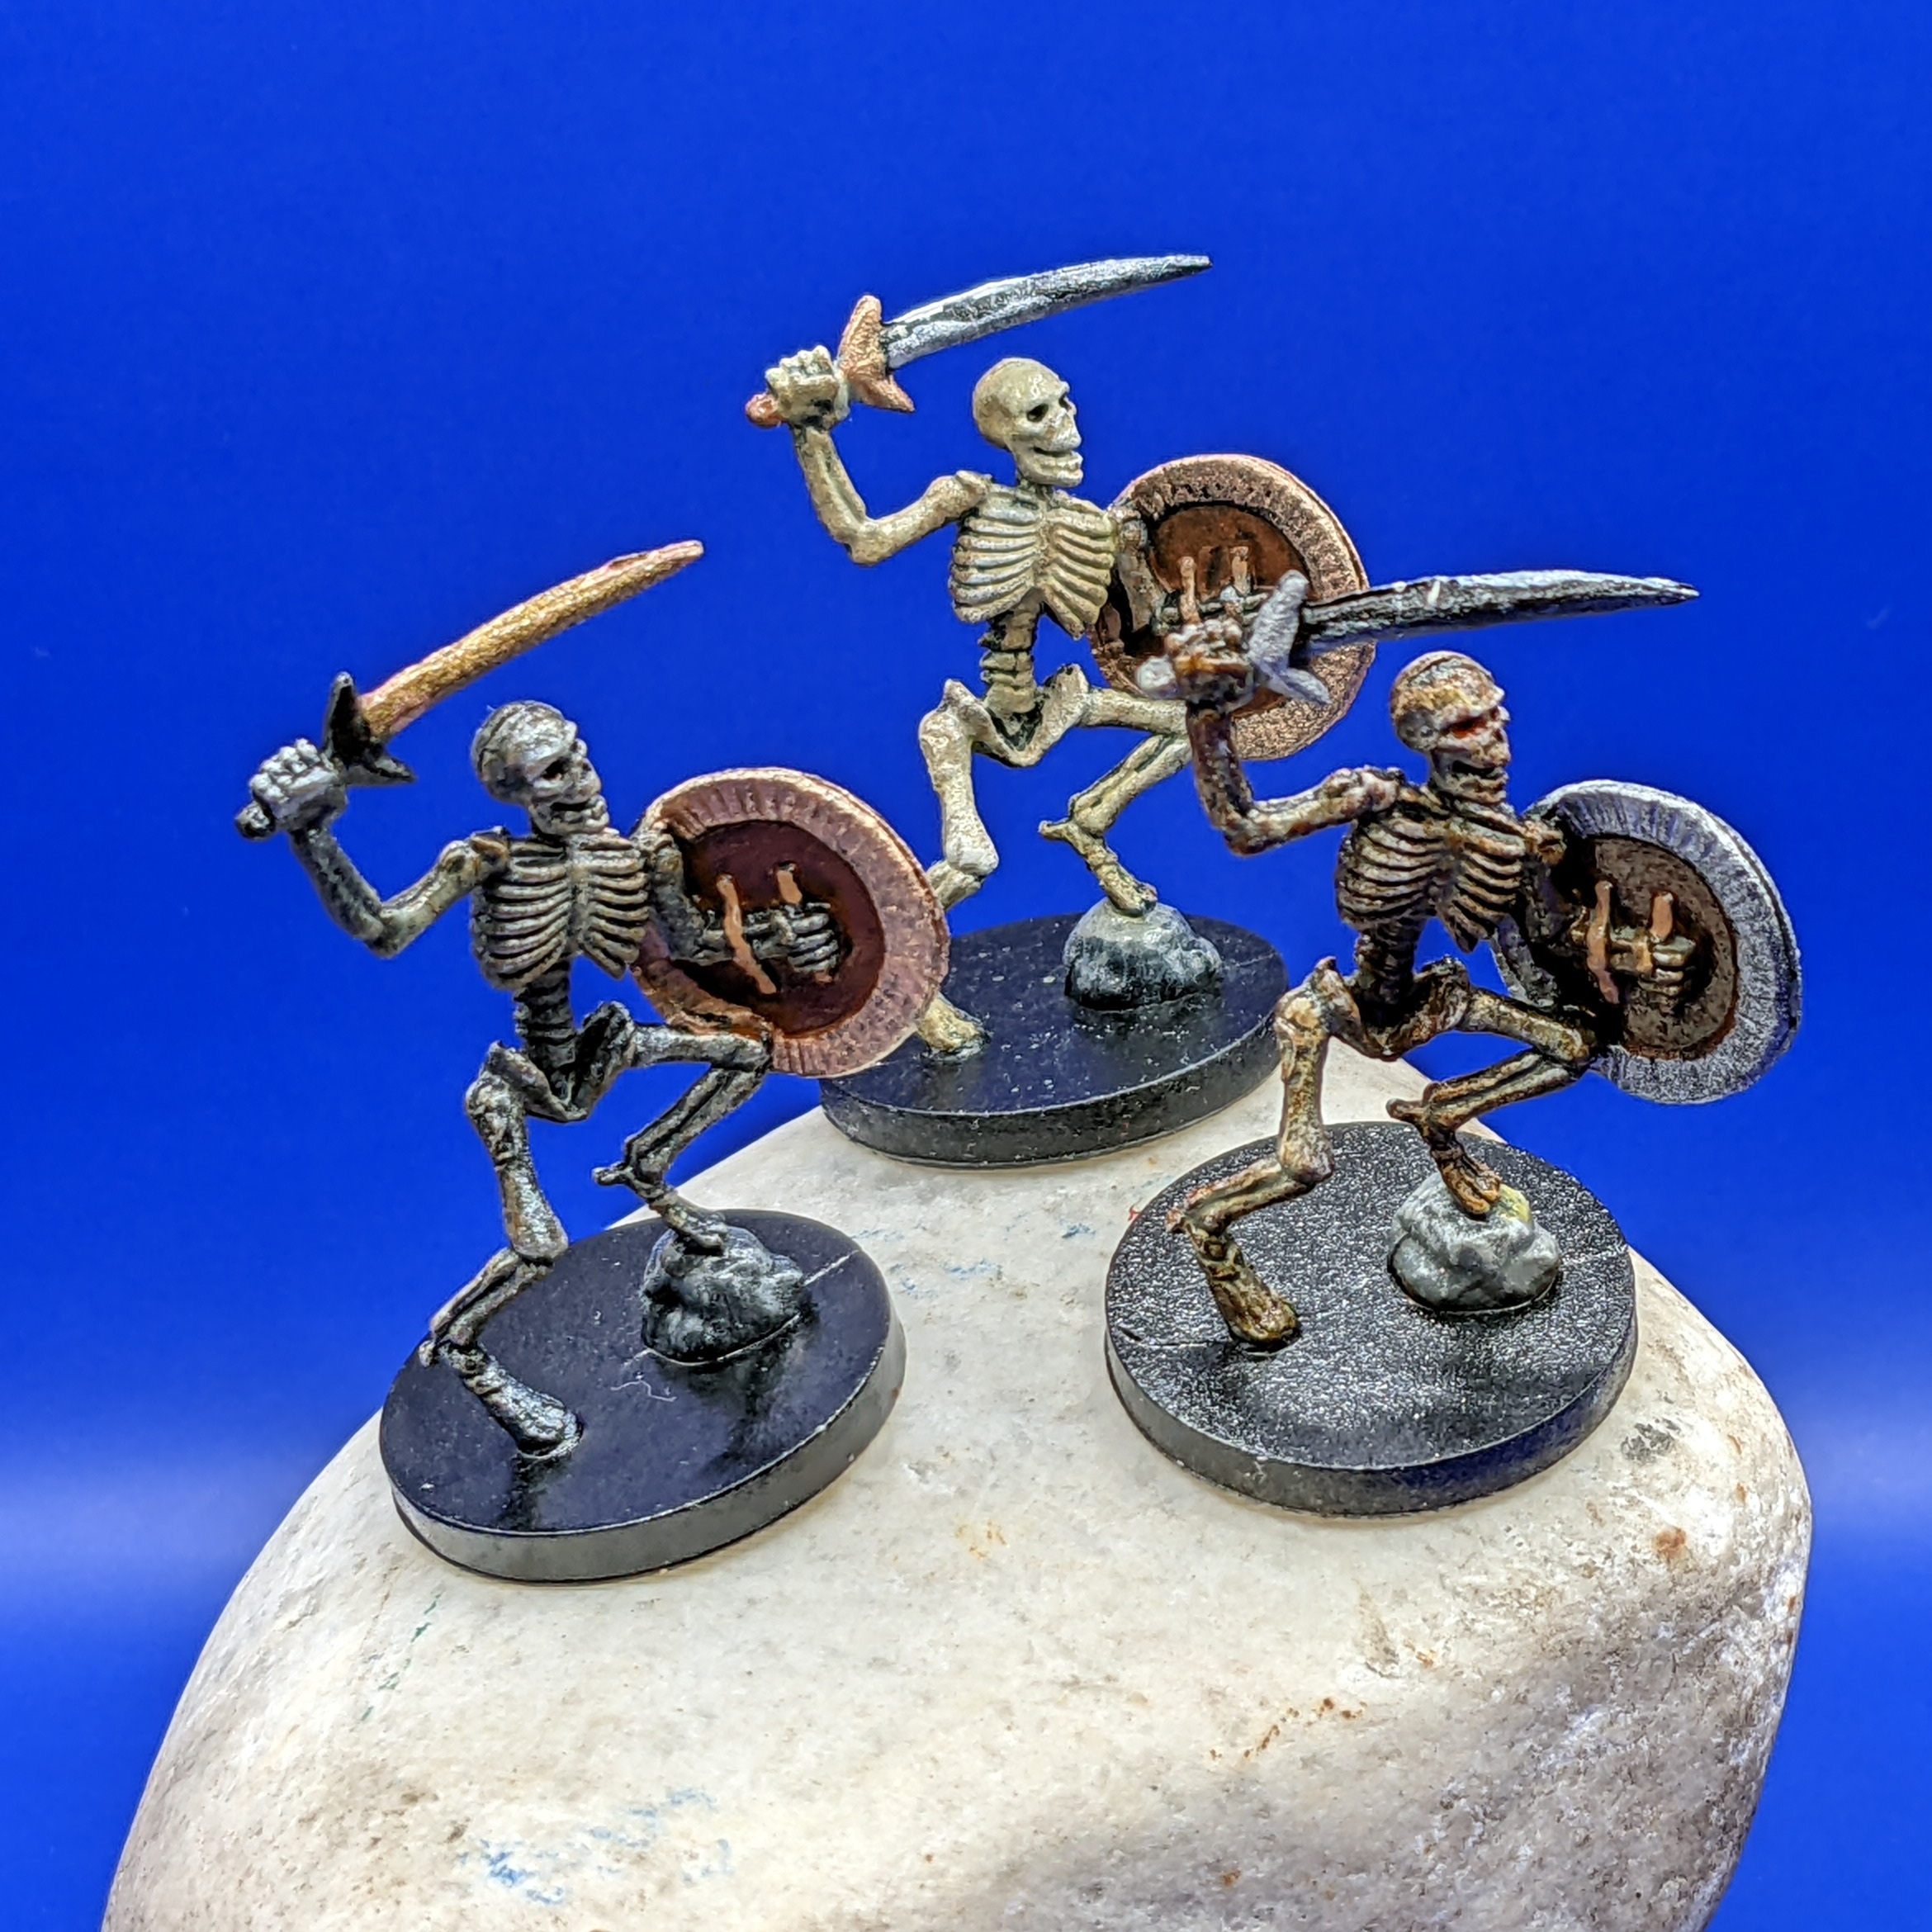

I painted the three Castle Ravenloft board game Skeletons with slightly different colors (mostly on the shields and swords, but the bones have different levels of tints on them as well) so that people could say things like “I want to aim at the one with the blue shield!”.
The general approach for bones is to do shades of gray/white first, then tint them with a bright yellow wash, followed by a transparent dark brown (burnt umber) wash. Variations in lightness and color can be made by the lightness/darkness of the base coats, and amount of washes you use.
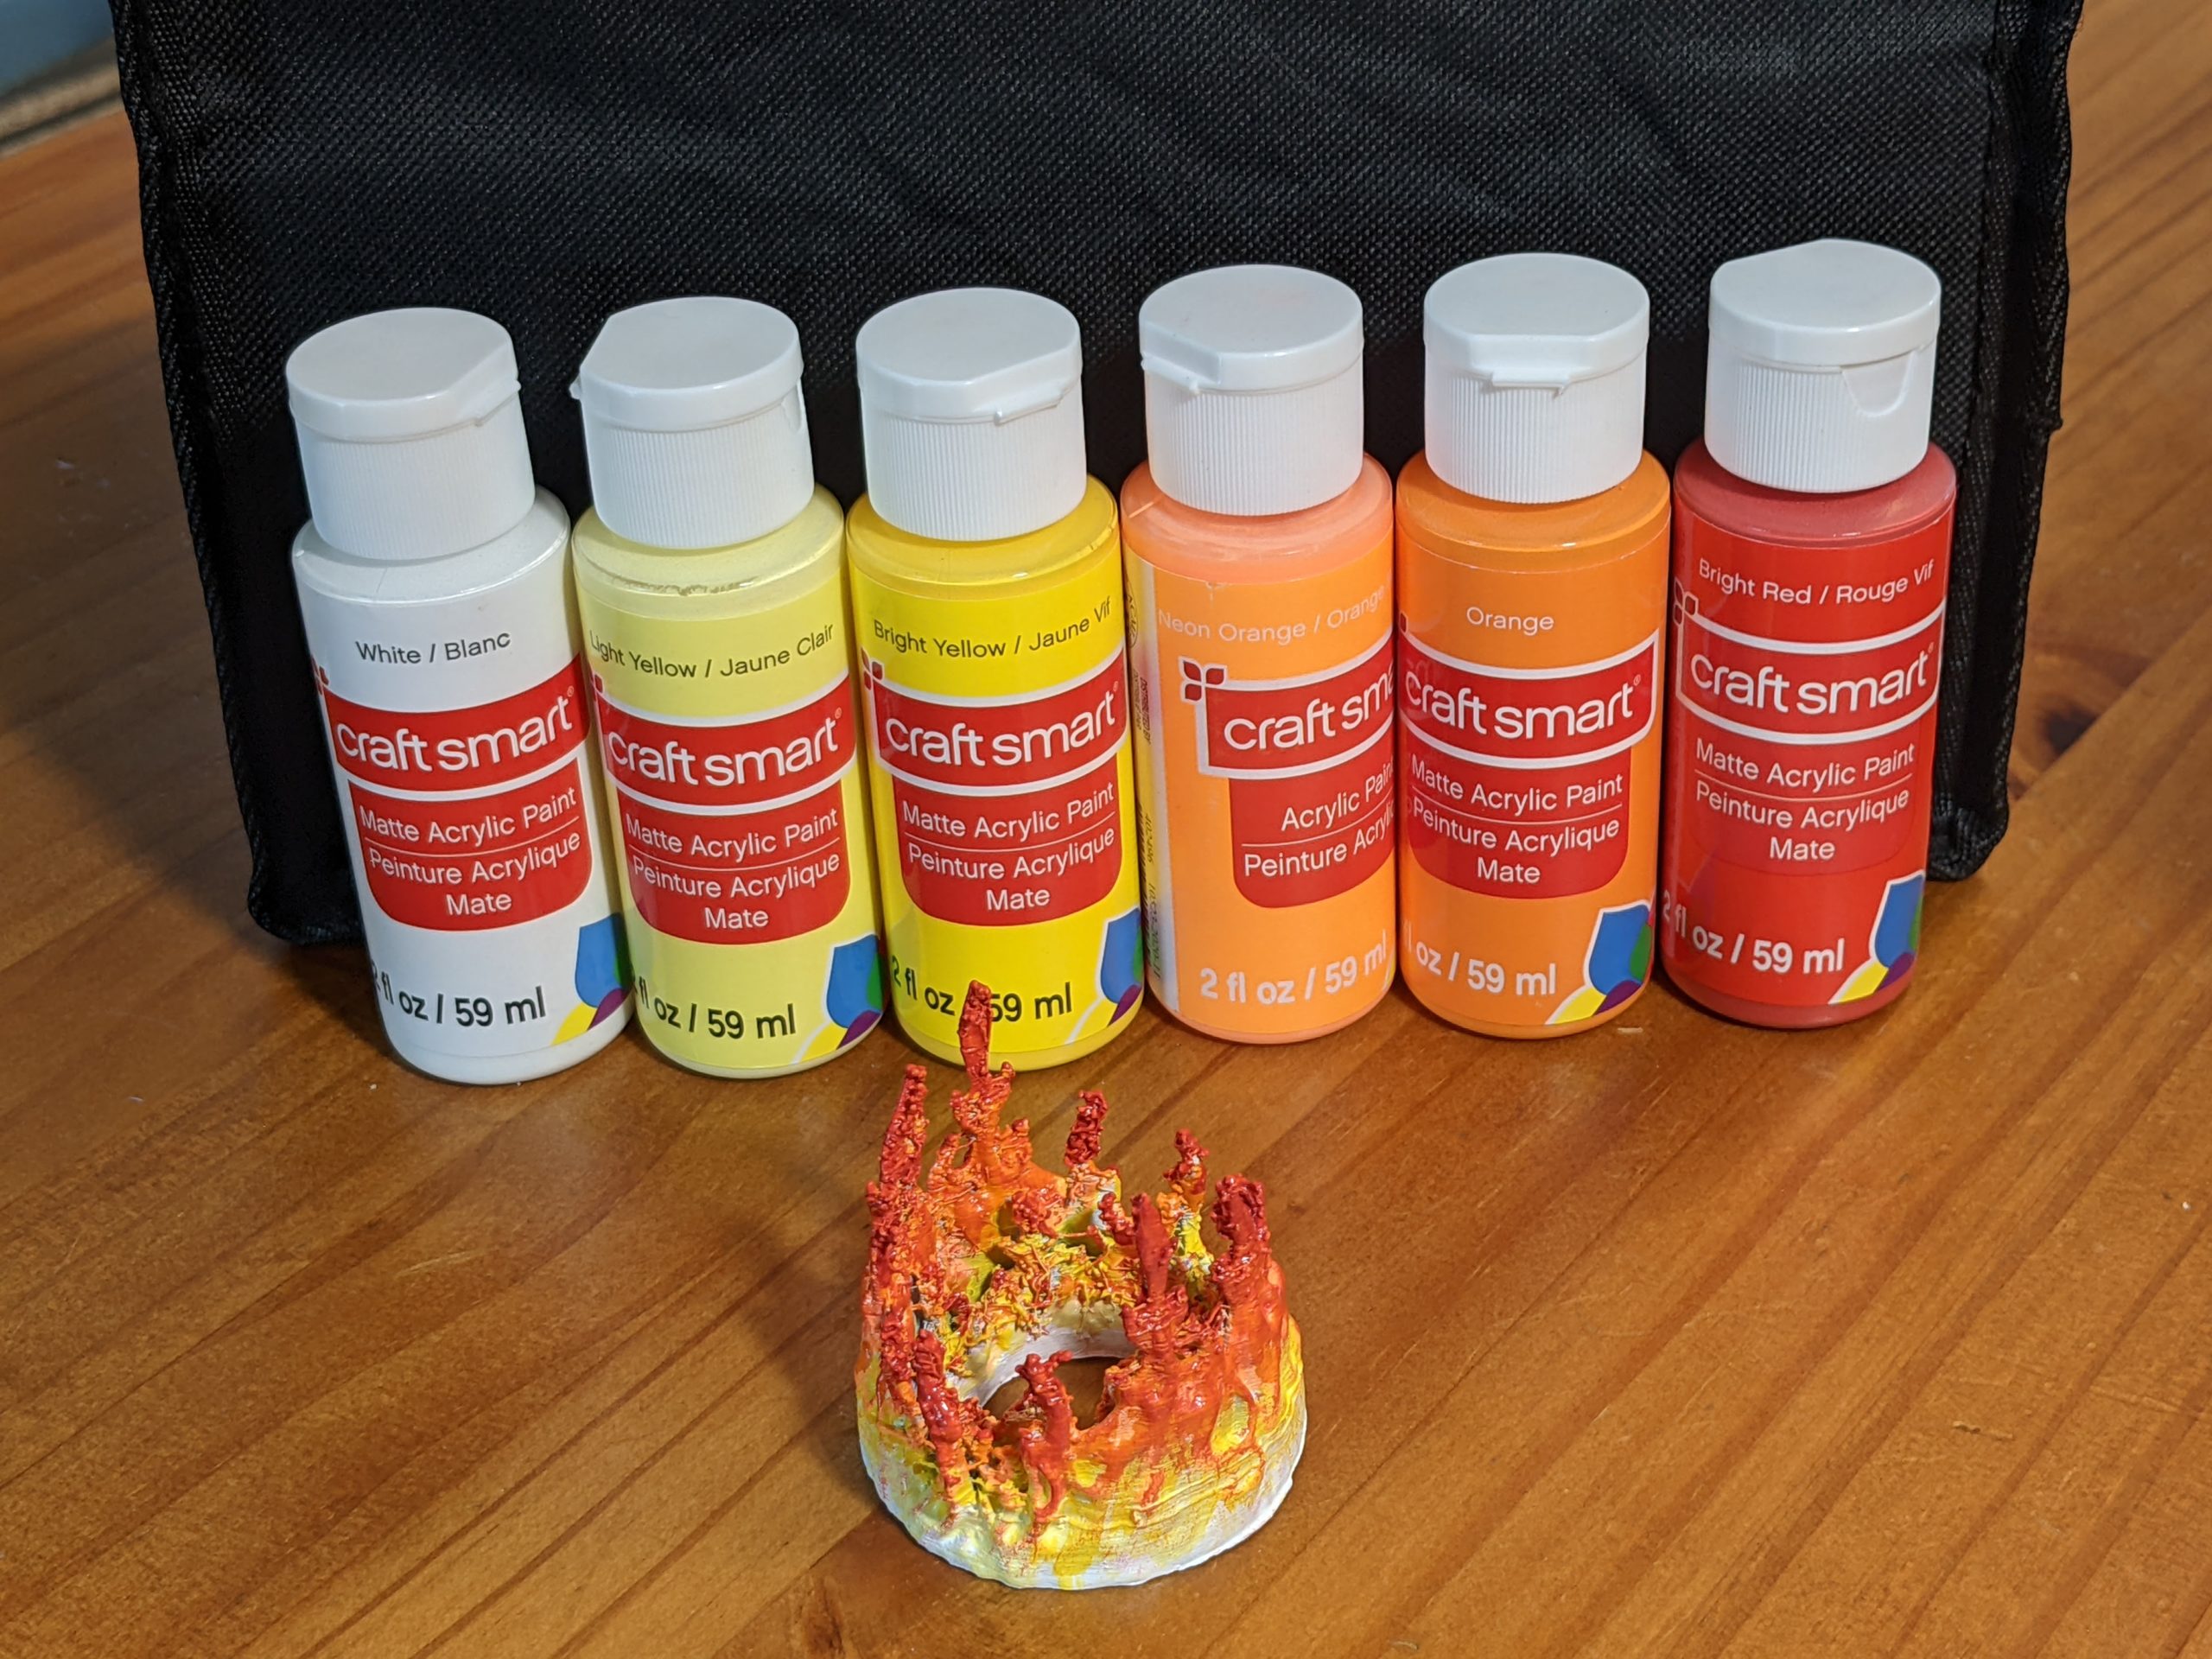
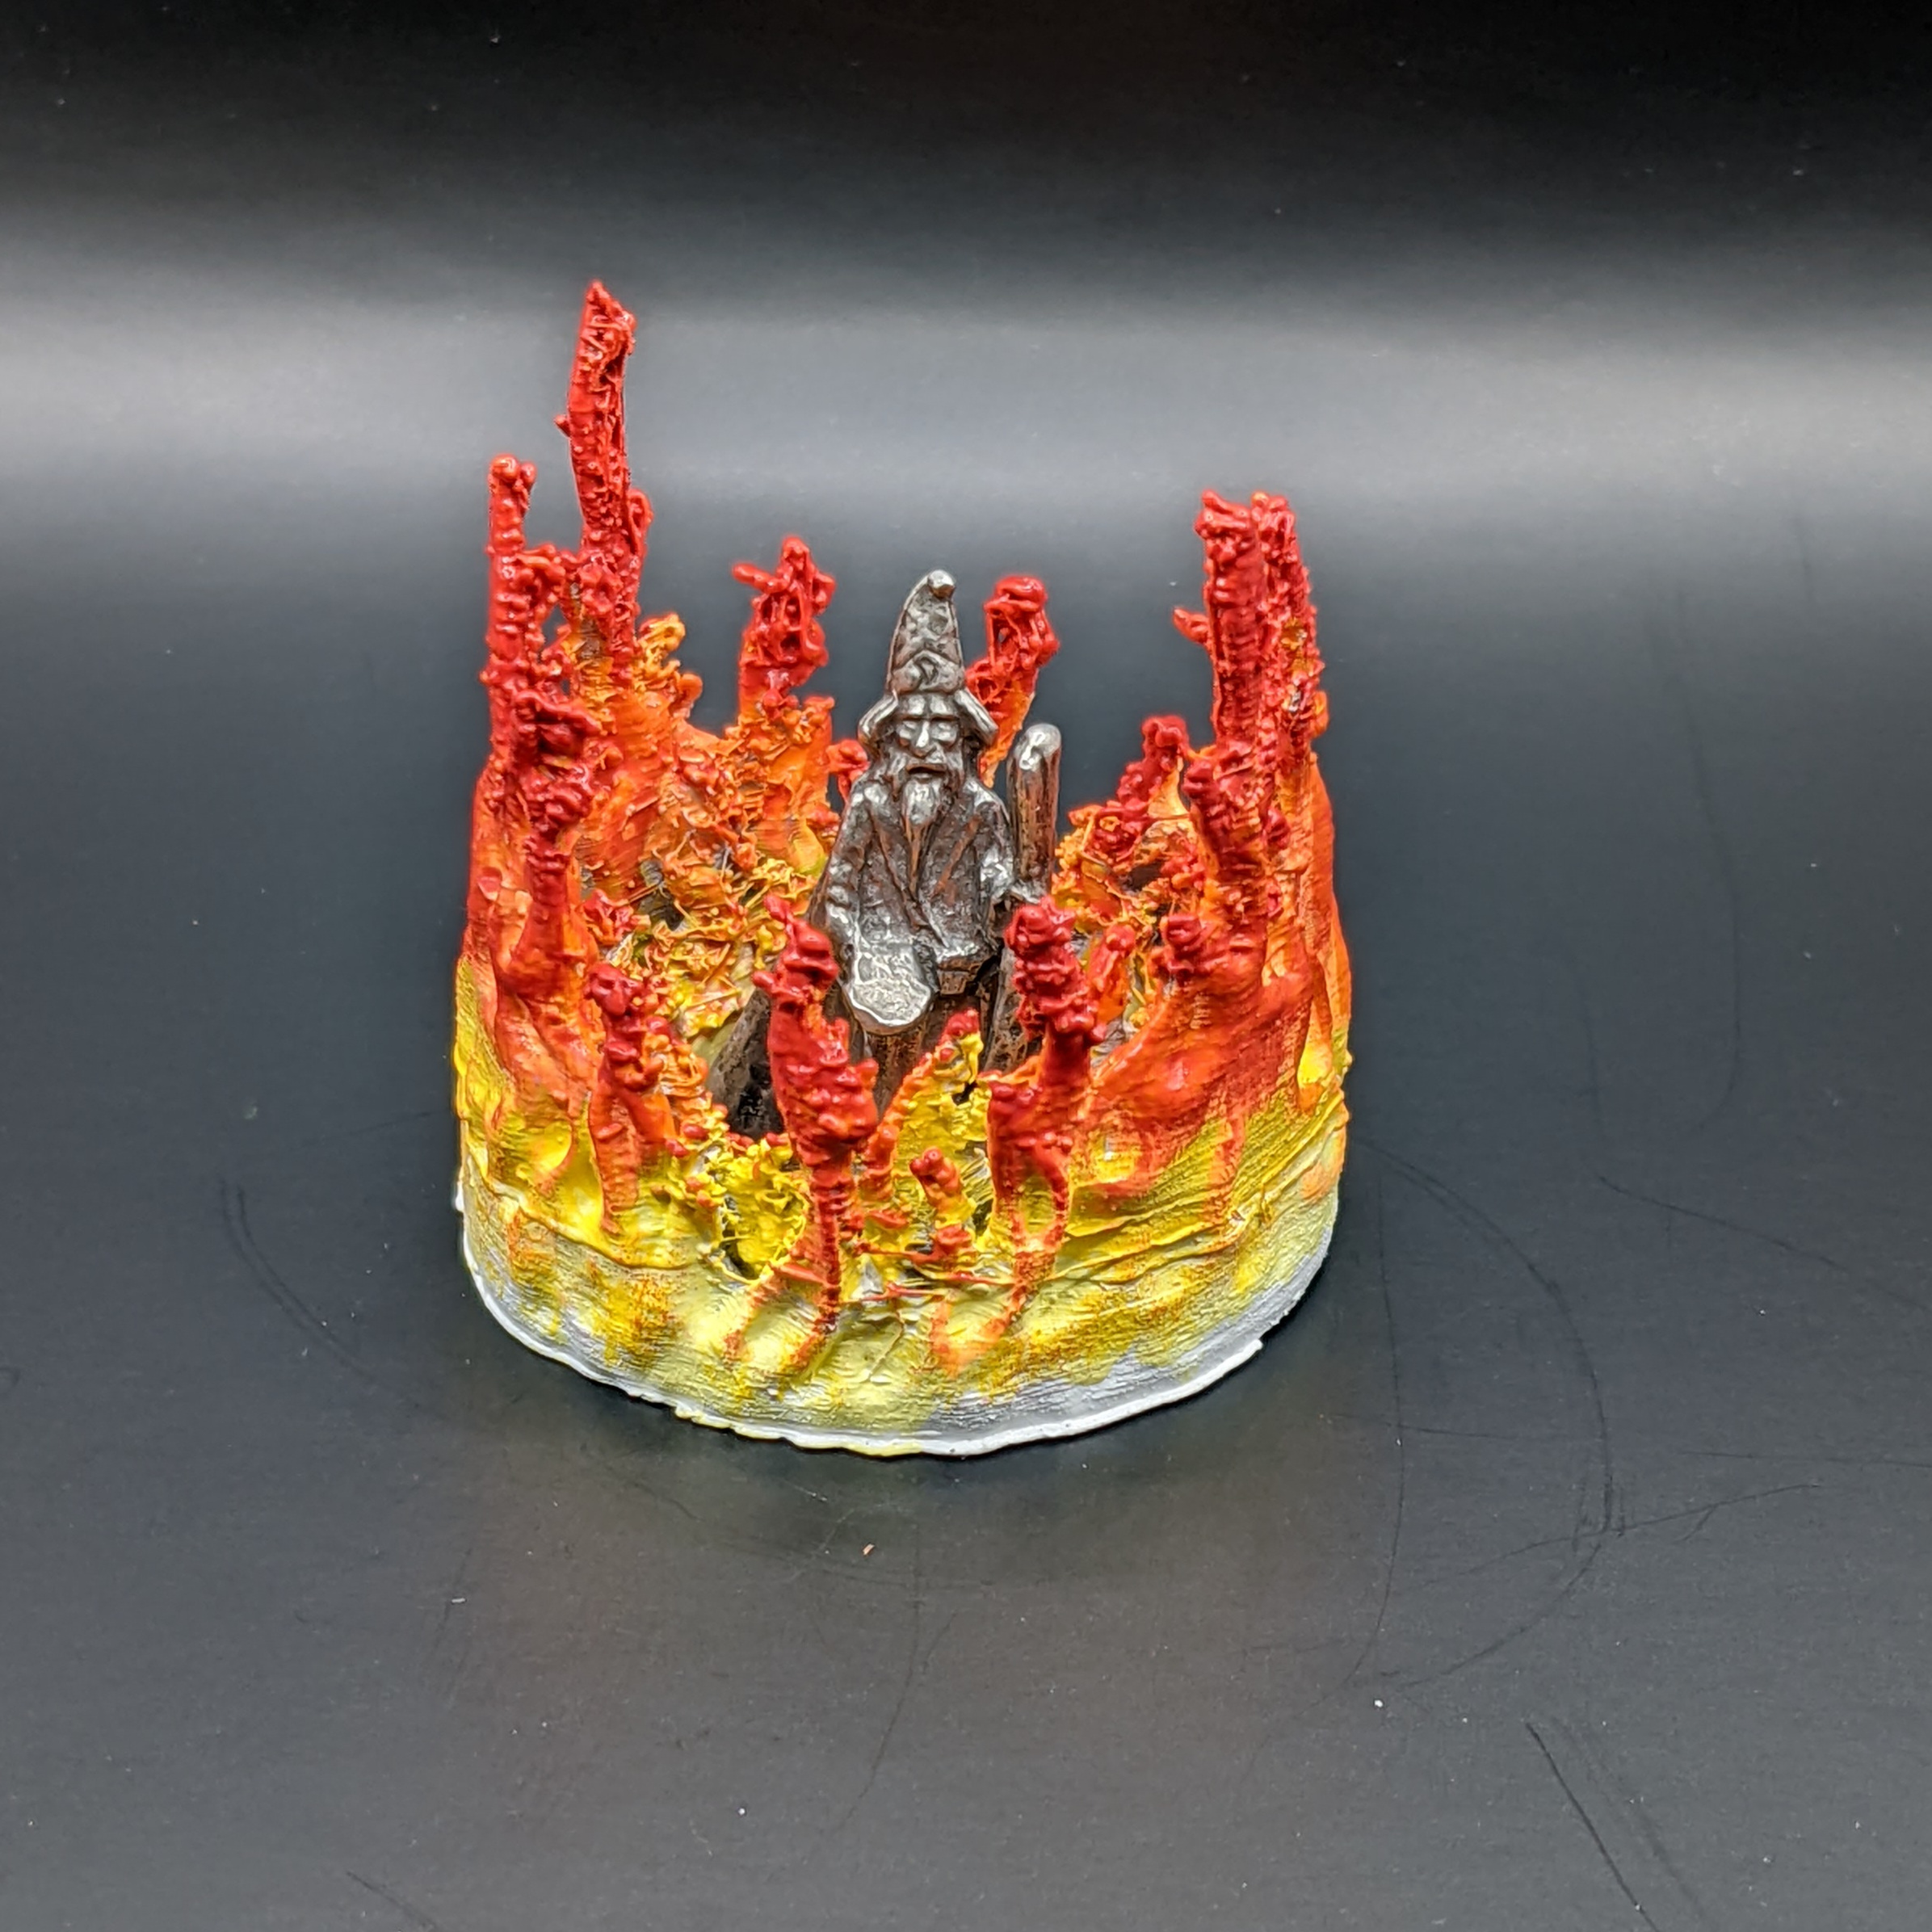
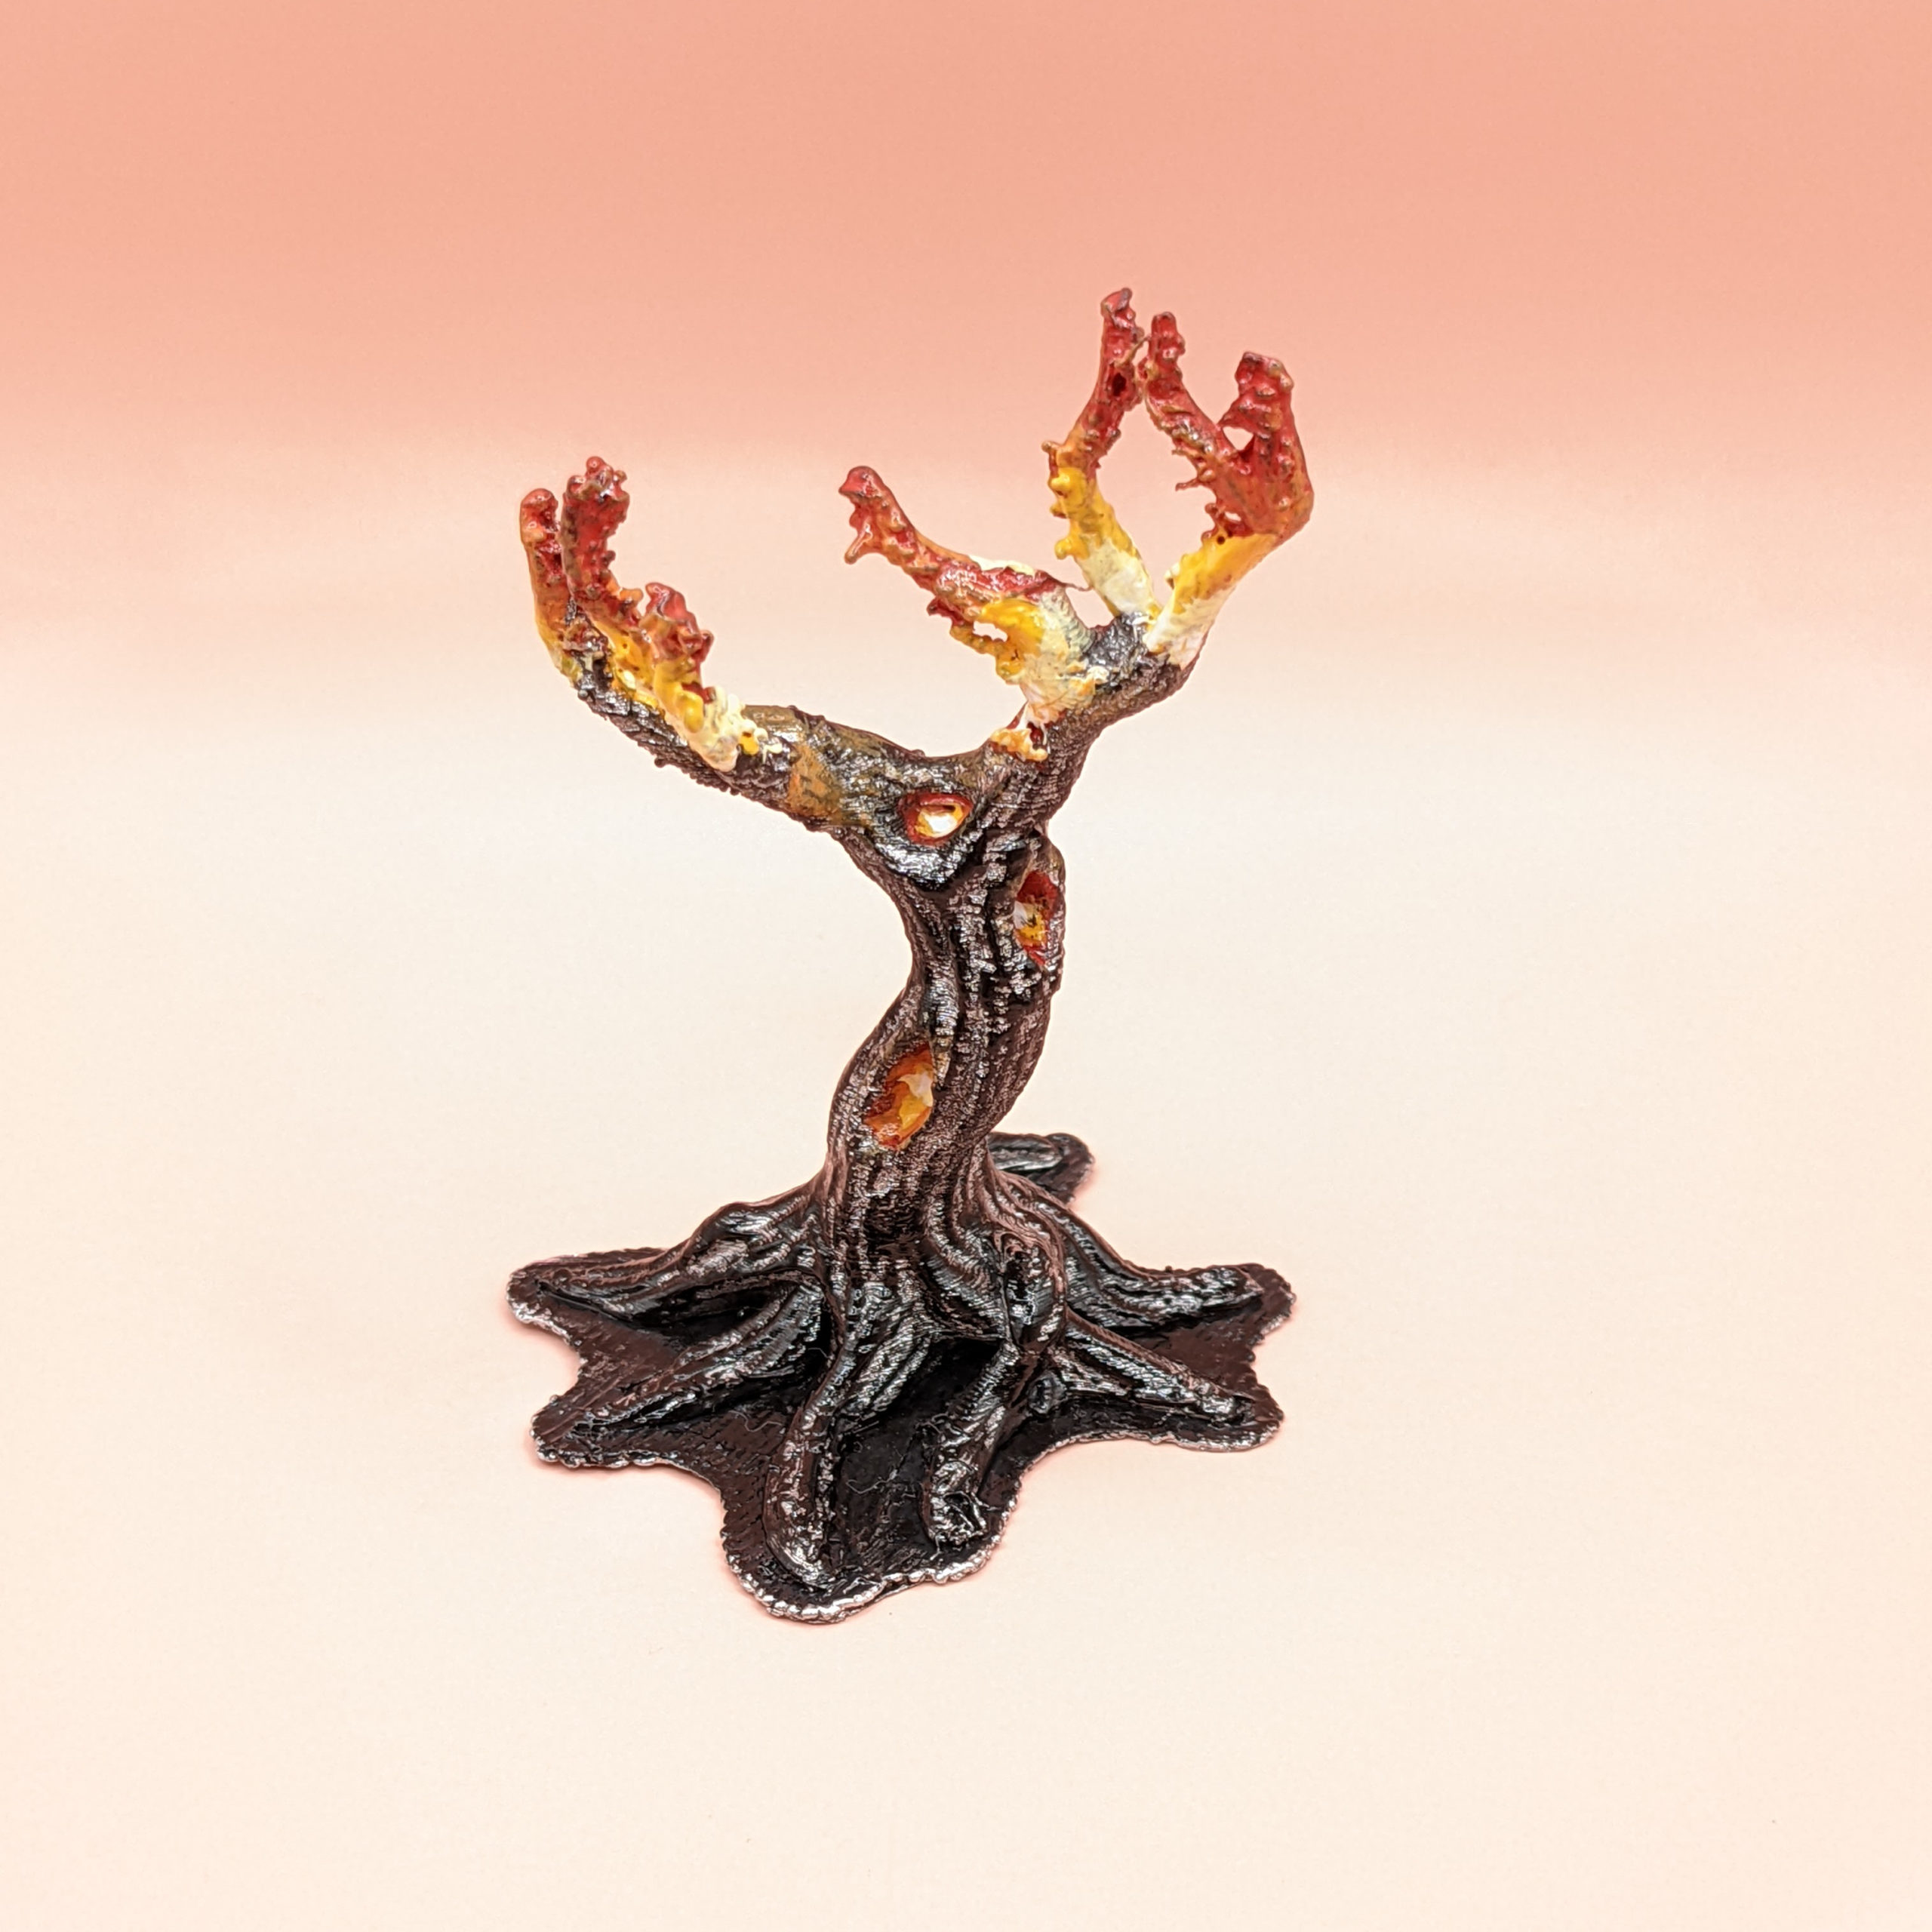
Sometimes you need to paint fire. The color light that fire throws out depends upon it’s temperature, generally ranging from white to red (we will ignore blue flames for the purposes of painting miniatures). Here are a few items I’ve painted with Flame effects.
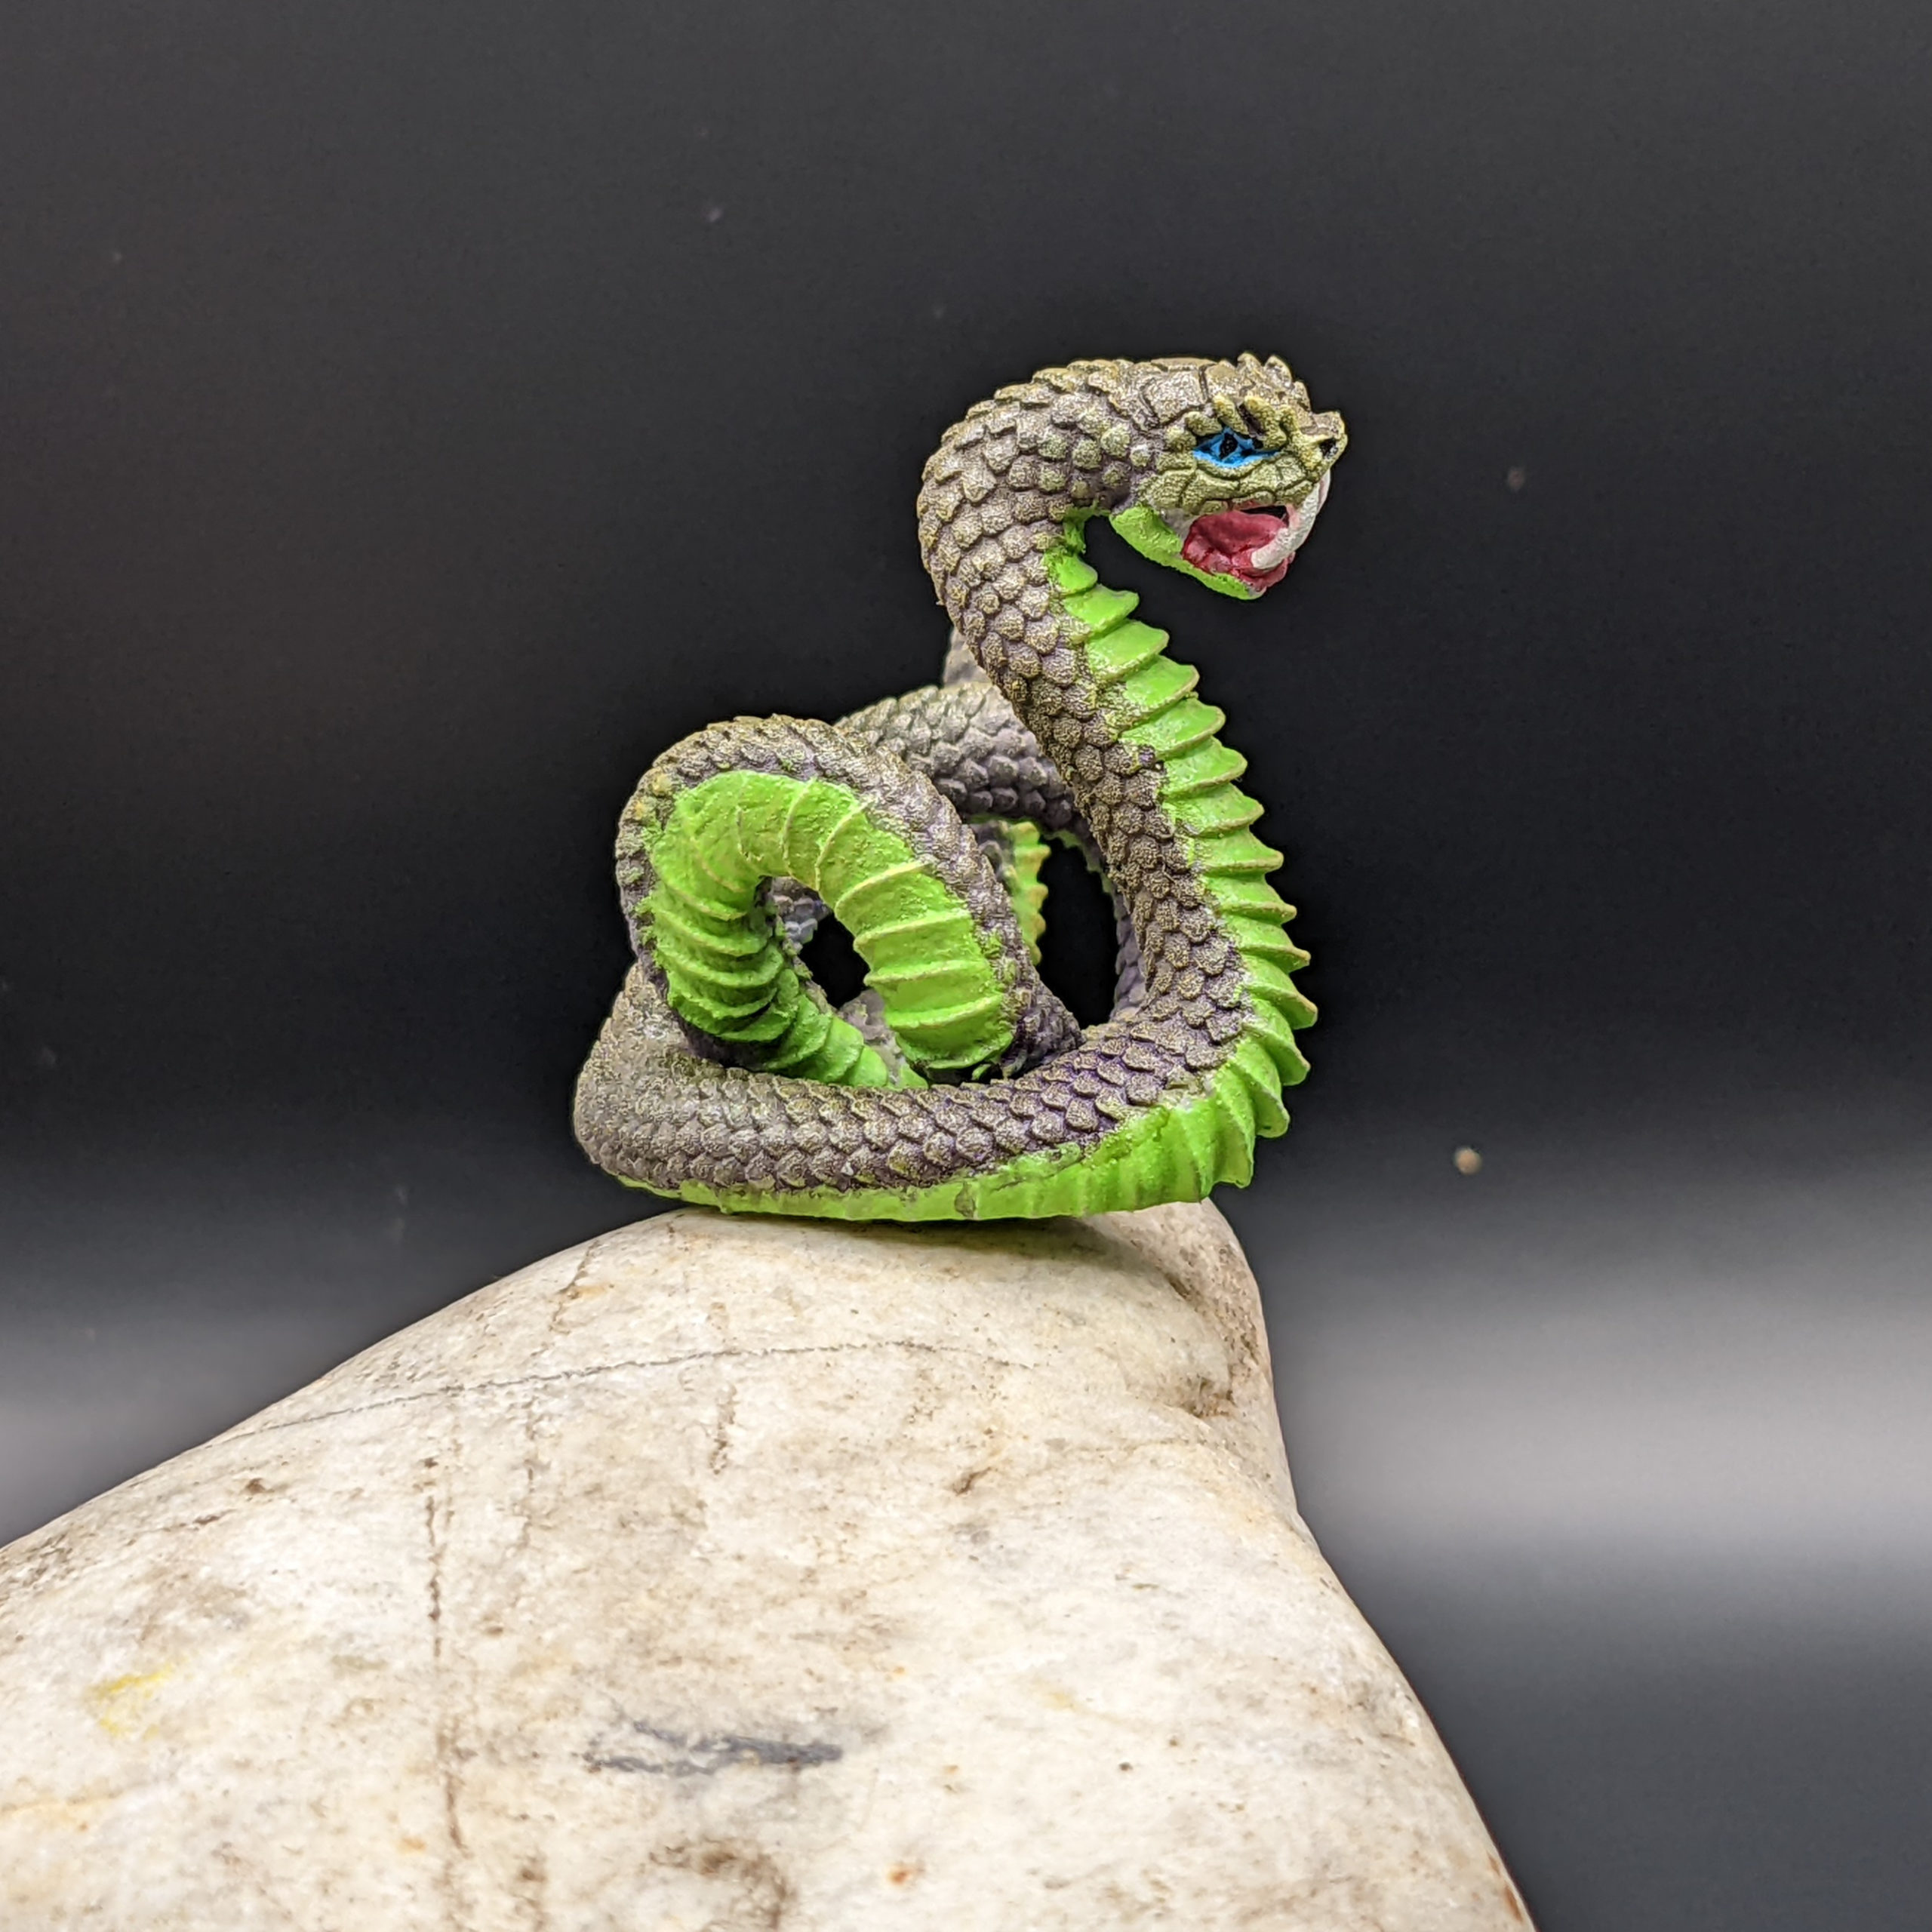
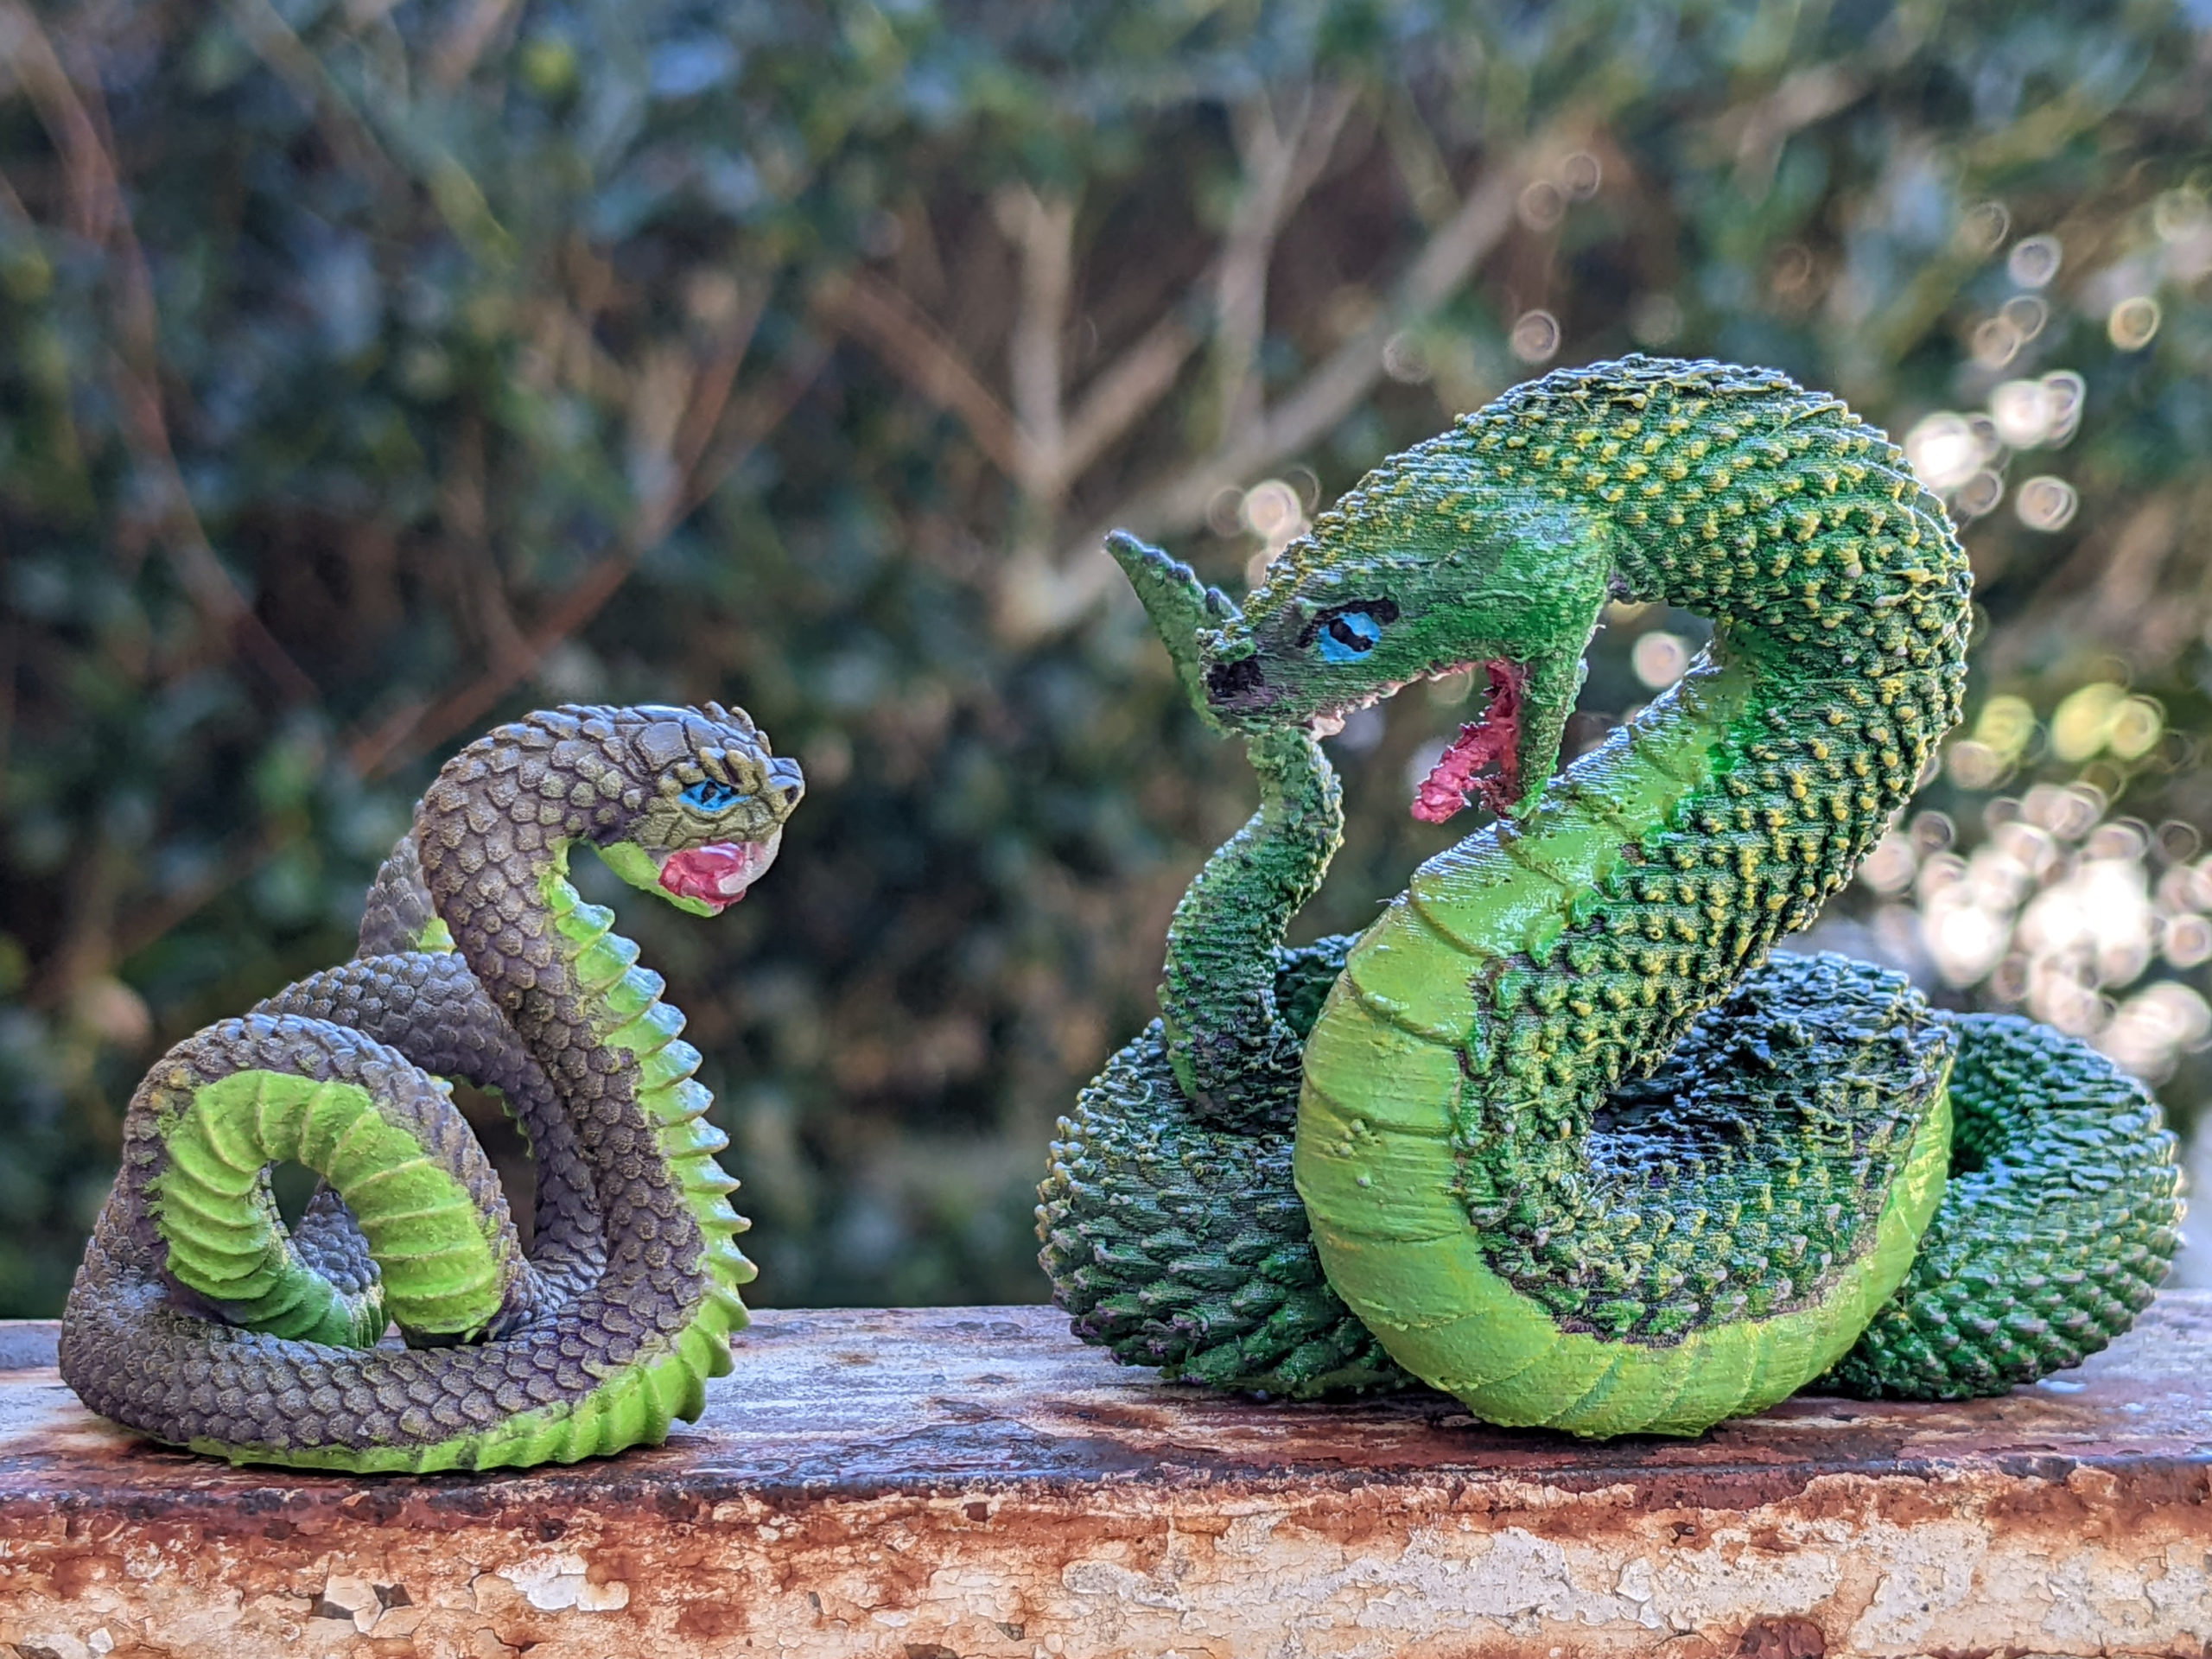
This is the final results of painting this “giant snake” miniature from Etsy seller Wondrousminiatures. The model was printed on a 3D (Resin) printer, which gives a much higher level of detail than I can achieve on my FDM printer. Compare this snake model to the one I printed on my FDM printer previously. It’s about half the size (1/4 of the volume) with better detail.
Follow along for the steps I used when painting this snake. Continue reading
Remember back when the handle fell off my glowforge? Or when the glass lid detached from the hinge? After the laser tube went out, I got a (refurbished) replacement unit, which has been working fine for a year. However, now the glass lid on my new (to me) replacement unit started to detach from the left rear hinge.
Continue reading
I got these raven sitting on skull minifigs from the Wildspire Miniatures Animals of Sol’an set, but singles are also included in the Hero’s and Animals set.
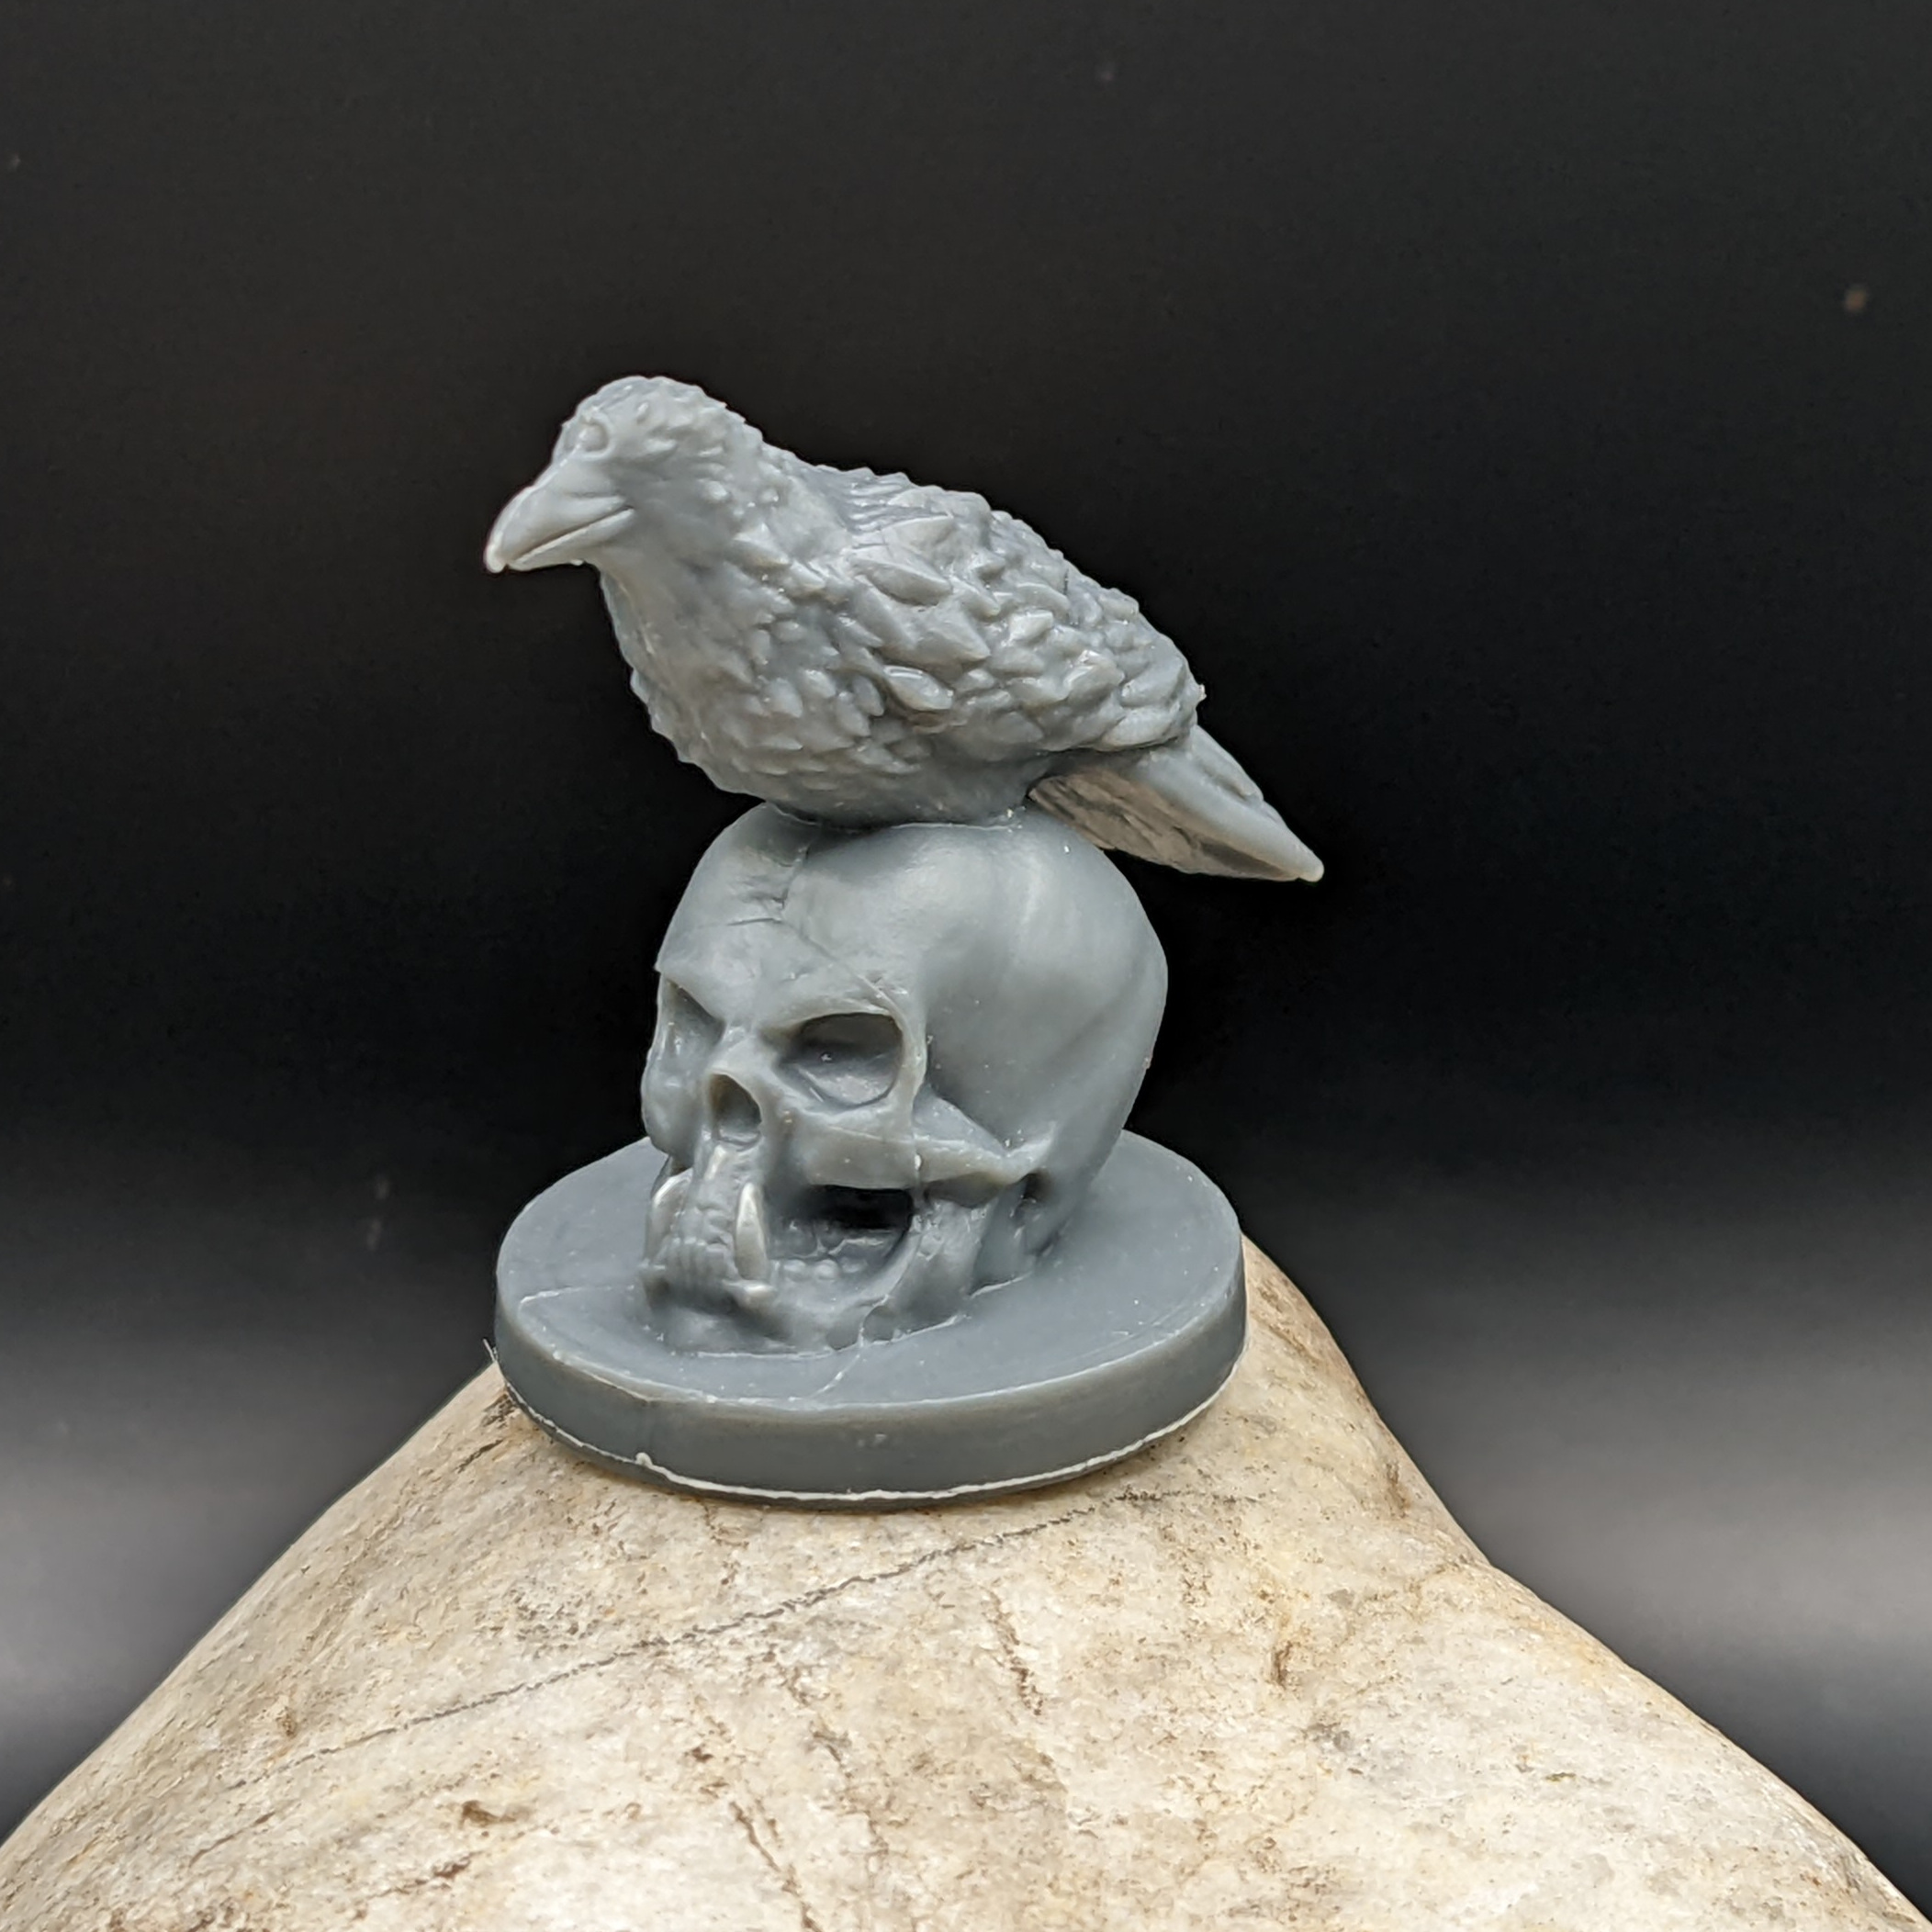
Here are the steps I took to paint the skull.
1. Prime black. I’m using Rust-Oleum 249846 2X Ultra Cover, but really, any flat black primer that sticks to plastic should work fine. Continue reading
I demonstrate how to paint four different color schemes for a crocodile or alligator mini-figure. I use a cream colored base coat on all 4 necks, a gray base-coat on the back of two figures, a dark green base-coat on the back of the other two figures. Then I drybrush one of each with either a black or a muted yellow for highlights. I also demonstrate red, black, and yellow eyes, and the mouth/teeth details, plus gluing flocking to the base.
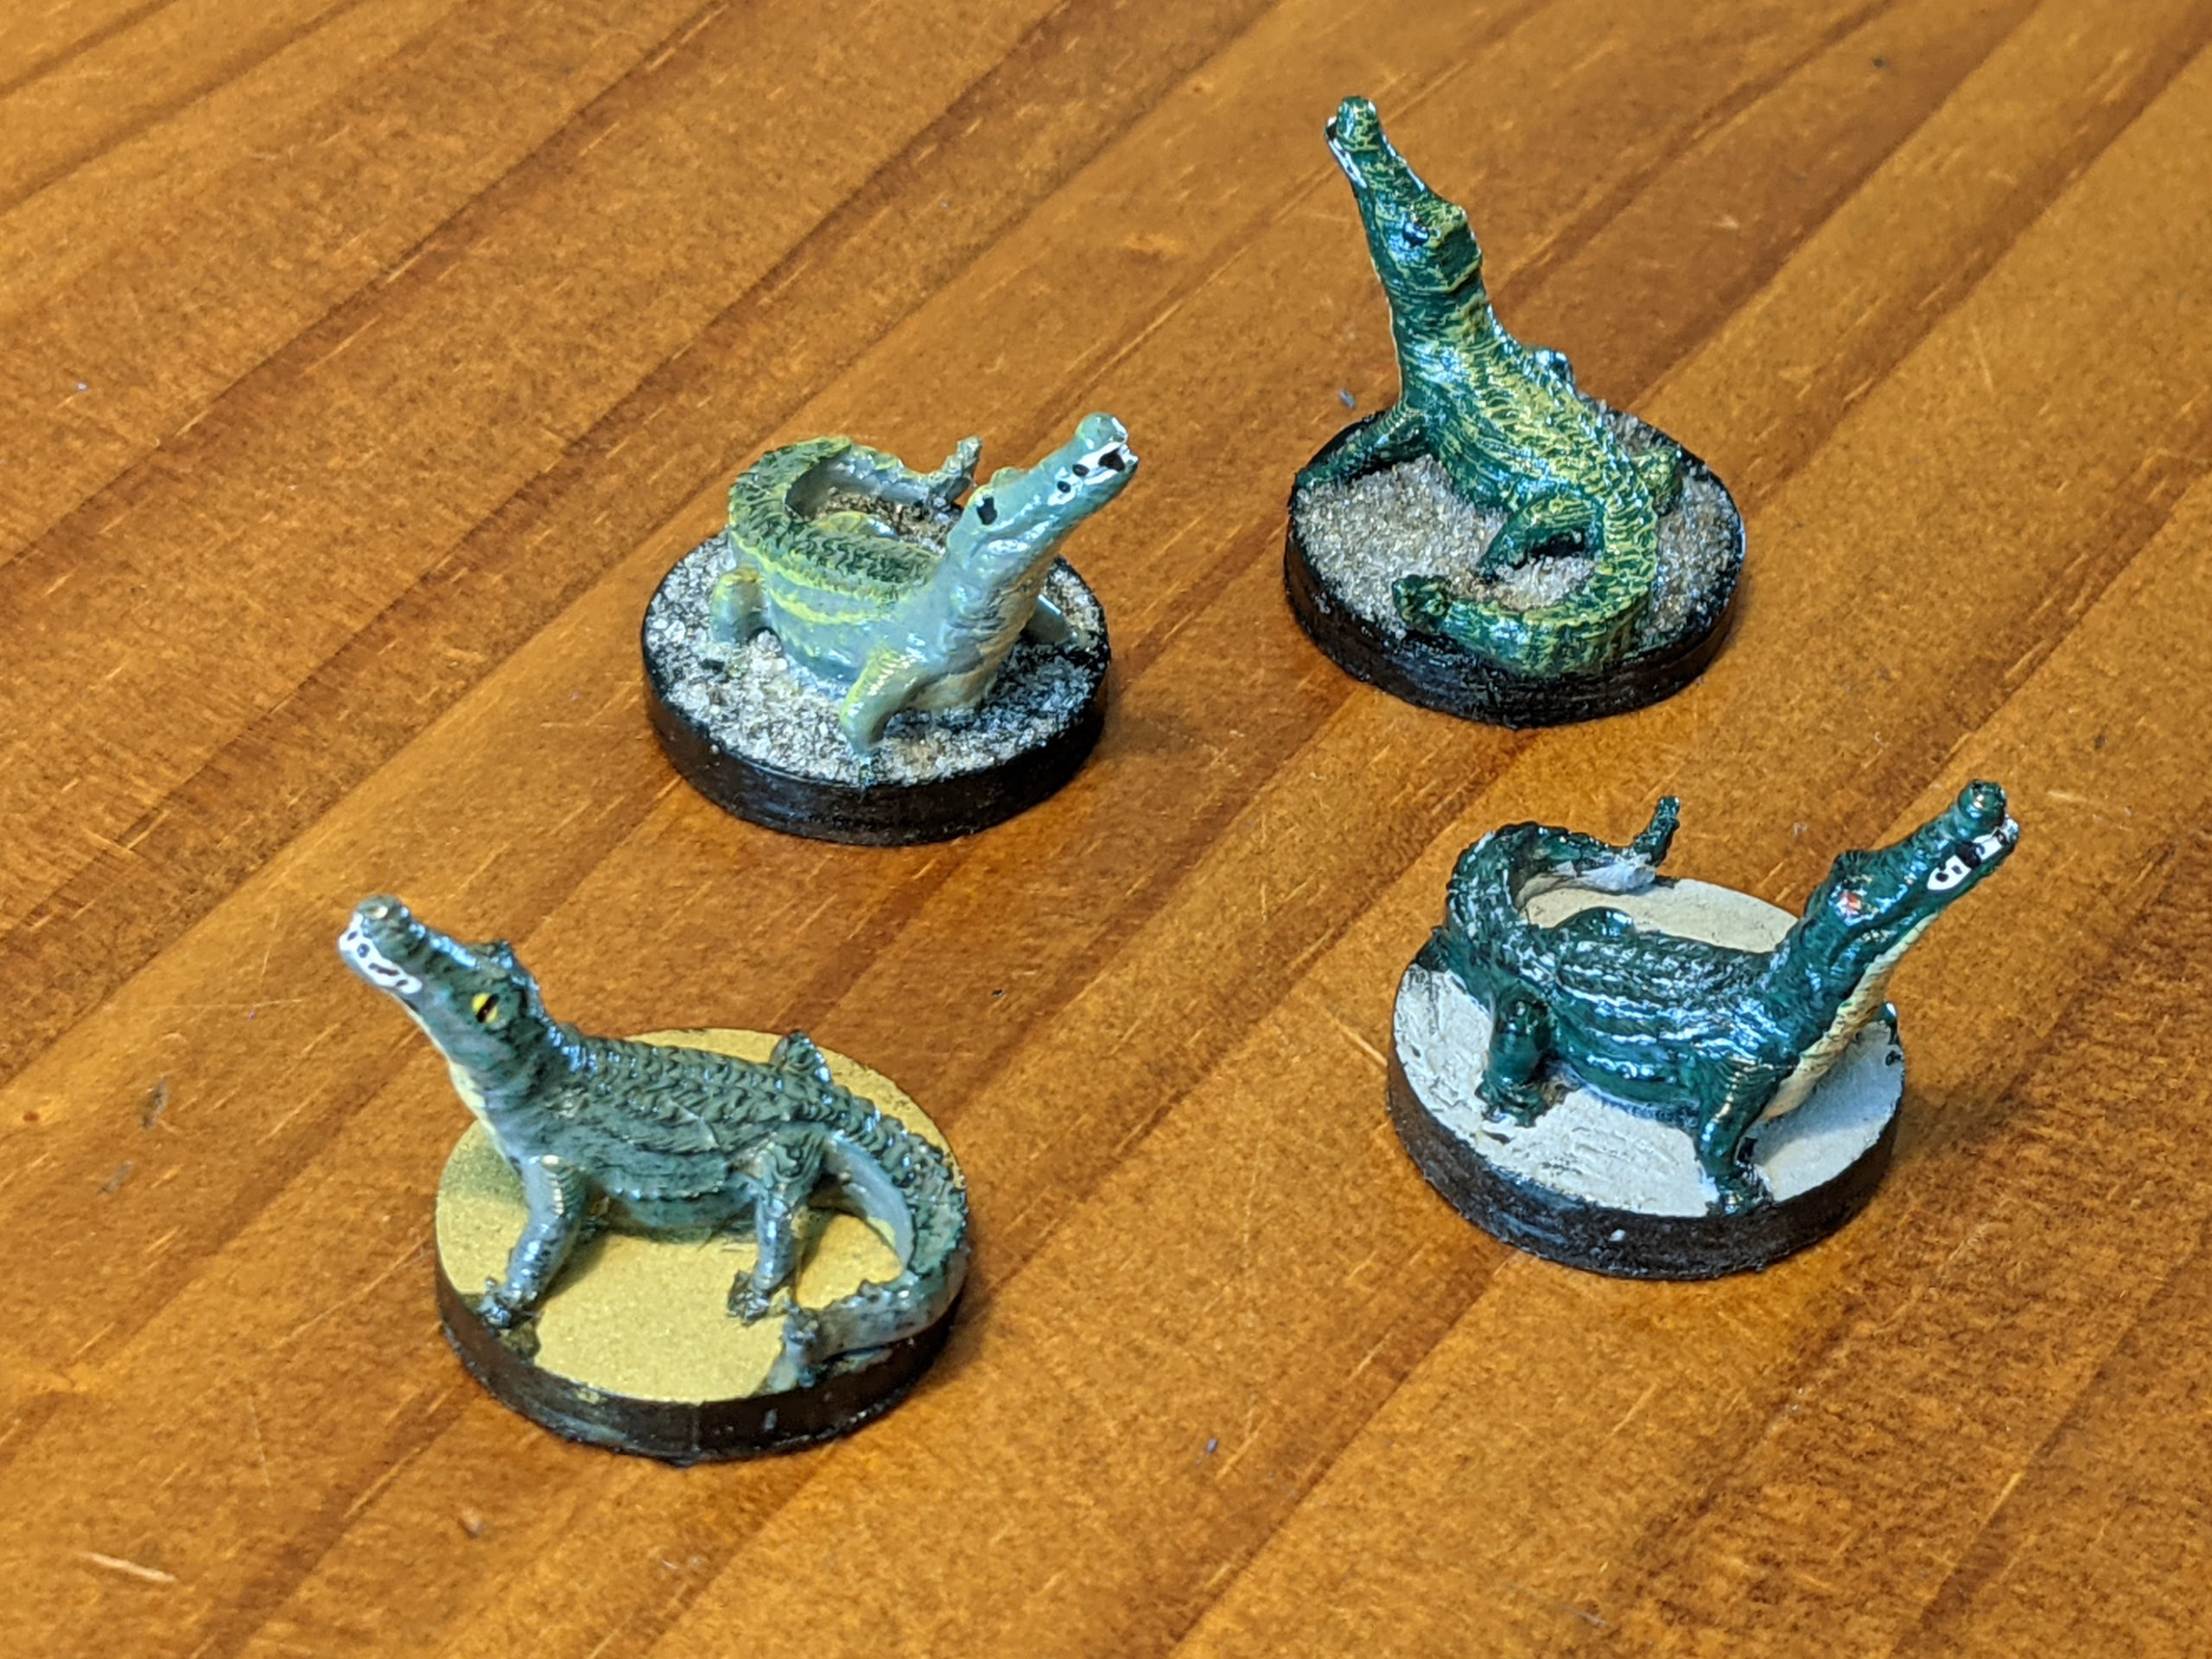
The figures were printed from a free model on Thingiverse by Mr. Stirling:
Swamp Alligator: https://www.thingiverse.com/thing:4165302
Items you may want to follow along (Amazon Affiliate Links):
Here is the quick technique I’ve developed for painting mouths and teeth at the tabletop miniature level of detail. First, mouths are very pink. I like this “baby pink” color, but you can pick any shade of pink that looks good to you. Paint the entire inside of the mouth, possibly even getting a small line around the outside depending upon the type of monster or mouth you are painting. I sometimes do this BEFORE laying down the base color of the rest of the face or body, as mouth interiors are usually one of the deepest parts of the model.

Then, water down some bright red paint (I like this “cherry cobbler” color)
Continue reading

I liked this dead tree model (Thingiverse # 4105303 ) so well that I printed two more and painted them different ways. It prints well even on my inexpensive FDM printer, and the layer lines add detail to the tree.
For my first attempt, I stuck with the “dead tree” motif from the model, using a black primer and gray for the base color.
Continue reading