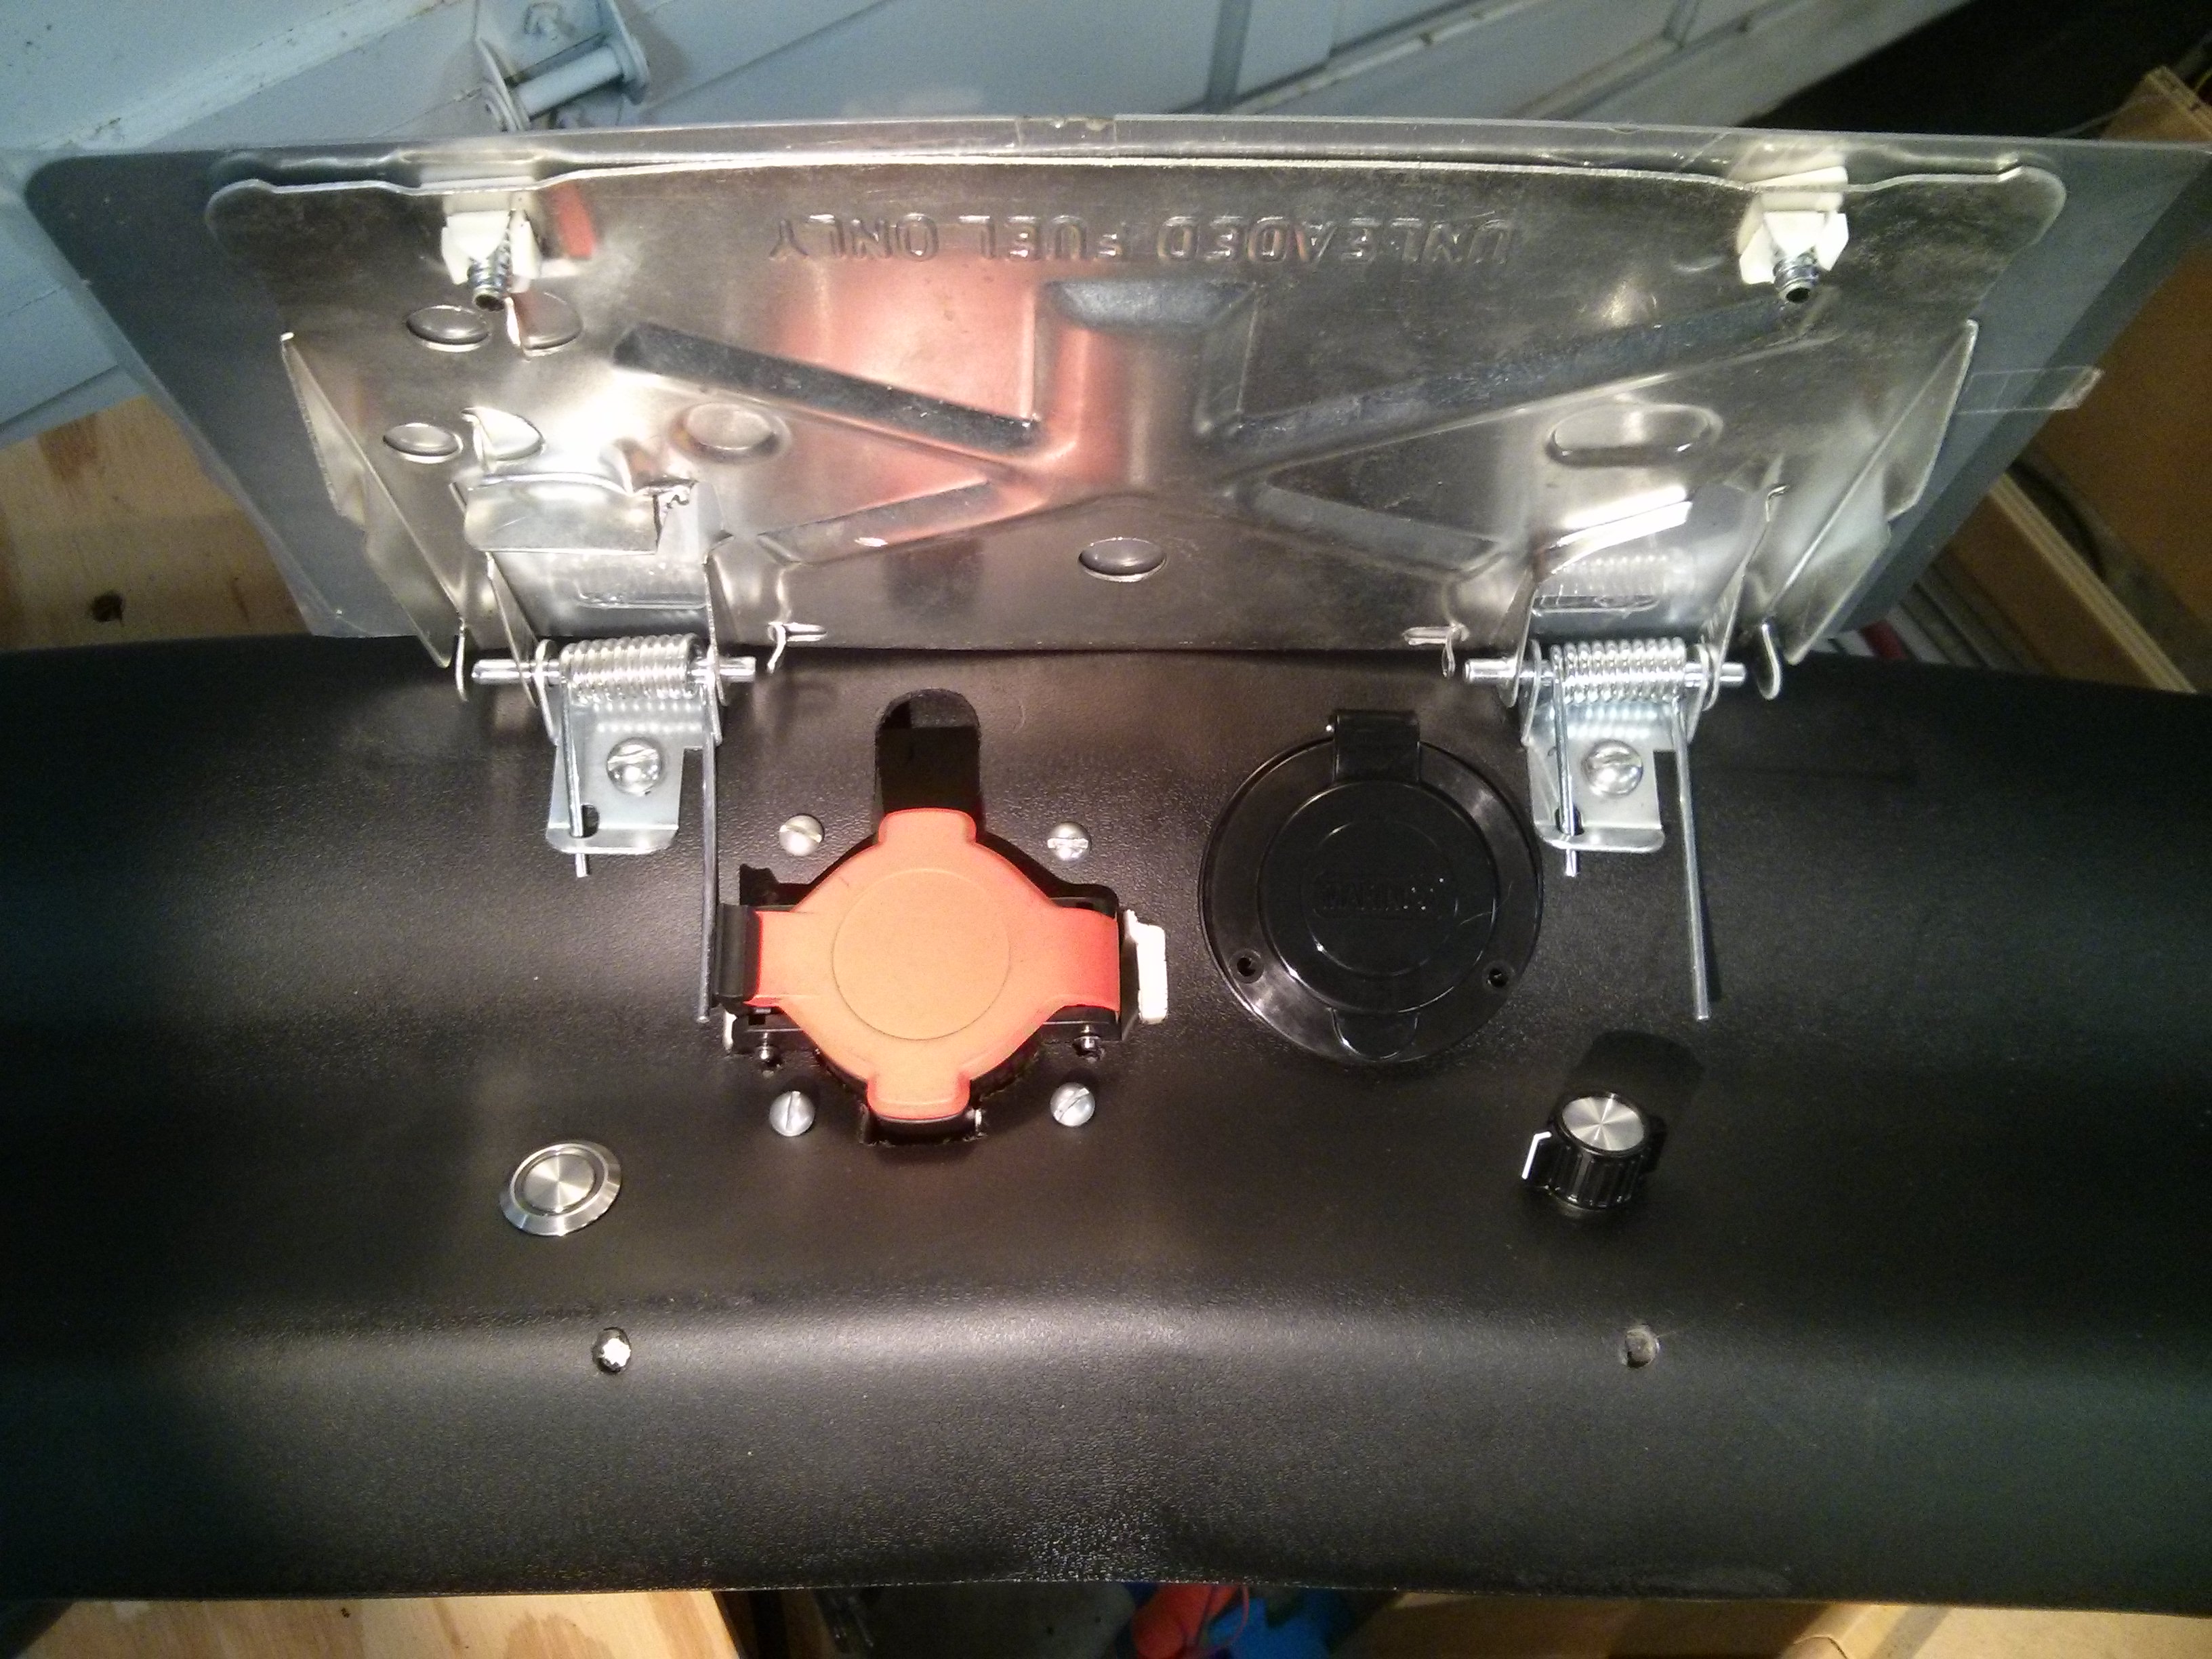
A few months ago I purchased a Ring video doorbell (along with a Chime Wifi announcer). This is a doorbell unit that has a video camera and motion detector built in, as well as the traditional button. It is powered either by your existing doorbell wires (if you have them) or via a rechargeable battery.

It requires a connection to your home Wifi access point to work, as well as a smartphone (iOS or Android) to be configured and make use of the “video” part of the video doorbell.
When somebody pushes the button, your smartphone gets a “video call” and you can see the person at the other end and talk with them (they can’t see you) from anywhere your smartphone has a network connection. It can also be set to send you an alert whenever the doorbell sees motion, even if nobody pushes the button.
If you have a wired doorbell already, and connect the ring unit up to your existing wires it also rings your existing hard-wired doorbell like a standard $5 button. If you buy the optional WiFi chime unit that plugs into a standard power outlet, it will ring that as well (just in case you don’t have your phone nearby while inside the house).
An optional added service is their “cloud recording” option, which costs $30 a year, and stores a video recording when it sees motion or the button is pressed. In my opinion, 90% of the “home security” value of the doorbell relies on this cloud recording option, so if you buy the ring video doorbell, plan on paying $30 a year (for each ring unit if you have multiple) as well. (Which is a lot cheaper than buying and installing your own video recording hardware.)
The benefits:
- I really like being notified when motion occurs at my front door. It can tell you when packages are delivered (most delivery drivers push the button, but some do not and are detected by the motion detection feature), or when a family member arrives home.
- The “video call” option can make it appear that somebody is inside the house, even when you are not. You can tell somebody that you are not interested, or to drop a package at the door, etc… (this can also be used to “greet” the visitor from within your own house without actually coming to the door, due to laziness or safety concerns.)
- Having a doorbell with an obvious “video camera” built in should help with home security, as long as potential burglars notice it, even if it’s not working.
- Having a video recording saved (offsite, in the cloud) every time there is motion near your front door is a very nice security feature. (This requires $30 a year subscription.) With this you can check to see if/when a package was delivered, even if you missed the initial “call” from the doorbell, as well as the obvious home security applications.
The downsides (areas for improvement):
-
- Motion detection can be overly sensitive, and not sensitive enough at the same time. The Ring unit has “zones” where you can turn on or turn off motion detection, and adjust the “range” of the motion detection. However, it uses passive IR detectors, which mostly detect movement of a heat source. My front door faces a street (about 50 feet away) and heat from moving cars will set off the Ring unless I turn all of the zones off except the one directly in front of the unit. And then, it will only detect motion from people if they actually step onto my porch. Even so, very hot vehicles (such as garbage trucks) will still trigger a motion alert. My motion sensitive lights do a better job of detecting people walking around without getting false positives from the road.
Ideally, you will be able to mount it such that a road is not in it’s field of view, even if the road is relatively far away from the front of the house.
- Motion detection can be overly sensitive, and not sensitive enough at the same time. The Ring unit has “zones” where you can turn on or turn off motion detection, and adjust the “range” of the motion detection. However, it uses passive IR detectors, which mostly detect movement of a heat source. My front door faces a street (about 50 feet away) and heat from moving cars will set off the Ring unless I turn all of the zones off except the one directly in front of the unit. And then, it will only detect motion from people if they actually step onto my porch. Even so, very hot vehicles (such as garbage trucks) will still trigger a motion alert. My motion sensitive lights do a better job of detecting people walking around without getting false positives from the road.

- The wifi/network connection is mostly fast enough, but not always. Typically I will get a notification on my cell phone within a few seconds of motion being detected or the button being pushed. However, sometimes this delay extends into the 10-30 second range, by which time whoever was there has already left. If you pay the $30 a year fee for “cloud recording”, you can go back and view who you missed, but you can’t actually talk with them. And on one memorable occasion when they were having problems with their servers, the Chime wifi doorbell announcer unit would “ring” about 10 minutes after the Ring doorbell was pushed!
- If the doorbell isn’t connected to existing doorbell wires driven by a low voltage AC transformer, you need to take it off the wall and re-charge it every few months. The battery life is quite respectable, even with the motion detection settings set to “frequent” it lasted around 50 days for me and if you turn the motion detection settings to “smart” it should last 2-3 months. But still, it takes 5 minutes to find the special security screwdriver they include in the package, take it off the wall and plug it in. (Also, you don’t have a doorbell for the 8 hours it takes to charge.) The phone application will notify you when the battery is getting low.
- It requires wifi to work. If your DSL goes down or wifi router is on the blink, your doorbell will not sound a chime. (Even though the Ring unit makes some noise and flashes a light when the button is pushed, giving the person outside the impression that the doorbell activated. (If you have it hard wired into a “real” doorbell it will at least ring the wired doorbell inside your house, even if it can’t notify your smartphone.)
Overall I’m happy with the device, and it works relatively well overall, but having it hard wired into a “real” doorbell would definitely improve things. I think that if you are replacing an existing (wired) doorbell button it would provide the best experience. Our house had a wired doorbell at one point in time (but it was replaced with a wireless doorbell before we moved in) so I’m hoping to re-wire the Ring unit up to a physical doorbell and low voltage AC transformer so that it will work as well as a regular doorbell even with networking glitches, and never need to be re-charged. The biggest win in my mind is having a cloud based recording of any motion near your front door.
Update 2016: After being installed for several years, I had an issue where the screws in the bottom of the ring got corroded, and “stuck” to the push in metal nuts inside the ring. when I tried to unscrew the doorbell to charge, the metal nuts broke free of the plastic. (This may be because the people who pressure washed the townhomes were were living in had used some type of chemical that wasn’t good for the metal.) The ring doorbell itself still worked, but it wouldn’t mount anymore. Ring customer support sent me a free replacement, which was very nice of them, as it was out of the 1 year warranty.
Update 2018: I came home one day to find my ring doorbell unresponsive. I thought it might be due to a low battery, so I charged it up, but it turns out that the problem was something else. Although it would accept a charge, we were unable to get it to “boot” up, or attach to a wifi network. Ring Technical Support walked me through the procedure to reset the unit to the factory default firmware/bootloader, but that did not work. Luckily for me, I had recently signed up for the Ring Protect Plus service, which includes extra warranties on the devices, so they sent me a replacement unit. The screws on the bottom of this unit showed some small evidence of corrosion, but it was not as bad as the previous unit and they did not get stuck.
All in all, the ring devices appear to be relatively robust, the technical support is top notch, and if you are signed up for the Ring Protect Plus plan the warranty coverage is very good.
Update 2020: I upgraded this unit to the 2nd Gen version and am happy with the improvements.