Ego 21″ mower (LM2100SP) self propel motor failure & repair report

After four months of ownership, around 40 hours of usage, the self propel motor unit on my Ego 21″ Self-propelled electric lawnmower (Model LM2100SP) failed. Before this failure I was very happy with its performance, and although it was repaired under warranty, the procedure took longer than I think was reasonable.

Ever since I purchased the mower, I have been monitoring the Ego community forums, and I knew that reaching a customer support representative would sometimes take extended hold times, and I had heard that taking a mower to Home Depot for repair could be an extended procedure, so when my self propel motor failed, I was relatively well prepared on how to handle the situation.

August 29th, 2017 – The self propel motor fails. I finish mowing my front lawn pushing the mower by hand (which makes me realize that paying extra for the model with the self propel motor was the right choice.)

August 30th, 2017 Time to call customer support. After re-charging the battery, and letting the mower sit overnight to cool, I tested it again (yep, still no motion) and then called Ego customer support early in the morning (to avoid a long wait on hold.). I only had to wait a few minutes on hold, and then a helpful customer support representative walked me through a few simple questions (yes, my mower blade would turn on and spin, so the battery was good, and the folding handle interlocks were correctly latched, etc…) to verify that the drive motor had actually failed.   After that, she “made a note in my file” and told me to take it to Home Depot.

What I wish she had told me: 1. Home depot will charge you a $20 deposit, just to look at the mower (and you authorize up to $150 worth of repairs upon drop-off). They will refund this deposit to you if the work is covered under warranty (mine was).   2. You can only take the mower to a Home Depot that has a tool rental / repair clinic (call first to check). 3. The Home Depot repair clinic doesn’t have their own EGO batteries for testing, so be sure to leave your battery in the mower. [This makes sense in hindsight, but I was hesitant to leave 7.5 AH battery that costs $400 to replace at HD, so this required me to make a second trip back to HD with the battery a few days later.]

Also, after talking with her I received an email from Ego that stated my “case had been closed” (this is the case associated with the phone call to Ego only…but the wording of the message didn’t inspire confidence.)

Because I had heard horror stories about the Home Depot repair clinic taking a long time to repair EGO mowers, I made sure I called them every week to check on the status of my mower, just to make sure it hadn’t fallen into any cracks. I also posted an update every Monday on the ego customer forums, which may have also helped things behind the scenes.

Sep 18th 2017: They are still checking on the mower, but the HD technician felt that they could repair it locally instead of shipping the mower to Atlanta.

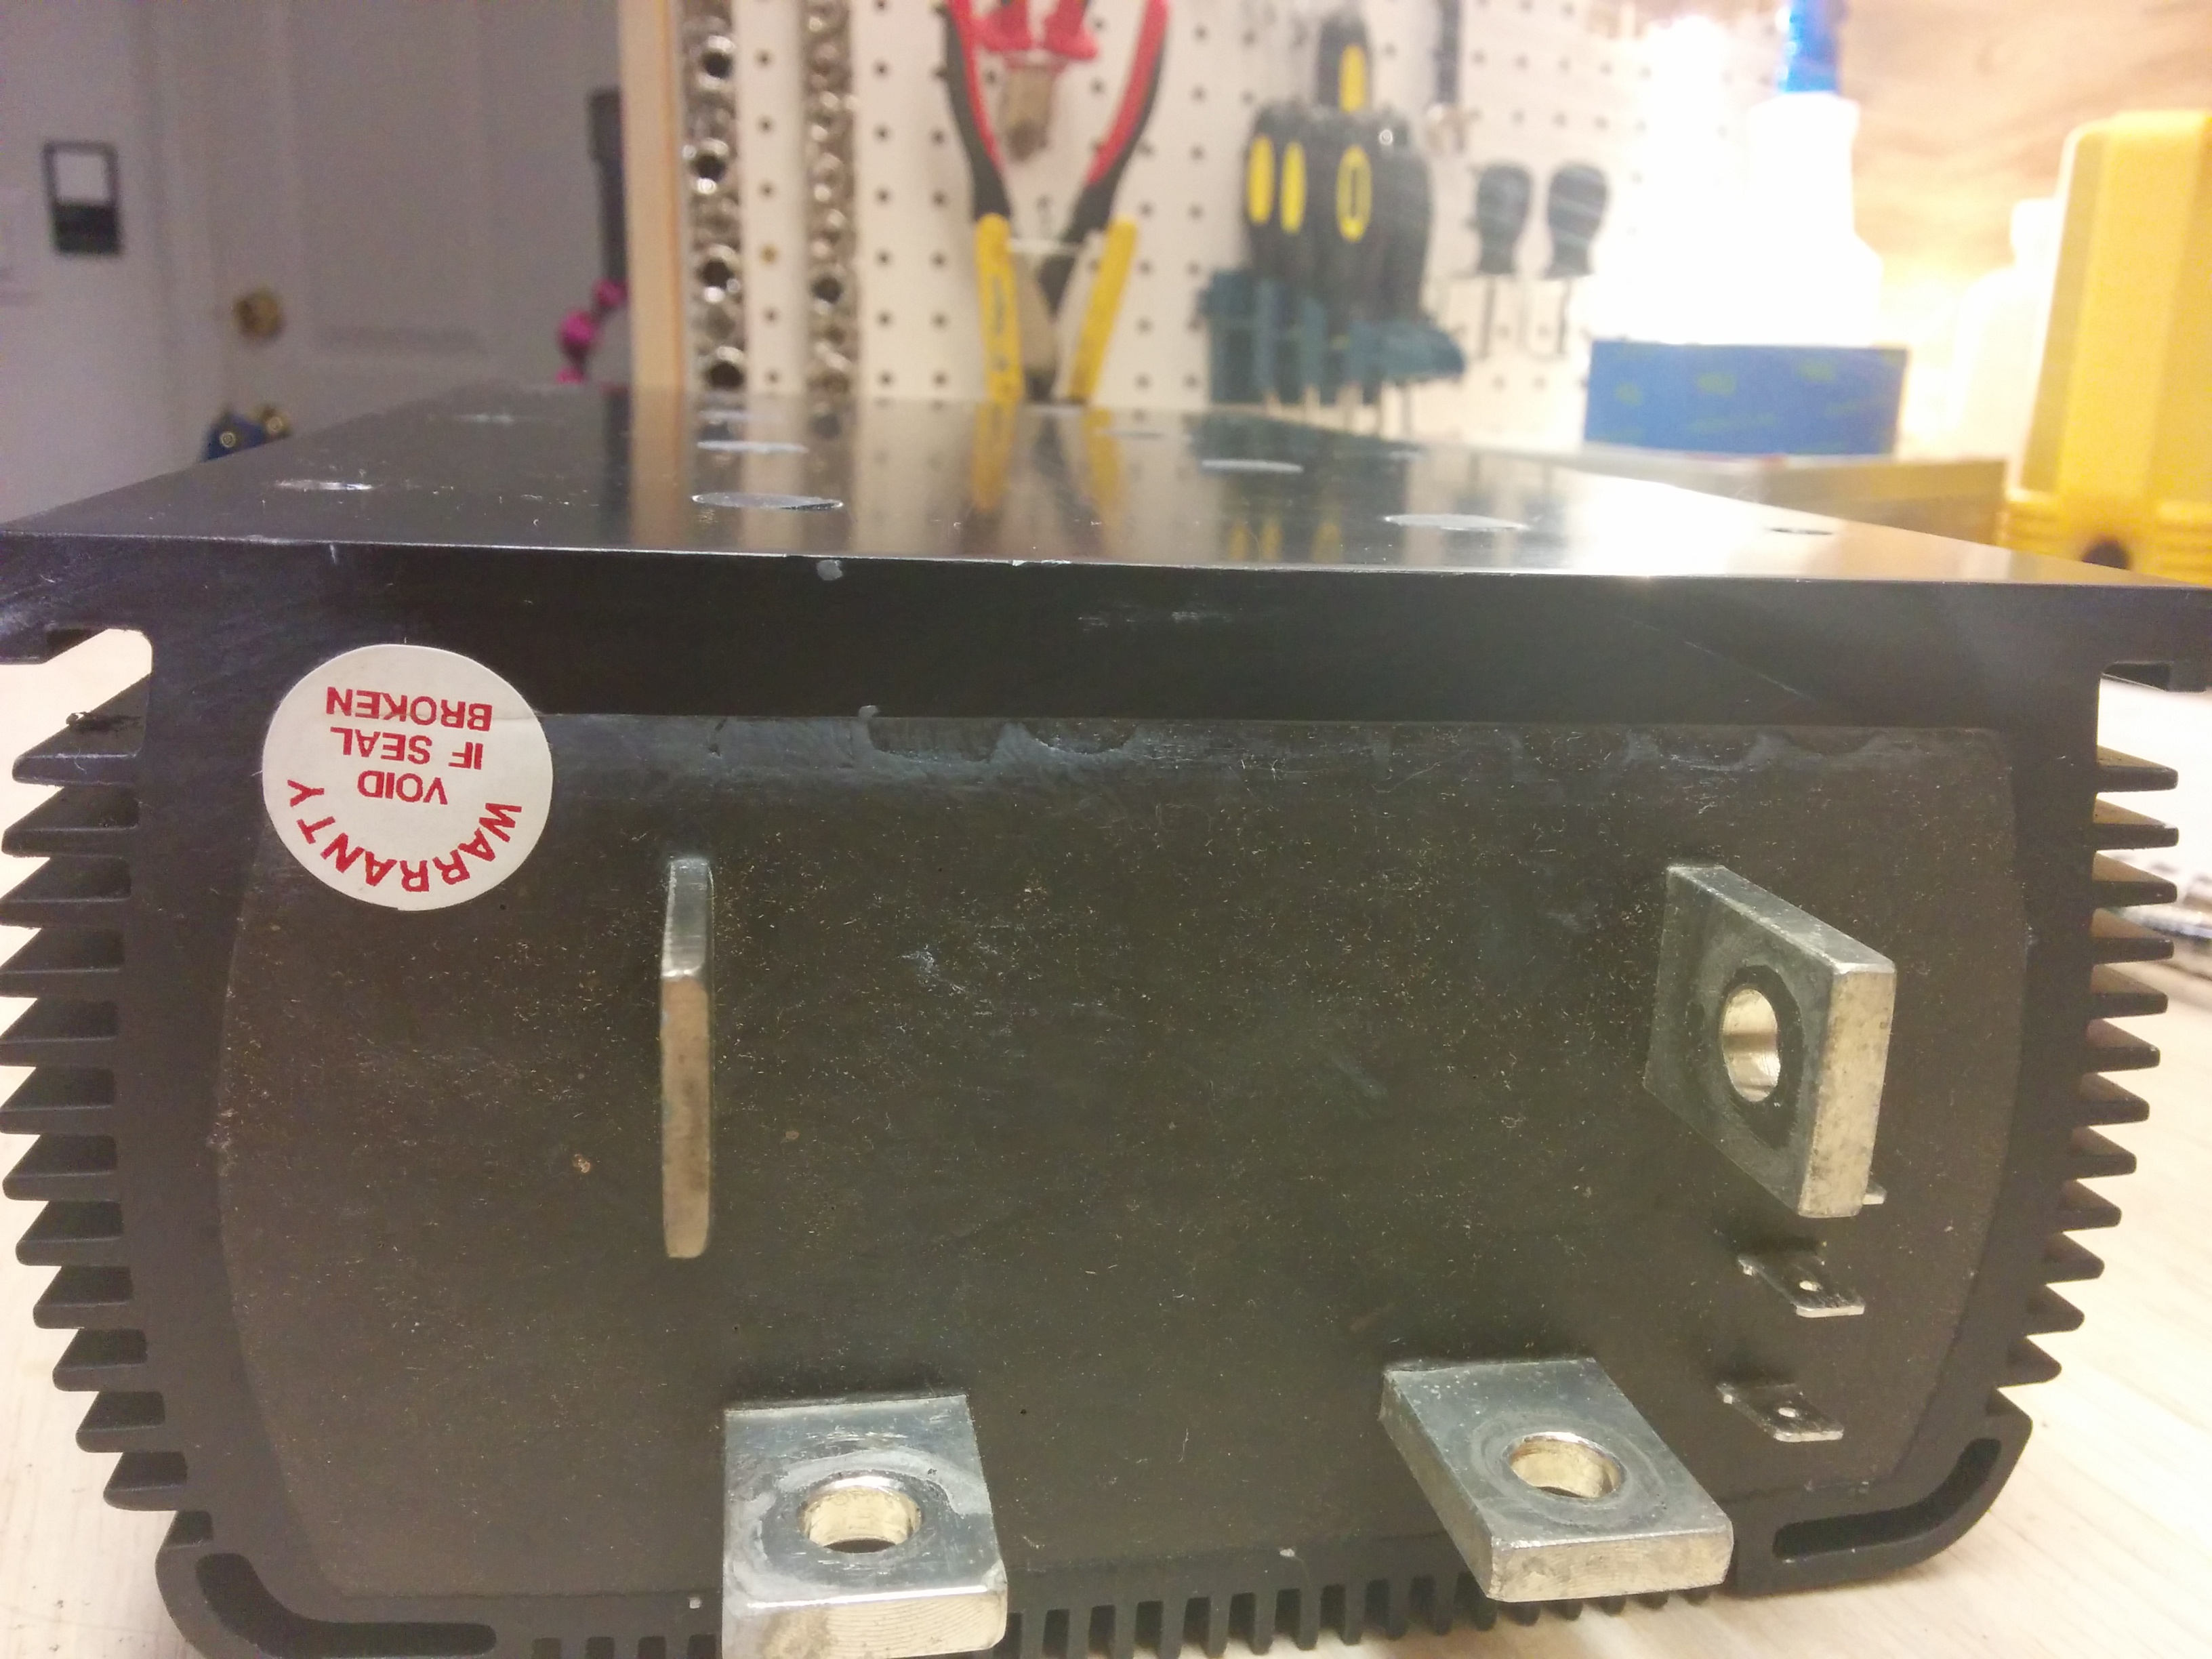
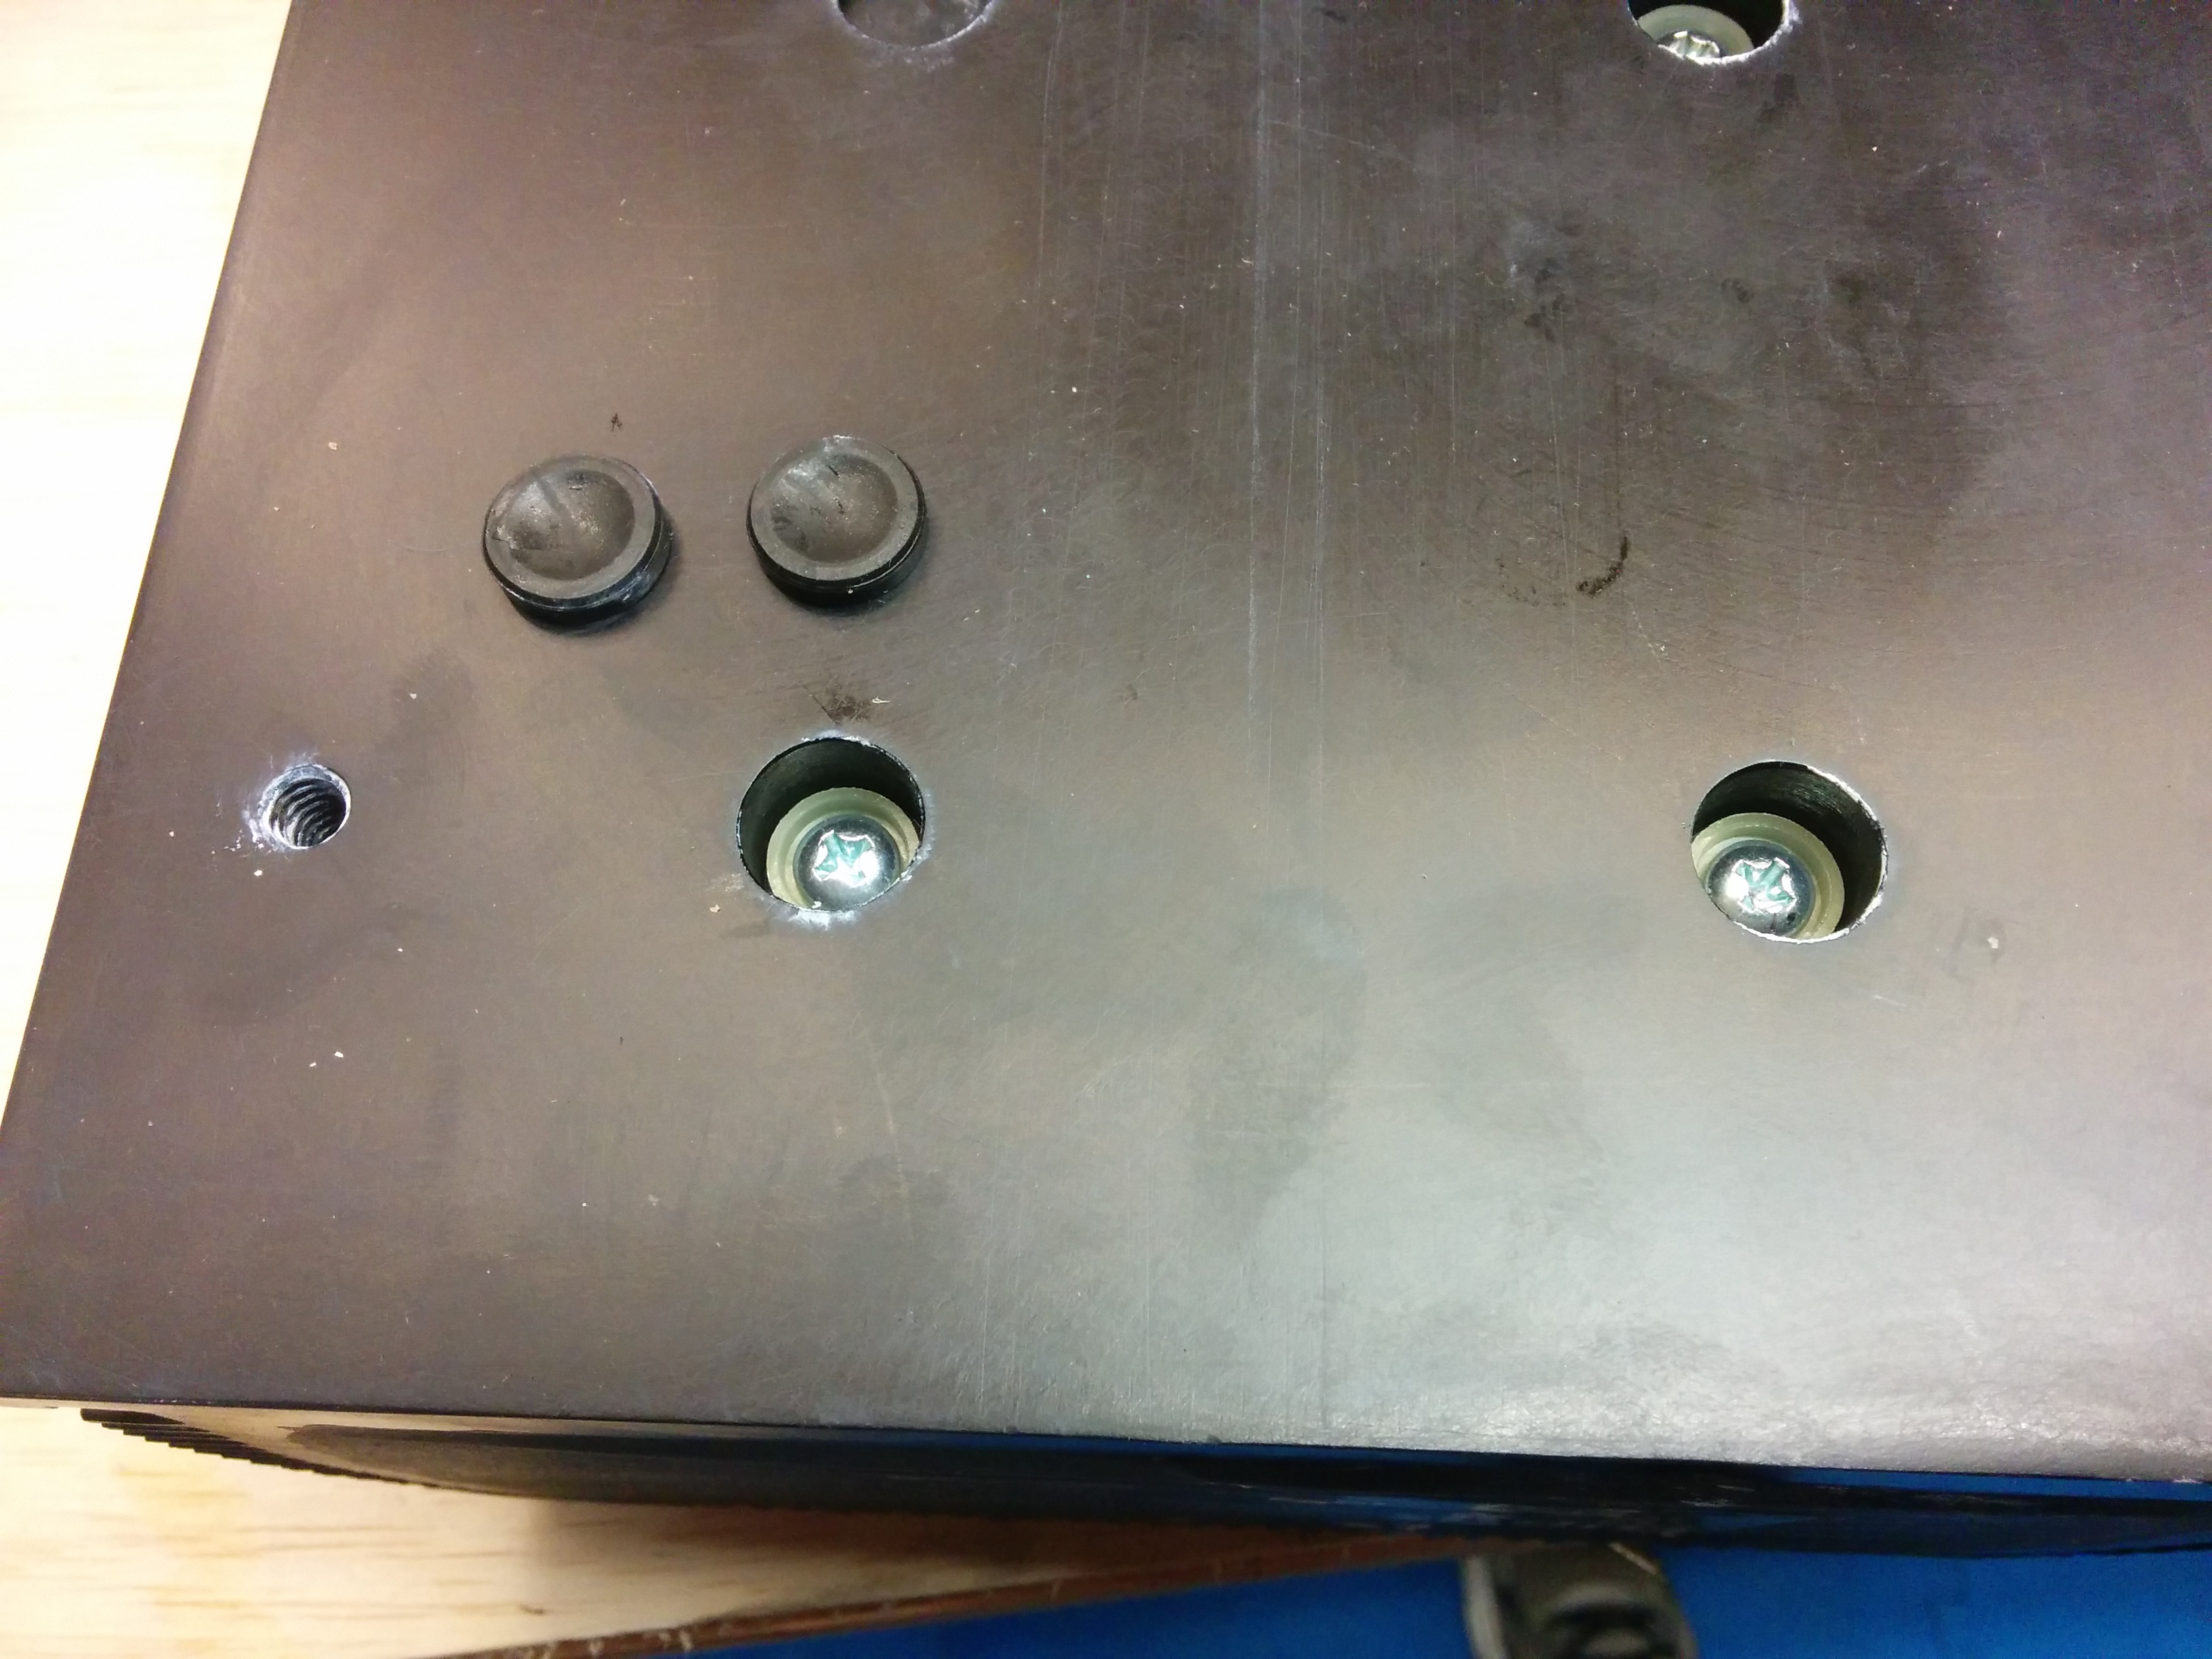
Sep 25th 2017: In progress, waiting on a part which usually takes a week or two (presumably the motor/gearbox unit).

October 2nd 2017: HD is still waiting on the part.   [After this update to the Ego community forum, April from EGO said that they were tracking the shipment and that the part should be arriving at the HD store within a few days.]

October 9th 2017: HD claims to still be waiting on the part.   [I mentioned this on the Ego community forum.]

Finally, on Thursday night (Oct 11th), Home Depot calls me to tell me the mower is ready for pickup. Because the home depot with the repair clinic   is 12 miles away from me, I delay pickup until Saturday.

So, it took Home Depot / Ego about five weeks to get my mower repaired, and this was with me keeping on top of Home Depot and making sure that Ego knew what was happening at each step. Reading several other reports on the ego community forum makes me believe that my experience was actually on the faster side of things, as 8-10 week delays are not unheard of if the mower gets shipped to Atlanta for repairs.   I paid $180 to a lawncare company and took a break from mowing my yard, but there are at least three other options to keep mowing if you find yourself in this situation.

Take advantage of Home Depot’s 90 day return policy

Many others in the Ego forums have bought another Ego lawnmower and used it while theirs was in for repair, returning it under HD’s 90 day return policy once their mower was repaired. I felt that this action would be ethically questionable, but after waiting five weeks for HD to repair my mower, my ethical resolve is beginning to weaken, and should the mower fail again, I will seriously consider this option.

Buy a second mower

I did consider buying a second Ego mower (and keeping it), mostly as a way to purchase a second 7.5 Ah battery (it is almost as cheap to buy the battery and mower together as to buy just the battery, plus you get a “hot spare” mower). Other than the fact that you have to store the 2nd mower, this does have certain advantages. If one mower fails, you can just switch over to using the second mower while the first is in for repair. And, you get the advantage of having twice as many batteries and chargers.   Unfortunately,   at the time Home Depot was not offering the same $50 discount on the mower as when I initially purchased mine, otherwise I may have done this.   [My wife points out the questionable logic of using the failure of a product to justify the purchase of a duplicate of the same product…]

Burn hydrocarbons

Of course, you could also buy a cheap used gas mower and several gallons of gas for less than the $180 that I paid for lawn care service, and probably be able to resell it at almost the same price you paid when finished.

Final Recommendation

Due to the fact that my self propel motor failed after 4 months of ownership, combined with a 5 week repair time, I can’t recommend the EGO electric mower to everyone. At least with a gas mower your options for repair are numerous and much faster. However, if you have decided that you will be going with an electric mower, I still think that the Ego line has the best performance. (I have also posted a review of the mower.) I also own the hand-held leaf blower and chainsaw from their Power+ line, and have been quite happy with them.

Update:
The new self propel unit installed by Home Depot   failed again (after 9 more months of usage) but I’m much happier with how Ego handled the warranty repair (via a direct replacement), which you can read about here.

2nd Update: Ego has started to produce updated 21″ SP models that have a new self propel unit that matches the one found in their dual battery (premium) mowers. Look for a picture of a phone on the box (see this video for details: https://www.youtube.com/watch?v=JtLkT5X4MQw )

3rd Update: My self propel unit failed a 3rd time, but this time the replacement I got looks different, so I think I may have the new model now!

Which toilet cleaner to use?

The local dollar general sells toilet cleaners with 3 different active ingredients. From right to left:

  1. 9.5% Hydrocloric Acid (Lysol POWER)
  2. 1.2% Hydrogen Peroxide (Lysol with HydrOgen perOxide)
  3. 2.4% Sodium Hypoclorite (Clorox Clinging Bleach Gel)


We get our water from a well, and it has enough iron in it that we build up rust deposits in the toilet, so that is the primary cleaning challenge. I didn’t clean the toilet for a month to make things stand out in photos better (“No Dear, I can’t clean the toilet because of SCIENCE!”) And then I gave each product a chance on 1/3 of the bowel. (NOTE: I was sure to rinse one product out of the bowl before testing a different one to avoid bad interactions! Both the hydrogen peroxide and acid specifically warn you to NOT mix with any type of bleach. I also ran the bathroom fan continuously and stayed well away from the room while letting them sit.)

Before cleaning

Presented in order of their effectiveness:
Continue reading

Dual hose portable AC window adapter & Whynter ARC-14SH review

I found a good deal on a used Whynter ARC-14SH dual hose portable air conditioner and have installed it in the storage room off my garage. If I leave the door open it can help cool the rest of the garage, or if I close the door, it can condition the air in just the storage room quite easily.

I wanted something a little more permanent and secure than the included plastic window adapter kit, so I cut a piece of 1/2″ plywood to fit inside some convenient pre-existing slots in my single hung window, attached the hose end-plates to it and painted it with exterior paint.   The board fits into the window just inside the existing screen, so I don’t have to worry about bugs getting into the inside of my AC unit. Here is a video montage of building the window adapter.


I was considering a window mount unit, but this portable unit gives me the flexibility to mount it inside the garage later (venting out the ceiling to the Fascia) or wheel it into the house to use to cool a single room if the main AC goes out.   Obviously, having outside and hot exhaust air cycle through two hoses inside the conditioned space is slightly less efficient than a window unit, but it’s much better than a single hose portable AC unit, which will cause outside air to slip into your building as it exhausts it’s waste heated air. It also presents a cleaner look on the outside of the window. (It does take up more floor space inside the room however….)

The EER rating for this unit is 11.2 according to the Home Depot website.   A comparably priced 14,000 BTU Energy Star window air conditioner from GE has an EER rating of 11.8, so from an efficiency standpoint the portable dual hose model isn’t terrible.

The unit draws a maximum of 10.5 amps, and appears to hover around 1050 watts when the compressor is running and 45-65 watts to just run the fan, depending upon what speed the fan is set to. I usually leave the fan on low if only cooling the storage room, and turn it to high when cooling the rest of the garage. The compressor is at least as noisy as the fan in “high” mode, so don’t expect “low” mode to be quiet AND condition the air at the same time, although you can run the unit in “fan only” mode if you just want to circulate air.   The unit is a bit noisy (56 dBA). This is not bad for a workshop, but could be an issue in a bedroom or media room. (In comparison, a nice mini-split ductless AC unit usually runs closer to 34 dbA.)

In AC mode it uses the collected water to evaporatively cool the hot side, and exhausts the humidity with the rejected heat, so in my experiance doesn’t need to be otherwise drained. (This hot moist exhaust air is another good reason to paint the entire adapter board with exterior paint.)

If you run it in “dehumidifier” mode (where it attempts to remove water vapor without putting too much energy into cooling) you are supposed to vet the exhaust air back into your conditioned space to prevent “cooling” from happening. (Living in Florida, this probably isn’t an issue for me….). But, you also need to remove the collected water. Because this is primarily an AC unit, it doesn’t have a large water reservoir, so to use it effectively as a dehumidifier, you will NEED to rig up a permanent drain hose of some type. And, because the drain is located about 2″ above the floor, you may need a pump system unless have have a conveniently located floor drain nearby.   I haven’t tested the heating mode, but according to the manual it has one that will work with outside air down to 45 °F. It also has some timer modes to turn on or off after a set number of hours which I also haven’t used yet.

Amazon Dash Wand

Amazon is running a promotion where you can buy an Amazon Dash Wand with Alexa for $20, and get a $20 credit on your account when you register it. (So if you are a prime member with free shipping, you get a dash wand for $1.30 in taxes.) It’s basically a handheld wifi enabled barcode scanner with Alexa voice input designed to get you to buy more stuff from Amazon.

The wand arrives in a small blue and black box, and is half white and half black. The black end shrinks to a rubber ring so that you can hang it up on the included sticky hook, and it has magnets hidden inside so you can stick it to your fridge.


To install the two AAA batteries (included in the box) the quickstart guide says “Open the Amazon Wand by pulling the two halves apart” when it should really say “Get two strong guys to play tug-of-war with your wand until the two sides pop apart”.

It requires you to have the Amazon app on your phone to pair the Wand with a (2.4 Ghz only) Wifi Network, which also links it to your account. After that, you can use the wand by pressing the button. A red light shines out the end, and if you point it at a barcode, the item will magically appear in your Amazon Shopping cart. (No wonder they are practically giving them away…)   You can also press and hold the button to talk with Alexa, to, for example, add an item to your cart that doesn’t have a barcode by voice.

Amazon music is not supported on the device (I suspect playing music would run the AAA batteries down too quickly, plus the single speaker isn’t exactly high quality), but some other Alexa skills are, so you can check on the weather or play colossal cave (although you have to push and hold the button every time you want to issue a command).   Home control commands (such as HUE lighting) is supported, so this could make a good secondary control device for a smart house. Messaging with Alexa is NOT supported. (Which is a pity, as it’s ALMOST small enough to wear like a   combadge.)

For a teardown, see this link.

T-Mobile DIGITS (android) app review

T-Mobile is offering a beta program where you can sign up for “Virtual” phone numbers, and/or use one number on multiple devices.

Basically, it’s a VOIP service that allows you to have one main (sim card) number on a device, plus one or more “virtual lines”, and then use their VOIP application (called DIGITS) to log into your account on any device and make/receive calls and send/receive SMS/MMS messages.

By default it allows you to “use minutes” to call in or out on your “virtual lines” which means that it redirects voice traffic over your regular phone number so you can use it even if your data service isn’t the best, (which would solve the “bad quality” VOIP issues I’ve seen with Freedompop), and it always sends messages via data. But, you can tell it to “use data” for voice calls, and go full VOIP (for example, on a wifi only device).

A select few Samsung phones have software built in that handles the virtual lines and VOIP calling, but for all other phones, you have to install the T-Mobile DIGITS application.

The concept is good, and the service works as it is supposed to, but the DIGITS application itself (at least as I tested it on a Nexus 6) has a few issues.

The first issue is that it burns through data like it’s streaming video. I’d accuse them of ex-filtrating data off my phone, except I don’t have anything valuable enough for t-mobile to try and steal. I suspect the application just has a bug somewhere that makes it check in with servers much, MUCH more frequently than it should.

For example, when using the service for a few days away from wifi, I racked up 320 MB of data, while IDLE. (T-mobile gave me extra data when I called to report this behavior, but I can see why it’s still in BETA).

Also, it refuses to work unless you have location services enabled. I guess this could be an enhanced 911 liability issue where they want to be sure to be able to give an accurate address to police if you call 911, but I already had to enter in my E911 home address just to activate the application. It seems like they could ask for permission to turn on location services if needed, and then NOT turn them on unless you called 911, as this drains the battery.

In addition to powering up your GPS all the time, the application itself uses a lot of battery power when idle in the background. (note, the graph below is just the application usage, and does not include the extra power sent to the GPS chipset to be always active…)

When you are using more data and more power than the Google App while sitting in the background idle, you know your app needs to go on a diet.

In summary, multiple virtual lines is an interesting and useful concept, but until the DIGITS app doesn’t kill your battery life and suck down your bandwidth when idle, I think a dual sim phone is a better solution for two phone lines.

Curtis 1231C-8601 500A PWM DC Motor Controller teardown

After replacing the Curtis 1231C-8601 motor controller that had failed, I opened the case up to figure out what had failed.   The controller hardware is inside of an aluminum extrusion with both ends “potted” with some black semi-flexible material (hard silicon perhaps?) that could be cut using a razor knife and a lot of effort.


Inside, there is a Pi shaped piece of aluminum extrusion that acts as the heatsink for the MOSFETS and freewheeling diodes, as well as being electrically connected to the motor – terminal. It is held against a large thermally conductive, but electrically insulating pad, which separates it from the controller case, but allows heat to be dissipated. It is held in place with 8 screws that pass through insulating plastic brackets into the bottom of the case.

People online had told me that these screw holes were “potted”, but on my controller they were just filled with two rubber plugs.They also told me that you could not cut through the Curtis potting material with a razor knife. [This super hard potting material was also prone to cracking at the edges and letting moisture into the controller, so a flexible rubber like material is better anyways…]

Continue reading

Current imbalance with dual chargers – TSM 2500 / EVCC

AvsBchargers

This graph shows the temperature (in C) of my two chargers, as well as the watts of power they report providing over time (in minutes) as they charge the Nissan Leaf battery pack in my truck.

For the first 23 minutes of the charging session, both chargers are putting out 12.5 amps (at around 129.5 volts) or around 1600 watts. The 12.5 amps is limited by my MaxC (maximum current) setting of 25 amps total by the Thunderstruck motors EVCC (Electric Vehicle Charge Controller). So in the first 23 minutes, the amount of power drawn is limited by the chargers.

From the 23 minute mark until the end of charging, the battery bank begins to accept less than 25 total amps (because the cells are getting charged, and the pack voltage is getting closer to the MaxV (maximum voltage) that the chargers are putting out.

So for example, at minute 32, charger A is still supplying 12.5 amps (1600 watts), but charger B has dropped down to supplying around 4 amps (500 watts).   (The difference in power output also has an effect on the temperature of each charger, shown in the yellow and blue lines…) I have been having overheating issues causing my chargers to shut down, hence the detailed logging….

My hypothesis is that the power difference is due to one charger providing a slightly higher actual voltage (e.g. it’s voltage sensor reads just slightly less than the other charger) so although they both claim to be limiting voltage to 129.5 volts, one of them is actually putting out a slightly higher voltage than the other, which causes more current to flow from the “hot” charger to the battery bank.

This graph is evidence that the ThunderStruck motors EVCC does not do “active” balancing of the chargers. I suspect that the EVCC probably just sets the “maximum” amps and volts for both chargers and then turns them loose.

The chargers report back the amps/voltage/watts they are providing, so the EVCC could in theory dynamically change the maximum current settings on the “hot” charger to only provide an amp or so more than the “cold” charger, more evenly balancing the load. However, this would add complexity and require extra code and testing. And as you limited the current provided by the “hot” charger the “cold” charger would start providing the extra current, and over time the identity of the charger providing more current would switch back and forth.

This active balancing would only be needed (or be useful) when the battery pack was drawing less than the maximum current capacity of your charger array (near the end of the charging session, in the 80-100% SOC range).

The limited potential benefits to this added complexity could be:

  1. Your chargers (and wires) would presumably stay closer to each other in temperature (only really an issue if you are suffering from overheating, which is why I was logging this data in the first place).
  2. If your chargers are more efficient at a lower current, it could save you some energy / heat. (Conversely, if your chargers are most efficient at full current, it may be better to run one charger at full current and just use the other charger to “fill in” any extra current needs.)

In short, I can understand why the ThunderStruck motors EVCC does not perform active balancing (at least with the version of the firmware I’m using — v2.3.1), but I would certainly be willing to test a current balancing feature in future firmware releases.


JuiceBox EVSE Pro 40 – Second Unit

installed

I’ve been using an Electric Motor Werks JuiceBox Pro 40 to charge the truck for the last six months. It worked just fine most of the time, but suffered from intermittent GFI trips that would cause the wifi module to turn off entirely (going offline and stopping the charge) very occasionally.   After flashing the firmware didn’t fix the issue, they sent me a replacement unit. (Pictured above).

You can read all about the old unit here. The new unit has a slightly newer version number (v8.14.07) and the power cable going out to the J1772 gun is shorter (looks to be 18′-20′ instead of 25′) and MUCH thicker (marked as 8 GA wires for power, which matches the wires used to supply my NEMA 14-50 outlet). I have some photos of the differences here:

old_vs_new_guns

old_vs_new_length


Poking around the Electric Motor Werks website, the “thick” cable and gun appears to be what the current JuiceBoxes come with by default, but they have an option where for an extra $29.99 you can equip your JuiceBox with “Flexible J1772 Cable”   described as follows:

“Outfit your JuiceBox with a flexible & thin 40A 25FT non-UL J1772 (output) cable!

For those who value portability, or ease of cable manipulation, we are glad to offer a highly flexible and thin output cable option. With the addition of this option, your fully warrantied and assembled JuiceBox will come ready to go with a 25FT 40A portable spec output cable.
Please note that this cable is not UL rated, and not designed for compliance with national electrical standards. It is tested as safe to use for the power rating presented. Please note the cable you receive may not appear exactly as pictured – though dimensions and cable materials will be consistent.

So it may be that my original unit came with the “flexible” cable by default, but the new unit comes with a larger UL listed cable. (The cord I got on the replacement unit is shorter than my original by a good five to six feet.)


GFI cause update:

I have identified the cause of the GFI events (my TSM2500 chargers cause a GFI event when they shut down due to overheating.) The new charger still gets knocked “offline” when a GFI event happens, but it appears to recover on it’s own without needing me to power cycle it.


Pebble screen corruption issue (take 2…..watch 3)

My original pebble watch suffered from the screen corruption issue that has apparently been plaguing all of the 301BL models.

Pebble was responsive and replaced it relatively quickly two months ago. Unfortunately, the replacement watch started to show the same types of issues, visible here in the region outside of the circle and around the first few digits on my Timer+ app.
screen_problem1

I contacted pebble and after opening a case, sending them a photo of the watch’s serial number, etc, they sent me (another) replacement pebble and a prepaid label to return the previous replacement watch.
Continue reading

Ring Video Doorbell Review

A few months ago I purchased a Ring video doorbell (along with a Chime Wifi announcer). This is a doorbell unit that has a video camera and motion detector built in, as well as the traditional button. It is powered either by your existing doorbell wires (if you have them) or via a rechargeable battery.
ring

It requires a connection to your home Wifi access point to work, as well as a smartphone (iOS or Android) to be configured and make use of the “video” part of the video doorbell.

When somebody pushes the button, your smartphone gets a “video call” and you can see the person at the other end and talk with them (they can’t see you) from anywhere your smartphone has a network connection. It can also be set to send you an alert whenever the doorbell sees motion, even if nobody pushes the button.

If you have a wired doorbell already, and connect the ring unit up to your existing wires it also rings your existing hard-wired doorbell like a standard $5 button. If you buy the optional WiFi chime unit that plugs into a standard power outlet, it will ring that as well (just in case you don’t have your phone nearby while inside the house).

An optional added service is their “cloud recording” option, which costs $30 a year, and stores a video recording when it sees motion or the button is pressed. In my opinion, 90% of the “home security” value of the doorbell relies on this cloud recording option, so if you buy the ring video doorbell, plan on paying $30 a year (for each ring unit if you have multiple) as well. (Which is a lot cheaper than buying and installing your own video recording hardware.)

The benefits:

  • I really like being notified when motion occurs at my front door. It can tell you when packages are delivered (most delivery drivers push the button, but some do not and are detected by the motion detection feature), or when a family member arrives home.
  • The “video call” option can make it appear that somebody is inside the house, even when you are not. You can tell somebody that you are not interested, or to drop a package at the door, etc… (this can also be used to “greet” the visitor from within your own house without actually coming to the door, due to laziness or safety concerns.)
  • Having a doorbell with an obvious “video camera” built in should help with home security, as long as potential burglars notice it, even if it’s not working.
  • Having a video recording saved (offsite, in the cloud) every time there is motion near your front door is a very nice security feature. (This requires $30 a year subscription.) With this you can check to see if/when a package was delivered, even if you missed the initial “call” from the doorbell, as well as the obvious home security applications.

The downsides (areas for improvement):

    • Motion detection can be overly sensitive, and not sensitive enough at the same time. The Ring unit has “zones” where you can turn on or turn off motion detection, and adjust the “range” of the motion detection. However, it uses passive IR detectors, which mostly detect movement of a heat source. My front door faces a street (about 50 feet away) and heat from moving cars will set off the Ring unless I turn all of the zones off except the one directly in front of the unit. And then, it will only detect motion from people if they actually step onto my porch. Even so, very hot vehicles (such as garbage trucks) will still trigger a motion alert. My motion sensitive lights do a better job of detecting people walking around without getting false positives from the road.
      Ideally, you will be able to mount it such that a road is not in it’s field of view, even if the road is relatively far away from the front of the house.

Screenshot_2015-12-04-12-48-06

  • The wifi/network connection is mostly fast enough, but not always. Typically I will get a notification on my cell phone within a few seconds of motion being detected or the button being pushed. However, sometimes this delay extends into the 10-30 second range, by which time whoever was there has already left. If you pay the $30 a year fee for “cloud recording”, you can go back and view who you missed, but you can’t actually talk with them. And on one memorable occasion when they were having problems with their servers, the Chime wifi doorbell announcer unit would “ring” about 10 minutes after the Ring doorbell was pushed!
  • If the doorbell isn’t connected to existing doorbell wires driven by a low voltage AC transformer, you need to take it off the wall and re-charge it every few months. The battery life is quite respectable, even with the motion detection settings set to “frequent” it lasted around 50 days for me and if you turn the motion detection settings to “smart” it should last 2-3 months. But still, it takes 5 minutes to find the special security screwdriver they include in the package, take it off the wall and plug it in. (Also, you don’t have a doorbell for the 8 hours it takes to charge.) The phone application will notify you when the battery is getting low.
  • It requires wifi to work. If your DSL goes down or wifi router is on the blink, your doorbell will not sound a chime. (Even though the Ring unit makes some noise and flashes a light when the button is pushed, giving the person outside the impression that the doorbell activated. (If you have it hard wired into a “real” doorbell it will at least ring the wired doorbell inside your house, even if it can’t notify your smartphone.)

Overall I’m happy with the device, and it works relatively well overall, but having it hard wired into a “real” doorbell would definitely improve things. I think that if you are replacing an existing (wired) doorbell button it would provide the best experience. Our house had a wired doorbell at one point in time (but it was replaced with a wireless doorbell before we moved in) so I’m hoping to re-wire the Ring unit up to a physical doorbell and low voltage AC transformer so that it will work as well as a regular doorbell even with networking glitches, and never need to be re-charged. The biggest win in my mind is having a cloud based recording of any motion near your front door.


Update 2016: After being installed for several years, I had an issue where the screws in the bottom of the ring got corroded, and “stuck” to the push in metal nuts inside the ring. when I tried to unscrew the doorbell to charge, the metal nuts broke free of the plastic. (This may be because the people who pressure washed the townhomes were were living in had used some type of chemical that wasn’t good for the metal.) The ring doorbell itself still worked, but it wouldn’t mount anymore. Ring customer support sent me a free replacement, which was very nice of them, as it was out of the 1 year warranty.

Update 2018: I came home one day to find my ring doorbell unresponsive. I thought it might be due to a low battery, so I charged it up, but it turns out that the problem was something else. Although it would accept a charge, we were unable to get it to “boot” up, or attach to a wifi network. Ring Technical Support walked me through the procedure to reset the unit to the factory default firmware/bootloader, but that did not work. Luckily for me, I had recently signed up for the Ring Protect Plus service, which includes extra warranties on the devices, so they sent me a replacement unit.   The screws on the bottom of this unit showed some small evidence of corrosion, but it was not as bad as the previous unit and they did not get stuck.

All in all, the ring devices appear to be relatively robust, the technical support is top notch, and if you are signed up for the Ring Protect Plus plan the warranty coverage is very good.

Update 2020: I upgraded this unit to the 2nd Gen version and am happy with the improvements.