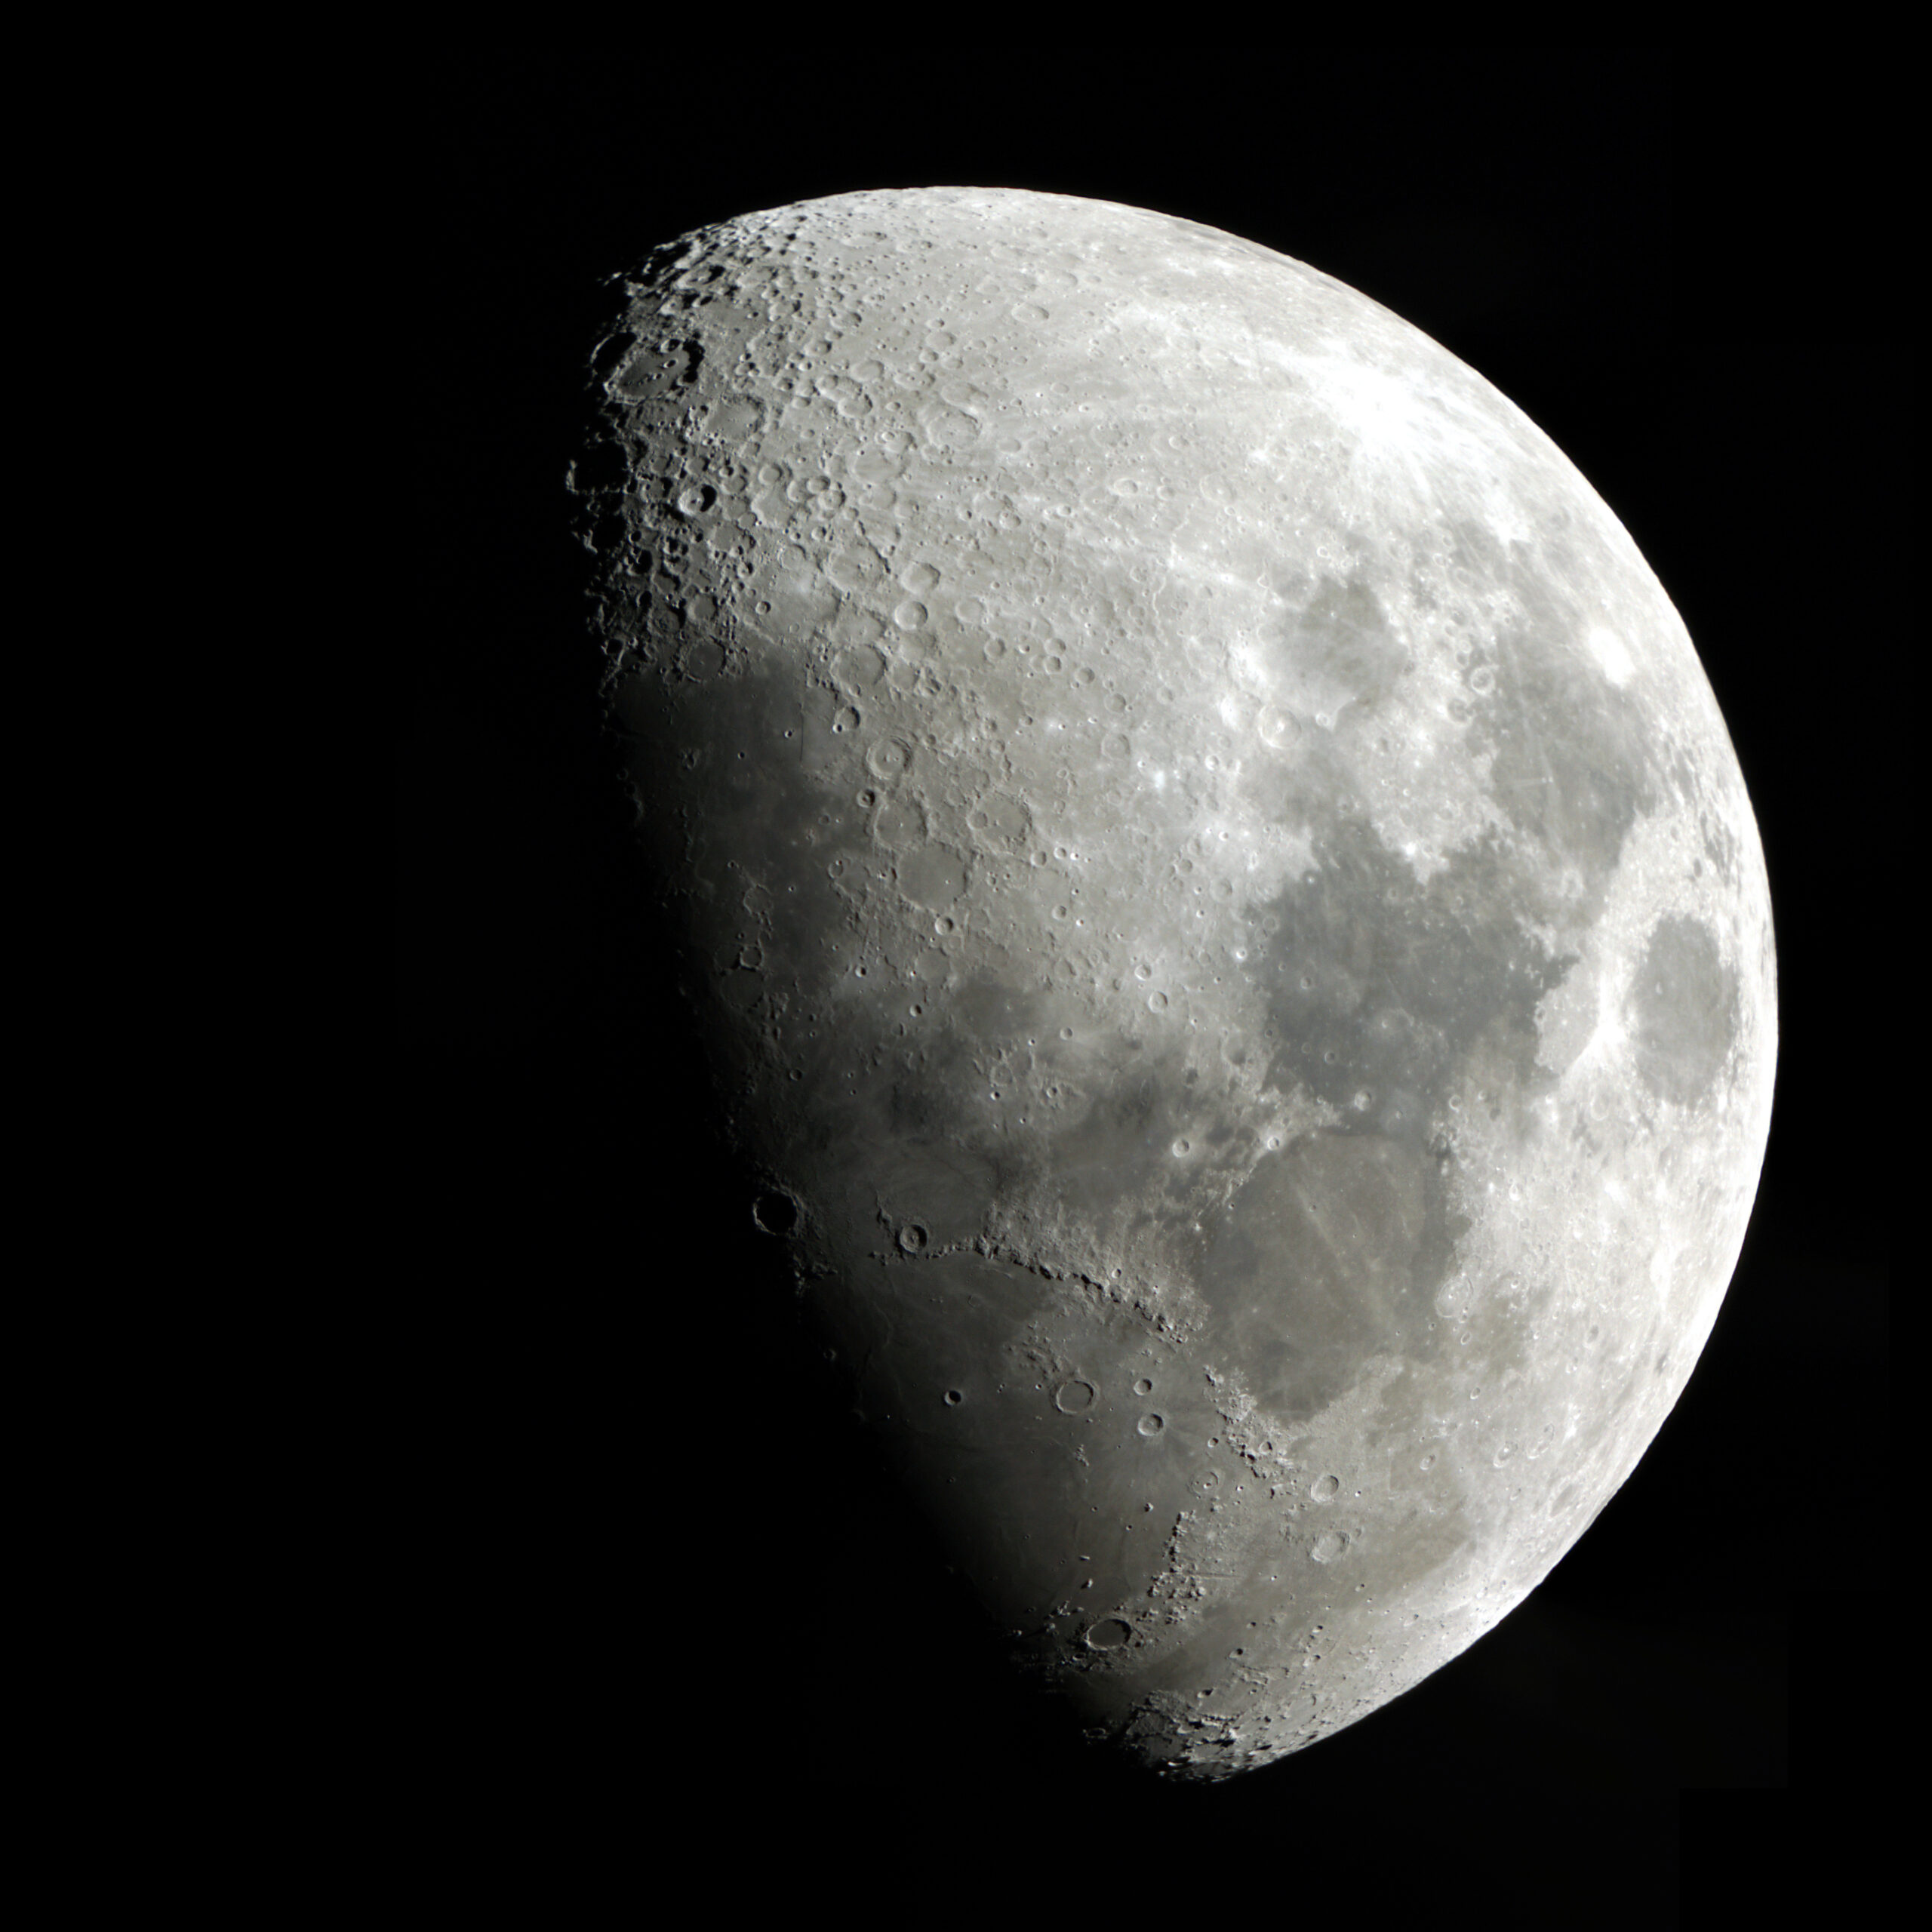
I want my telescope to be polar aligned when using it. To do this, I need to have the base accurately pointing exactly towards the north pole (in the Azimuth direction) and the Altitude of the wedge the same as my latitude. [This essentially means that I need the tripod base to be exactly level.]
Getting the tripod level is easy, as I have 3 leveling bolts built into the ends of my home built rolling dolly and a bubble level on the telescope wedge. However, to get the AZ orientation correct, I need to reliably place at least 2 of the alignment bolts in the exact same spots on my patio every time I wheel the telescope outside to use it.
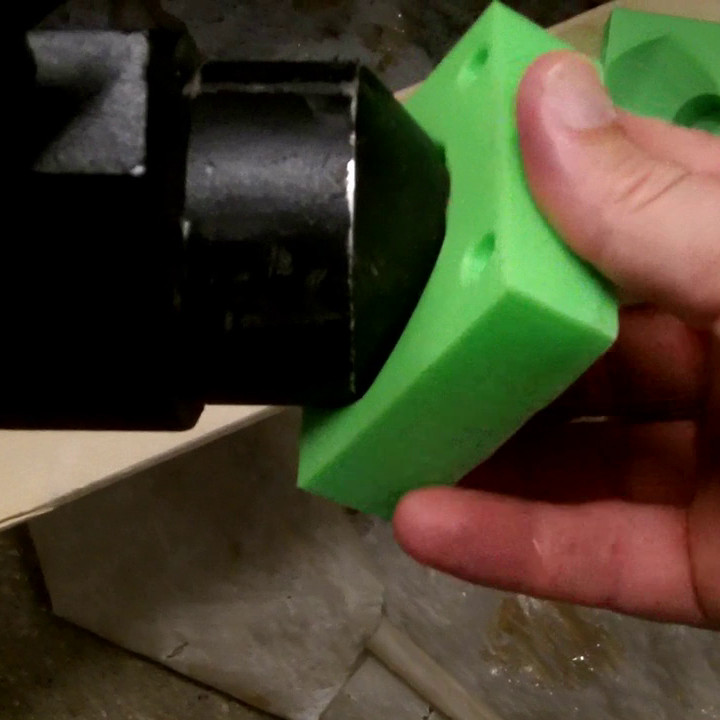
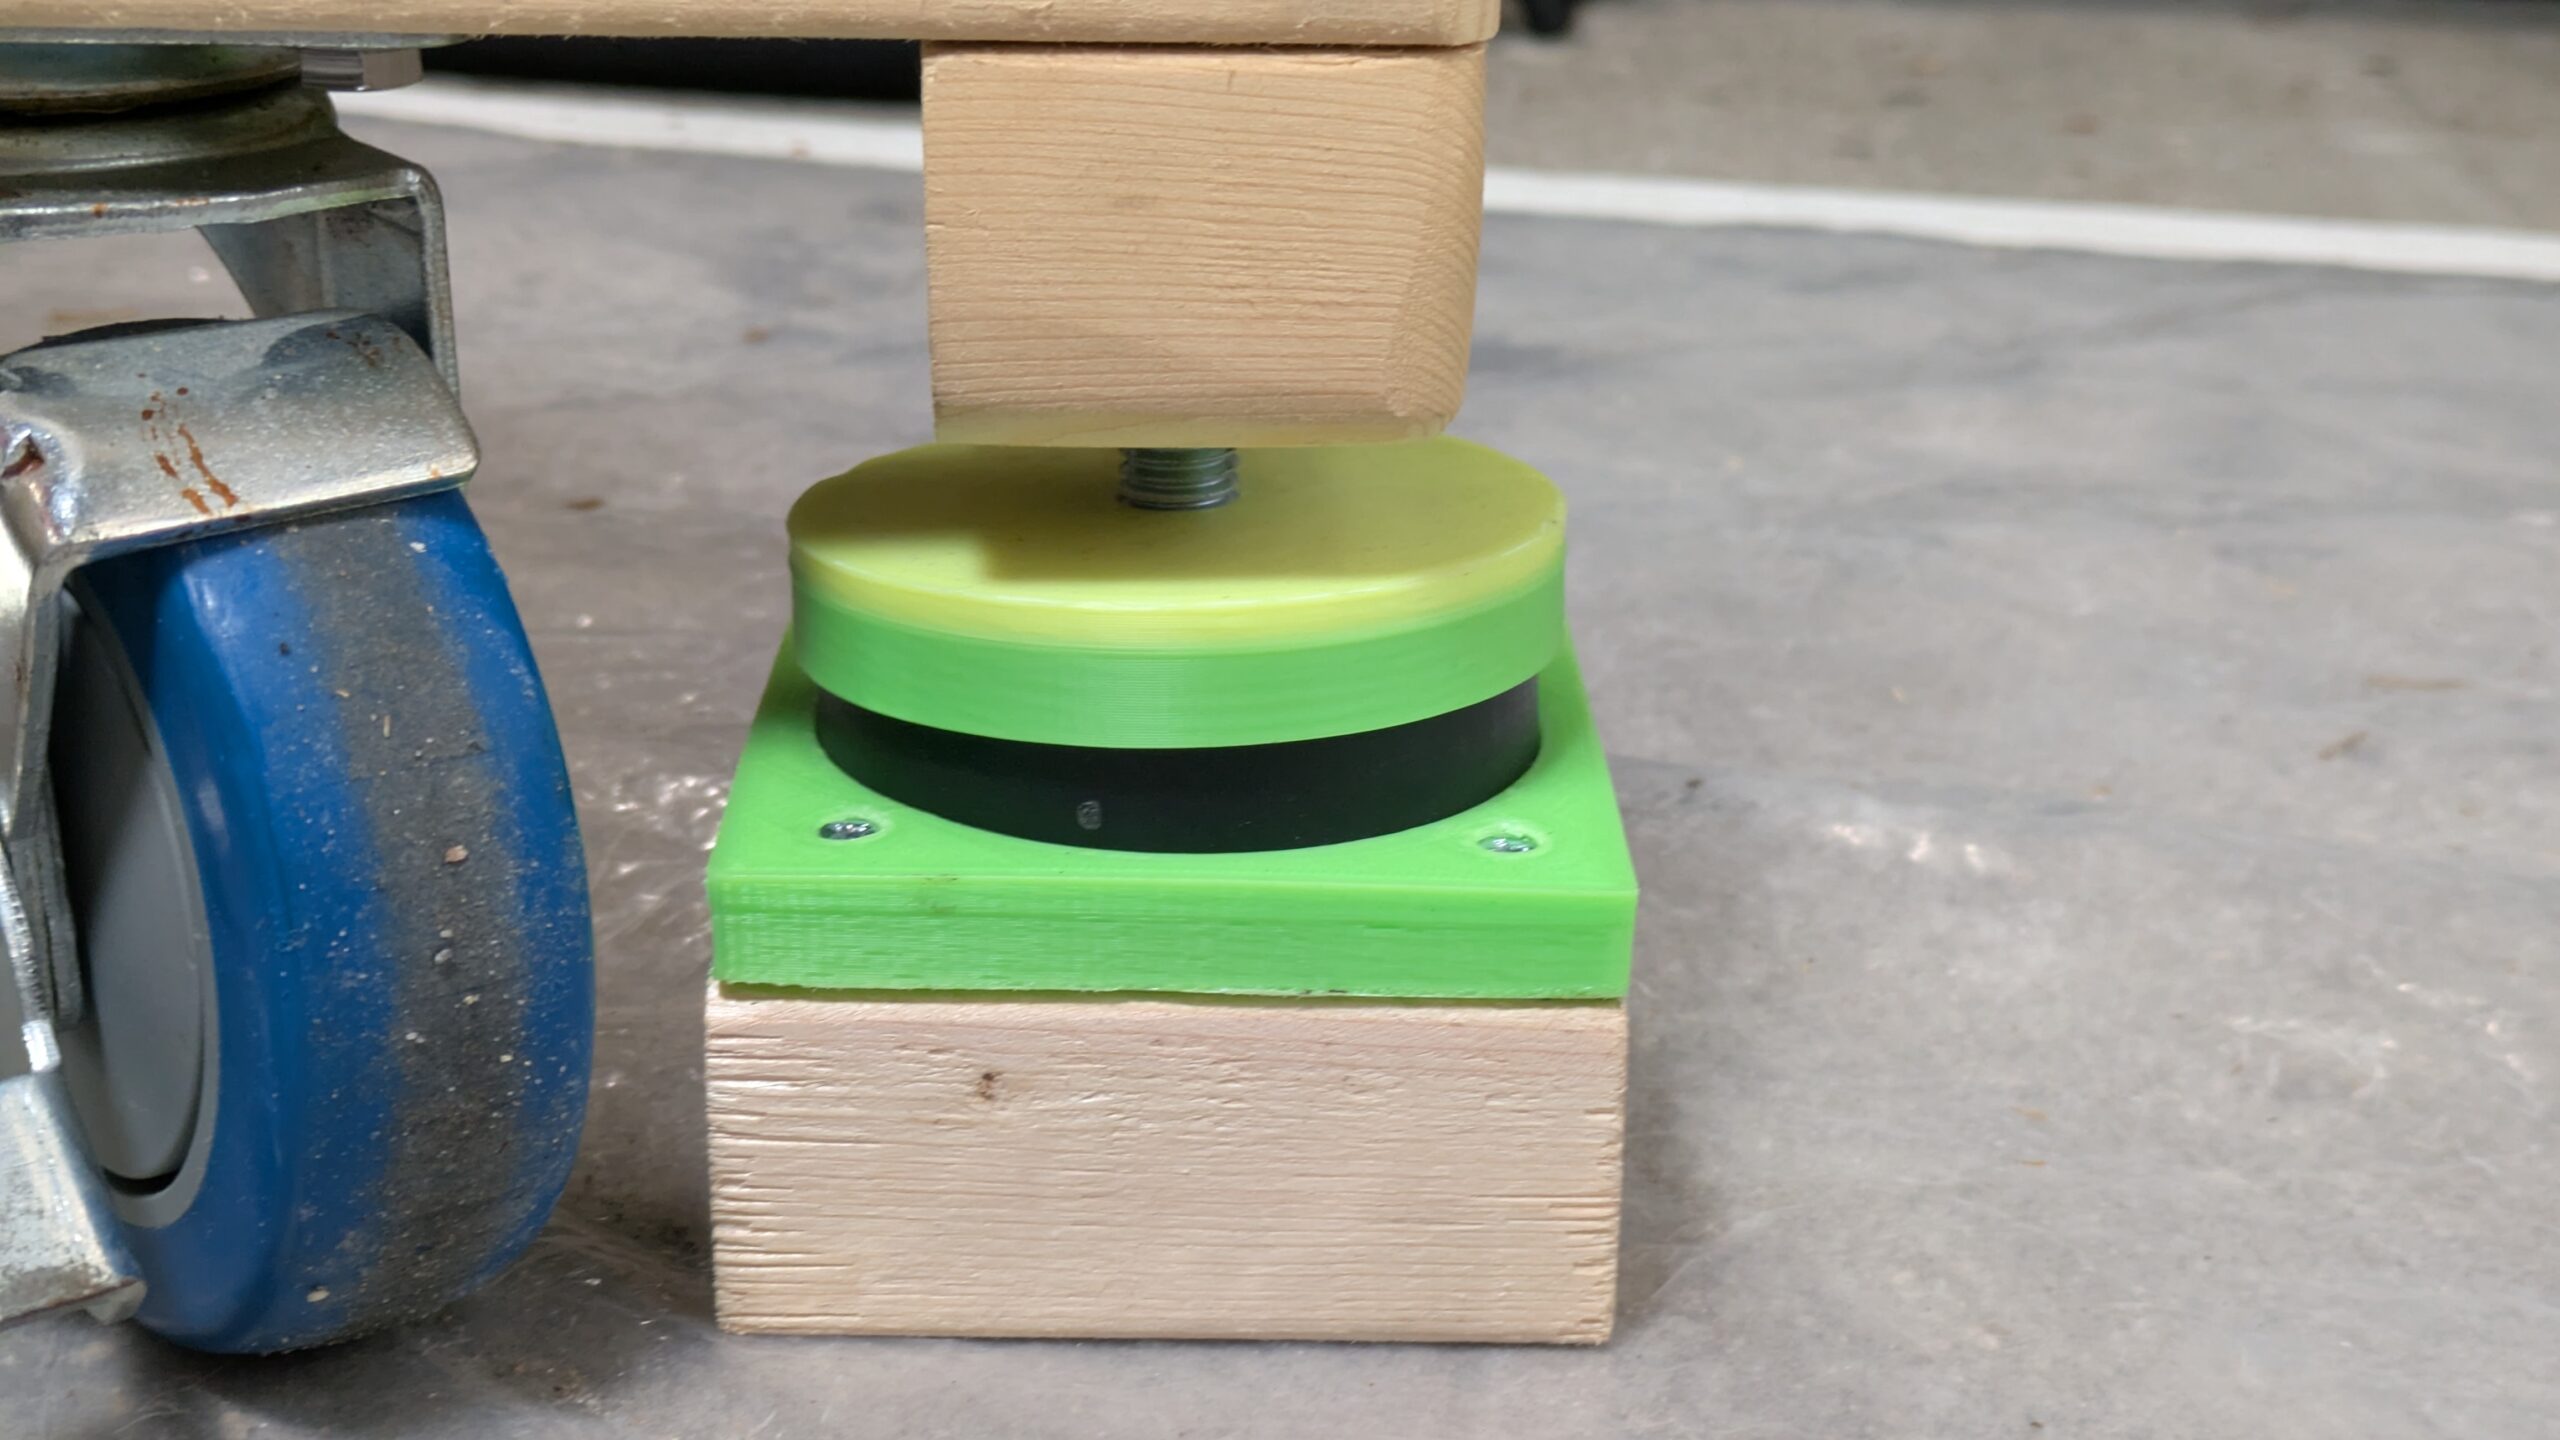
To make this easy, I built these alignment jigs. They consist of a square piece of 2×4 (3.5″ by 3.5″) which rest inside a white square of gaffers tape. The square gaffers tape lets me put these wood base blocks at the exact same point each night. But, I really need to align the 3 leveling bolts, not just the wood blocks. So I designed and printed two 3D printed jigs. One to align the anti vibration puck to the center of the wood spacer block, and one to align the bolt to the center of the anti-vibration puck. The combination of jigs allows me to place the three leveling bolts (and hence, the dolly, and tripod) at the exact same location every night.
You can watch the video below to see how this works in practice.